CB750 Creation ” The BRATSTER”
Over the years I have built a number of inline Four machines as you may well know, I have always liked these Motorcycles because I used them as a Courier Bike back in the UK, they were Affordable and reliable and lastly they were an awesome Platform to be able to adapt to how you wanted the machine to look.
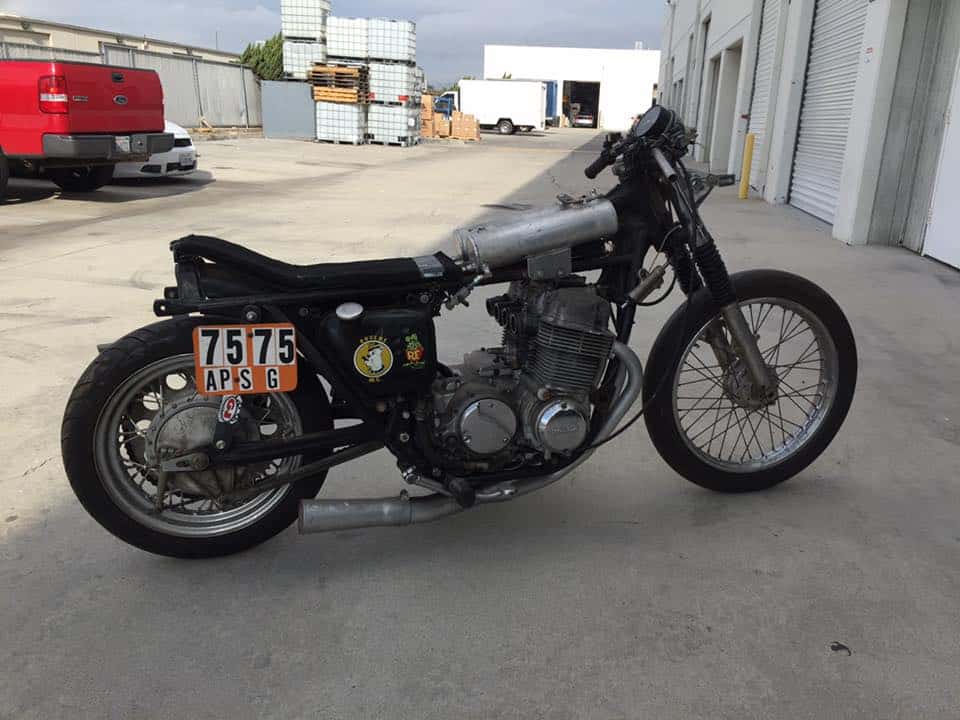
Beauty is indeed in the eyes of the beholder, but with this bike when I first picked it up, it was in a bad way and needed help, but, trying to change something on a shoe string budget is some times almost impossible, so when I pushed this bike onto the Concrete and saw the potential, well I had to at least give a go eh.?
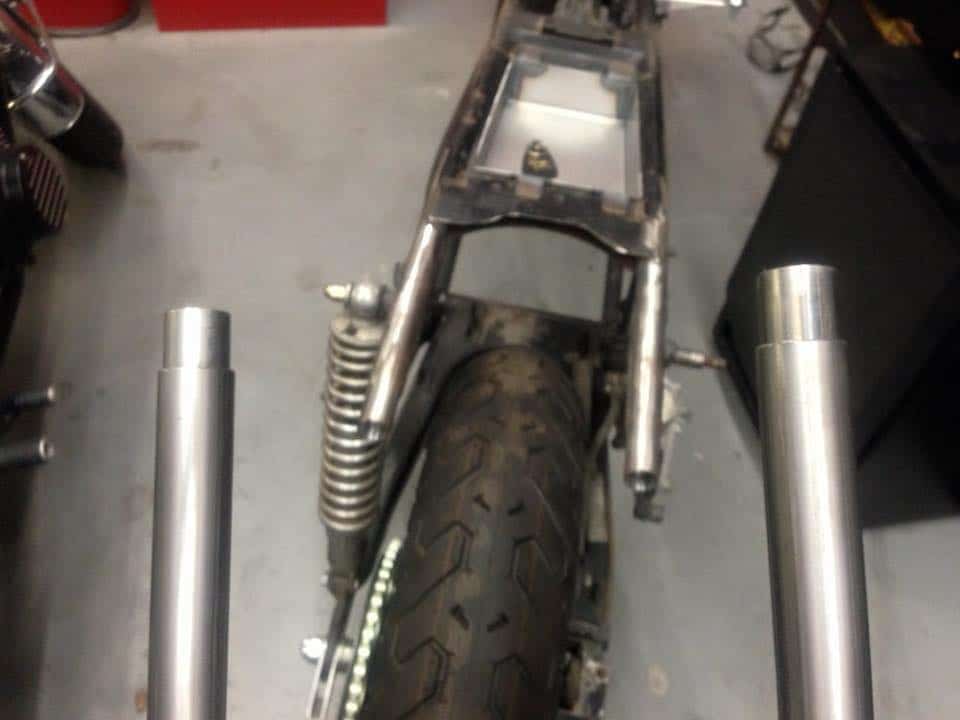
This old Girl was a 1974 CB750 and many many Moons ago it was Created to be a Land Speed Racer, I have a little or know information on if it ran, where it ran or what speeds, it was very poorly made and to be honest, too Bloody dangerous for me to sling my leg over and have a go up on the dry lakes for any record.
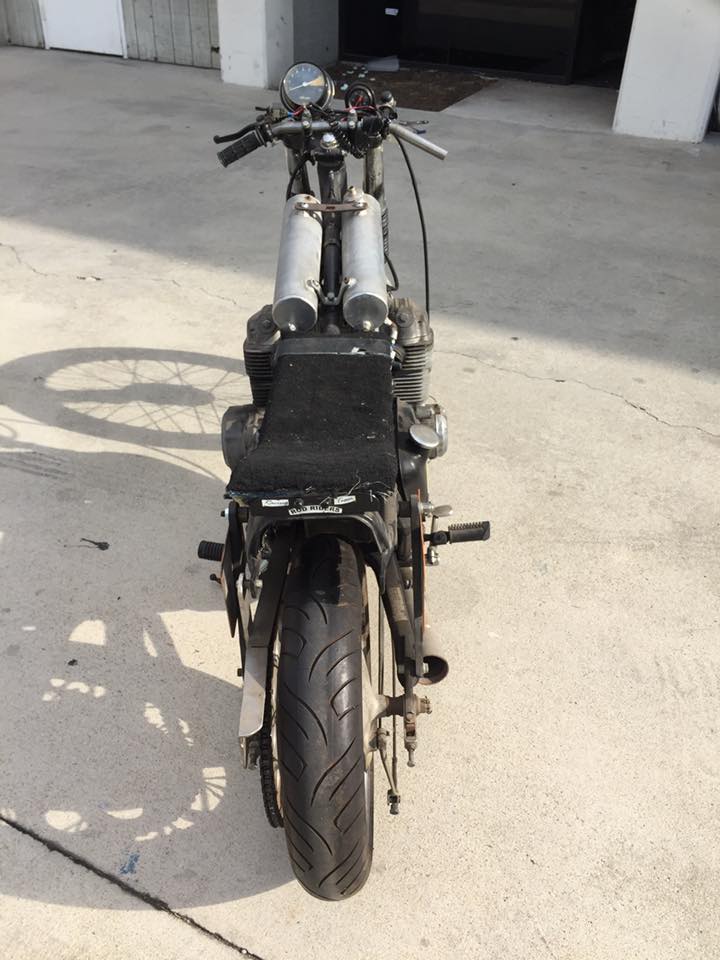
It had no title and was leaking oil and looking very sorry for itself when I parked this 500 pounder up, but once I had made a Brew, sat back and thought for a bit, I knew I could at least resurrect this CB750K Model in to some sort of head turner.
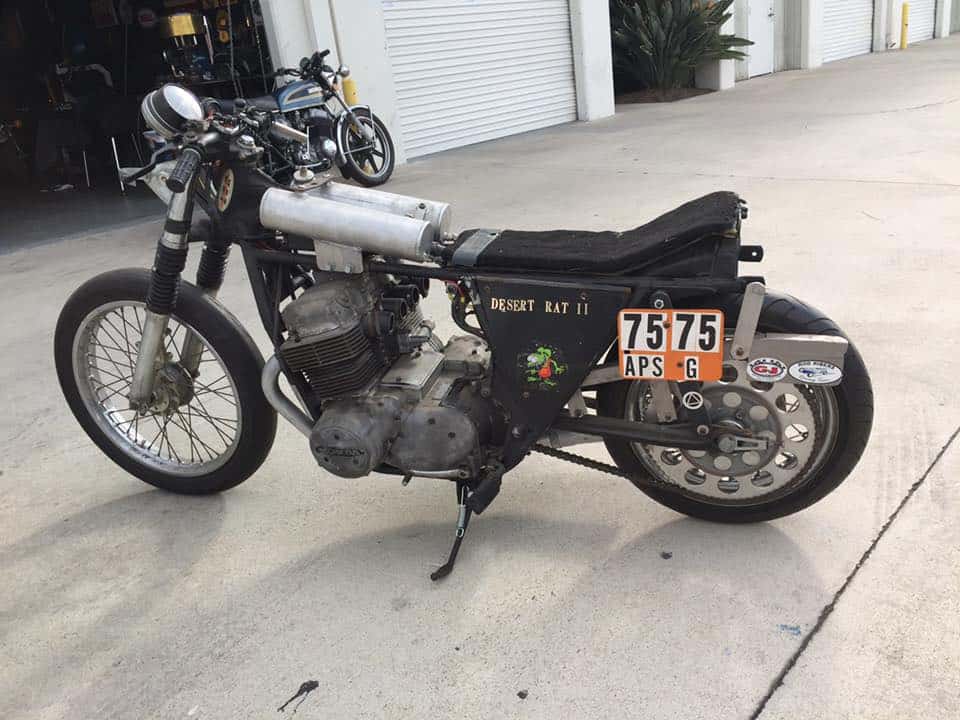
So, with pen and paper in hand I jotted down a few ideas and came up with the idea of building a fun little Brat style Bike that would have a Chunky look and feel but real fun to ride.
After a day of Mulling around , I decided that I would get the Motor running first and if that runs I will then go from there as this may take some time as it was not a commission for a build but a cry of help as I bought a few bikes off a buddy who needed space in his Garage, so this would be an on going bike and Not at all a show bike, just a tough Motorcycle that would probably suprise a few motorcycles at the lights as it buggered off into the sun set whilst you are watching it disappear into the distance..
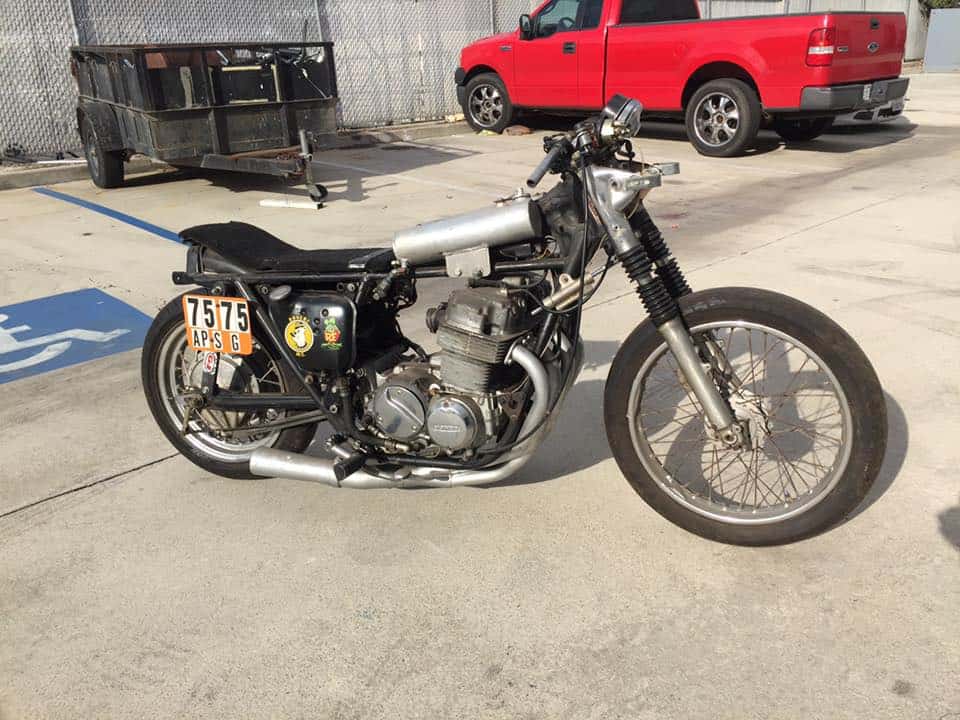
The bike had a terrible set of gas tanks made from old alloy Cylinders that were Bolted to some old Nuts that were welded to the frame, there were parts hanging off that shouldn’t even be on there, so I decided that this would be a Brat style and I am going to change oil and plugs, add some coils and Battery and rebuild a set Carbs to see what we have hear, as there are no carburetors on this bike at all. So off I went in search of some carbs, and took an old blocked up set I had as spares apart, cleaned, re-jeted and fitted to the old Dry lakes Bike.
Below I have fitted Carbs and a exhaust to see how she runs and it is now tuned and am happy about the sound and crisp response that my 4 into 1 systems make.
My ears were ringing and actually Blew the Sub-woofer out in the workshop because the bass not was so strong, but a minor price to pay to now know this motor runs hard and true.
So, as the rear end of the bike was missing, I thought I would massage one of my rear Hoops I make onto this frame and create a Brat style bike that will be so much fun to ride around on.
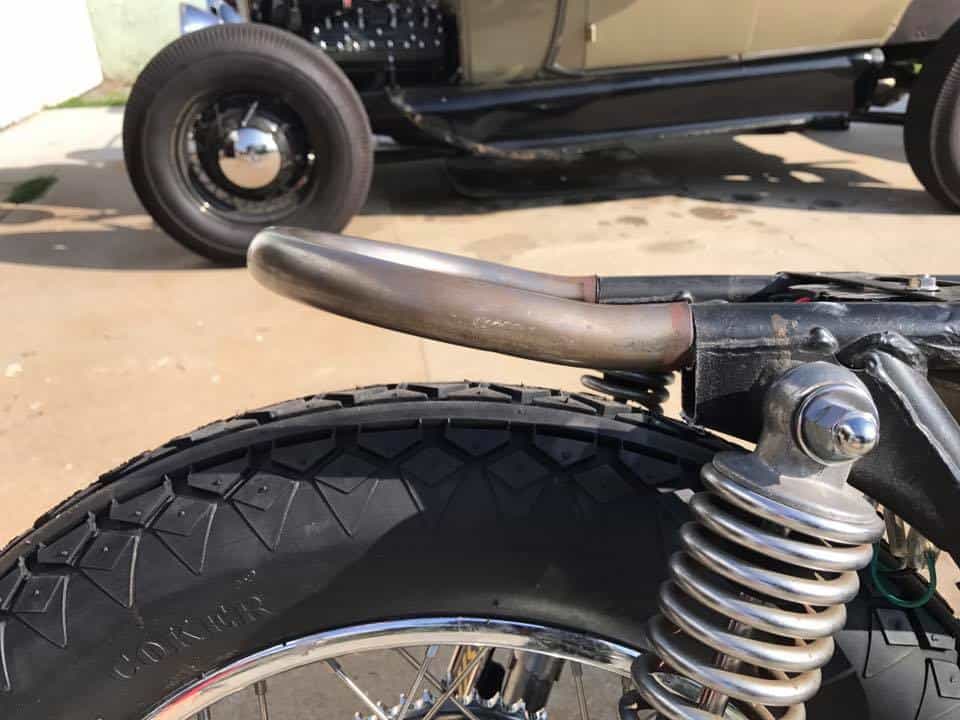
An easy job and looks great, so I can later make a Flat seat with New Foam and Diamond stitching to give it that Brat look that is so popular right now over here.
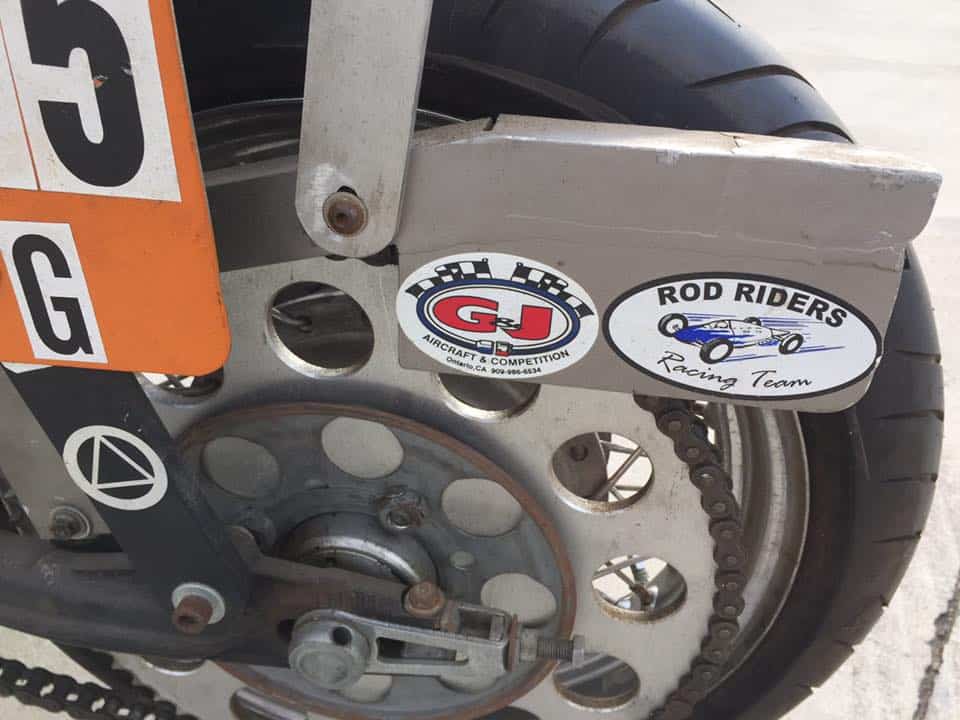
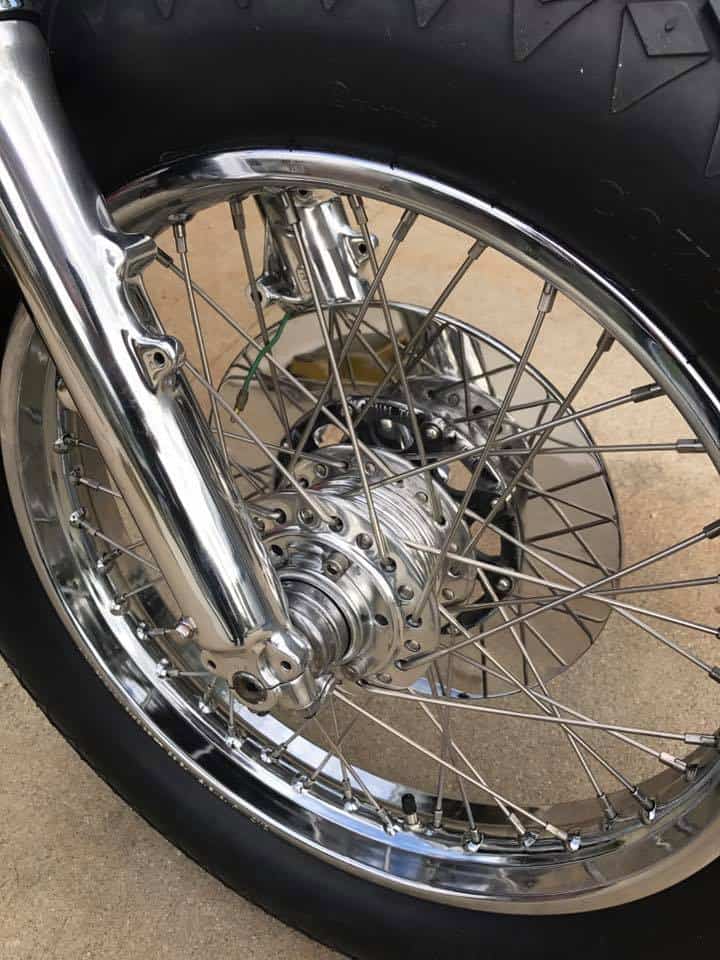
The old 16 inch rim had a massive sprocket, I think 170 or 200 teeth, erm, not for the street for sure , else it would wheelie everywhere ha ha, so removed the rims and rebuilt a new set but Polished the Hubs from this bike and laced with stainless spokes.

Now that looks a lot better and now ready for the Rubber to go onto the outside, this time I thought I would spare no expense on the tires as they are an important part to make sure these keep you on the tarmac, so opted for a Set Of Cokers Tires and I am going to make a Diamond stitched seat later so wanted tires to match in a way.
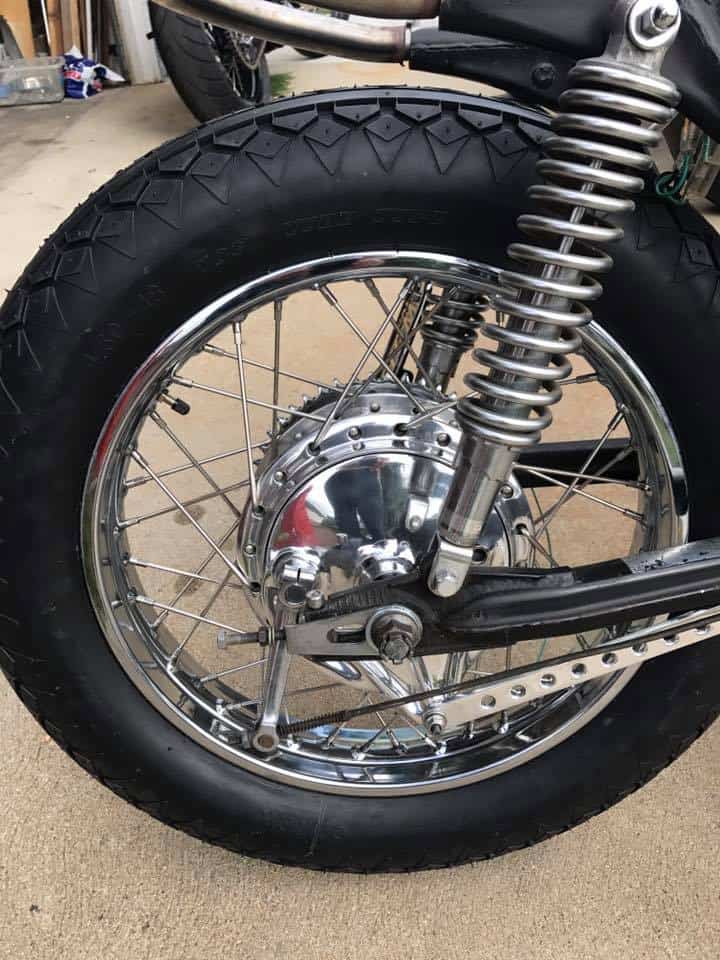
I also removed the forks, rebuilt and fitted New upper tubes, as well as Rebuild brake caliper and refurbishing the old rusty brake rotor too.
A lot cleaner that it was when it first limped into my hands and am real happy at the way this is coming along, as I said, no show bike so not removing the motor and painting a frame, this will be a fun bike with a few new parts or refurbished ones at the very least.
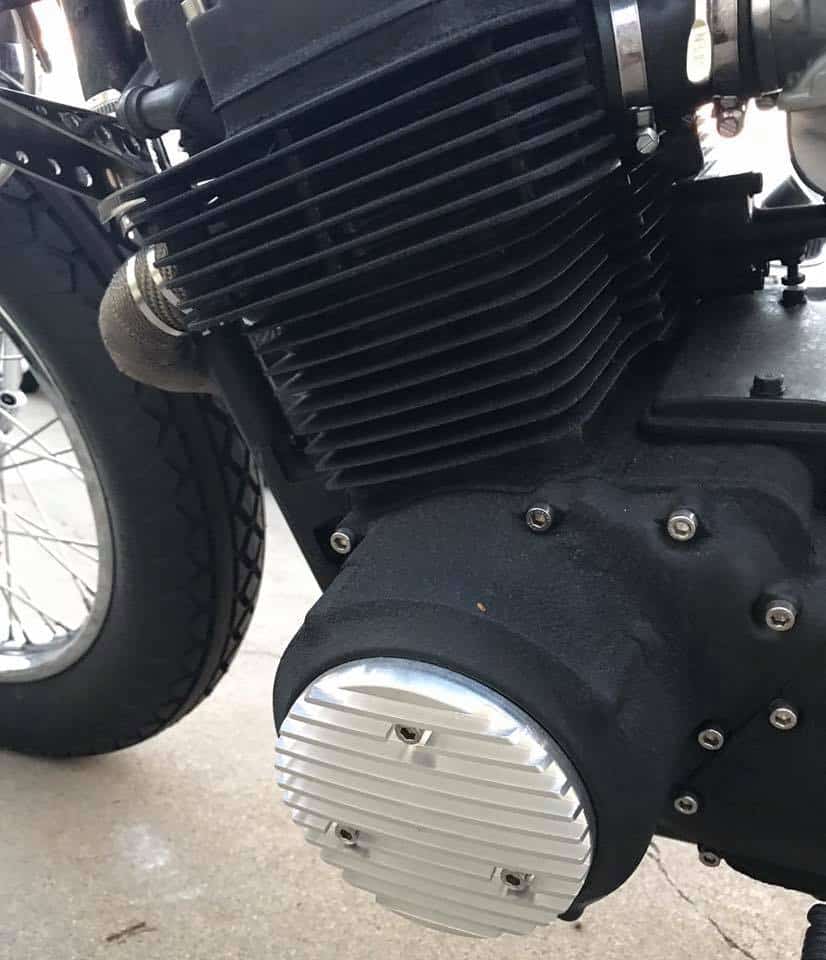
Above, I repainted the Motor and detailed it with Stainless steel Allen bolts and I wanted wrinkle paint this time to help dissipate the heat when riding.
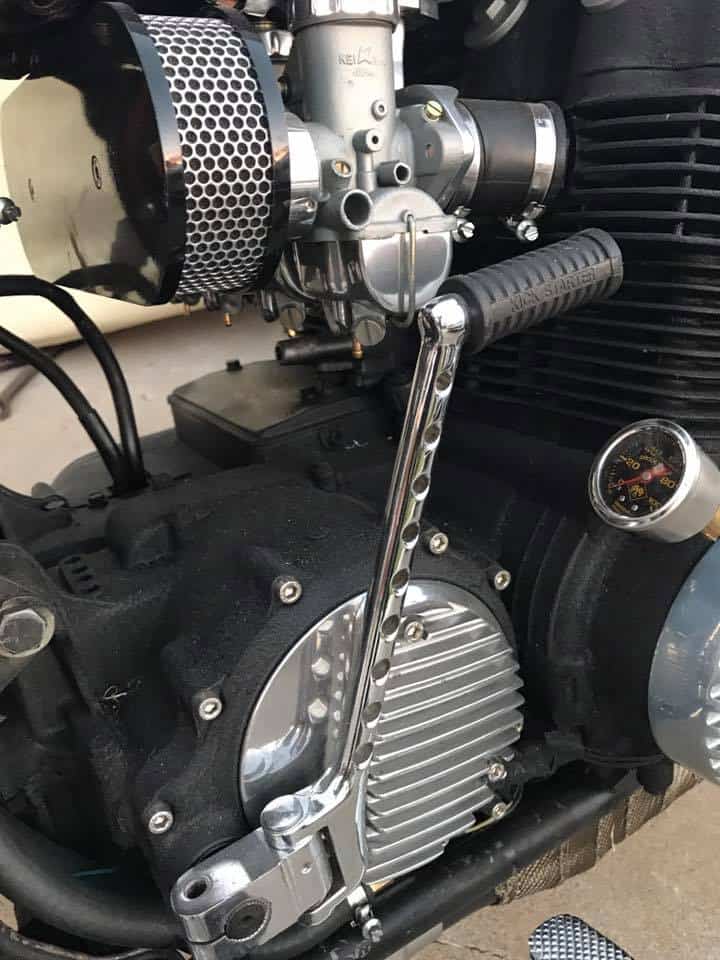
Getting there, Rebuilt Carbs, new boots and a cool Aluminum Airbox made this Motor breath and respond so well, its the devil in the detail or carboration that wins the race.
Now the job of fitting Headers and so many choices from the styles that I have created for these 500 pounder machines, but the bike is taking shape now and I really like the way it is going.

The Motor looks great, I also added a cool Oil tank with a Battery Box already inside it, so this will really look trick and can hide some of the electrical in it too and clean the frame up some more.
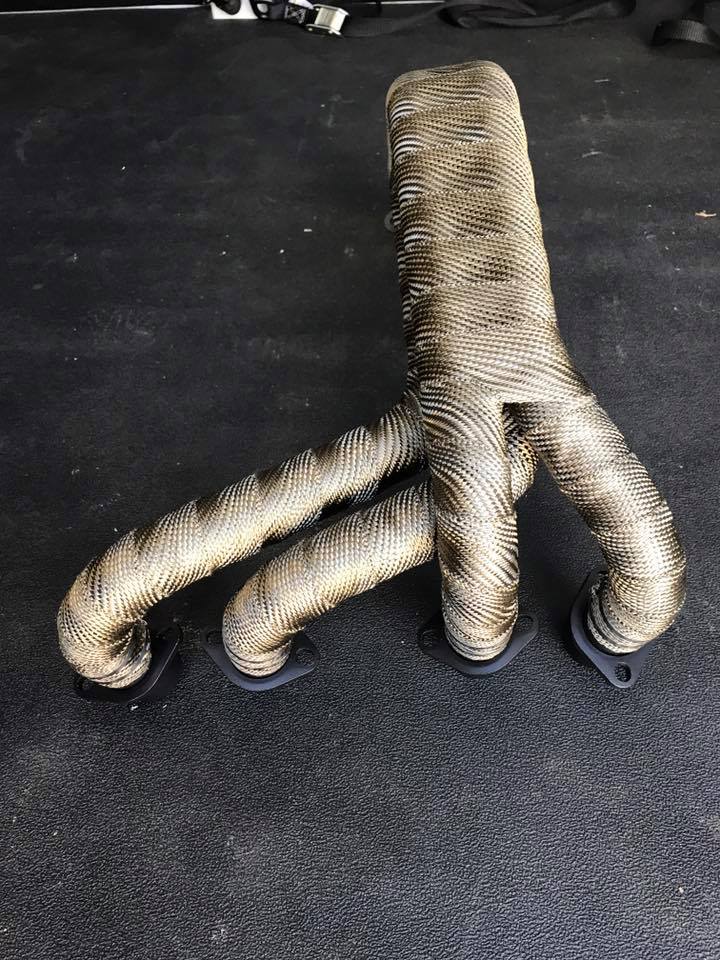
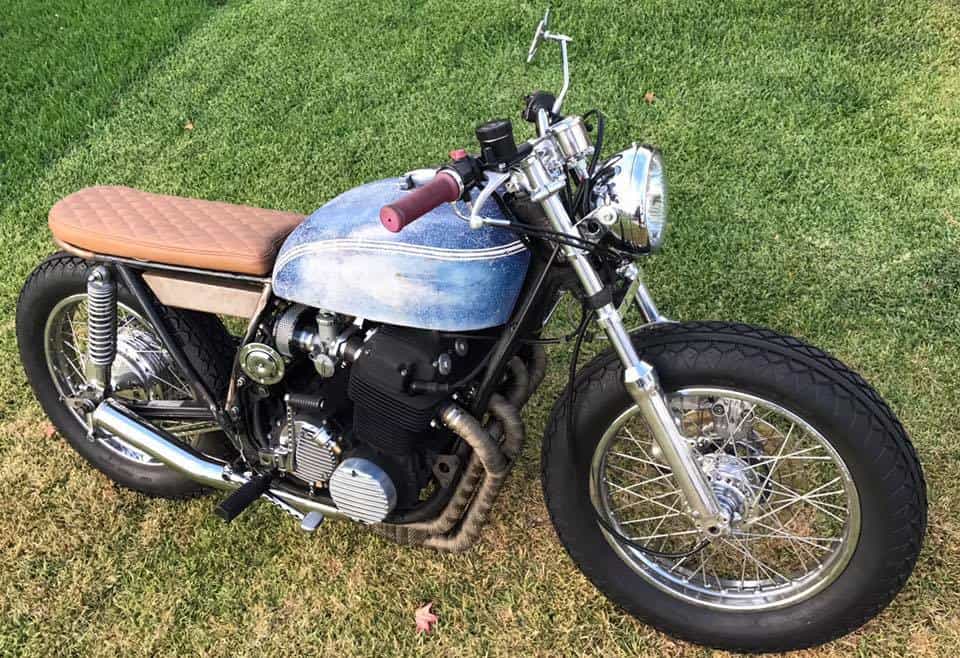
I wanted to use my Newest design exhaust system, the Side Winder, this breathes like a New Nose and wanted to also Hot Rod it out by wrapping the headers in Titanium Heat wrap, it sure came out well and this will look great perched in front of that inline four engine.
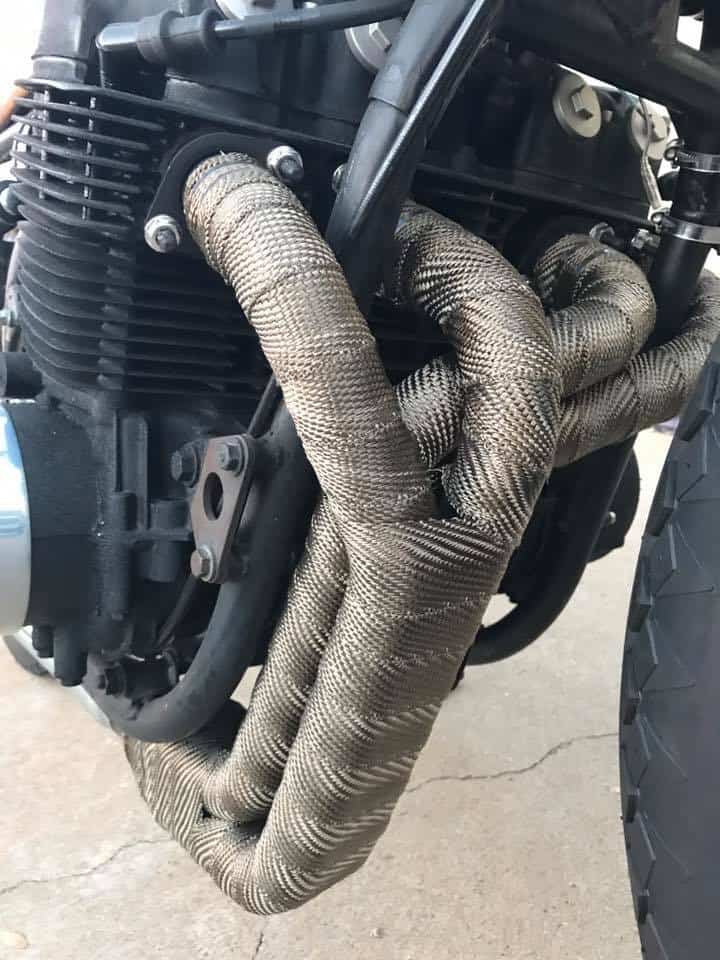
Now, that is a lot better and glad that I went this route, I have sold lots of this heat wrap and this is the first time that I have used it and as its Titanium it doesn’t fall apart like that cheap fiberglass stuff thats out there does.
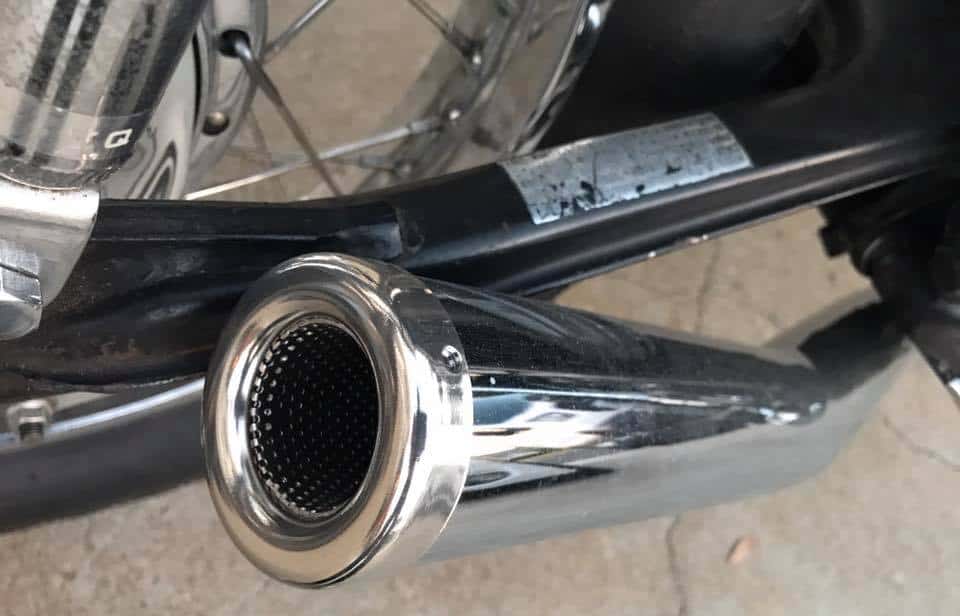
On the Arse end of the header I wanted to fit my New Sidewinder tail pipe with the Yoshi style Baffle, and boy does it look great and super stoked that I did go in this direction.
Next up I need to make a seat pan to cover the Battery tray and oil tank up and will go simple with some 18 Gage steel and then will add foam and upholster in a Light Tan Naugahyde material with Diamond stitching.
Simplicity is the name of the game for this machine and I am now cutting the foam to fit the seat pan that I just made, this is almost there, maybe another half an inch of foam then upholster.
I am now happy with the thickness of the Foam and am looking forward to seeing this with a Light Tan seat ontop of the frame, I feel it will be a good contrast. so lets go and see.

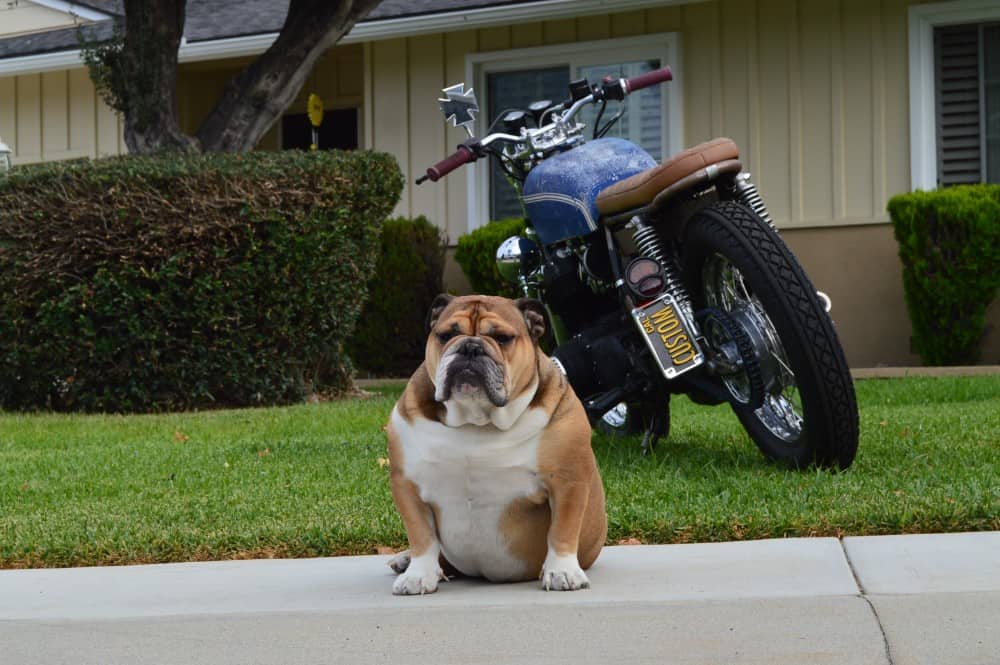
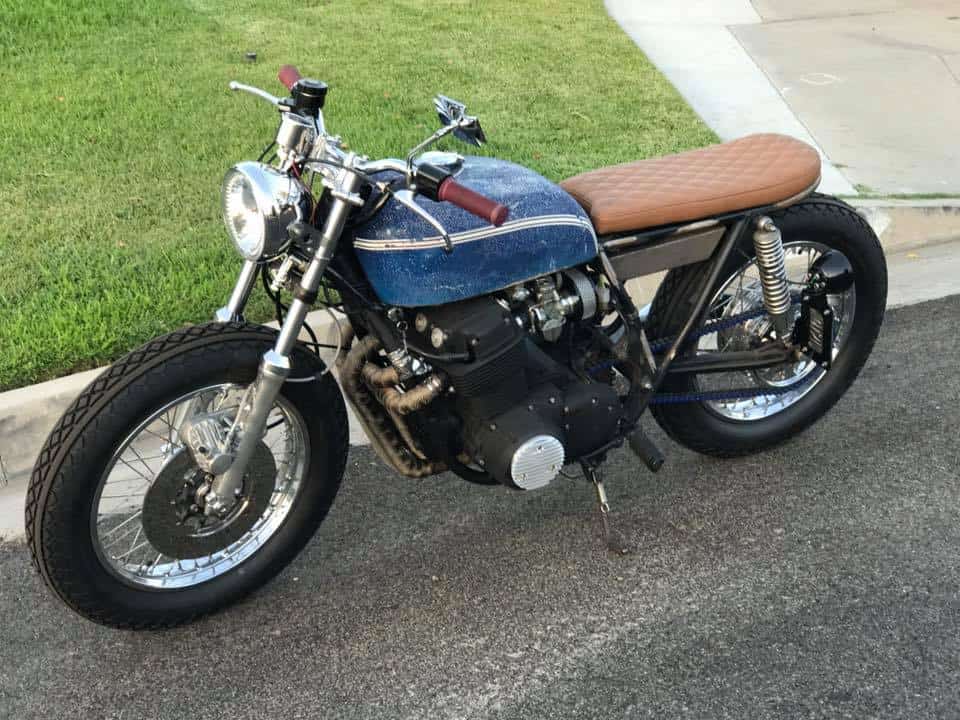
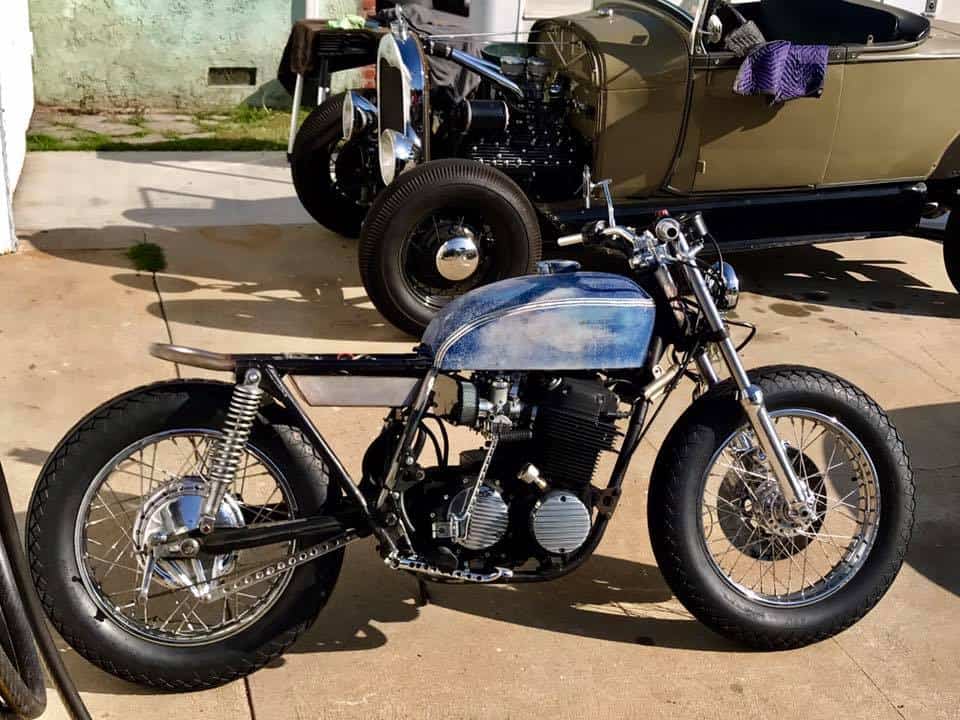
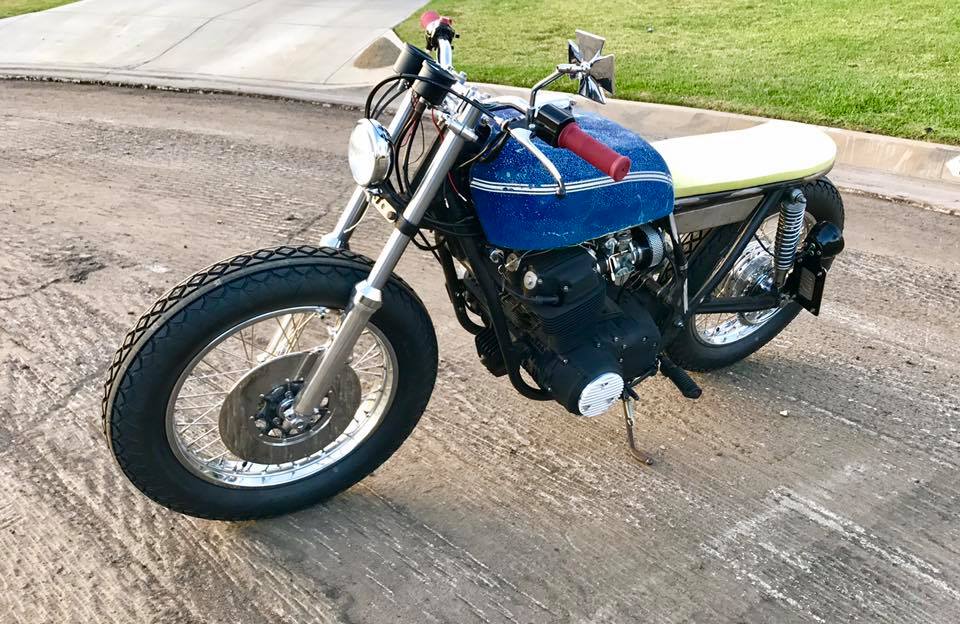
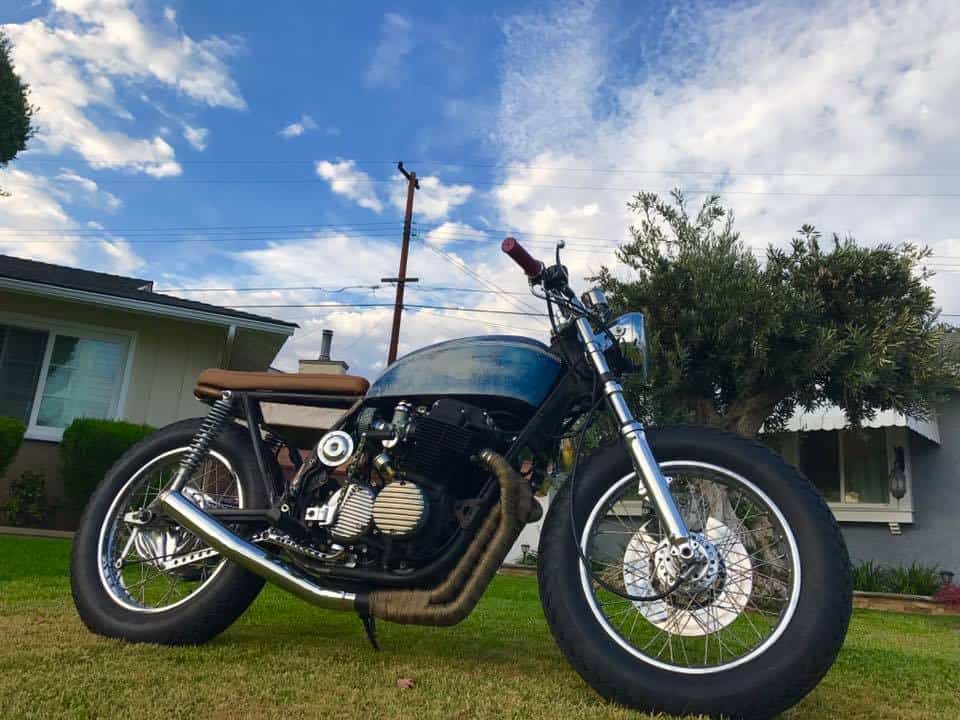
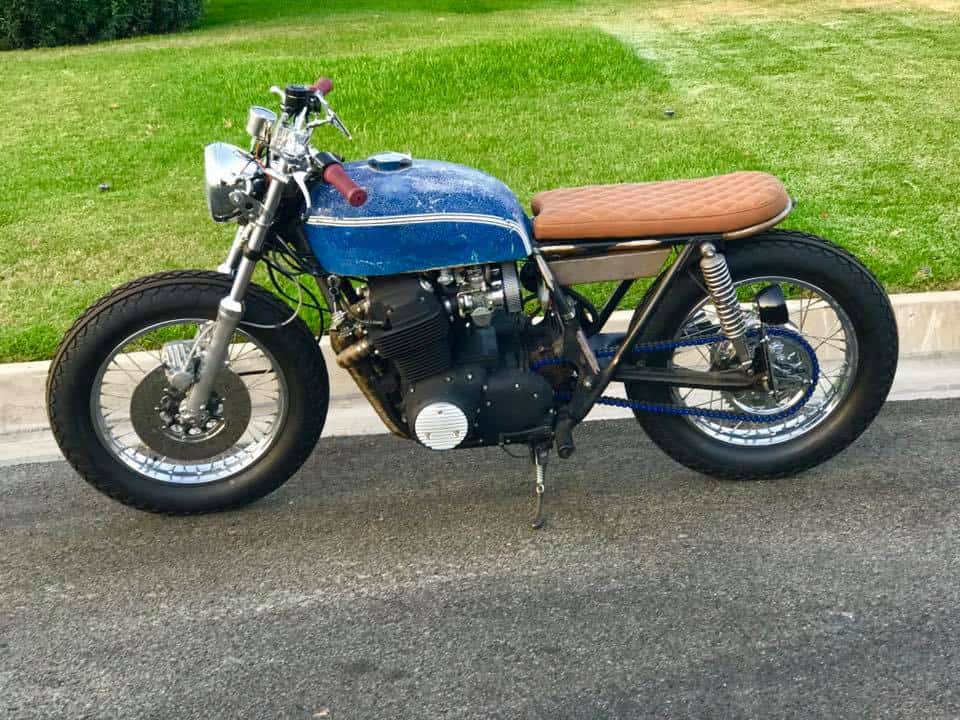
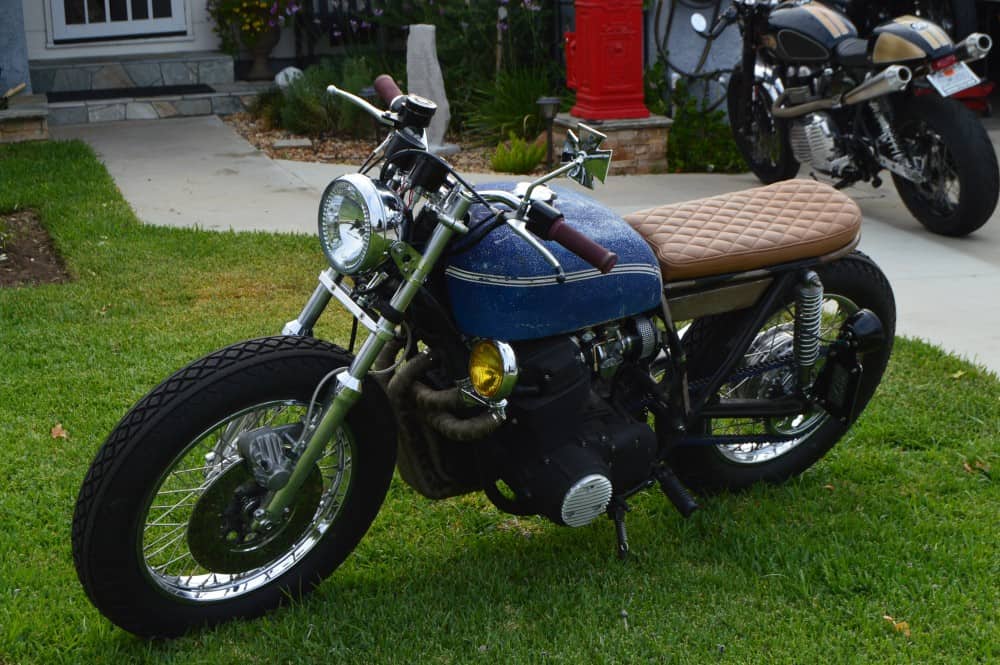
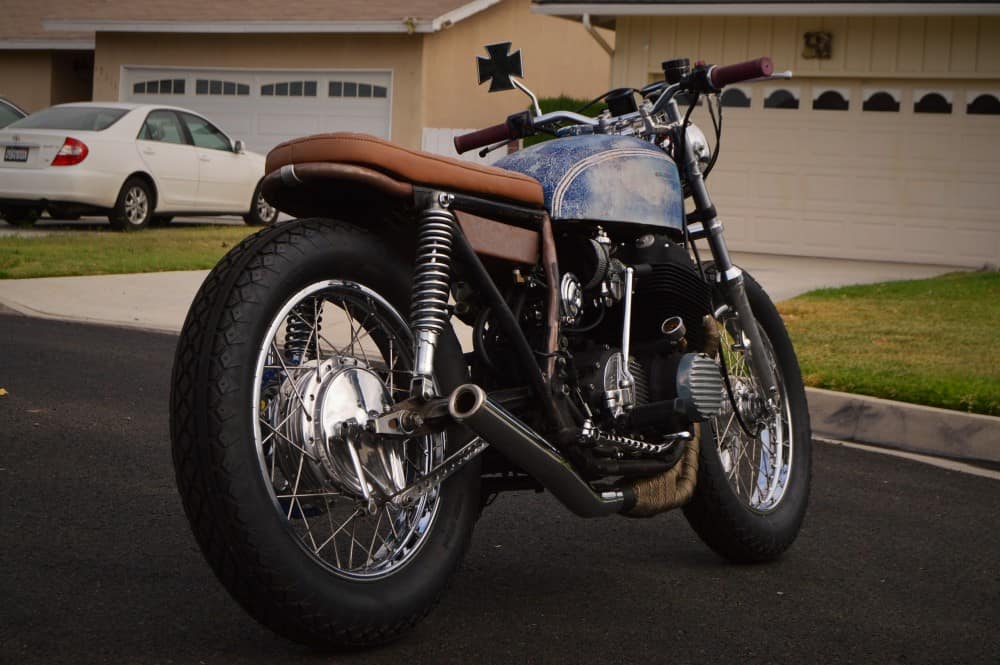
Way better now, I also added a Blue frame to go with the old 1970’s painted gas tank i found and think its a good combination for this creation, it is a tough machine for sure.
The Brat sits well and with the Custom Oil tank that I now offer on the website, it runs well and uncluttered like man I see.

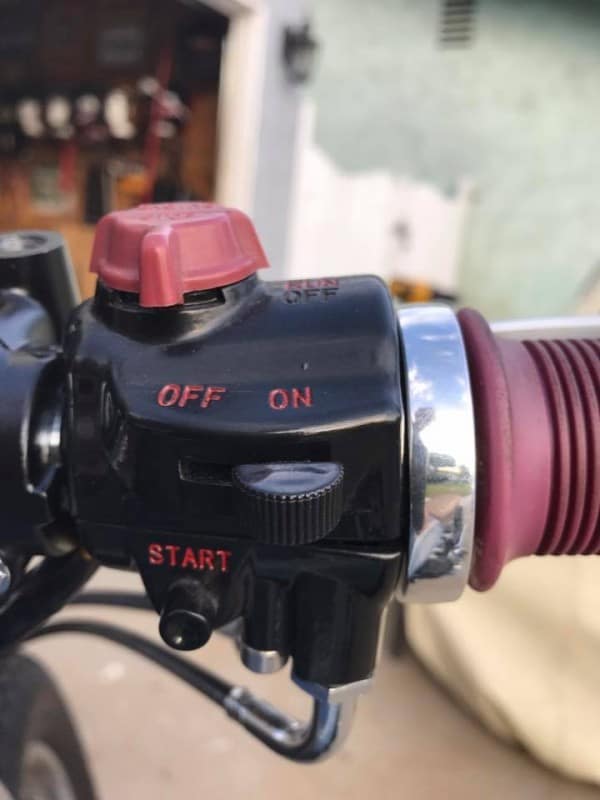
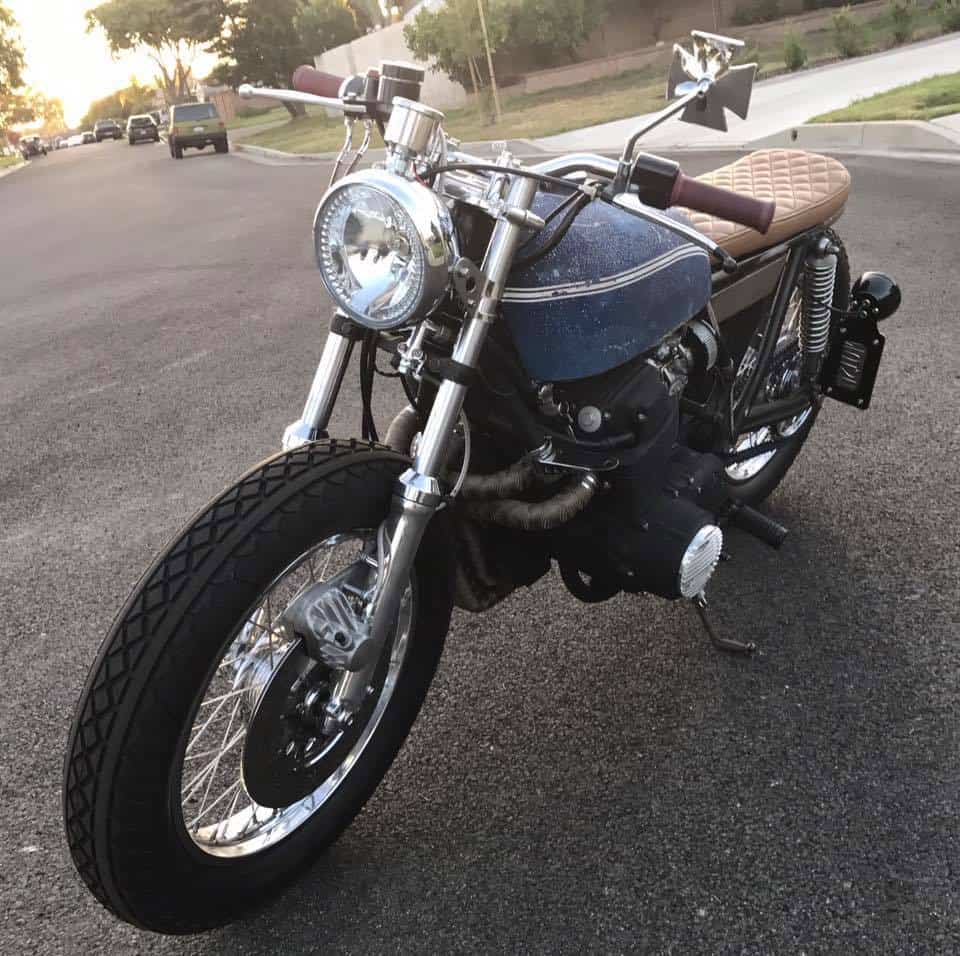
Added some NEW Handle Bar switches to make sure that all works well and stays like that, no faded grey crap like you see on so many on the internet these days.
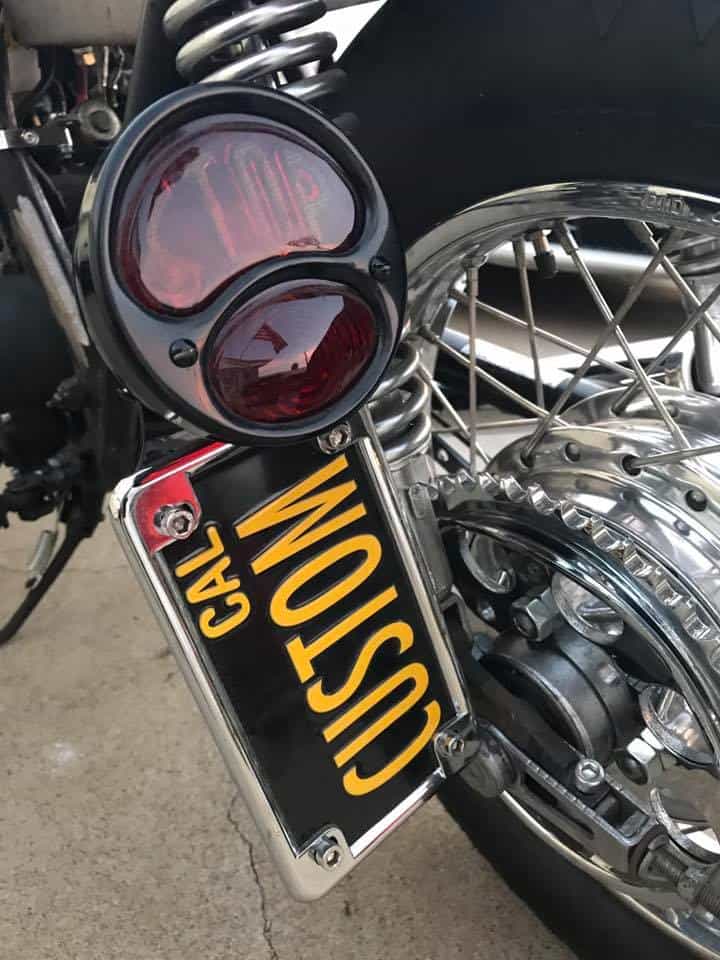
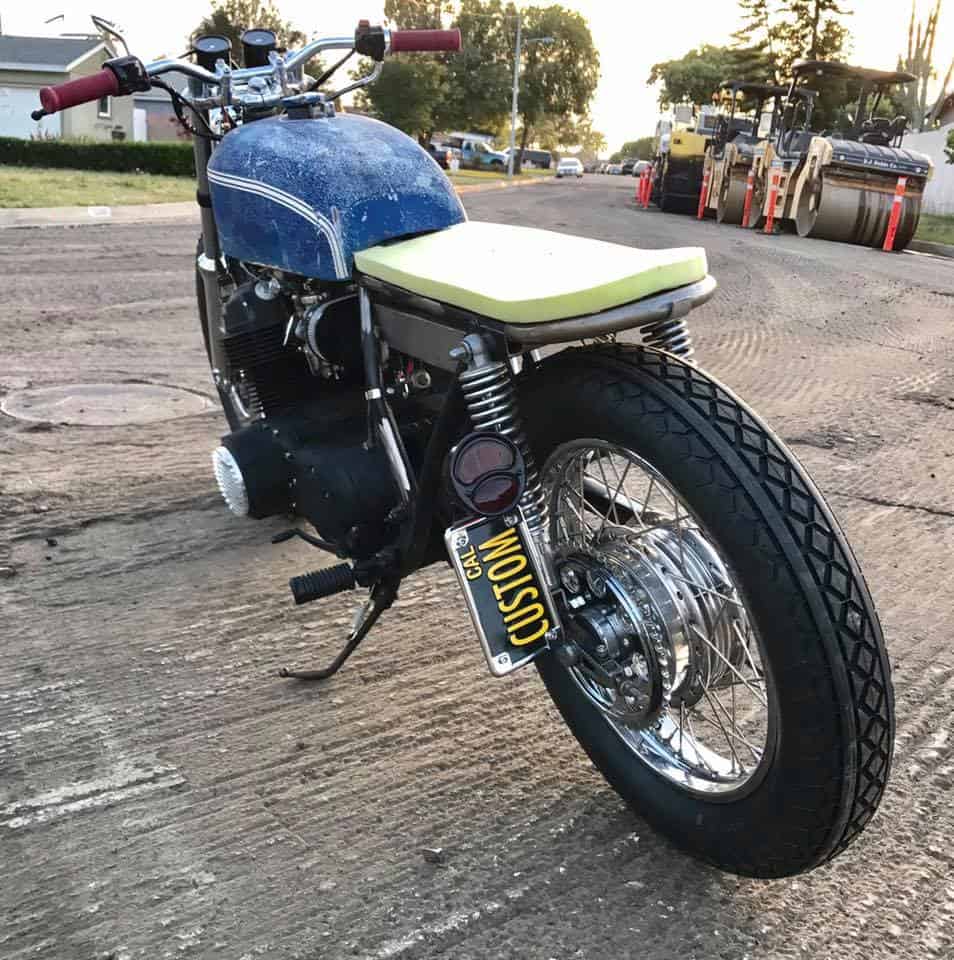
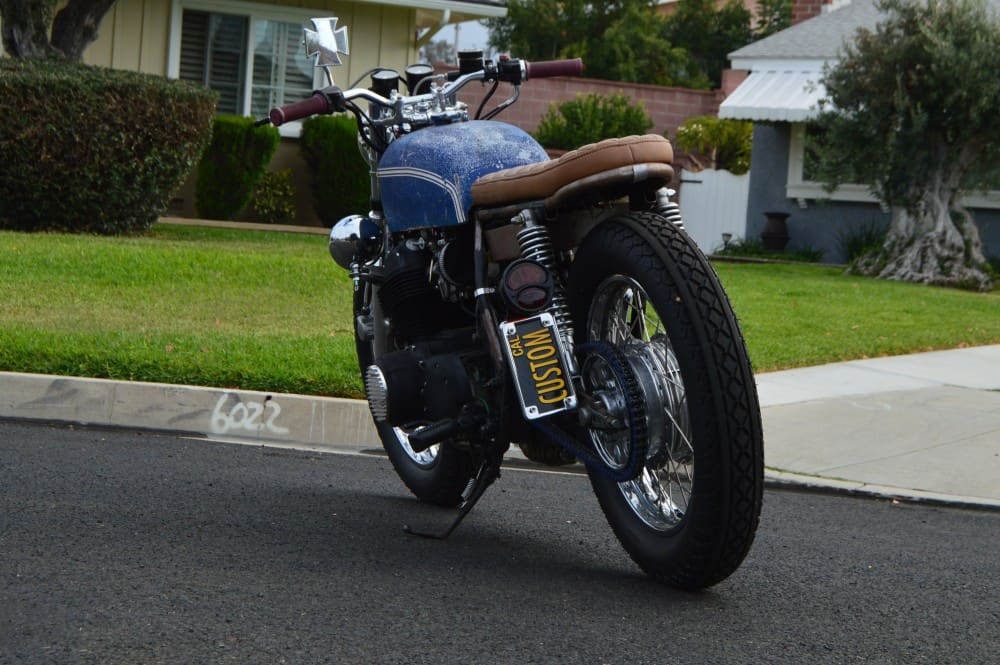
My Custom made license plate frame with Hot Rod stop tail light assembly looks great and another thing I produce and sell on the website.

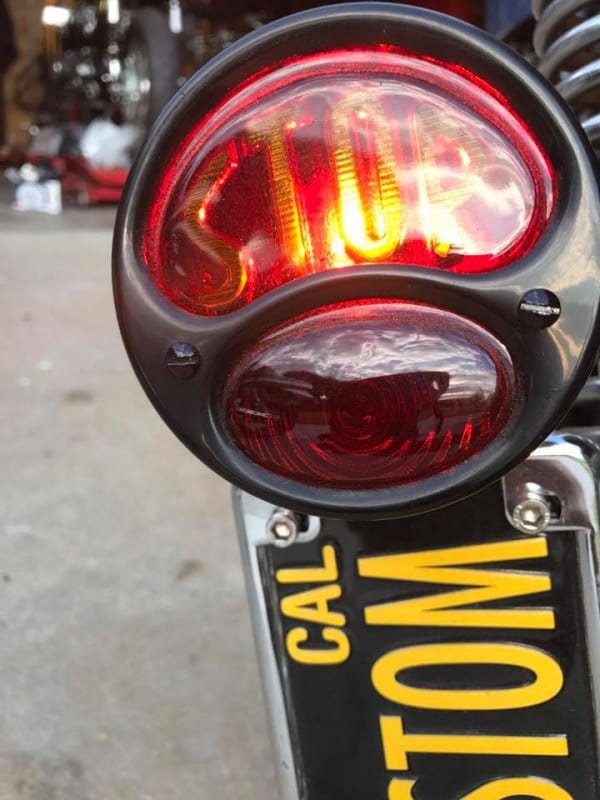
Tail light tells you when you need to stop too, neat eh?
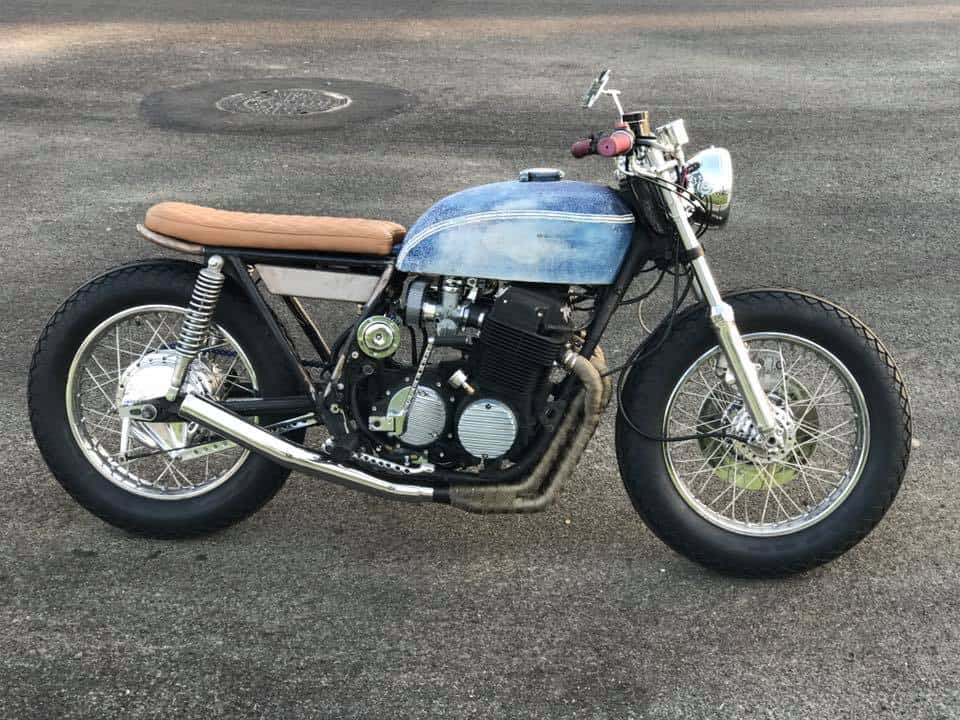
This bike runs hard and strong and was so good to see it back up and running again, after years and years of neglect, if she had a face she would be smiling, that I am certain of.
The Bike also has my Own Handlebars that I designed and had mandrel bent and chromed, and gives that bike that Period look of the day, it sits well and rides so comfortably too.
A strong machine and this has already been sold to a customer and is now residing in Canada, my fruits of labor paid off and the new owner is super stoked to get this bike from me.
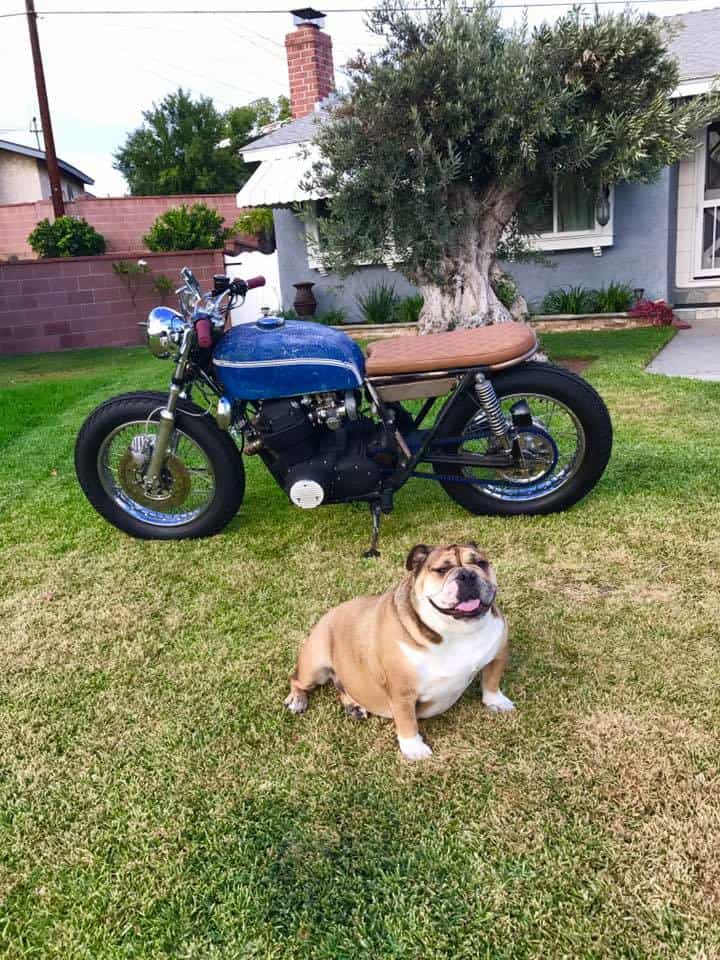
My Bulldog Bailey standing guard as I get some snaps, before it heads of to Maple Country.
Hope you liked this little resurrection? I sure had fun creating this Motorcycle and Glad somebody is enjoying it right now.
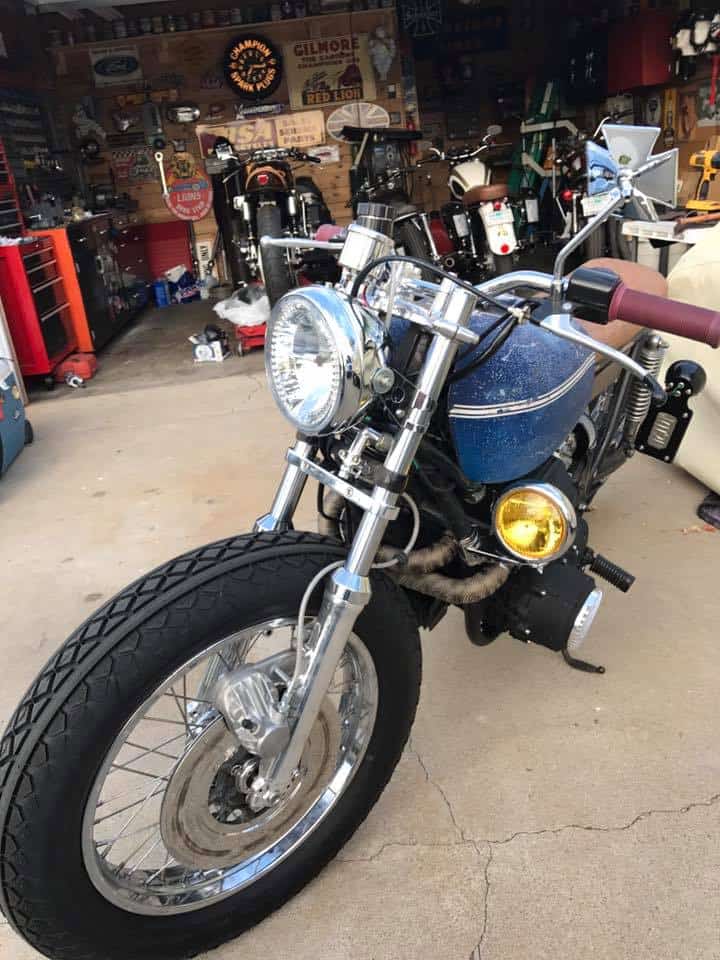
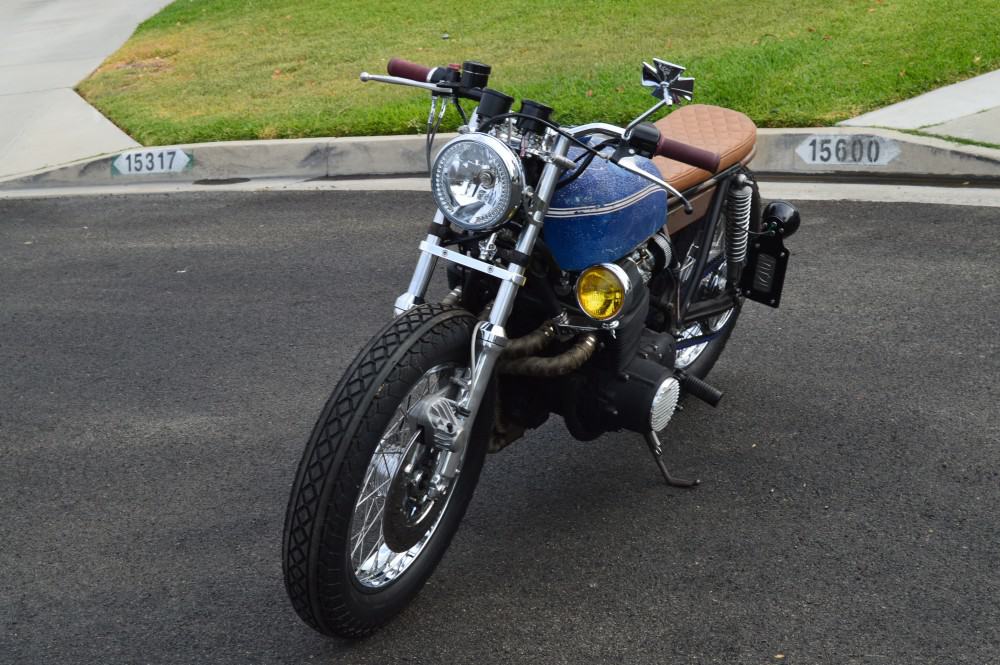
Added a Fog light for that European look and something the New owner is going to need up there in Canada, so just another cool touch to show this motorcycle Bratster off a little more.
A tough little Machine with plenty of swag, and I am sure that it will get many looks in the warmer months.

Big transformation and I did more work than I thought I would do and sold it way too cheaply but hey, its all fun at the end of the day and I enjoyed creating this bike.
If you want a Motorcycle created, or just parts etc, drop me a line carpy@carpyscaferacers.com I am always glad to help or just advise, and you can also call or text me with questions on 714-598-8392 and I will do my very best at helping you with your own creation.
Thanks for reading my Blog on building this machine , and many others I have created and still continue to.
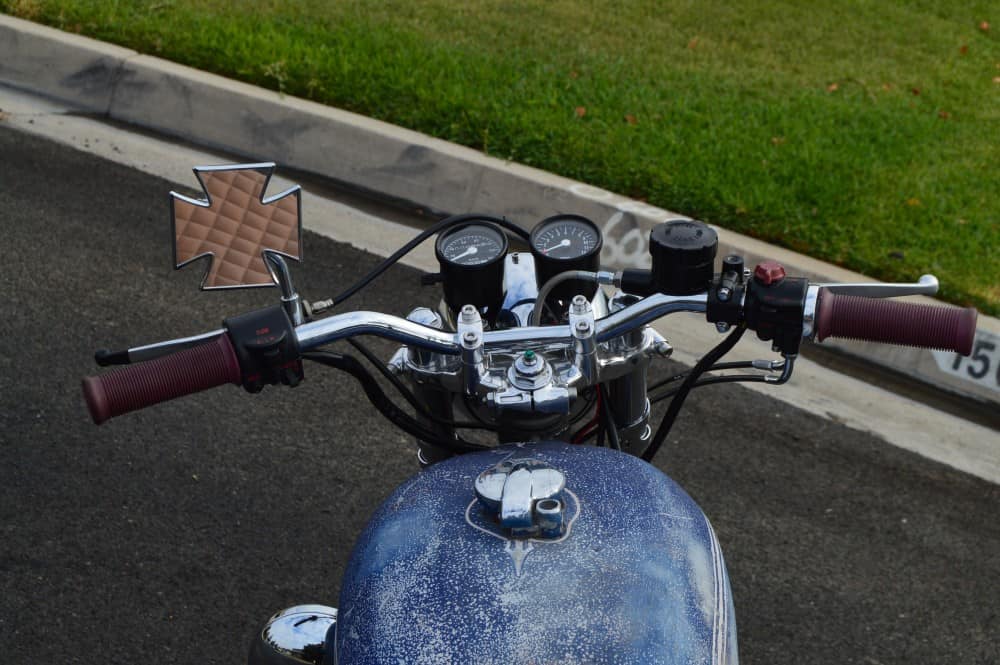
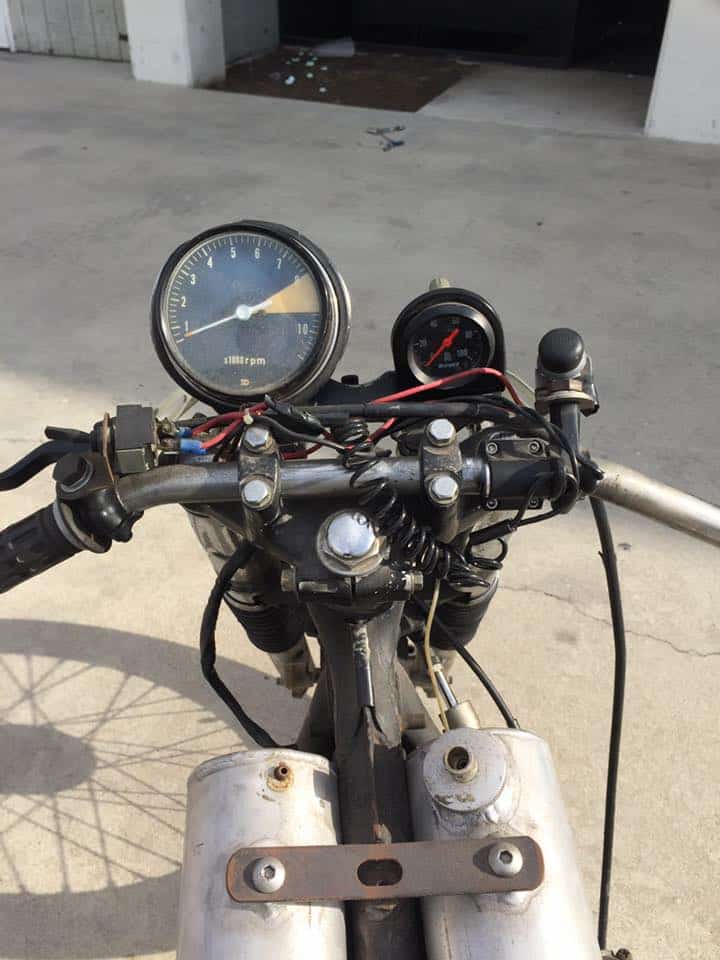
I fitted 2.5 Analog gauges and also made a Neutral light that is fitted into the steering stem nut, plus New master cylinder, New levers cables and Grips.
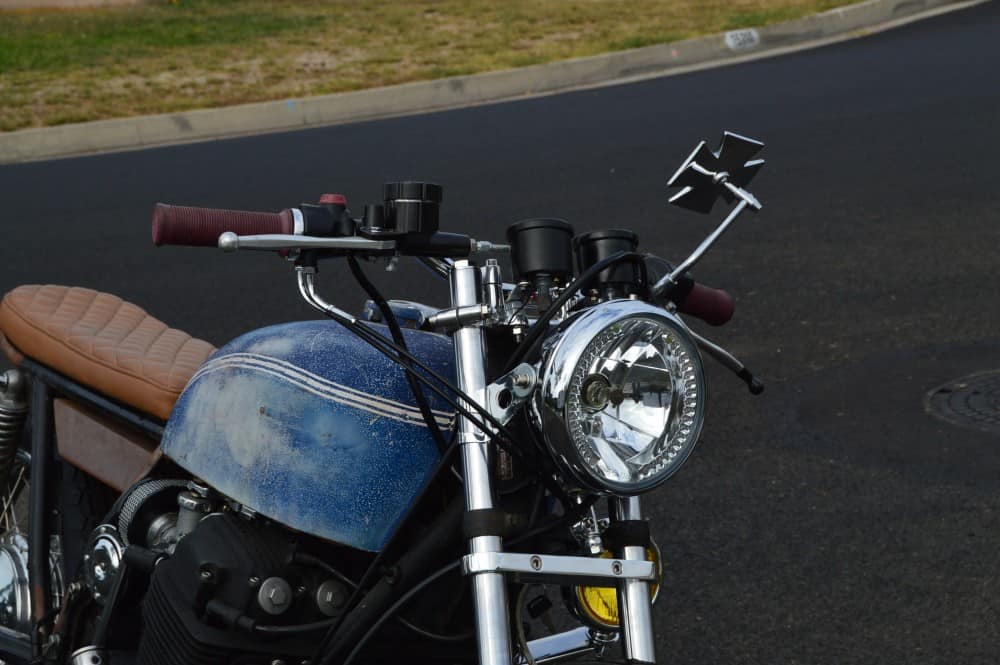
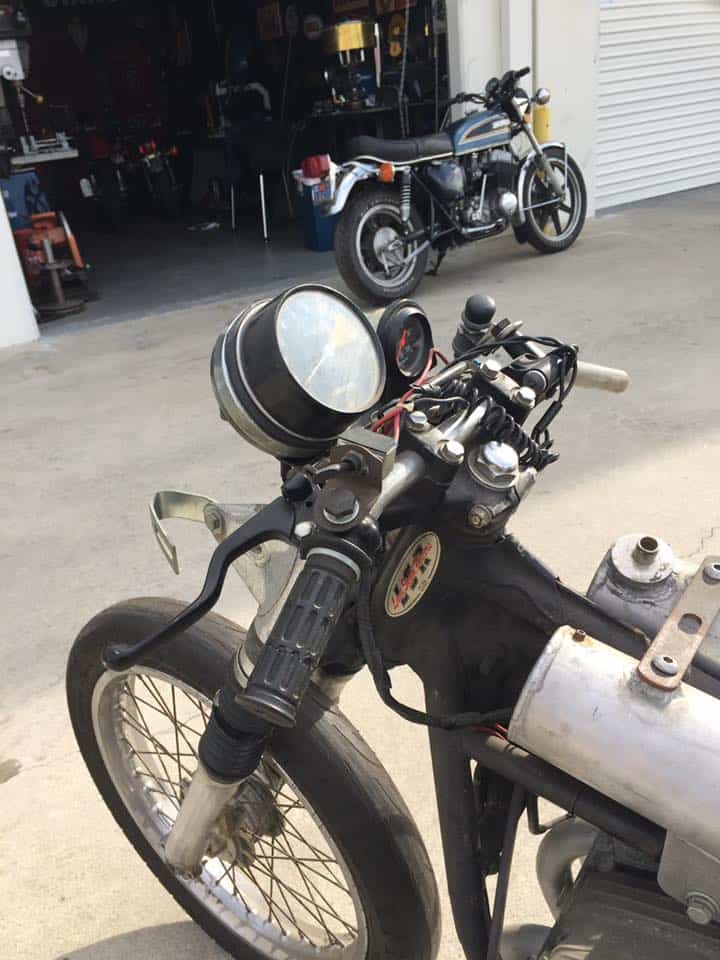
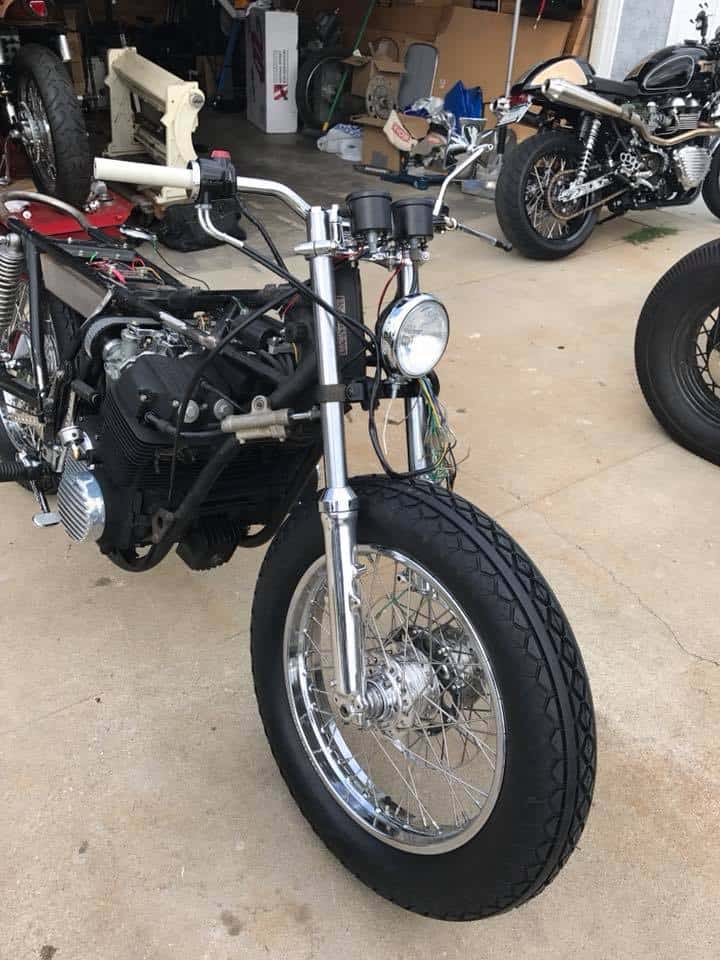
Another thing I did was add my headlight ears that I sell on here as well as the cool headlight with the internal LED Turn Signals, as that cleans the front end up, I fitted my Fork Brace too to stiffen the frnt end as I removed the fender, many dont do this and have floppy forks.
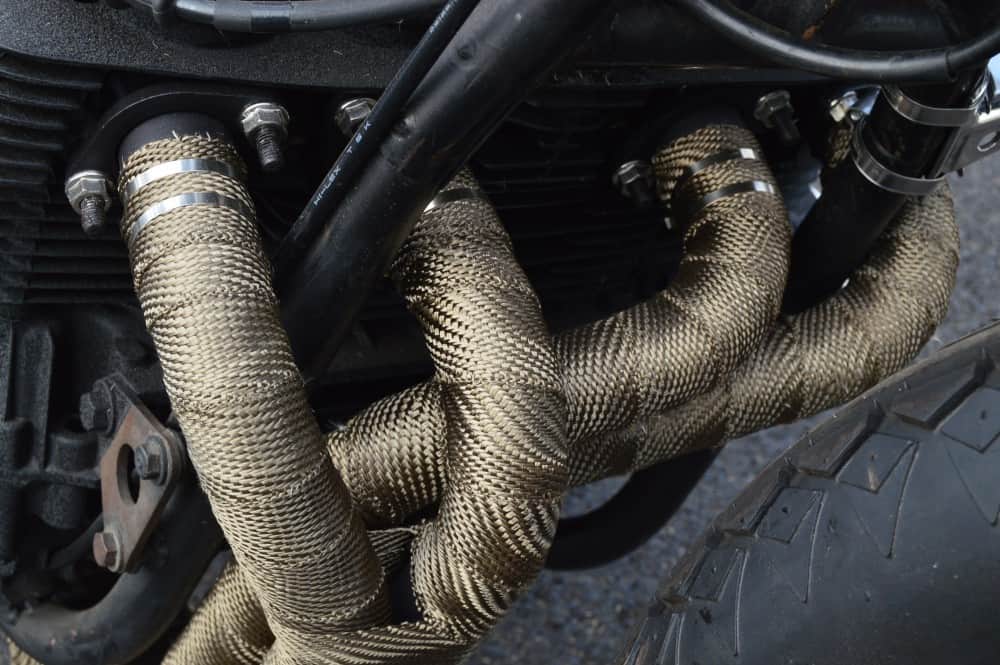
The heat Wrap I now sell on the website too, in Black or Tan, both look great and clean up your old headers to revamp them, 50 feet is enough for your headers and I used two inch wrap.
Thanks again and another Build leaves my place and I am now looking at another creation, appreciate all the cool comments whilst i was building this, have a great week.