Re-Creating My Vesco HONDA CB750 Brat bike for the OG show in March

I am not and never have been a fan of dead lines, but right now I do have one in hand, March 23rd, thats when the OG show Custom Show is on and somehow I have to strip the Brat bike I built and hopefully finish it in time for the show. No easy task when you consider that I have other jobs to do and of course, I have to tear the bike down to the bare frame and then make a start all over again.
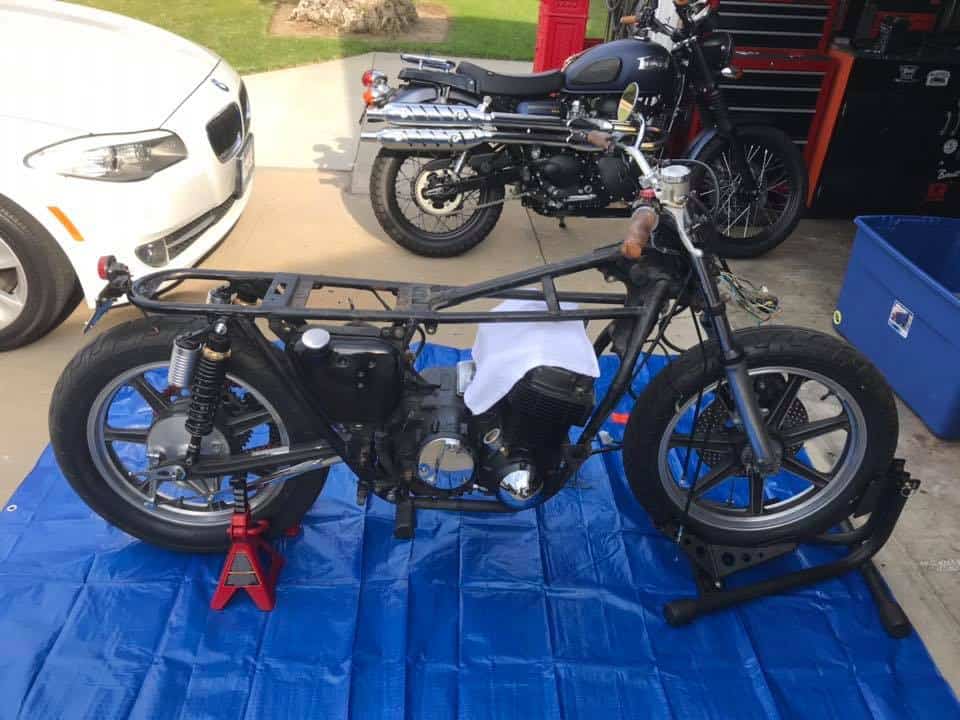
So, the bike is ready to begin the strip, the bike will have a few tricks to the frame as I shall first remove the upper rails and then add my Custom Removable adapter kit to the top, this makes removing the engine so simple or just the cylinder head if you want to work on the bike with the motor still in between the chassis rails.
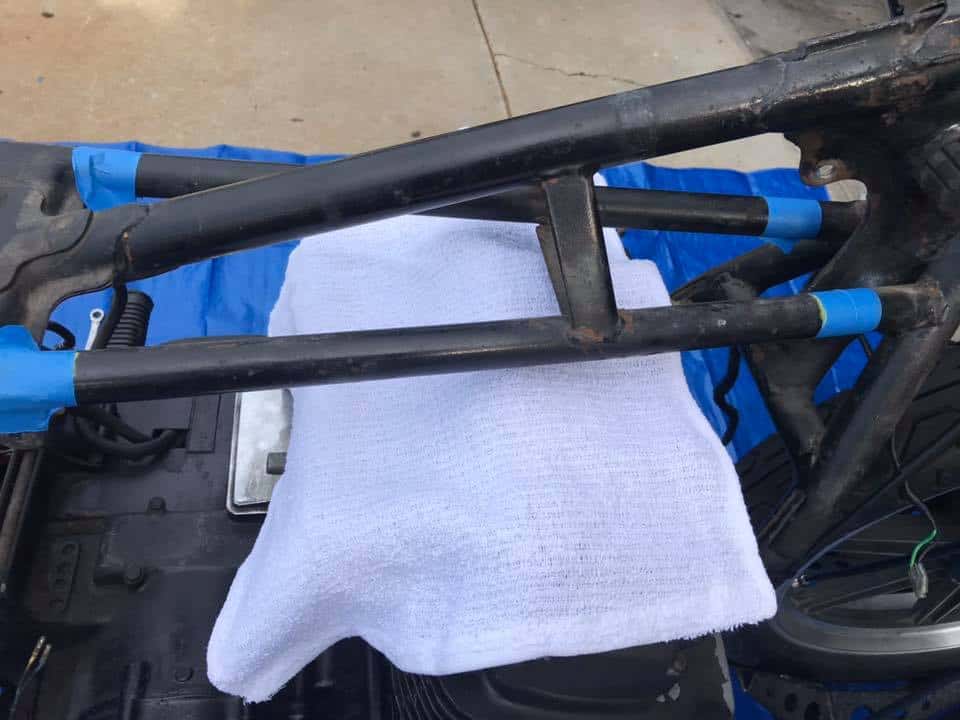
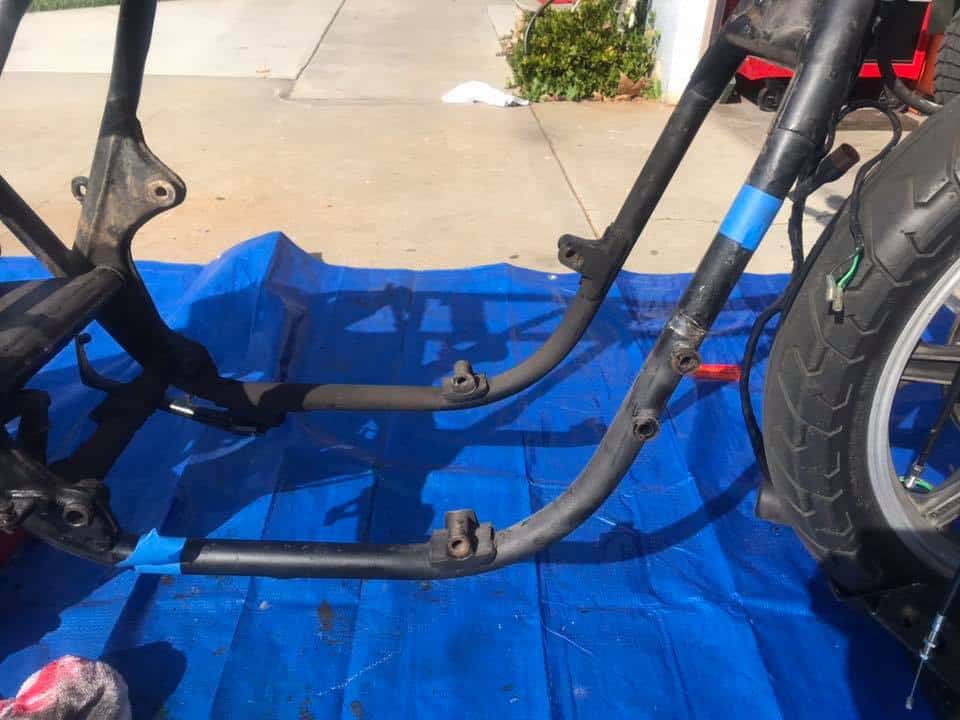
As you can see, I have used painters tape to mark where I want to make a cut in the frame to remove the rails, I use a sawzall for this job and will be using my steel inserts to replace what I am taking out of this 500 pound Honda CB750K machine.
As you can see I am making the first cut, when the kit is back in place, the integrity of the chassis will not be compromised, it will be rigid as hell, done many like this and of course YOSHIMURA did this to many race bikes and sold a Kit back in the day.
Once this is out, I shall clean the frame up using an air grinder with a Fiber wheel, this will clean the area up and then I can start to make the replacement frame.

As you can see, the inline Four Motor is ready to come out, and at 230 pounds, I want to lift this as quick as I can and not have to go too high, I have always used a storage moving Dolly to rest the motor on or put it on a milk crate as they are the same size, but Milk crates are getting hard to find these days, so a Dolly it is.
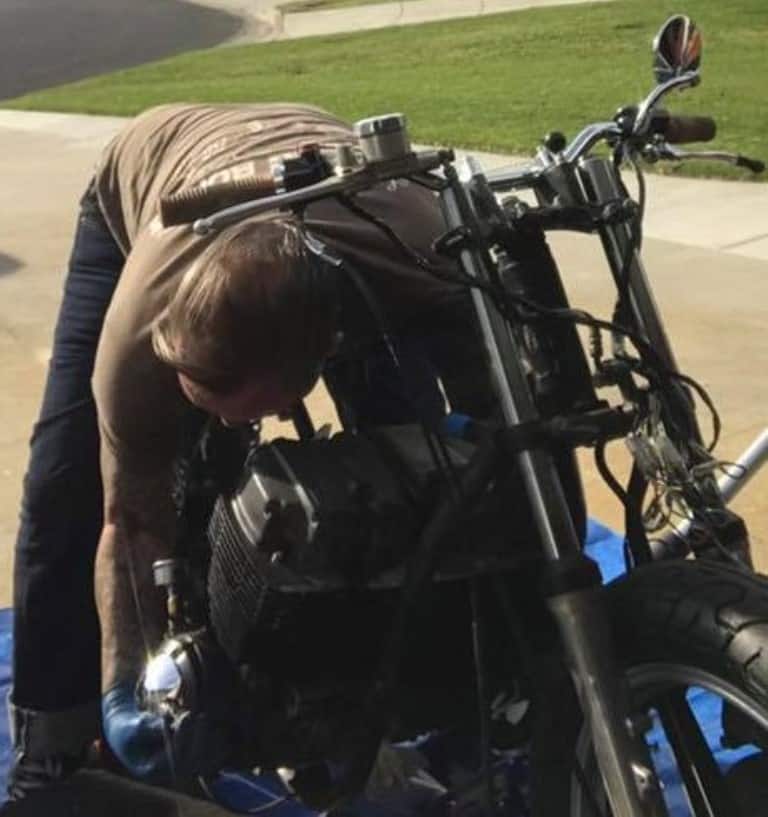
So, I straddle the bike and then with one quick lift, the motor pops up and I rest it on the frame, then walk to the right and plop it on the dolly and its out as easy as that.
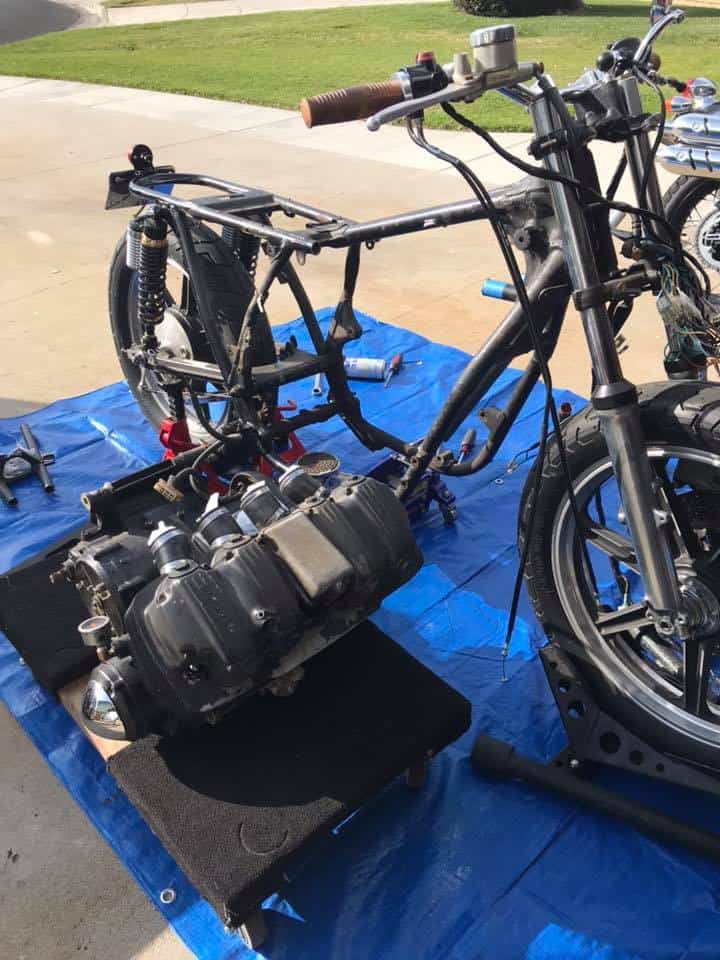
So, the inline four mill is now out of the bike and I can push the engine into the garage where I shall work on that later, we have storms and rain forecast tomorrow for 4-5 days, so need to get this done and the frame to be stripped bare by the end of the day.
Right, now I can see what I have to work with as I plan and making the top kit first and thought I would share this as many people have purchased my kit and are happy how it works out for them and, saves them so much time when they need to remove the cylinder head or complete Motor.
Below is a little Video I took with my phone, you may have to hit the x on the lower right to hear what I am saying but explains what I am about to do to the bike.
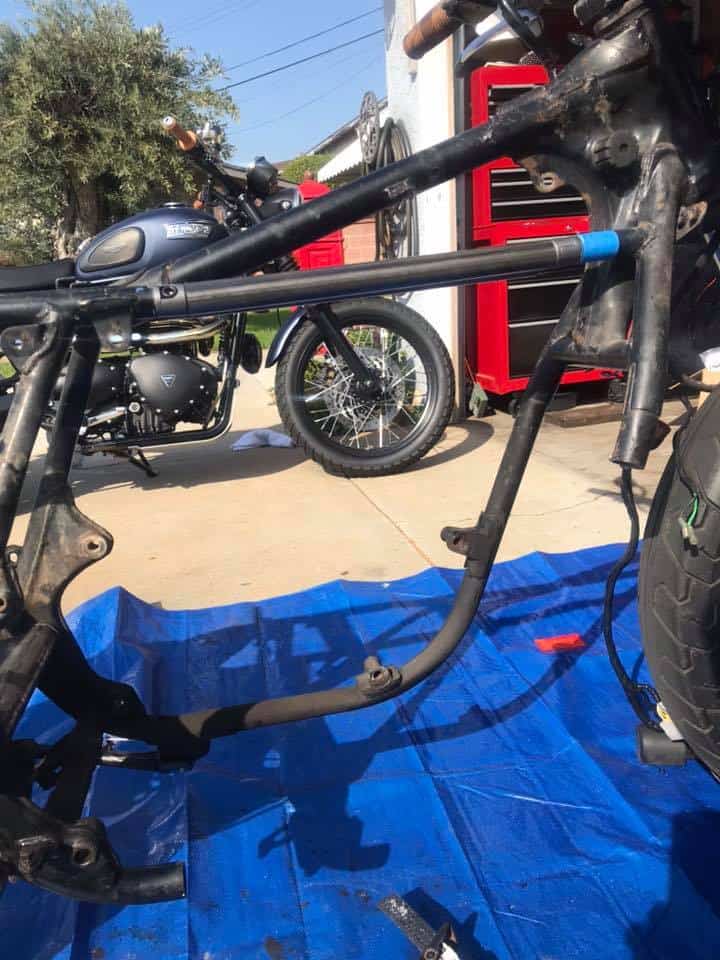
Hopefully you could hear me mumbling about what I was doing and hit the enlarge button too if you want, look blow and you will see I have fitted the top rail kit and will weld it in tomorrow.
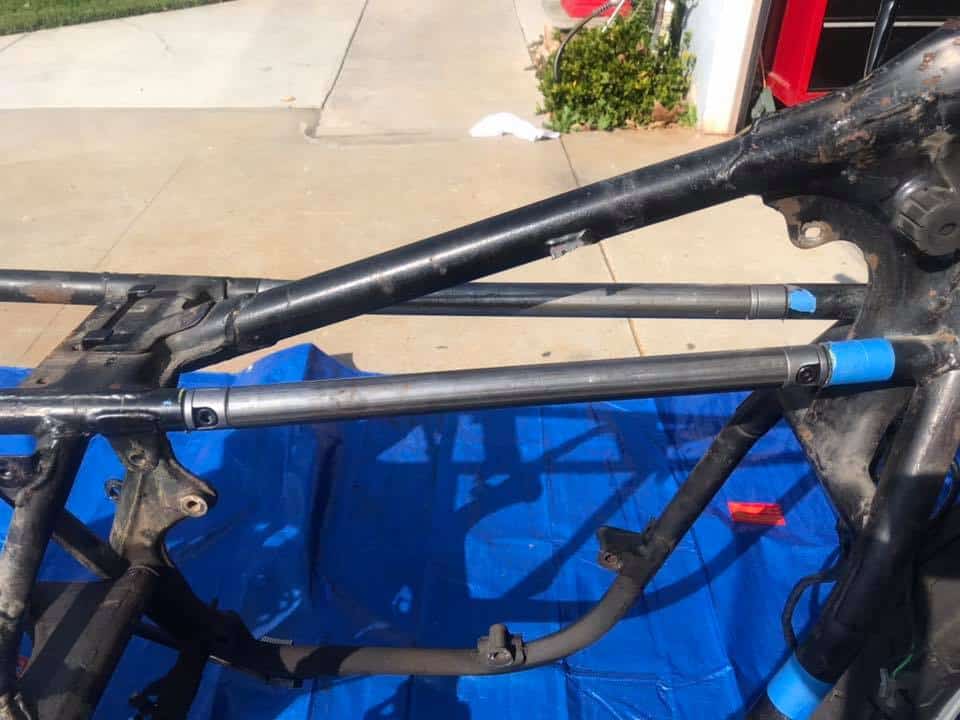
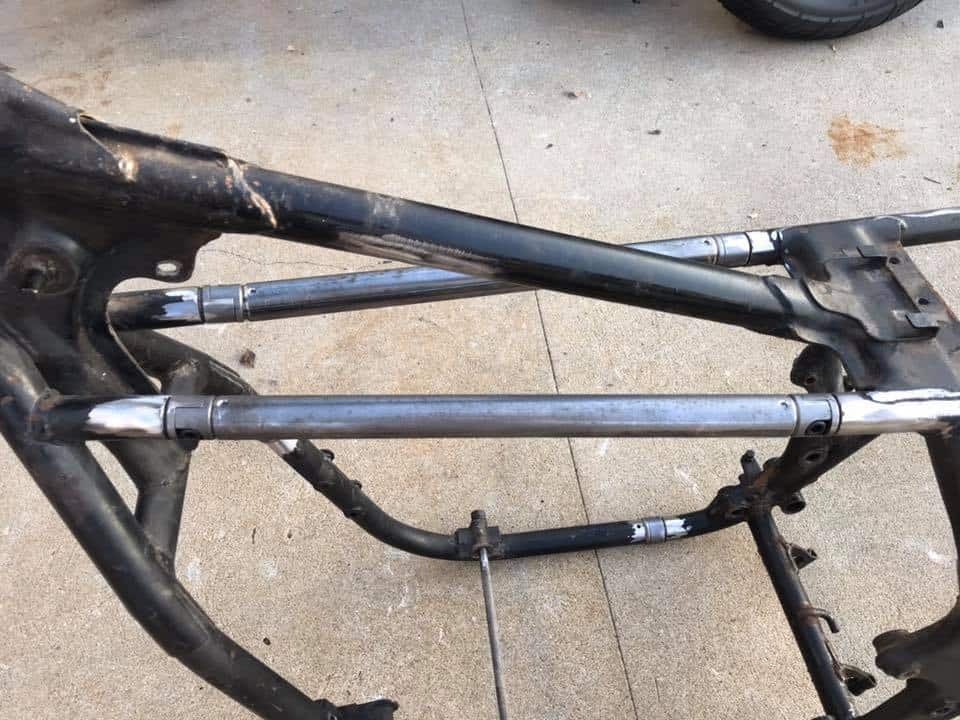
Below- I have now taped the area off here I need to make my next too cuts, as on this Custom build a I really want to be able to fit the engine easier without scratching the Metalflake paint that will be on the frame, this will be a very cool set up and the chassis will be strong as ever.
You can see the tape edges and that indicates where I will cut the side rail, this is something I have wanted to attempt for the longest of time and now is the time to do it.
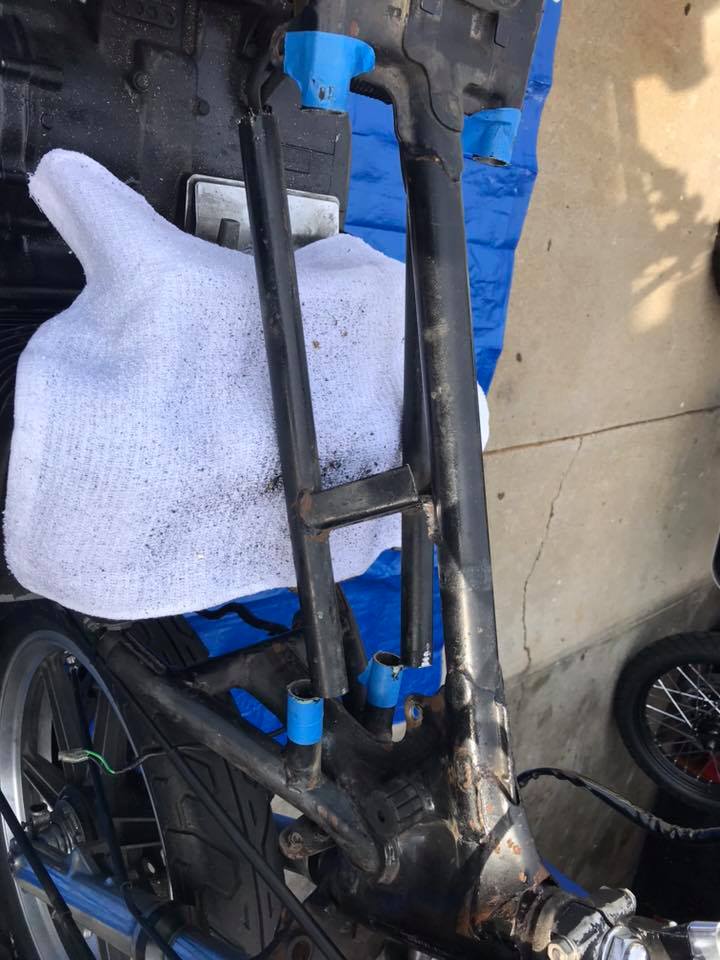
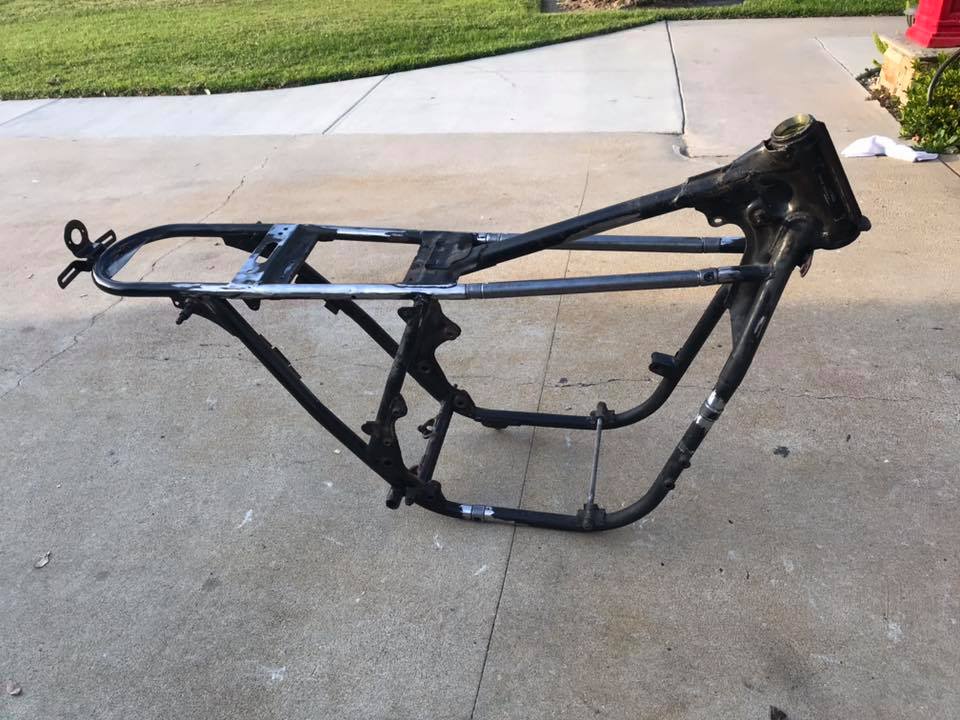
Well, it is done now and there you go, I shall weld in the bungs tomorrow but have to make sure all fits will and make any adjustments before I completely strip the frame.
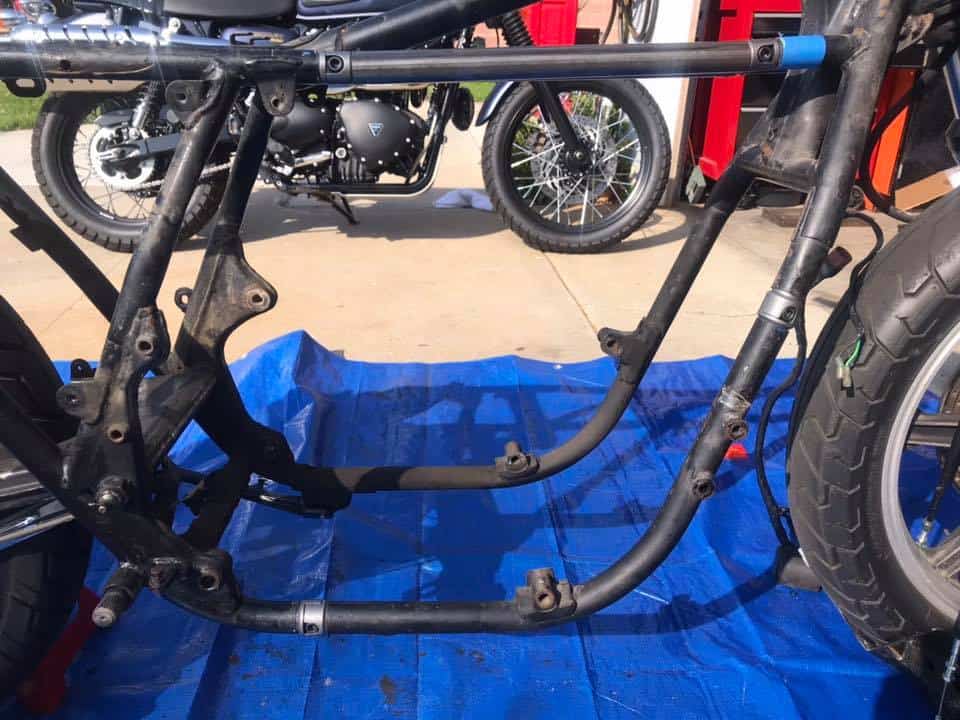
If you look closely you will see what I have done, once its welded and then the frame painted it sire will look pretty trick and make refitting the Motor so much more easier.

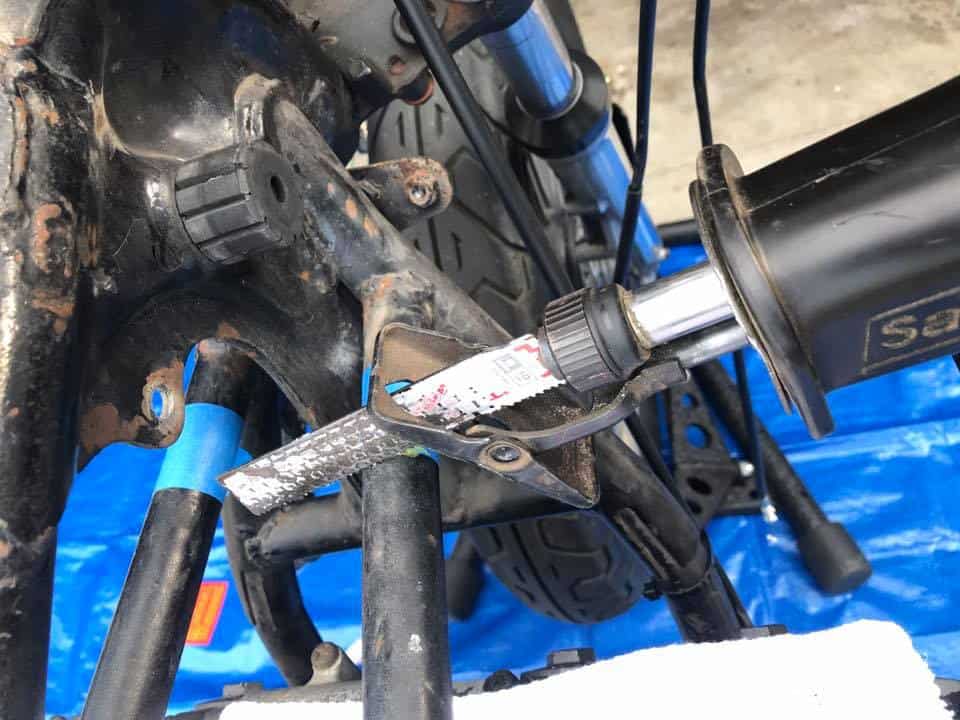
Make sure that you leave enough room for a strong bead of weld to secure the bungs and keep the frame rigid, but also make sure that you allow for any shrinkage.
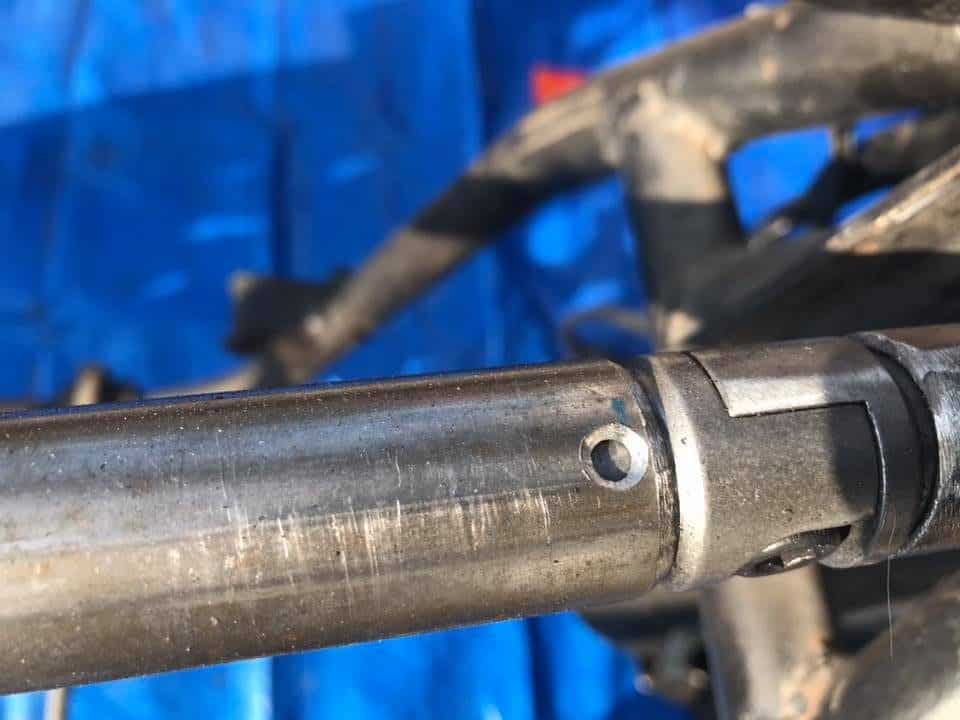
Also, make sure that you Vee Groove a nice valley for a stronger weld, I also drill a hold halfway though in a couple of places, just for extra spot weld strength.

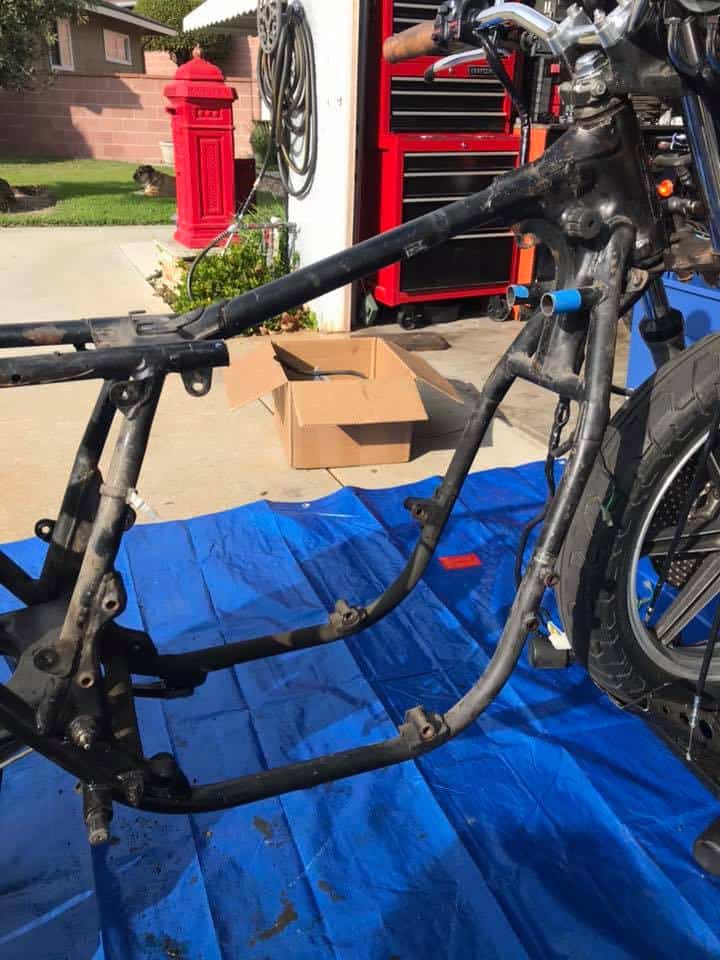
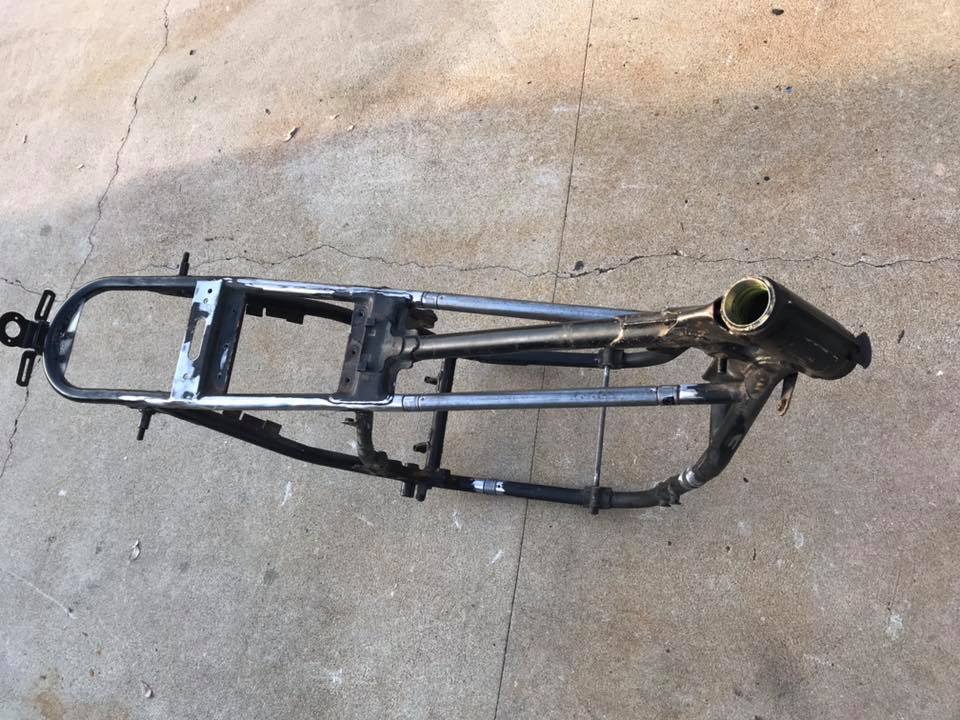
Here is the frame now that the adapters have been test fitted and I am happy about the way they look, not many would even notice until they see the inserts.
So Tomorrow and the next will be welding day, this old Honda frame has holes all over the place, so a good time to address them issues and make sure all is good.
I fitted some Tapered Races in the neck for smoother steering and looking forward to stripping all the old paint off this old girl and get into some fresh color that will turn heads.
Thanks for following what I am doing, I have a long way to go and hope that I can make such a short deadline, but appreciate all the emails of encouragement from you, it is going to be a great looking Custom when completed thats for certain, and already has quite a following.