How to remove Piston from front Caliper on CB750K
Hey Gang
Many people email or phone and ask me all sorts of questions, I shall blog this today, then add it to the tips page, as I am sure that this will help some of you out?
But Many CB750 Honda’s that you have picked up, have been found, non running and sat in a yard, a barn or even in a field for bloody years and when you try and move the dang thing, the front end refuses to budge, so you whack the caliper with a hammer, brick or kick it, and the bike will move, albeit stubbornly.
OK, the main problem is that the bike has sat for such a long time and it is open to the elements etc, the brake fluid soon turns to gel and blocks the master cylinder and some of it gums around the piston in the brake caliper itself.
Other factors to weigh in too is, as the elements can be brutally harsh and extreme at time, then what happens is the heat and the cold will make the steel piston sweat and then cndensate etc.
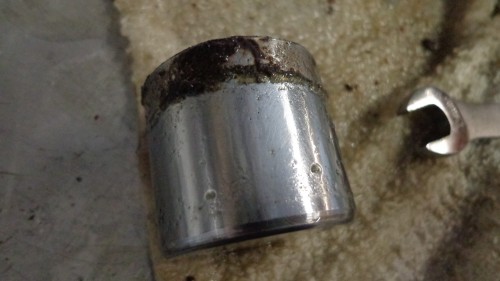
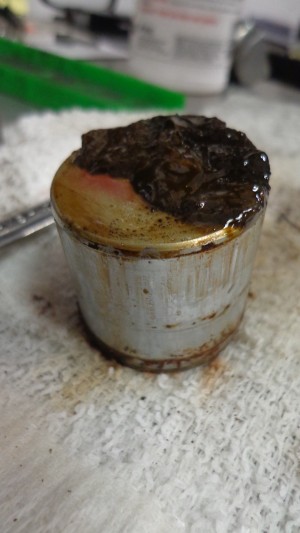
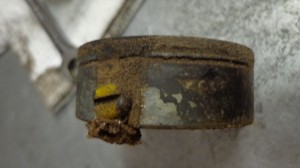
Thus causing rust spots or even a rust ring around the piston, the body of the caliper is made of Aluminum and that wont rust but will oxidize a bit, and mix all that together and of course, the piston cannot retract when you press the brake etc as the Pitts of rust are touch the rubber O-Ring seal and gets jammed.
Right, to move a bike I sometimes take a big Rubber mallet with me, so that way if the brake is stuck, a good belt on the center of the Caliper will usually free up the piston enough, for you to get the wheel to move and load it up and take it home.
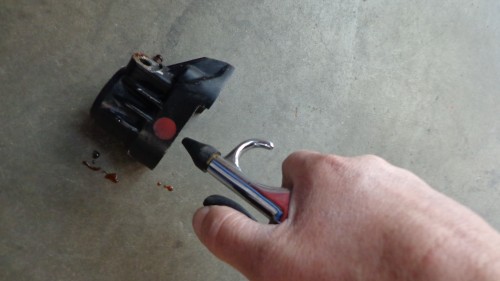
Now, you can use an air line to try and blow the piston out, and that may work, but many times it will not.
Once home you think about what you have to do, and the best thing for me is to remove the brake caliper from the bracket on the forks.
I first undo the brake line as this can be a task and sometimes you may need to break the old steel line as the 10mm heads tend to round off after a couple of hard tugs on a wrench.
So pull the lines off and undo the bleed nipple.
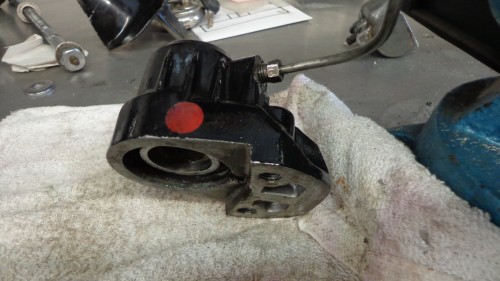
Then, Just using a Allen Wrench, I remove the 2 locating bolts and the Caliper will in fact fall into two pieces, so once that is done you are ready to get this puled apart inside.
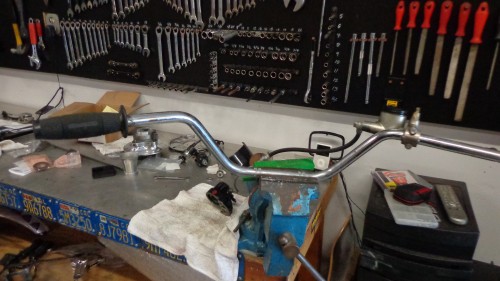
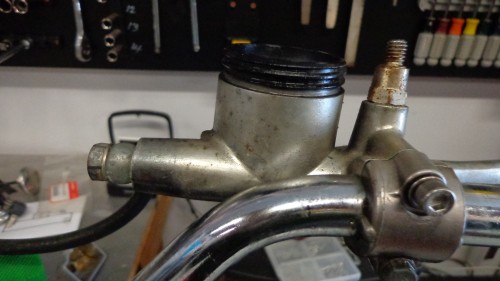
Now you have the Caliper and a messy table, but now ready to start work and what I do is fit an old set of handlebars in the vice, and then I fit a working master cylinder and brake line, I then hook this up to the brake caliper and using a new bleed nipple I actually bleed the brake line, so there are no air bubbles and then once she is all set, I lock the bleed nipple up and fill the reservoir on the master cylinder.
Slowly, press the brake lever and you will see that the brake pad will start to move, as there is so much pressure coming down that line that at times i have tried a air line and no luck, but the stock master cylinder will actually push about 2 tonnes of pressure out.
You WILL see the brake pad move then pop out, and after that, you will check the reservoir to see if there is enough fluid in there as you don’t want to be sucking in air.
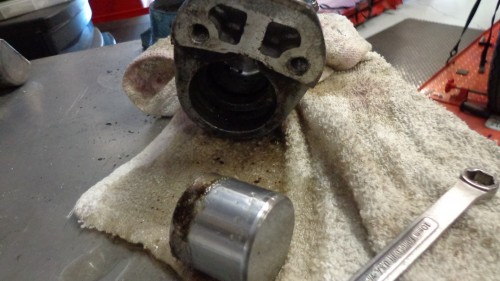
Then, you will feel the pressure in the brake lever and will notice the piston starting to move, now, I lay the brake caliper on a work surface and cover that with a few old rags etc, as the piston will POP out but you will also get a large amount of fluid following the piston and the rags will soak that mess up.
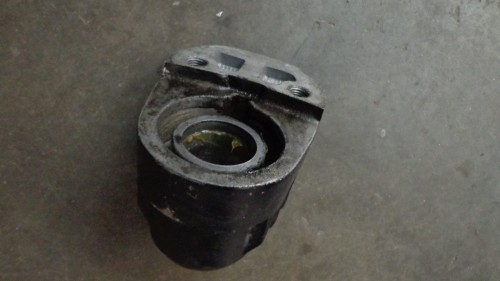
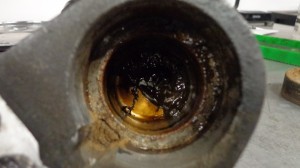
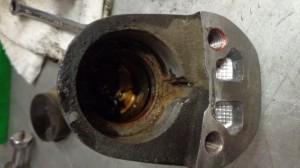
You will also notice that the piston will not only have rust Pitts on it, but there will be a real mess behind that piston and inside the cylinder wall will be coated with all sorts of grunge.
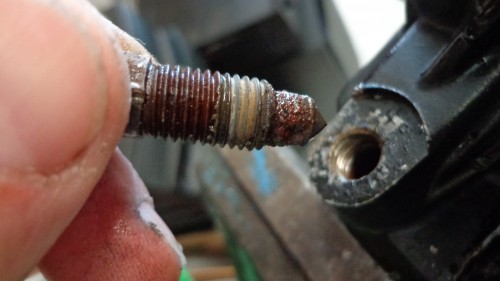
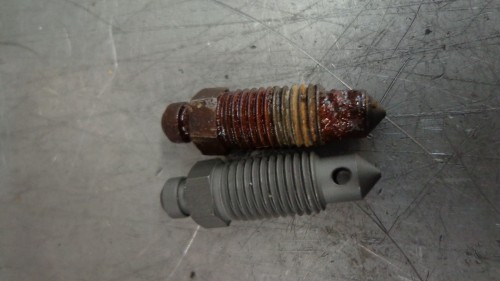
I always replace the bleeder nipple too as usually the old one will be quite rusted and the bleed hole will be blocked and not function.
You will get plenty of old fluid and new, going all over the place, so make sure that you have enough rags at hand as brake fluid will eat paint.
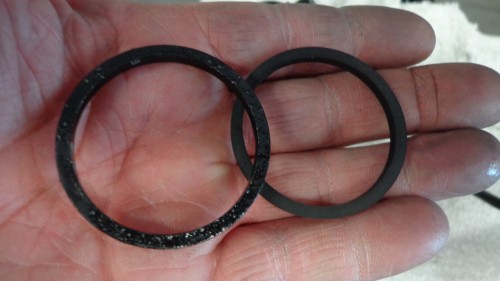
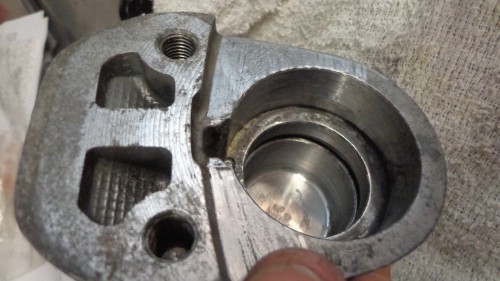
Now, what I do is is pull the old O-Ring out of the caliper body as I always replace with brand new O-Rings and then what I have to do is clean the inside of the caliper body up as it is covered in old fluid etc.
Now, you cannot use sand paper or anything abrasive in there, else the fluid will get past the piston and onto your brake pads.
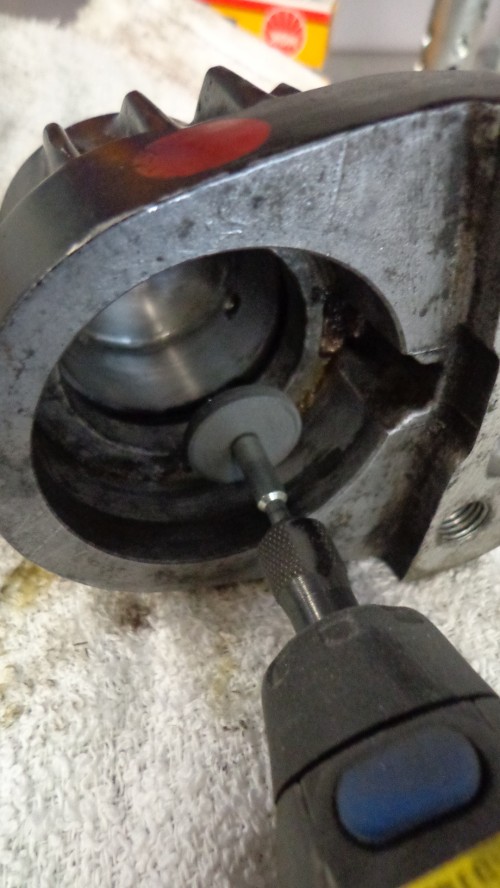
So, what I do is I clean the caliper with lacquer thinner from Home Depot, then I remove the O-Ring with a pick, and then what I do is basically hone the inside with a Rubber wheel in my dremel.
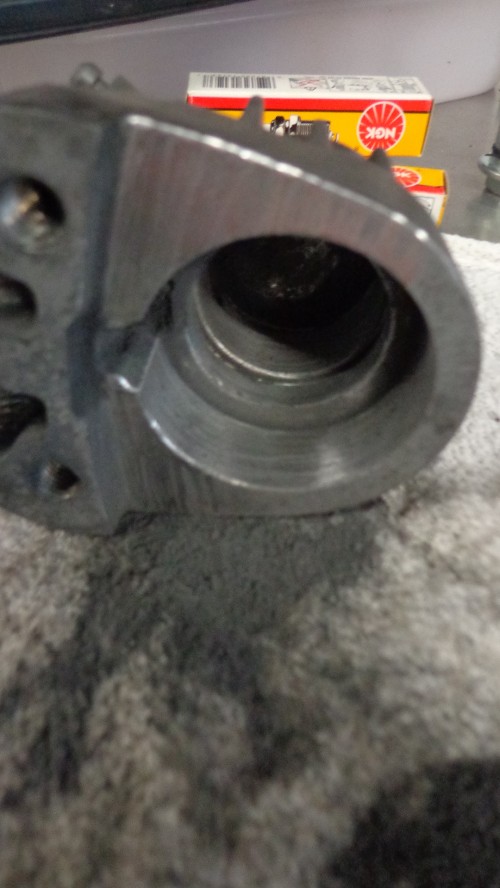
The Rubber wheel is enough to clean off any bad deposit’s of fluid and gel from old fluid and then it will polish the aluminum to a shiny finish, but not hurting the body at all.
But this will clean the inside so smooth, the piston will slide nicely and not catch anything.
I have just made a little video, so you can roughly see what I do, and that way you should be able to understand the process, I know- my accent is a little strange, but you become accustomed to it, I did.
So, hopefully this will help you out on your front brake issue?
I have done many like this and they are always messy inside from years of sitting doing nothing in all weathers.

