Weld in Gas Cap Bung Project

Howdy all
Well my task this week on the old Vesco Honda was to try and get rid of the ugly gas cap and spring lock that the stock Honda’s have, for a start, this one was corroded beyond any help and I had to literally force the bloody thing open if I need to get gas into the tank and then, I could not snap it shut.
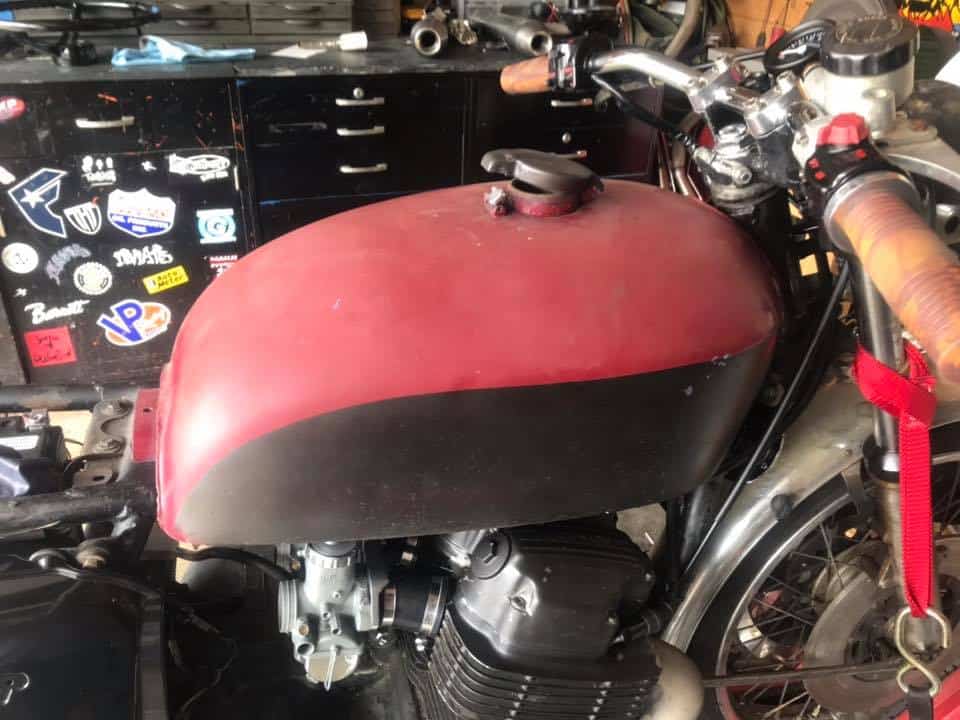
So I though I will go ahead and cut the old gas cap and neck off and use one of my own Weld in Bungs that I sell on my website, when in Rome right?

So, with gas tank in had, I placed it on an old old table and then proceeded to get the grinder with a cutting wheel on it, now, make sure that the gas is well and truly vacated that vessel, else you may be like one of Spacex Rockets and heading out of the ionosphere if you put any spark to it.
Lucky for me I had washed it out and aired it for some time, I still used an old BBQ Lighter on the end of a pole and lit it, just in case any fumes were lingering, usually you may get a pop, but nothing this time, so I knew I was good to start cutting away.

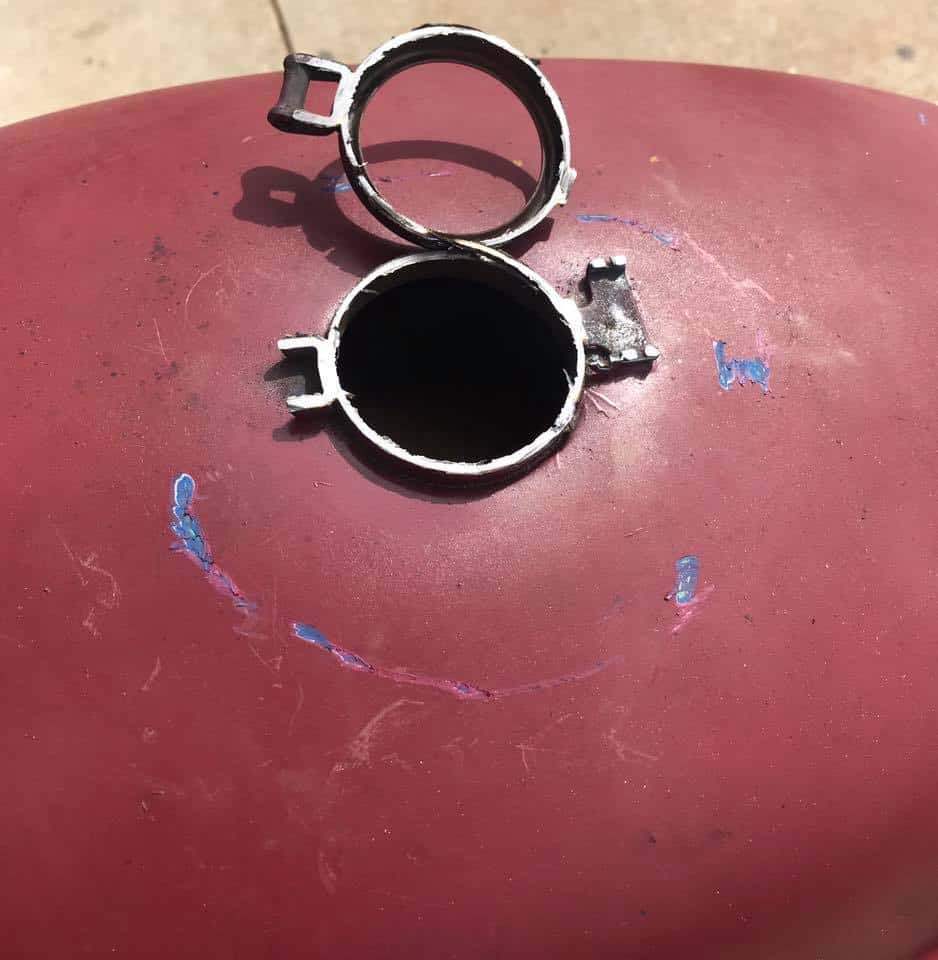
I removed the gas cap by simply using a metal dowel and tapping the holding pin out, the same as the clasp too, and now I am ready to bung on my Goggles and start the grinder up with a metal cutting disc inserted. many a spark I must admit but all good, just took my time and went in both sides and she came off pretty fast.
So – all that was left to do was to use a Flap wheel and grind the neck flat and any old paint must be removed to allow me to weld a bung in later.

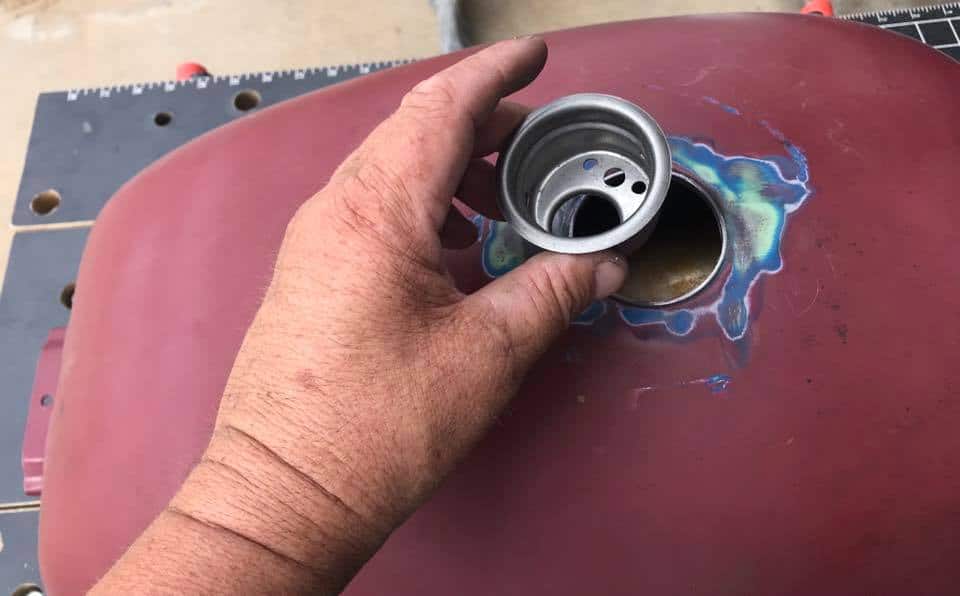
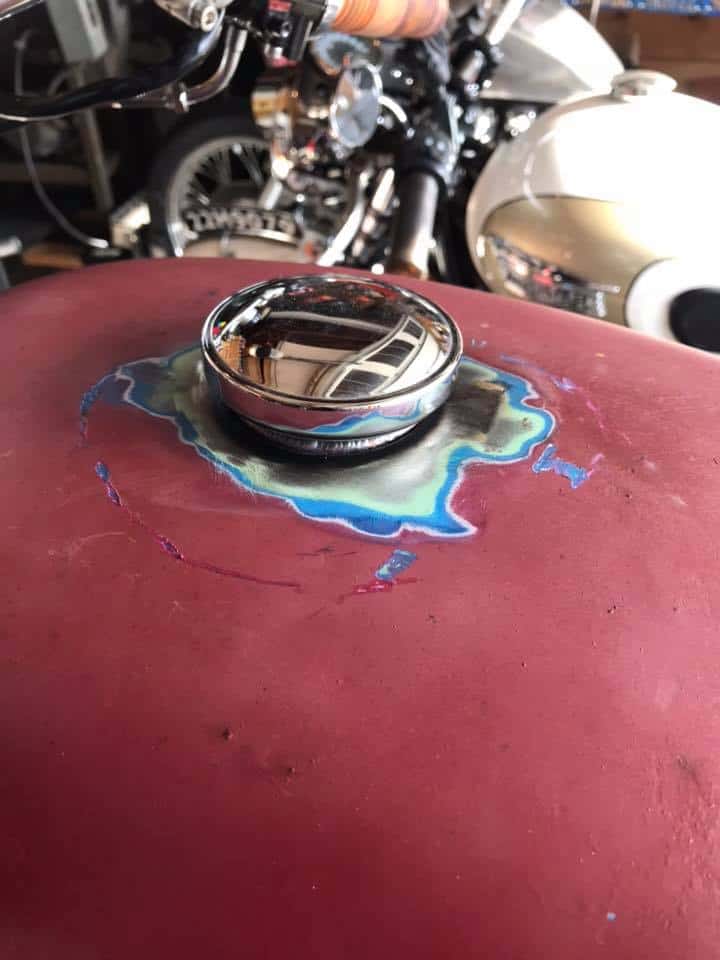
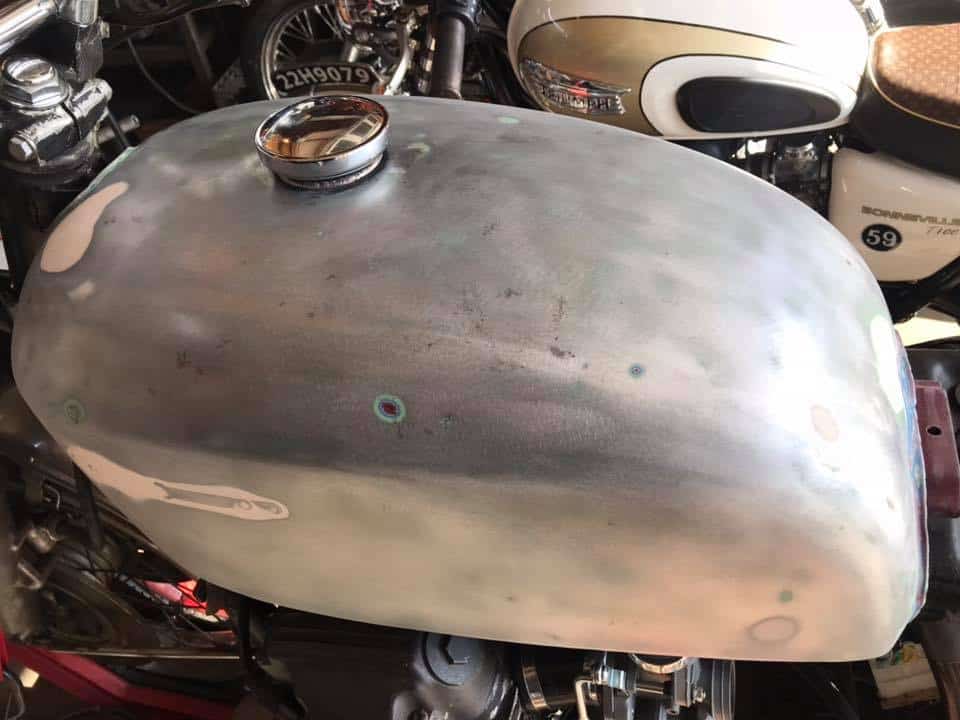
With that all cut off, I test fitted the bung and it was perfect, so stoked to get it to fit snug and now with a little more metal cleaning around the top of the tank, it was time to weld it up.
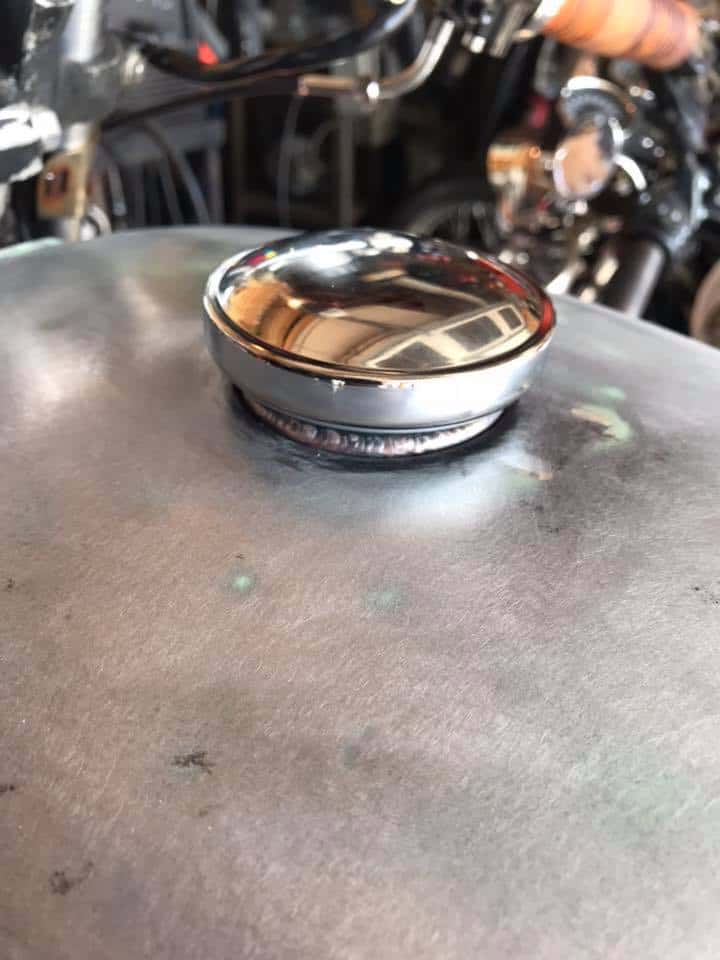
Then, using a Sincrowave 200 Tig Welder and Bronze rod, spot weld the bung into place, moving opposite to disperse heat evenly and not cause any warping etc.

Once spot welded it is then welded slowly and bit by bit until the whole edge of the bung has been covered and is uniform, that is now done and looks so good to how the stock one was.
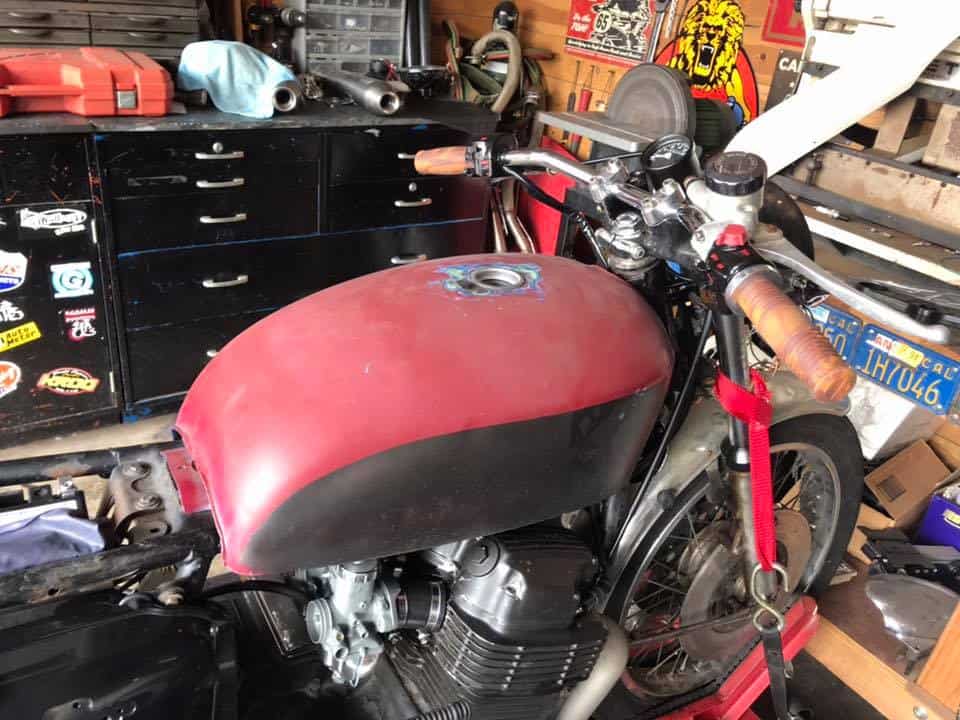
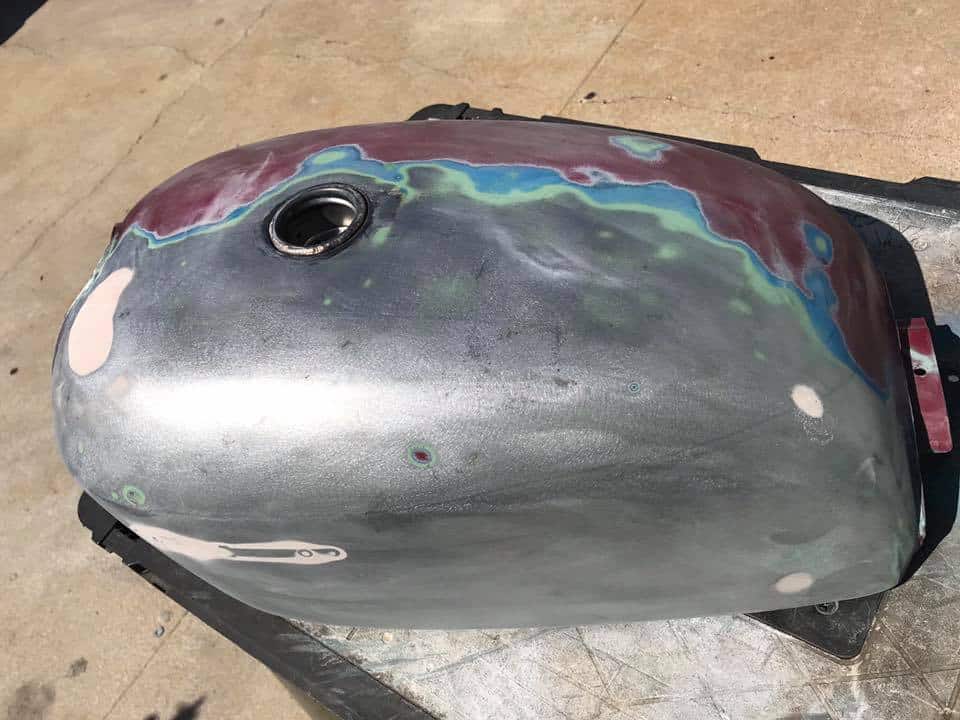
The next after it has cooled is to start to get rid of the old paint, I was not going to use paint stripper, that stuff works well but is so messy, I thought this time I would use a DA Palm Sander with 80 Grit paper and take the paint off the old way. There was Green Primer, Blue, Maroon and Black paint in layers on here and that sure would of made a mess with Aircraft stripper thats for certain, so sometimes the more traditional way is the best and to be honest I enjoyed the challenge.
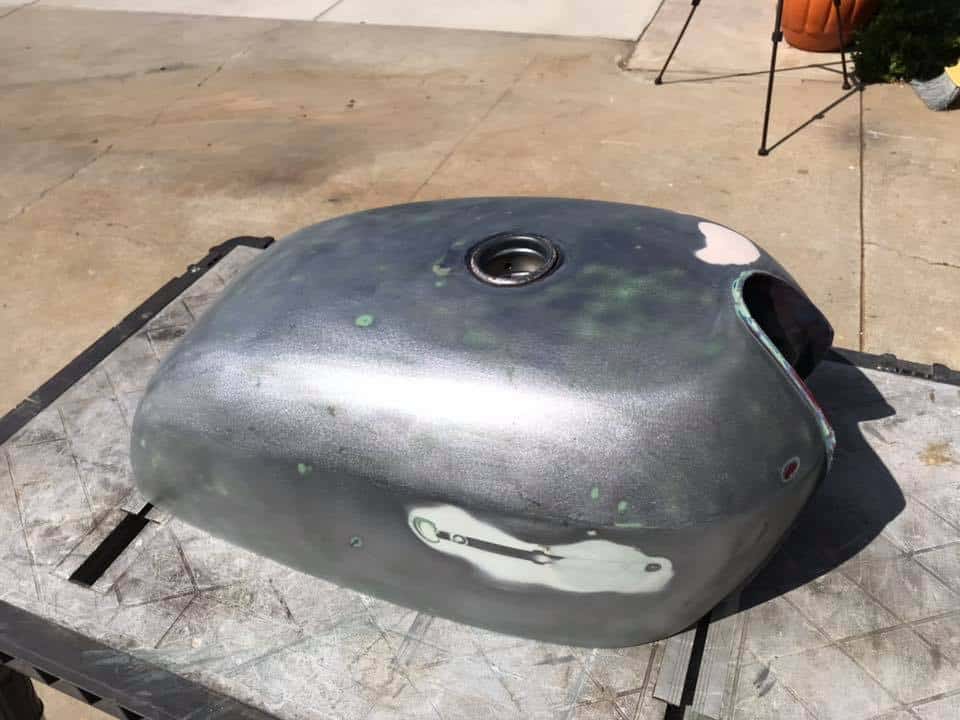
Took less than 2 hours all told and now I am ready for paint, just got to decide how I want to go with color and design but I wanted to share this gas tank project with you lot on my website so you can see how it is done. it gives you a little sense of achievement when you get to this stage and I am now ready to sit down and see if I can come up with some paint color schemes to change the look of this 40 year old Gas tank.
I sell the kit on my website complete with Screw in gas cap too, so if you like me, are finding CB tanks hard to locate these days, try and make do with one thats damaged and simply change the neck and give the tank a brand new life too.

Of course this will have a little bit of Bondo on the tank to smooth it all out but, today’s mud is awesome and you wouldn’t know, even if you put a magnet on it, as the stuff I uses has metal particles in it.
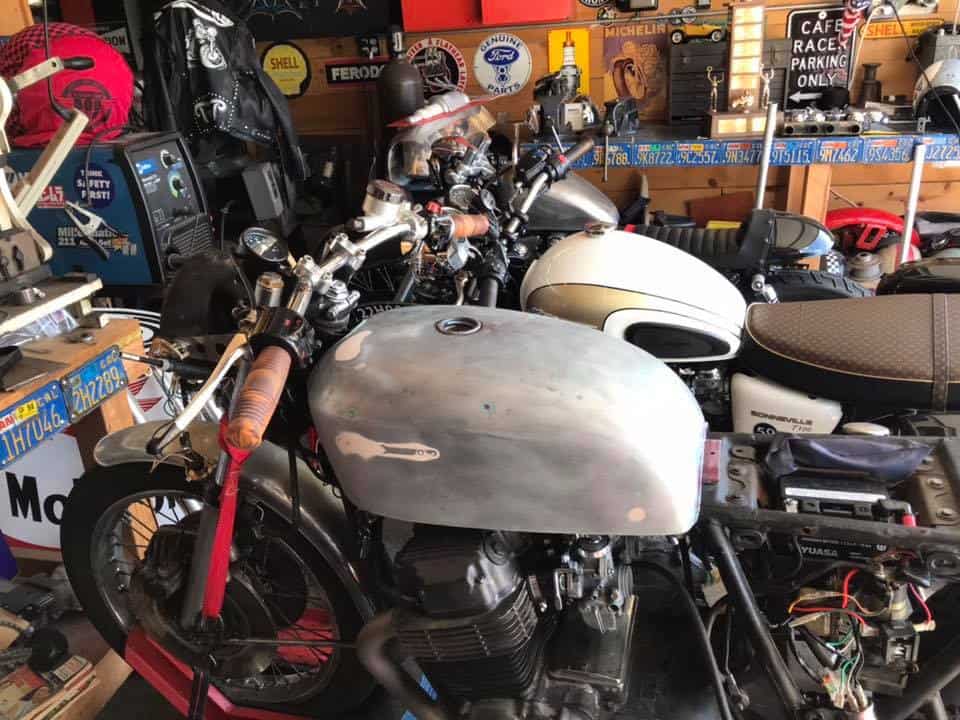
So there she sits, I will put the New Gas Cap back in, I use a Vented Screw in style and this still looks Classic in a way and achieved what I wanted, this will look pretty cool when it has paint on it and will add photos later when I refit the gas tank back on the bike.
Still a while away from paint but thought that Ii would share what I have done as a blog and maybe it will get you motivated to have a go on your project?
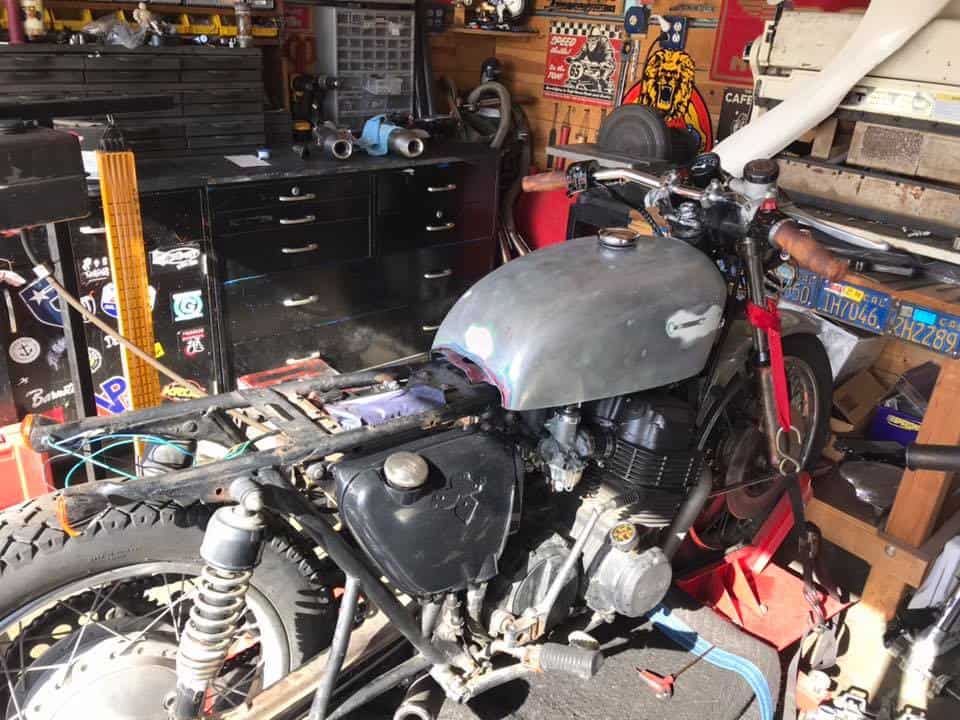
I still have so much more to do to this old ride but it will be a fun journey and will keep everyone posted as to its build as I do more things to this 750-4 Motorcycle.
The Weld in Bung really did work out well and changed the look of the tank completly and I am looking forward to applying Custom paint to see how this turns out.
Thanks for watching.