No products in the cart.
Just doing some Electrical work on the Honda and Triumph .
07
Jan
The weekends seem to be busy but I managed to get some time to get out in the garage and first off I had to charge a new lithium Battery for Jennifers Triumph Bonneville, her old one was not holding its charge and over 2 years old, so- A new Lithium EarthX Battery was ordered and its ready to fit. Also, I had some New LED Turn Signals that I made brackets for and then fitted these to the Harlequin Honda, but, they would not flash, meaning I had to make up some resistors to get these puppies working correctly.
This was a relatively easy job and think I may offer a little kit to sell to help people out in the same dilemma. Now, sometimes things happen and people ask me how I fixed the issue, so I thought I would add this video to show you what I did to over come the problem with the turn signals, I hope it helps you lot too.
I will be making the brackets soon and offering them on the website as well, it helps you from blowing fises or having to run to far off connectors in the harness.
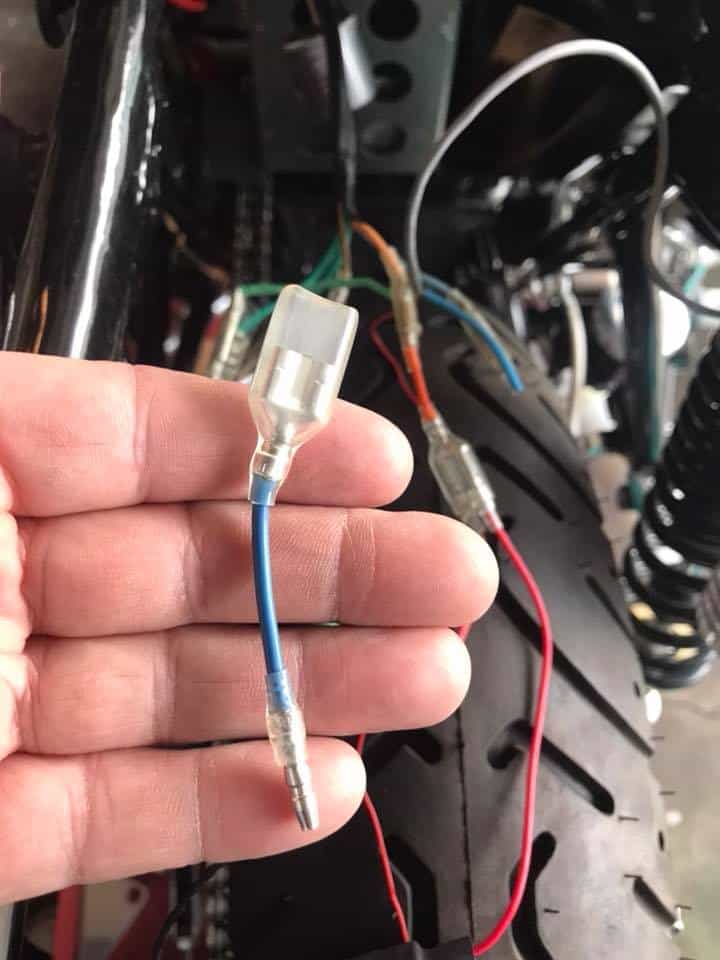
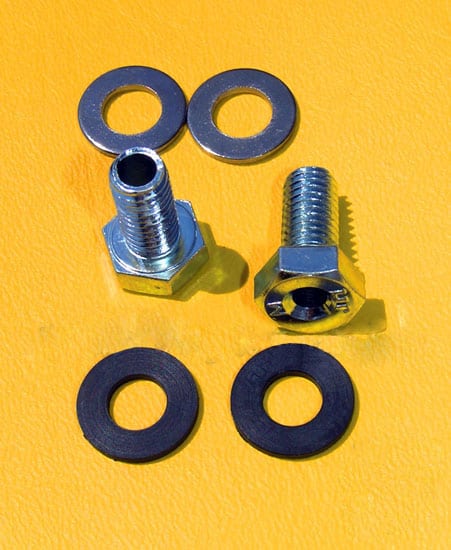
Here is the extenders I made for the job and I made sure the wires were the correct color with factory fitted ends that I crimped to keep in uniform to the stock wire harness, You can see the resistors i made up and wired and shall be offering these on the list of parts you can use on your motorcycle too.
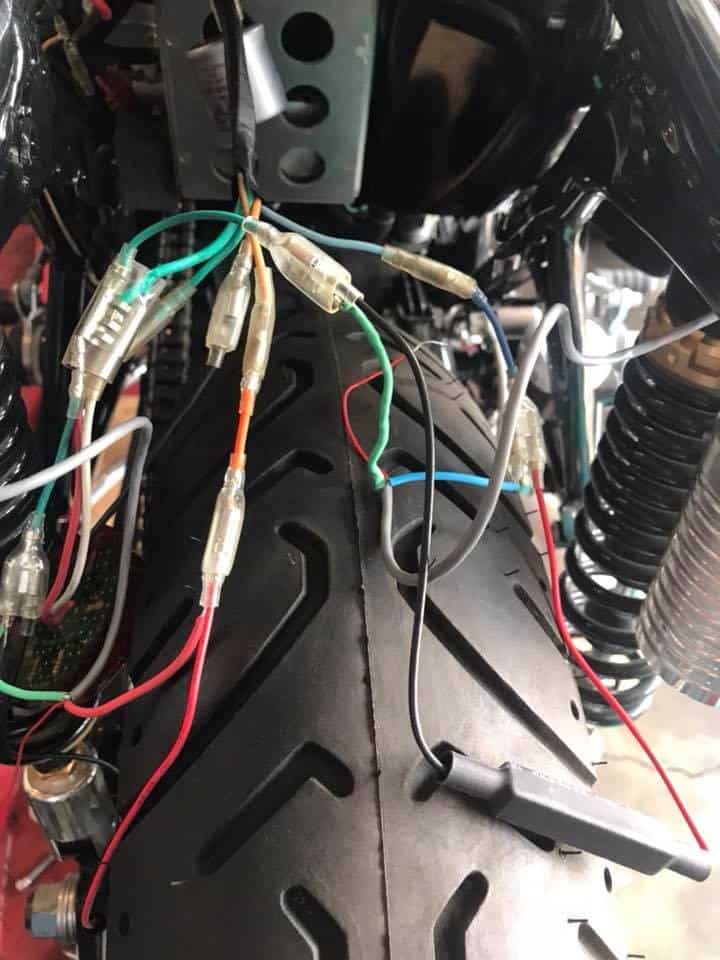
Might look a little messy right now but once all made sure everything works, I shall shorten and tie up under the frame so nothing really seen, I will be fitting Colored Heat Shrink to match the wires, keeping everything uniform and easy to locate later if needed.
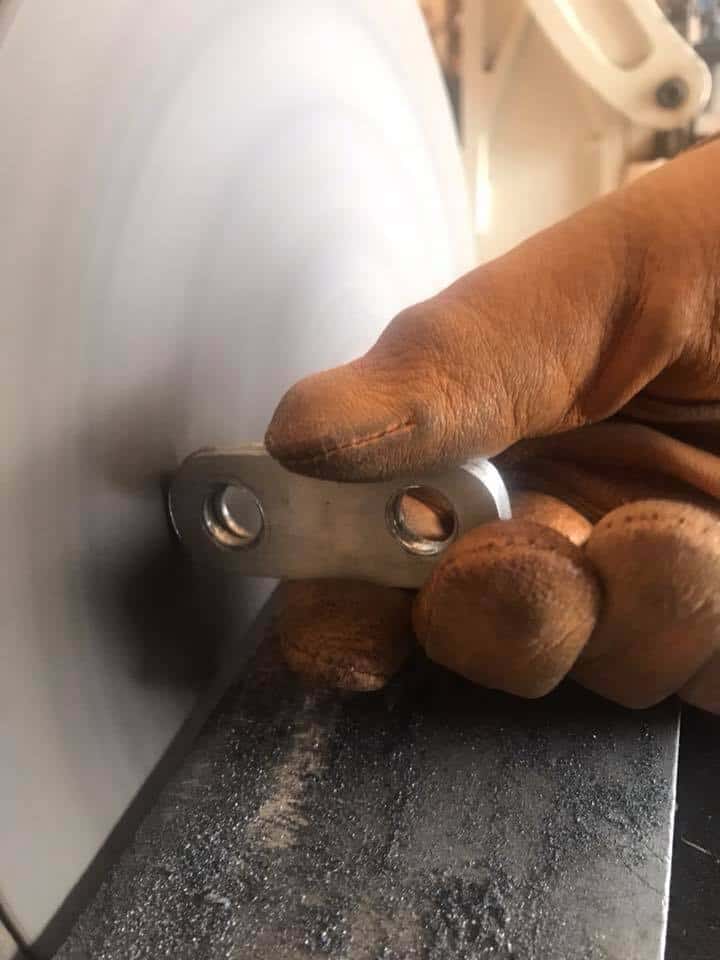
Cut some Aluminum flat bar up and made some brackets, of which I shall later water cut and offer on the website as these are always a hand set up for turn signals on any bike.
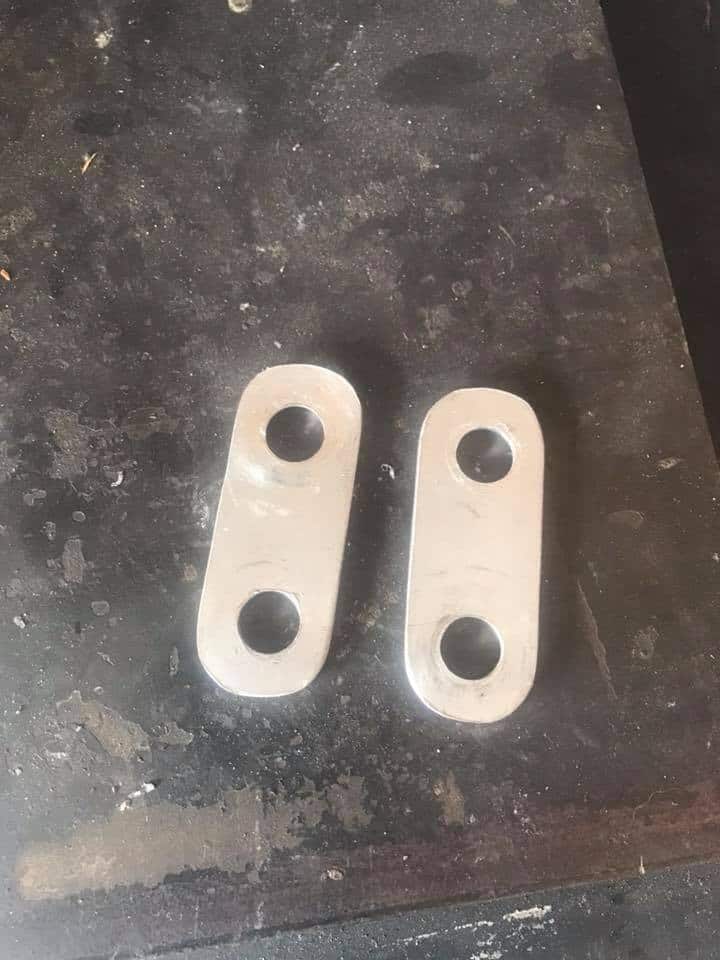
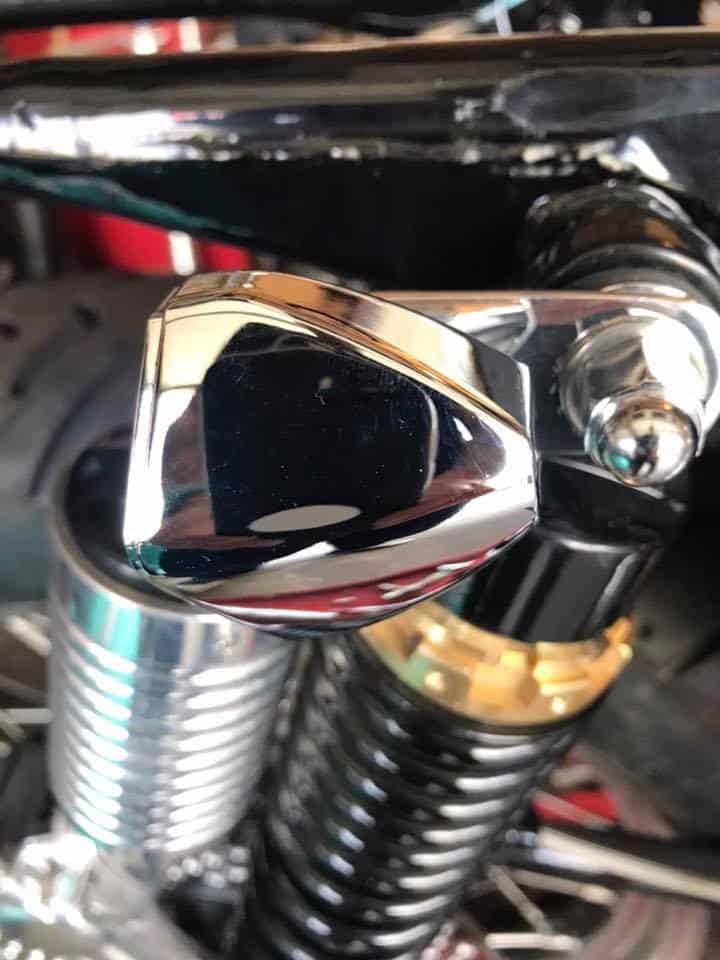
There you are, still in it’s Raw mode but now polish and will be ready to fit up to the bike on the top of the rear shock absorbers.
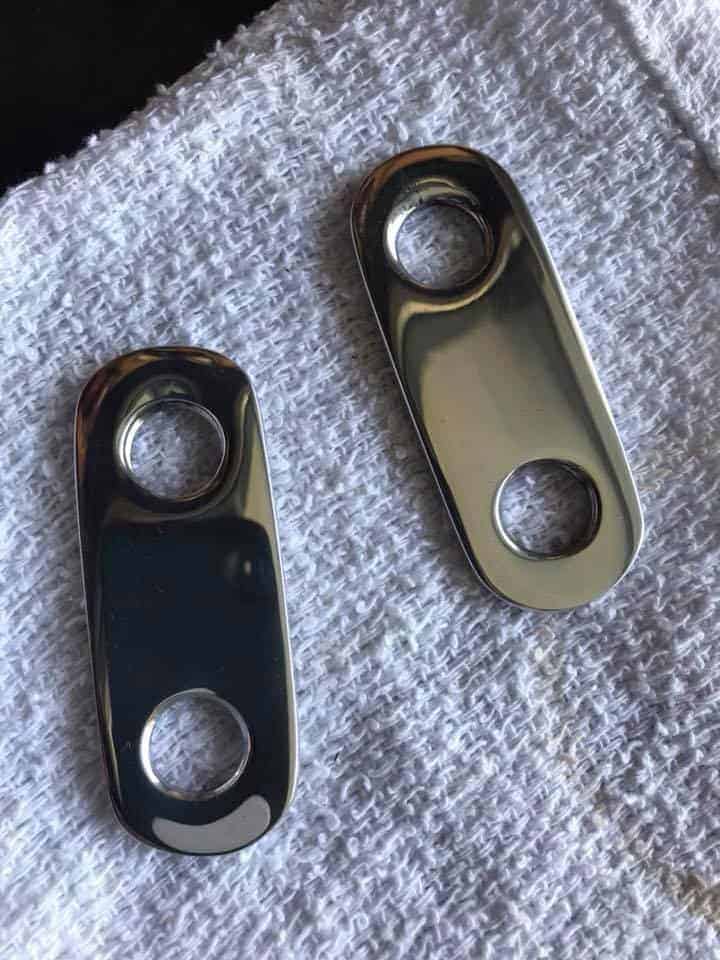
Now these are polished to a chrome like appearence and I can now go and fit these onto the Harlequin Honda and then I can mount the New LED Diamond Turn Signals to the Brackets.
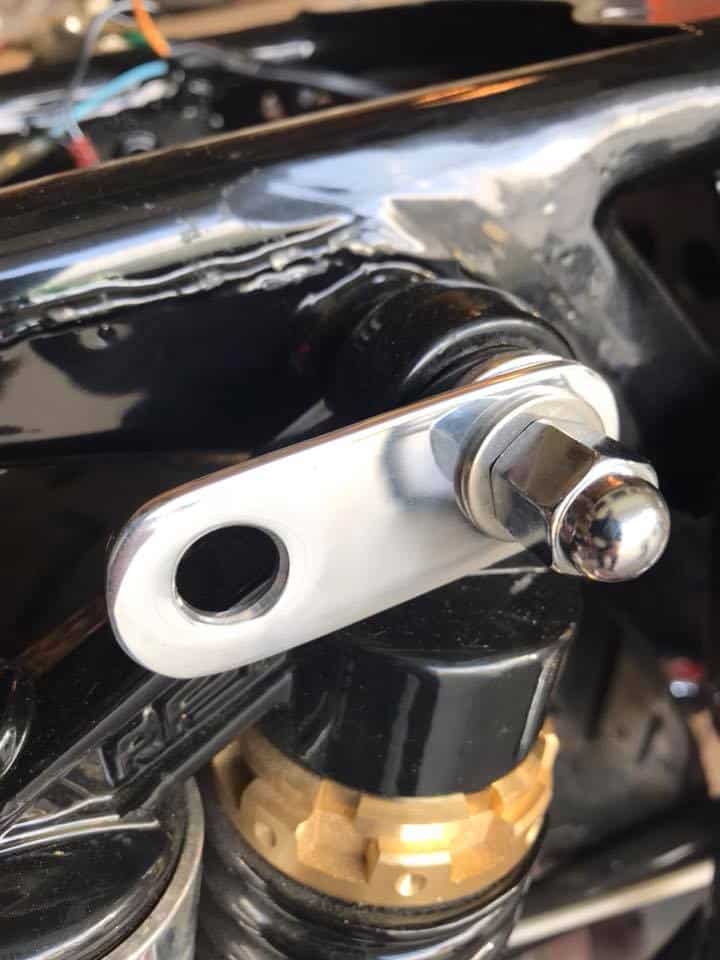
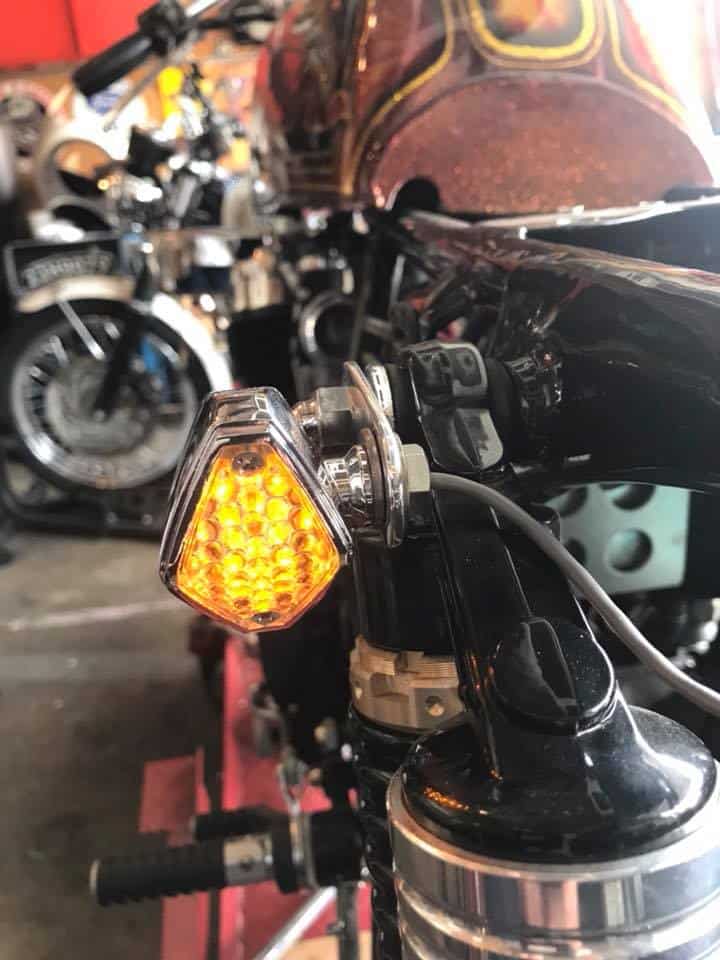
Fitted to the top of the shock absorbers and now I can insert the wires from the signals and then fit the signal into the bracket and simply tighten the nut.

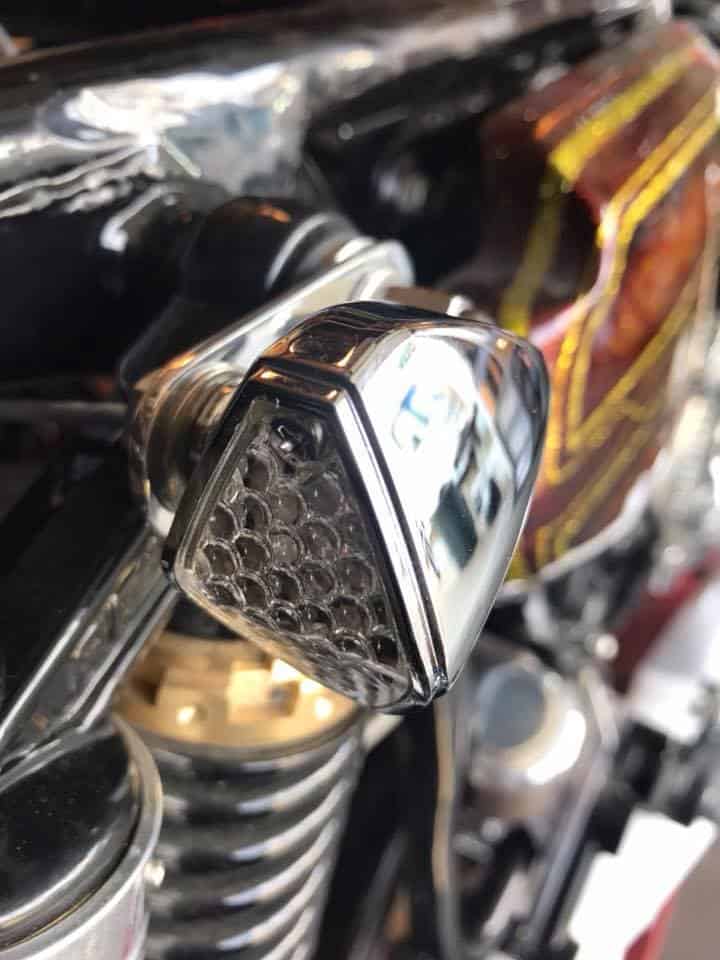
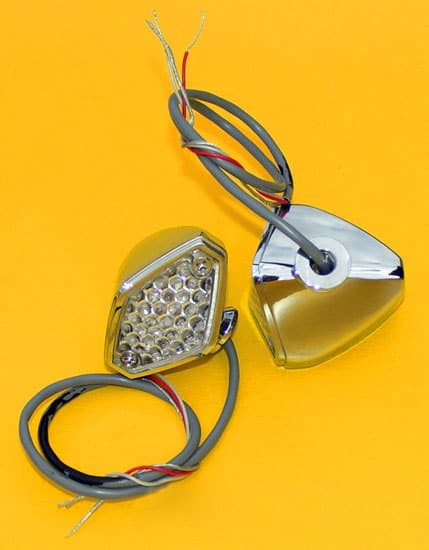
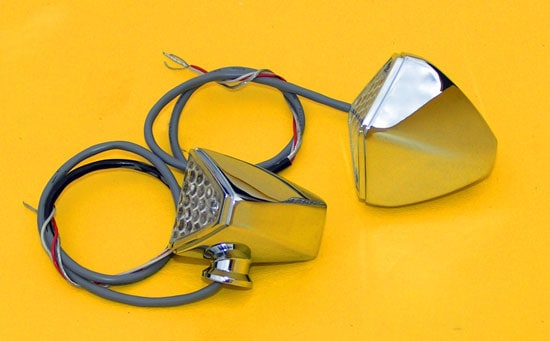
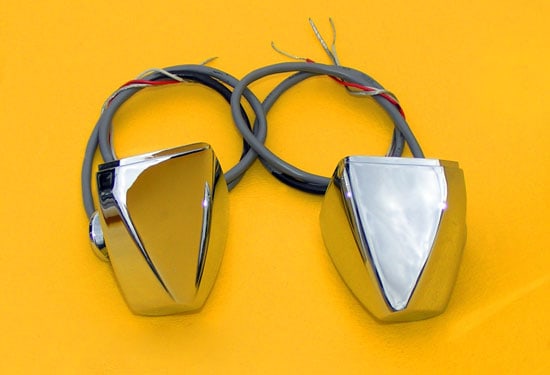
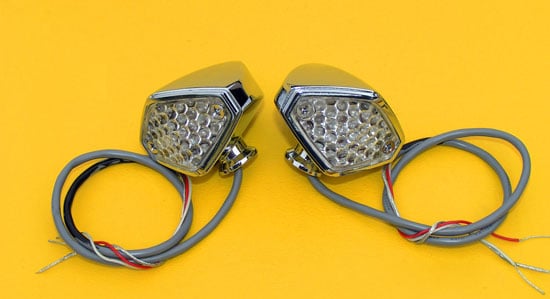
Nice sturdy Diamond Signals that these LED’s will allow for other people on the road to see you, they are in a nice Polished Chrome body and will tuck nicely to the side of your motorcycle.
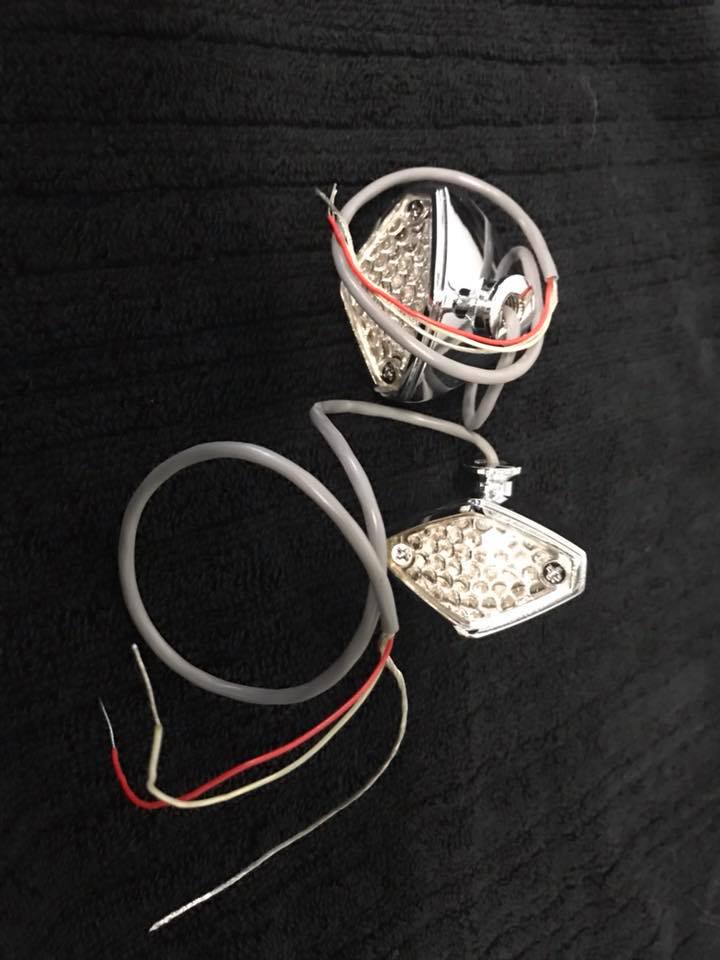
These are a 3 wire system, I personally only use 2 of the wires, as the third wire allows you to use your signals as cruising lights if you need to.
Easy to fit and a real nice custom touch to your motorcycle, I have sold the Bulb versions for over 15 years but the LED ones are way brighter and will last longer at the end of the day.
There you go, all bolted up and another job completed on this harlequin Honda Custom cafe Motorcycle, its been a fun bike to build.
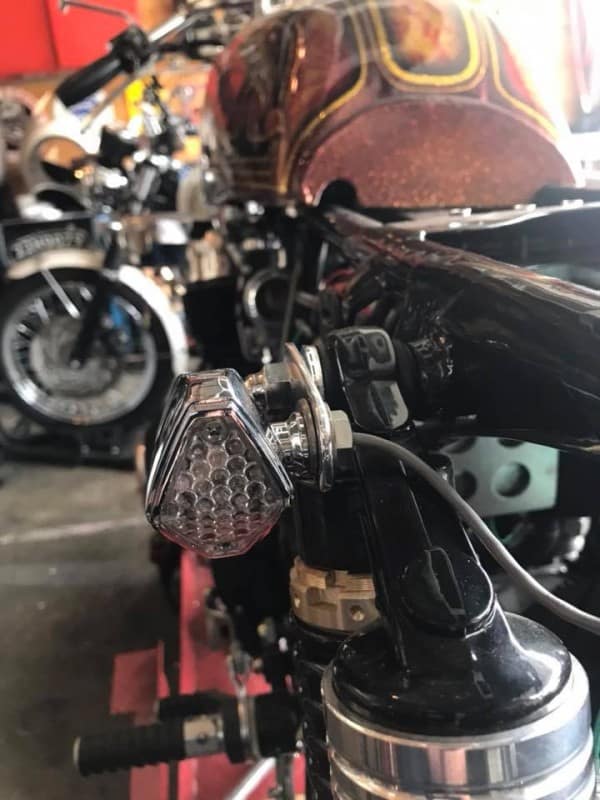

All wired up and functions great, so Glad I chose to go this route and have the reassurance that these turn signals can easily be observed from anybody at the rear of me when I am on the road.
Thanks for looking and I These great looking signals available but am just going to be making some wires kits on offer as well as the resistors so you can get the bike all dialed in in one go.