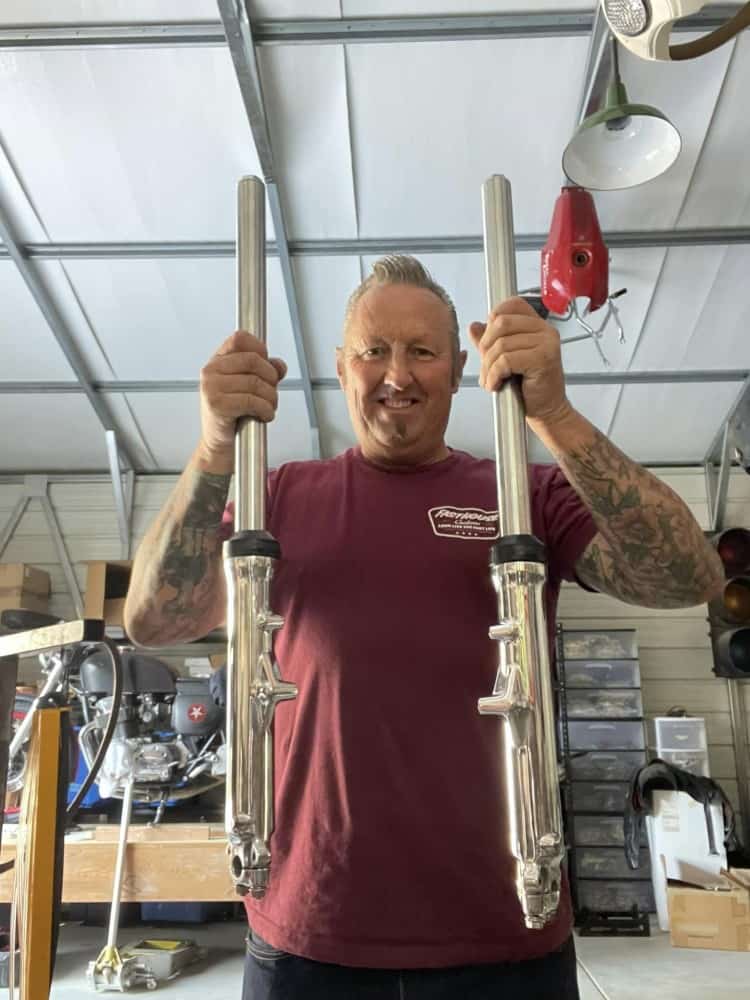
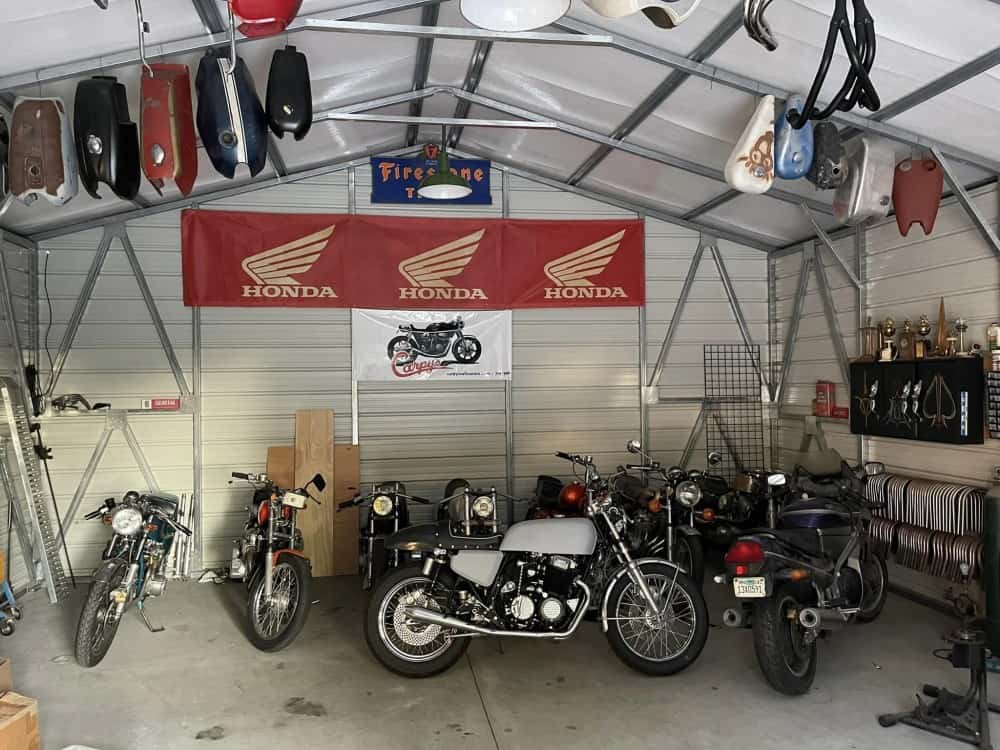
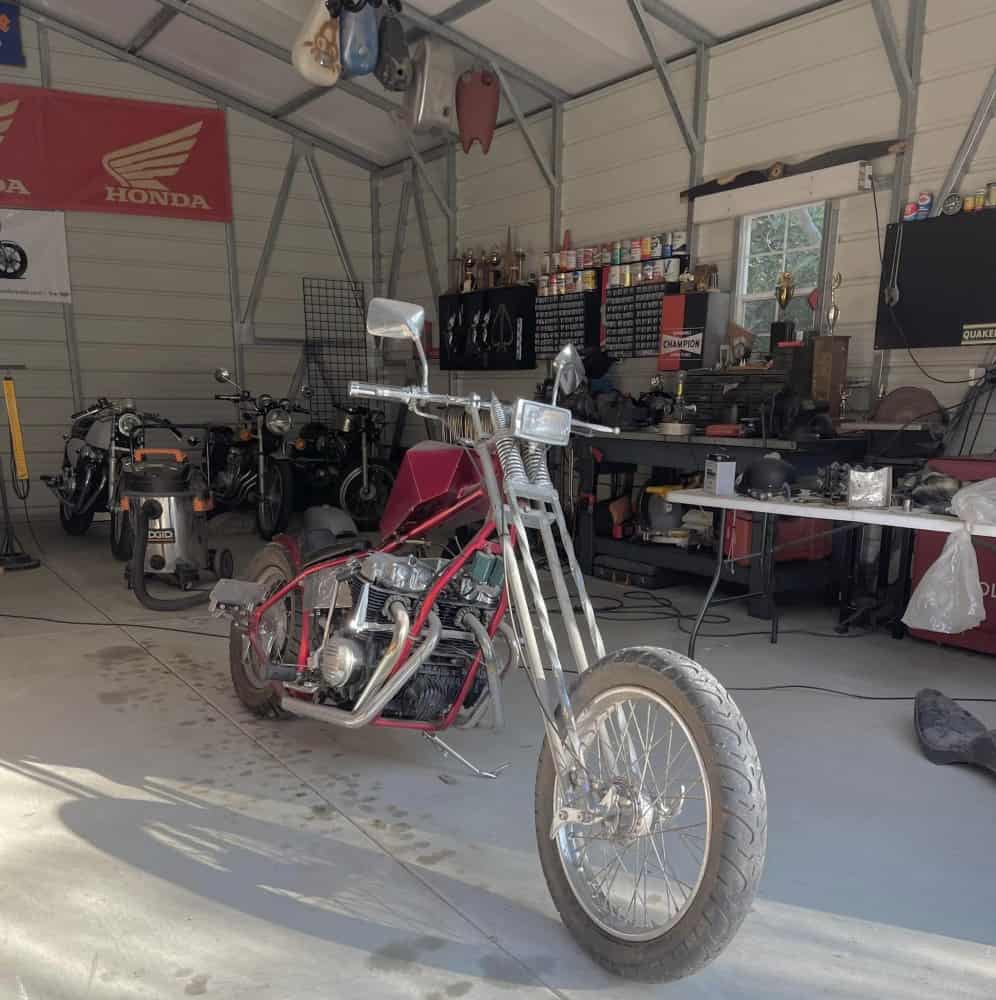
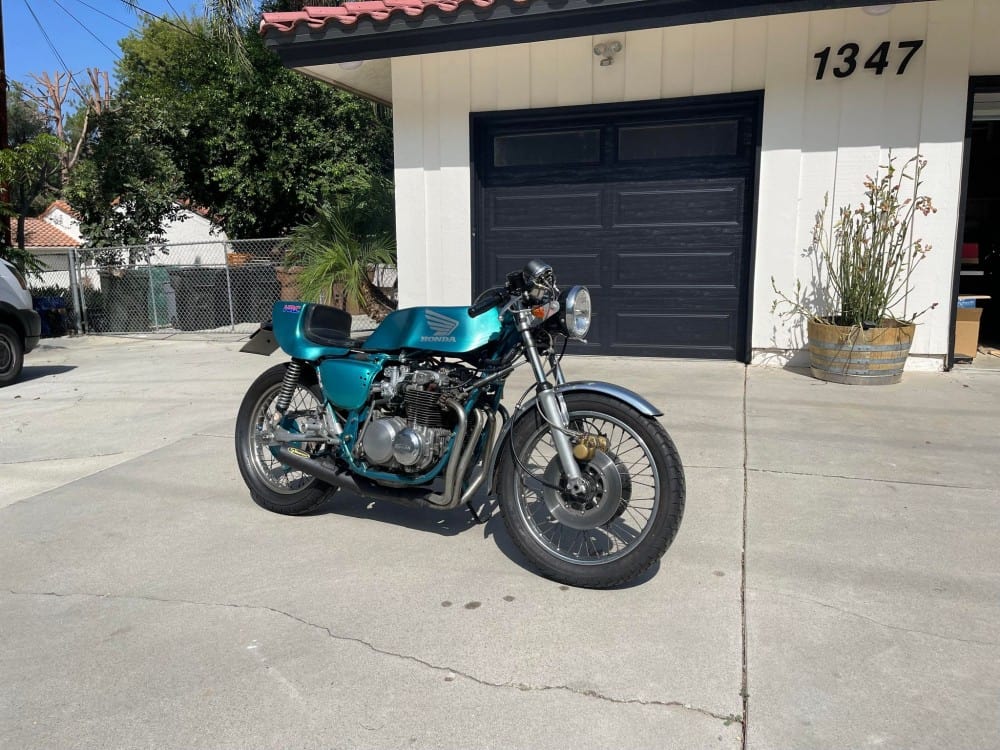
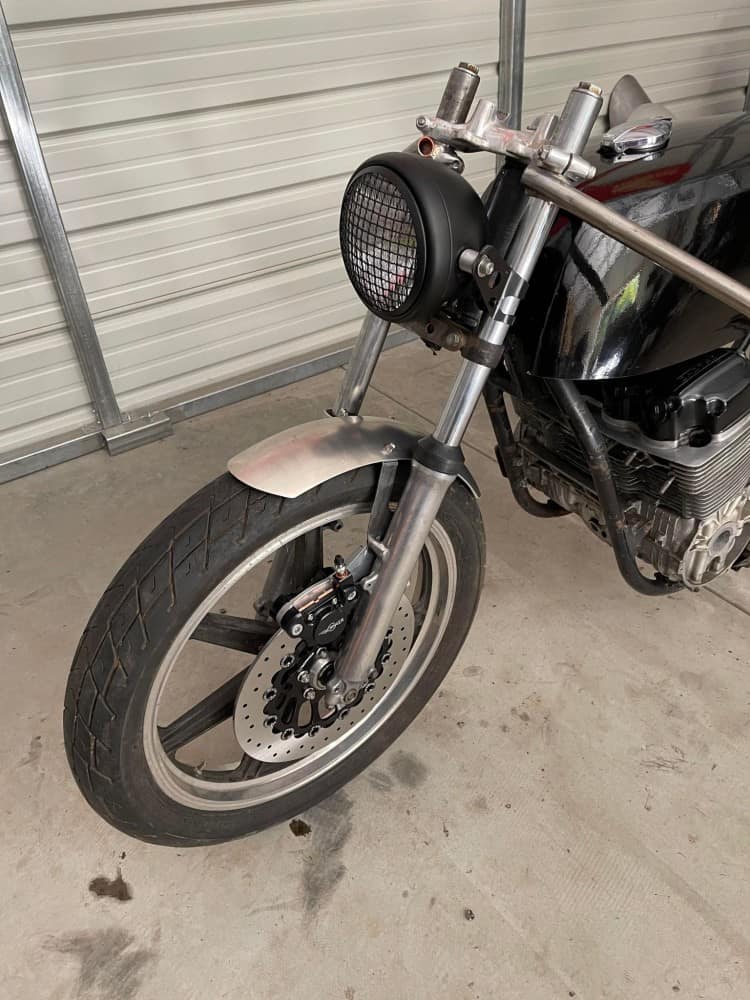
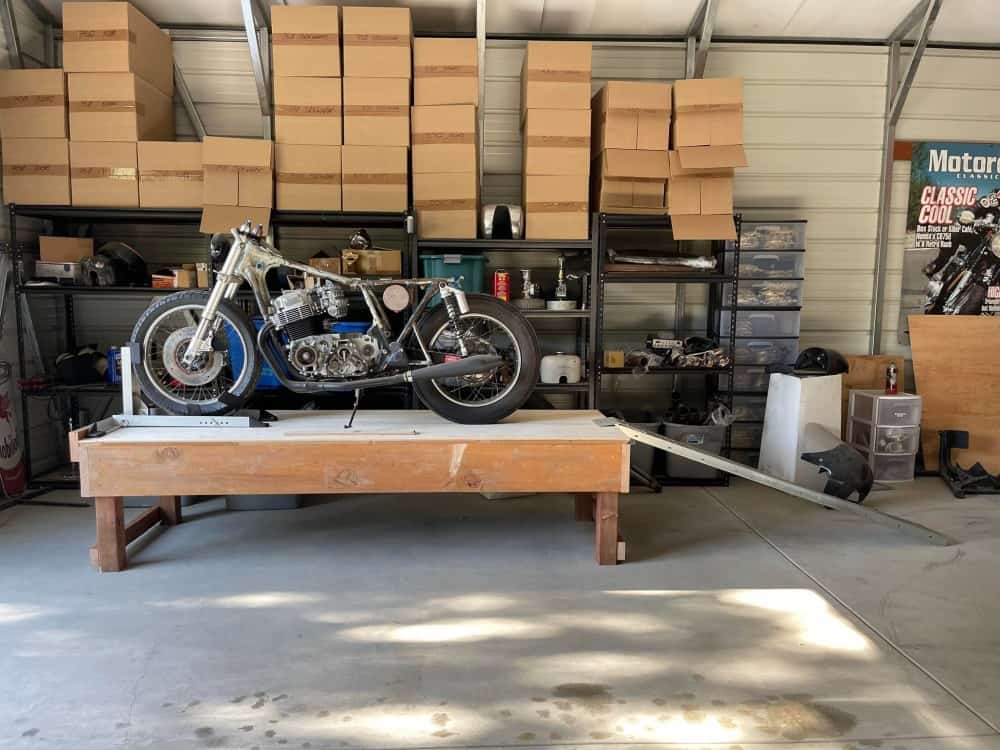
Working on Projects in the Barn

Time does not stand still and I now have all sorts of work to do but glad that I still get many emails, Phone Calls and of course texts, asking about builds, parts, service or idea’s etc, I love what I do and even though I really have had not had the time to build cabinets and work benches , I have enough to get by and get a few projects sorted out.

A lot to do and still get some what organized in the Barn, I will move my Model A Roadster out and start to get myself in work mode as quite a few things I have to do in here and its sure nice after 22 years doing this, I am still popular with the Public all across the globe.

You may remember The Red Devil I created about 2006, it got in a wreck when we were out riding about 13 years ago, and now it is time to fully rebuild this Old Caff Machine that has done many miles over the years and to resurrect this to a Tarmac eating two wheeled Monster will be a challenge but I am up for it.

This will be a frame off build and will be taking the old girl completely apart and will remove the paint from the frame and powder coat a Gloss Black, but keep the rims RED as its a great offset for this bike and nobody was really doing it when I did this back in the day.  I’m keep the tank but need to repair it as it has some damage from the crash, there must of been 100 Yards of Oil on the road when she slid on her left side when a Pick Up truck slammed into it on a off ramp from the freeway right in front of me.  Poor lad had a bad leg for a long time but now, years later, he is looking forward to a revamped Red Devil Motorcycle.

But I am looking forward to turning a few wrenches and creating some unique rides, the RED Devil will take some time But I have the Super Sport to finish next and then once I am happy with that, I shall offer it up for sale.

The Milwaukie Special will get a Full RED and White Paint job and will be quite the head turner, with great 4 into 2 exhausts and a fully rebuilt motor, this will scoot along quite happily, anywhere around the USA, as its had tons of work done, from the painted frame to the hand drilled rotors, this is quite a work of art that I really enjoyed creating.

All sorts of motorcycles in the shop now and of course the Mint 550 Supersport is always a lovely sight for sore eyes, as well as the 883 Sportster I am building too that will eventually buzz around here on the twisting roads that we are lucky to have we we live.

A Lot of 750 Bikes too in the stable with more to come, I hope to be creating a few cool rides and then offer them up for sale, I love building Motorcycles and am quite happy when I get to use my creative juices and try and build something interesting.

It will be a busy year here at the workshop and looking forward to building these and making some interesting inline four Custom bikes for people to really have fun with.

This old Girl is an old Drag bike that was built in the mid 1970’s, but may be transplanting it into the RED Devil if the Mill is OK as have no idea if she will run, but this is no ordinary engine, this is a RC COBRA Engine, with extended Cam towers and an RC Engineering Exhaust, along with an ARD Magneto and a set of smooth Bore Mikunis.  So before I get too crazy in stripping this old bike, I will need to get her going, this is a long term build but I hope I can get her to run again.


The WILDCAT CB750 HONDA FOUR

You would seem it strange to have forgotten about a Motorcycle I had built for a Customer, but as I have created so many machines over the years, I guess I do get a bit of a Brain Block sometimes, it was not until I was flicking through some photos that I noticed this CB750K Model Honda Four  Motorcycle that I did my surgery on and turned it into what he wanted, a real Wildcat.

It was a Shiny Chopper-ish style machine that my Client had owned for a long time, but wanted a change and Loved the Cafe Style Bikes that were hitting the tarmac around where he lived, so my job was to transform this cruiser into something more Racer Looking.

The Rims were stock but I wanted to add a Fatter rear end with some nice Rubber on the Rims and also give it some color to stand out right away, you cannot miss the Gumball Red, it is so striking.

I used Polished stainless spokes and Polished both hubs, as well as hand drilled the rear brake hub to give it that Road Race styling, it gets rid of the heat from braking, Dust from the shoes and cools the brakes when running along the tarmac etc.

New adjusters, Brake Rod and actuator arm, make this machine brake like a New bike and it sure looks clean now, a lot of attention to detail that I am known for.

New Rear sprocket and chain finished off the rear end but I think I want the rear end to sit a little higher, so them shocks will have to go for longer versions.

Longer Chrome rear shocks made all the difference in the ride height and the response when cornering, I am glad that I went this way, I also machined some 6061 and milled a Finned Stabilizer Bar to give that more Custom look, rather than the Flat Bar Honda uses.

I made a nice Bump Stop leather Racing seat unit for this bike, that still allows the seat lock and hinges to be used, that way you can get to your tool box and documents easily, the Motor got a once over and then I removed the stator cover, sprocket cover, Trams cover off and polished to a chrome finish.

The Customer worked at the Zoo with the Tigers etc, hence the title of the bike Wild Cat and that’s what he dug, so we applied that in a Gray color to the Petrol Tank.

I took the Gas tank off and hammered the sides to make my Classic Knee inserts, reminiscent of the old racers back in the day, making it easier to tuck your knees in and get more tighter on the bike and be a bit more aerodynamic as it were. Smoothed out and painted a Gloss Black, also applied my Checker Decal Kit then pinstriped the edges and ran a line around the knee inserts to finish them off, ready for Clear coat now.

New Gas cap and Lock to finish the tank off nicely, I do prefer the stock gas tanks, so this mod I do really makes this look like a factory item.

The Customer didn’t want rear sets, I would of preferred them but its personal choice and I have long legs – so need to have rear sets on my builds, but this looks pretty darn cool now its all back together and can run under its own power once more.

She is sporting my 4 into 1 Yoshimura style Performance Exhaust system and the inline Four Motor now breathes so much easier and sounds awesome with a Velvet Tone out of the tailpipe.

I cut the old fender down as it had some dings in it, rebuilt the front brake and added New Hose lines to it as I wanted this to stop on a Dime, well- maybe a Dollar Bill.

Sitting in all her Glory- The Wildcat runs hard and strong and boy is it fun in the twisties, as you can see I added my Signature Clubman handlebars, for that low stance.

I always enjoy creating these Motorcycles and the owners are always super stoked when they take them out for a spin for the first time, there is a lot of detail here and I offer the parts on my website if you want to build your own version.

A fun Machines that will give you many miles of smiles this bike sat right and really handled well when you gave it some beans in the corners, super proud of this one.

This has rebuilt front forks, New side covers, custom Turn Signals, New bars, new controls, new throttle cables and levers with new cables, plus New GT grips, rebuilt Carbs and Custom Bellmouth Velocity stacks.

Look at how well the bike sits has a New TriBar headlight, new fork gators and New ignition too, The seat I upholstered and used High density foam so you have a comfortable ride.

Thanks for reading this and hope that you like what I have dome to this old inline Four CB750 Honda, these are brilliant bikes and phenomenal engines.

I hope to post more creations that I have completed and share with you lot on here, love hearing all the positive feedback, thanks very much indeed and let me know if I can help you with your build.

Old CB750 Chop I discovered driving by a Garage near to home. “PORK CHOP”

Sometimes it does indeed pay to be nosey, I am always nosey when I see open garages, Sheds or barns etc and tis was the exact thing I am talking about.  I think it was about a year or so I first clocked the Chromed Girder front end of this CB750 Chopper, it was sat in a garage that had heaps of old parts like lawn mower bits, boxes and general house hold junk we tend to want to keep, ie plastic buckets or old tarps etc.

I did drop by and ask if it was for sale, the old boy said the same old story, the paint cost him $2000 and he had never ridden it but wanted an arm and three legs for it, so I bid him a fond farewell and left him scratching his head, as he thought I would bite and purchase the bike from him.

Life continued as full on as possible and of course Covid etc but always thought about that old Honda in that garage and was it still there, so I thought to myself, its Saturday tomorrow, I shall take a spin down there and see if the fella still has the bike.

Poor thing was just sat in this old garage, there was Dirt and rocks underneath it and it was jammed in with all sorts of house hold garbage and to add to that the front tire was as flat as a pancake. the exhaust were starting to rust and had more cobwebs than the Haunted Mansion at Disneyland.

I went to see him again and a deal was struck, I noticed the old sissy bar was missing though, he said he sold that last week for $70, i was gutted as it was really cool looking and I will have to make my own now but would of been nice to use the old one as a template.

I got her home and after a few advil and a cuppa from the aches and pains of loading into and out of my Van with Jennifer, I sat there and took it all in, a great old Jap Chop from back in the day, of course it had not run since 2013 and thats just the tags on the license plate, it may not of run for many years before that for all I know.

But the old girl was now in the Barn at home, title says the Motor is a 1978, I do not see any ID numbers on the frame at all, not sure who the manufacturer is but am asking around as I am sure it may be from local to the old fella.

It need a wider rear fender for sure later and I will change out the rear tail light and seat, but first off all I have to see what the condition of the Motor is and the electrical as there are wires all over the place. But that Coffin Tank has got to go, was never a fan of them when they first come out, too big and bulky, I shall fit a Peanut one but only have a smaller version but, it will do until I find something later on,  there is no rush on this to be honest and it will be a fun project.

Well, I changed out the Gas tank for something a little more smoother, I like the lines but would like maybe a longer version, but this does look way better than the coffin tank that was on there. Many people do not like the Girder front end but its hand made and period, so I think I will keep it on here, probably change the handle bars and grips though and a different front light too. So stay tuned on the website about this old Chopper, I think I will name this “PORK CHOP”……………….

CB500 HONDA Cafe Racer Fired up with Gas tank back on

It is always a nervous time when you get something ready to ride and has not run in many decades and, it was back in the UK when it did run.  So many things can be wrong with it as no history to compare too etc, but, I fitted the Fiberglass Bimota gas tank and seat, poured in 97 Octane Gas and fired her up.

The Clutch was seized up as I thought it may of, sitting for many years unused will do that, I have had many bikes and cars for that matter with the same issue, I always start in neutral or fire up with clutch in and front brake locked on, just to see if she is seized on the plates etc.

I was super stoked to sling my leg over this machine and wait for the clunk! -As I pushed the rear set into first gear, she pulled away fine and I eased the bike out onto the road and went through the gears, all seems fine, although rear brake needs adjusting quite a bit but front did make up for it seeing it is now a double disc front set up.

I turned the bike around after about half a mile and rode it about a mile up the twisting tarmac to the the junction and pulled over, just to check on things, all was good, so I gave it some beans coming back as I wanted to see if she pulled harder and also, if she took a crap- Well I could roll home on momentum etc.

All was good and I see one clutch cover drip but need to change the oil, even though its clean, I like to know its all gone through etc.

The bike was quite responsive and I am happy with the way she rides, but I’m 50 pounds heavier than I was when I used to ride these back in the UK, although that didnt matter as teenager memories of my early days of Cafe Racer riding flooded back like a burst dam.

The weather was perfect today for riding this 50 year old inline Four and I bonded to this machine right away, laying on the tank was easy as I have my own Belly Airbag now but the feeling of Euphoria was immense as I went through the gears and felt the little 500 pick up speed, as these bikes really are a force to be reckoned with.

A bit more to do on the old Girl, Like New Throttle cables as right now it has just One and the idle will creep up a little and I prefer that snappy throttle with a return cable to be honest, also I want to adjust and Oil the chain and change the oil, it has rebuilt carbs now and New plugs and good gas and a New battery so we should be good.

A happy Medium for now but I will improve a few things later, better looking headlight and signals for sure and I need some bar end mirrors to see if anyone is chasing me lol.  Taking this out for its first time running in the USA was a brilliant feeling, like anything that has never run for years, there is always trepidation but I overcome that by clunking into first and whilst the beads of nervous sweat dribbled down my forehead, all disappeared in a roar of 4 stroke exhaust and I was Barry Sheene Once more.


Building an Inline Four Project out of bits and parts laying about.

Well, I still have not made my mind up how I am going in the design part of this ride, I thought I would use my phone and record a few sessions as I continue creating a machine that I personally like and want to use and I am sure that it will go through a few guises before I get on the right track, although that’s half the fun of it.

So here are a few videos I have cobbled together and hopefully you will like what I am trying to achieve, remember, Rome was not built in 7 days.

Making a Motorcycle Work Bench from Scraps of Timber

Some of you may know that we have had a Barn built now for my New workshop, and as you know, materials for building have literally gone through the roof- So I thought that whilst we are refurbishing the California Ranch house, I will try and repurpose some of the timber that we ripped out of the ceiling in the kitchen.

The timber is old but solid and of course, ceiling truss material is 9 inches deep, so, instead of sending the old timber that’s in a pile outside, to the tip- What better way than to give that wood a new lease of life and of course, help me out along the way too.  So, I decided to use some of the scraps of timber laying about and see if I have enough to make myself a Motorcycle table/Workbench, as I like using timber and even the Harbor freight tables are $599 and last a couple of years.

Once I pulled some of the old Plater Board off the timber, then spent a bit of time removing the old nails that were in all the timber etc., I then cut the bad pieces off and see what I had, I figured that I would have just enough to assemble an 8 feet work bench for building or servicing Motorcycles and wanted it to be heavy enough to with stand a bit of hammering ad of course welding too.  And I am sure there are many of of you out there like me, that like to repurpose stuff, save your cash for other more important things in life, and feel a little proud of the fact that you made something out of just trash.

You decide what you want to make and then just get on with it, I had no real plan, just a few measurements, I measure the longest bike I have and said well lets say from tire to tire its 7 feet, so an 8 feet table will be just about right for securing a two wheeled machine of up to 800 pounds on this construction.  But, even though its waste material, I want it to be level as there is nothing worse than a wonky table right?

This timber is so thick I am super stoked that I could make use of the materials that were Original part of the Ceiling of the house, so I started to cut and then screw these pieces together and knew that this was going to be a cool set up for what I need here at the Barn.

To say the work bench is sturdy is very much an understatement, I wanted to make sure that this will last for many years, build it right from the get go and you will have something that will last probably your lifetime if done well. I cross braces the bench using the rest of the Rood truss material and this is now super rigid and I will have no issues mounting a motorcycle atop this set upo.

I used 3.5 inch screws to get into the timber with some bite, this thing isn’t going anywhere and am happy with the way it is looking, the work bench will be invaluable for me and so stoked to be able to use up some scrap material that was going to the dump anyway.

I also used some thick MDF I had laying about from old storage racks and that sits across the subframe, giving a sturdy platform and will allow me to use some old wood sheeting that was an off cut. I am lucky to have a chop saw and a table saw, as well as battery screw guns, but this was quick a quick build and I must admit, very therapeutic for me as I enjoying making stuff. Better make sure you have a Vacuum cleaner too as more dust than the Sahara desert that’s for sure.

I did have 5 tables at one point when I had the big shop, but they do take up a lot of space and had them in storage for ages, there is something about making your own workbench though and I will use it all the time, and if I don’t need to, then I can push it over to my racking area and still have room for my Hot Rod to be parked inside so I can do some wrenching on that as well. Of course, I have a long way to go on fitting out my workshop and the fun is taking your time and putting stuff up then maybe changing it if it doesn’t work how you want it, the good thing of now having your own workshop is there is no Landlord breathing down your neck.

As you can see, with an off cut of 1/2 inch Ply on top of the table, it really finishes it off, I have also fitted a Bump Stop on the end of the table for the wheel chock to sit up against tightly.

I shall clean this up as its been sat in the shed, then I shall secure this to the bench using some Coach bolts and a nut and washer underneath as I need this to be really secure, as when I run a Motorcycle up onto the table and into the chock, I need the wheel chock to hold the front end of the bike tightly, so these ones have holes in the legs and that means I can secure it to the platform.

Ready for Bolting down and you can see I have a strong bump Stop right on the end of the table, I will also use some Long Eye Bolts to fit to the sides of the Table, that means I can tie down the handlebars for even more Security when I am out of the workshop.

I am sure I will clean her up after everything is bolted down etc and not sure what I may add but as you can see, this is a super strong Motorcycle table and I simply use my Ramp to run the bike up and into the chock, then simply take ramp off and hang that up. No cost really at all, this heavy set up will last as long as Noah’s Ark I think.

Super stoked to pull a Bike ramp out and Jenn gave me a hand and we loaded this project machine up on the work bench, it was great, sturdy and easy to put up there, the wheel chock holds it in place but I still need to add some hardware to be able to tie the front end down on case we have an earthquake etc.

As you can see, there is plenty of room behind the bike and a CB750 it 7 feet from tire to tire, and I am pleased I created an 8 foot work table so I can weld or grind and get some parts prototyped up at my own leisure.

This bike may take on a few guises until I am happy as to how I want it, thats the fun of doing your own stuff, but now I have a solid table, I feel much better when I have to belt away at a gas tank, as the metal tables you see, tend to flex about too much.

The other thing with this set up is I have the height where I want it, if I need to sit and do wiring, I can use a mechanics stool, I will finish the tie downs this week and maybe later I might paint it but right now I am happy how it is and hope you lot dig it too?

I have plenty to do on this project and a few Customers want me to create their builds, so I have every confidence in my work bench, way stronger than that Chinese crap that you see advertised out there.

I have much to do in the barn and more things to make, hang up or secure to the beams or the walls etc, but- when you get surplus second hand timber, well, you have to use it right away right?

Maybe it will inspire you to get in the Shed, Barn, garage and bung some scraps of wood together, its fun building stuff and even more when it doesn’t cost you anything.

Thanks for taking an interest in what I do, I love my job and enjoy building Motorcycles, servicing and of course, making new parts for these old Bone Shakers.

I will keep you posted as to how this Motorcycle and of course, any others that I work on in the Barn, I get many emails asking for pics of what I am up to, so now I can stop, take a pic and post it, that’s what’s fun about being your own boss. I have my Courier bike to finish too, so plenty of Irons in the Fire, so stay tuned……………….


Classic CB750 Yoshi Bol d’Or Built in 1975

If a bike like this can’t get your heart beating faster I don’t know what will.  You don’t even have to be into race or vintage bikes to appreciate the attention to detail and engineering excellence here.  We use the term “engineering art” with Bimota alot but this Yosh/Honda just stepped up to the top of the podium as far as that is concerned.  Hats off to the seller for providing some beautiful shots of the bike and the story behind it.

The collector who owned this bike for the last 37 years related to us that it was professionally built in 1975 from the frame-up by Yoshimura North, with no expense spared. It is believed that it was built on commission for a privateer race team that wanted to compete in the Bol d’Or 24 endurance race in France, as well as the LeMans 24 hour race.

But the team’s efforts never materialized and the bike never went to Europe. Instead, the bike was immediately purchased by the aforementioned collector and drained of all its fluids. It went directly into his extensive art collection and was stored in his living room as a prized piece for the next 3 decades.

From what we were told, Yoshimura built the motor to their full race specs. They fitted their aluminum racing tank and racing saddle. They equipped it with authentic Honda CR750 CR31 carburetors, the CR750 megaphone exhaust and CR750 tachometer.

They fabricated a custom aluminum oil tank, used aircraft style oil lines and a heavy duty oil cooler, and fitted an ARD racing magneto. They chose Ceriani forks and triple trees up front, and a Dresda swingarm with Koni air shocks in the rear. The bike rides on amazing Kimtab magnesium wheels and Goodyear racing slicks.

Stopping power is provided by Hunt plasma-cut triple discs. Many of the parts on the bike, especially the carburetors, tach, and magnesium wheels are now extremely hard to find and worth quite a large sum in their own right. The bike is fitted with high powered Marchal headlamps, as well as a low-mounted Cibie spotlight on the right front fork. The fit and finish is exquisite, down to the perfectly braided safety wire on various nuts and fasteners.


Racing machines are rarely preserved as new, having never seen the track they were destined for. They are built as a means to an end, a utility, and used as such. They are beaten up, repaired, rebuilt, reskinned. Only a few become truly sought after, the ones that made history through their victories. Ford GT40s, Ferrari Testarossas, Porsche 908s. The Honda CR750 was also one of those machines. And this example has been preserved almost exactly as it was built in 1975, believed to have only ever been ridden a few test miles.

In the early 1970s, Honda had its sights set on the US Market. Although the CB750 had been released in 1969 and received acclaim as a technical tour de force, it had not yet achieved the sales Honda desired. Bob Hansen, the American service manager for Honda, told HQ that they’d have to go racing to make a real impression. Honda had already won the 24 hour Bol d’Or endurance race in France in 1969, but it did not register on the American motorcycle radar. Given the huge popularity of roadbike racing in the 70s, manufacturers were truly experiencing the “race on sunday, sell on monday” phenomenon.

Honda took Hansen’s advice and immediately built 4 individually unique CR750 race bikes in an effort to win the Daytona 200 mile race. They chose 3 British riders and 1969 AMA Grand National titleholder Dick Mann as their pilots. The bikes were equipped with magnesium crankcases, and a broad spectrum of bespoke and lightweight Honda race parts created specifically for them.

During practice, the team suffered numerous mechanical issues. The magnesium crankcases were expanding under high temperatures and the teams worried about total engine failure as a result. To remedy the problem, 4 completely stock CB750 motors were sourced from local dealers. They were modified with the existing CR750 internals. Dick Mann’s team then spotted a weakness in his cam chain tensioner. The team promptly replaced it with a tensioner from a CB450.

The CR750s lined up with over 60 other bikes, including the newest triples from Triumph and BSA, as well as the first XR750 Harley Davidsons. From the drop of the flag to the first corner, Dick Mann shot from his fourth place grid position to a fifty meter lead, using all 93HP he had on tap. He never looked back, and although Champion Gene Romeo was gaining quickly by the finish, Mann crossed the finish line in the lead. It was his first win of the Daytona 200 after 15 attempts.

The win gave Honda the boost they needed. The fact that they did it on stock CB750 cases only helped their case for the road bike. In fact, it created so much demand that Honda released a short run of CR750 kits and parts which they supplied to a select group of dealers. The kits were used to convert a stock CB750K into a race-ready machine using specially designed parts from the CR750 that could simply be bolted on. Today very few of the original kit bikes still exist in complete form with all the original parts.

OK, so enough of the blarb, I am going to leave you with a Plethora of Pics to drool over, I very much doubt we shall see too many of these rare built machines any more, so enjoy and have yourself a grand weekend.


The KC Special CB750 Honda inline Four

I have always loved creating My style of machine for Customers and this one is no exception, the KC Special turned out to be a great looking ride and the Owner Keith Conrad ( Hence K.C.) lives in Milwaukee and asked if I could revamp his old 1975 CB750 into a Silver and Black Cafe bike, I said sure thing and the deal was done, a build sheet was agreed upon and Keith sent the bike out to me.

I took the bike apart, right down to the frame, as I do all my builds, then I set about cleaning the frame up some what and smoothing some of the old factory welds, as Honda welds are quite rough back then as i guess they were hand welded and not automated as they are today.

As you can see, I took my time as I wanted the frame to really look nice in a Gloss Black on this build, I wanted it better than factory, so I took a long time to make sure that this Chassis came out nice, as i mostly powder coat my frames, unless I am using Candy Paint or Metalflake etc. Above you can see how Glossy the main frame rails are.

I took the stock gas tank and using my Egg Hammer, I pounded the sides to create Knee inserts, so you can tuck your legs in tighter to the bike and get a little more stream lined, just as they did back in the day for racing etc, this is no easy task and you will see how much it takes to do when you have a go your self, but worth the look in the end thats for certain.

The Paint scheme is High Gloss Black with Metalflake Silver panels and racing stripes and I really needed to make sure that this flowed well, and am happy with the result.

Plenty of Detail too, I hand machined out of 6061, a Custom Finned Oil Tank Dip Stick cap, this really did look trick, compared to the stock version.

Its like the saying says, the devil is in the detail and there is plenty to look at on this CB750 Cafe Bike and am stoked how the bike turned out in the end, worth all the hard graft.

The seat is one of my own that I manufacture, called “The Rocket 4” its a sleek sturdy and well rounded seat base that I produce and has the same curve as the gas tank, that way the body work then flows and give the machine the Status Quo.

Keeping in the theme of Old School styling, the seat upholstery was hand machined and small 1 inch Diamonds in white stitching with Silver piping and vintage snaps was completed to really make this stand out from the crowd.

I used an LED Custom Tail light that I offer on my website and this is bright as Einstein, and I think is a nice addition to the back of the Rocket Four seat unit, also the silver flake racing stripes really stand out nicely.

I machined some covers for the rear piggy back shocks as well as making some risers for the lower, to increase the ride height by 2 inches, out of 7071 Military spec Aluminum.

I also Chromed the rear swing-arm and hand made then Chromed a Custom Chain Guard to show the Gold 530 X-Ring chain off, I also polished the Hubs of the rims and painted the centers black to give a nice offset.

The Motor was rebuilt, as well as the carbs and synchronized etc, my Custom Oil lines were added in Black for a nice offset too, I fitted an oil Pressure gauge to keep the rider informed as to what is going on below.

As you can see, there is plenty going on here, I took a lot of time on the front sprocket cover and I even polished the rear set brackets for a more Custom look too.

Rebuilt and polished Carbs with hand machines velocity stacks from Steel Dragon really help the look of this bike and give it that Nostalgia look and it runs really hard too, there is something about hitting 6 grand on a 750, then you know you are starting to pull like a steam train.

People ask me about my gauges that I create on these inline four machines, and this one is no exception, unless I am restoring a bike, I don’t really care for the Honda’s Gauge faces as they are Green or Blue, not my favorite color of choice to be honest, wished they would of gone Black with White numerals like the Classic British machines, but oh well, so what I do is take the gauges apart and then I fit my Custom faces thats an overlay I print out, then repaint the needle and add chrome cups to embellish the bodys and give it a little more Custom look.

I have always liked to do this and it really does personalize your gauges, this time I went with the Cafe Racer Font and crossed Flags of which I think suit this Motorcycle to a Tee.

You may also notice that I have fitted a 2 inch handle Bar riser, to give a more comfortable riding position and easier strain on the wrists too, then fitted my Relocation bracket on top of the handle bar clamps to clean the top end of the bike up, with a BIG oil pressure Display light to match the Needle ends.

This is one tasty ride, the 4 into one system of mine is Ceramic Coated Silver, its a great look, almost a brushed polished Aluminum look to it, and she barks like a scolded dog when you get on the loud button, you will also noticed I machines a Finned Stabilizer Bar at the rear of the bike and did my usual drilling on the brake hub to let brake dust and heat escape under hard braking.

A lot of time and energy went into creating this machine and the owner really digs it, it is just how he wanted it and am glad that i was able to oblige with his demands.

The Customer wanted Gloss Black Rims with stainless spokes and he really did like the way these turned out on the bike and the attention to detail that I am known for on these inline fours.

I always fit an Oil pressure Gauge, as I do not trust the Honda Pressure switch thats behind the Barrels, so these run great and give true pressure as soon as you fir the bike up, as it is connected to the oil galley plug.

As you can see, New Levers, new Control switches, new Handle Bars, polished triple tree, New cables, New master cylinder and stainless nuts and bolts through out this motorcycle.

A great but solid Motorcycle, with aggression when you want it, reliability for everyday riding, and an awesome stance to give it that moving look standing still, sure does sit well in my stable.

I really did enjoy putting this bike together and felt good to know that I had done all and more than the Customer had asked me about, its one fine steed and I enjoyed slinging my leg over it.

I wanted to share it with you guys and Gals and hope you like what I have created too?

Maybe if you are in Milwaukee area, you might come across the KC Special? if you do, take a snap and send it to me, love to see it again.


A HONDA CB750K I Aptly Named The NUT BASHER

I forget to add pics of Motorcycles that I have built over the years and some times I kick my self for not posting anything, but today I will overcome my forgetfulness and add some photos of a fun creation I built using parts that I had around the shop.


I wanted to build something that was a cool reference to Cafe Racer styled Motorcycles back in the day but, of course using a later motorcycle but, still early enough to be classes a classic and I started off with a 1971 CB750 Honda four that was just basically a frame, I had a bunch of boxes with parts in them and over time, I started to put a few things together.

I had an old Fiberglass Racing Gas tank that I thought would be just the job, I fitted it to the frame and sat on the bike, immediately crushing my nuts, that’s when the Penny dropped and I thought what an apt name for the bike and thought if I did it in the style of the Norton Logo, this would look pretty Classic.

I chose to go the traditional deep Black Color and then pin line around it in Gold, as that would really give it the 1950’s era British Motorcycle look that went along with Norton, BSA, Triumph and Matchless, as well as the Vincent of course.


Now the Gas tank has a Ton Of clear sprayed on it, I had to test fit it to the frame, as I had powder coated the frame Gloss Black and Built the Motor to an 836cc and wedged her back in the chassis, the bike was looking really good and I was happy about this, but now I had to come up with a Classic styled seat unit for the Nut Basher, so I went the whole hog and built one from scratch.

I tried all sorts of ideas until something clicked, but had to thing of a cool way of mounting a tail light and I wanted to have the light incorporated into the seat hump.  I chose to French the rear Led tail light into the cowl, and although it took a full day, it came out really well indeed and was super stoked that I had gone this route on the NutBasher Machine.

It sat on the frame just right and I attached snaps to the sides of the until so I could pull the cover off and get to any documents I need, or remove the seat if I ever needed to quickly, I also made sure there was a ton of clear coat applied just incase I scratched it and could buff it out on final fit etc.

I was super happy with the way the seat unit fitted and the tail light assembly was Classic looking but in fact was an Led stop light that was as bright as Einstein.

I wanted to put a lot of detail into this creation as I knew it would turn many heads where ever it ended up, this Fuel tank held 5.5 Gallons and that made for some great riding, without worrying about running out of squirt, but it sure was bloody heavy once the tank was filled up to the top.

She was a Long and thin Motorcycle that screamed out Nostalgia, it ran hard as nails and breathed really well as it has a hand made 4 into 1 Racing exhaust that was built in less than 3 hours by a Indy Racing mechanic, this would really exit the gases well and have never heard something so mean in all my life.

This was created by a top Indy exhaust builder and designer and he didnt even need the bike to make it, just an upside down engine, it was so cool to see him knock this out.

A sheer work of art and it fitted like a glove too, this was made in Inconel and a one off like this, nobody in the world will have one like this. The material is as I said Inconel  that refers to a family of trademarked high strength austenitic nickel-chromium-iron alloys that have exceptional anti-corrosion and heat-resistance properties. … Burns Stainless recommends Inconel 625 alloy for exhaust systems due to its excellent strength, corrosion resistance and fabricability. And it sure stood up to my fire breathing 836 motor no problems at all.

This is such a nice system, shame to coat it Black but I want the bike to have a lot of Black parts on it, so ceramic coated it will get and I am sure it will look great.

This Motorcycle will not just look fast, it will haul so much arse, it will leave people scratching their heads as it goes by, and the roar from the exhaust will stay with them for a lifetime I should think.

Another thing that I do and nobody ever did back then was, make my own gauge faces, I have created many over the years and this Ton Up machine needed a great set of gauge faces to give the top end of the bike some class too.  So I went with a Roaring Tiger, Synonymous with the 1950’s Triumphs and colorful to say the least.

These are really easy to apply and give your tired old gauges a brand new lease of life, also very unique and personal to your bike, something that I have been very proud of.

I even repaint the needles and add a longer Red line to the end, so you can clearly see where the needle is pointing at speed, also if you look, I have readjusted the configuration of the gauge faces and they digits start at a different position than the stock factory versions.

Not sure that you will notice but, I also changed the 100 to the word TON, which of course means the magic 100 MPH and a milestone in Café Racers back in the day to reach that Golden triple digit. I also added my own Oil Light warning  display of which has a High Beam and Neutral light, just to keep you informed as to what’s going on up top.

The Motor was totally rebuilt, the head was Ported and polished and has an 836 Yoshi kit inside the jugs, this pulled like a steam train and of course, stainless Allen head bolts throughout the whole engine. I also drilled the starter Motor cover and fitted bronze mesh for a cool Look.

Rear Hub got my Custom drilling and Polishing detail, as well as rear brake arm, I sure loved creating this Motorcycle and always enjoy doing my own thing to it.

I machined my own Motor mount to follow the fins of the engine and on ALL motors, I have always run an Alcohol filled Oil Pressure gauge, to give me a true reading of actual engine oil pressure, through the oil galley.

Cerakoted exhaust system looks great against the Silver and Polished Aluminum of the inline four engine, I used Italian rear sets to give this bike a wee bit more aggressive stance when you are sat upon it. I sell many pairs of these and dead easy to fit, they function so well and smooth, I try and use these on the majority of my creations.

All clean and new, this bike ran so well, it was like a new wrist watch to be honest and sure do miss this Beast of a Motorcycle, but enjoyed every minute building it.

Rear sets look pretty darn cool, I drilled and polished the sprocket cover too, for that Racy look and give it a little more Bling, personal choice but I have fun doing that.

The Grips you may find to be from somewhere else, and you would be right, I used Original 1970’s Schwinn Bicycle grips, put them in Boiling water and then pushed them onto the handlebars, they fitted snug as a bug when they cooled down and look great and flow with the piggy back shock reservoir’s.


A tall drink of water for sure, running on 18 inch rims and Bridgestone tires, a Combination I have used many many times, these have great grip in all weather but of course, have a nice Classic tread pattern too.

I have always been a fan of how this bike has sat, she looks ready to race off down the road from any angle, I also made sure that the front fender sat tightly to the tire.

I also removed the fender stays to clean the look up at front and I think that it works well, I hand drilled the front rotor and you can see much polishing of Aluminum was done to give this bike some class.

There really is a lot of detail that you will not notice at first but hope you like what I have done, we are all different and have many styles we like, but I get a lot of emails about this build and thought that it was time that I shared it with you lot.

I should of made a mold of the gas tank as I really liked that shape, even with the Chin Divot at the front of the tank, that goes back to the early TT days and stream lining.

Everything redone, even machines the Oil Filter Housing to give it some fins, a thoroughly pleasing to the eye motorbike that I am quite proud of creating.

Thanks for looking at The Nut Basher, I hope you liked what I have done to this old inline Four Honda and I continue to build and make parts for these 500 pounders.

Thank you for reading about this bike, if I can help you with Parts, Service or just if you are stuck, you can email or text me. carpy@carpyscaferacers.com carpysgarage@aol.com or TEXT 714-598-8392

Time and Tide wait for no Man or Woman

No matter what is going on in the world, one thing remands the same, and that is the ticking Clock, she will always continue to grind away 24-7 and I am vert aware at times of that as deadlines come up real fast when yo are a small business, but, there is nothing better than being your own boss, so that out weighs the stress and difficulties that we all endure at times in the trade that we are in. Time to get on my Bike and start to design some New parts for you all.

Things are changing for me and not long to go until I get my Own Brand New Workshop/Barn, exciting times for sure and look forward to spending some quality time in there and banging away at some projects that I must get completed my self. Sometimes I need to Police my self to get things finished, but a New Workshop is something to keep you Motivated that’s for sure.

I have just made up a bunch of Braided Hose Oil Lines and Braided brake lines, one piece and 2 piece front brake lines to cover any of your builds and continue to make and design more parts for the inline four, as well as other makes too. Have fun on your Machines this weekend everybody.