Blog
Little bit more drilling, but this time, the Front Sprocket Cover.
Another day and some more Therapeutic drilling to do, this time I thought I would show you how I drill the Front Sprocket cover, just to give it that Custom look from the standard plain version.
It is totally up to you, how far and wild you want to go with your sprocket cover, but I love doing this as it is calming and I enjoy making pieces like this, not one pattern the same.
I always secure my covers onto an old piece of ply wood, using a drywall screw and some washers, this holds it fine, then simply get the drill out and an assortment of drill bits. make sure you wear gloves and goggles as you will get plenty of shavings everywhere, so keep a Vacuum handy too.
Yeah I know, Swiss Cheese, but I really like the look of this and having the Lightning holes is a reminder of yesteryear of the old racers etc.
This takes about an hour, but all depends on how intricate the pattern you are going for, I simply fire the drill up and just go for it, no plan really, just see where it leads me.
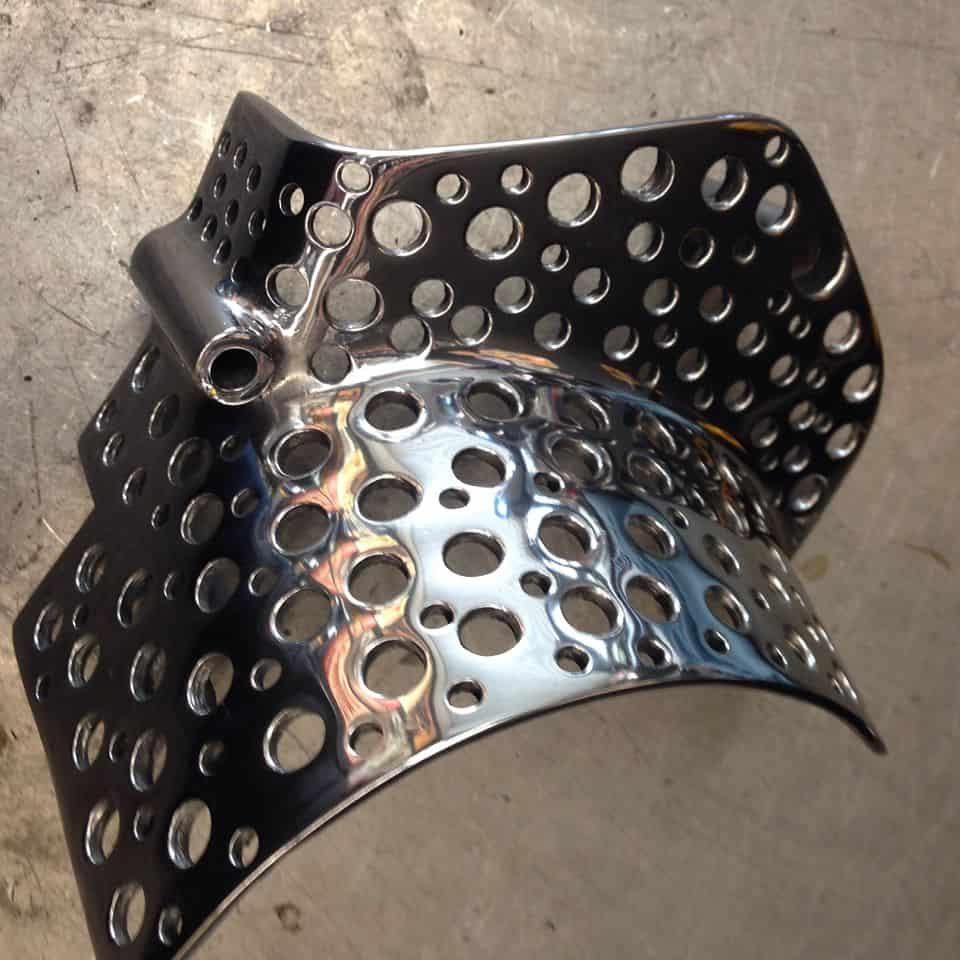
Looks a lot different when its all polished up eh? and I always smile once I have completed one of these pieces and boy does the Sun catch the Aluminum.
I have made about 50 of these over the years and they are always a different pattern, its fun to do and once you start, you will be happy that you did this.
Another one I did, these are like Jewels when polished up and really do change the look of your Custom Ride, so if you are bored at home, dang it- have a go at this.
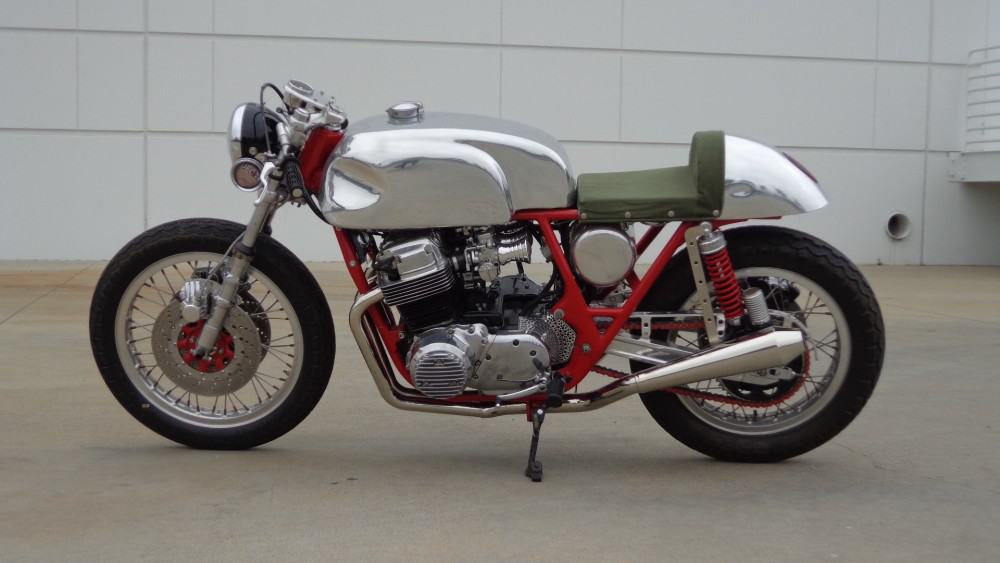
Fitted on my CB750 and changed the look of that area right away, I get many comments on the drilling, so it must grab people attention.
Let me know if I can help you with yours , as I drill many of these and really do enjoy the task of changing them from boring solid plates, to Custom pieces.
Thanks for reading my little Blog and maybe I have inspired you to have a go at home whilst you are in lock Down.


