Blog, Cafe's I built
The ‘Hot Tamale’ Otherwise known as the HTML
Well, this time we have come up with a fun concept for this machine, started off as quite a loud and obnoxious Orange color that would never get lost in a parking lot. This bike is actually a friend of mine and he has designed me the New website.
So-if you need a web design or anything web related drop him a line at: christian@riggscreative.com
A very cool guy that will walk you through what ever need you require and, at a very affordable and workable price too.
So I always need a wee bit of information on the bike etc and what the owner does before I get started, as that gives me some cool insight to what they do and then can try and think of a name or theme for that creation.
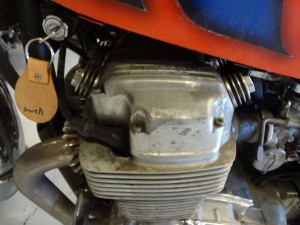
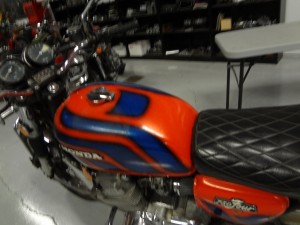
The color concept on here right now was right ut of the 70’s and had quite a lot of corrosion from being sat outside for many years.
Christian purchased the bike down near the border in San Diego, so I thought that a cool name for this machine would be Hot Tamale, seeing as it was close to Mexico, but also as a double barrel, I am going to have the initial of that and it will say HTML, but thats also the machine code for websites etc and a great tie in with the owner.
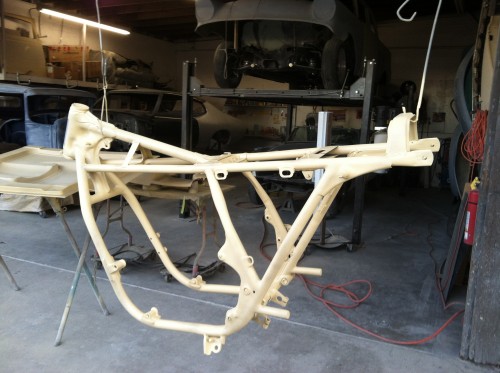
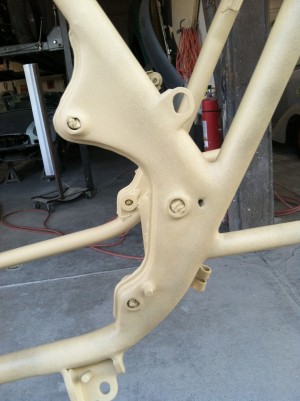
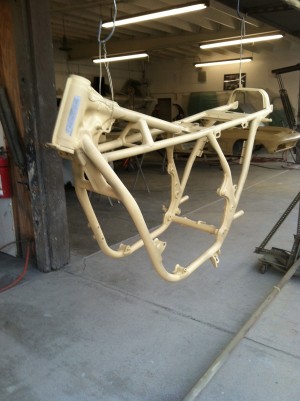
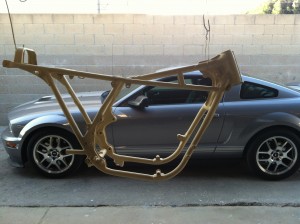
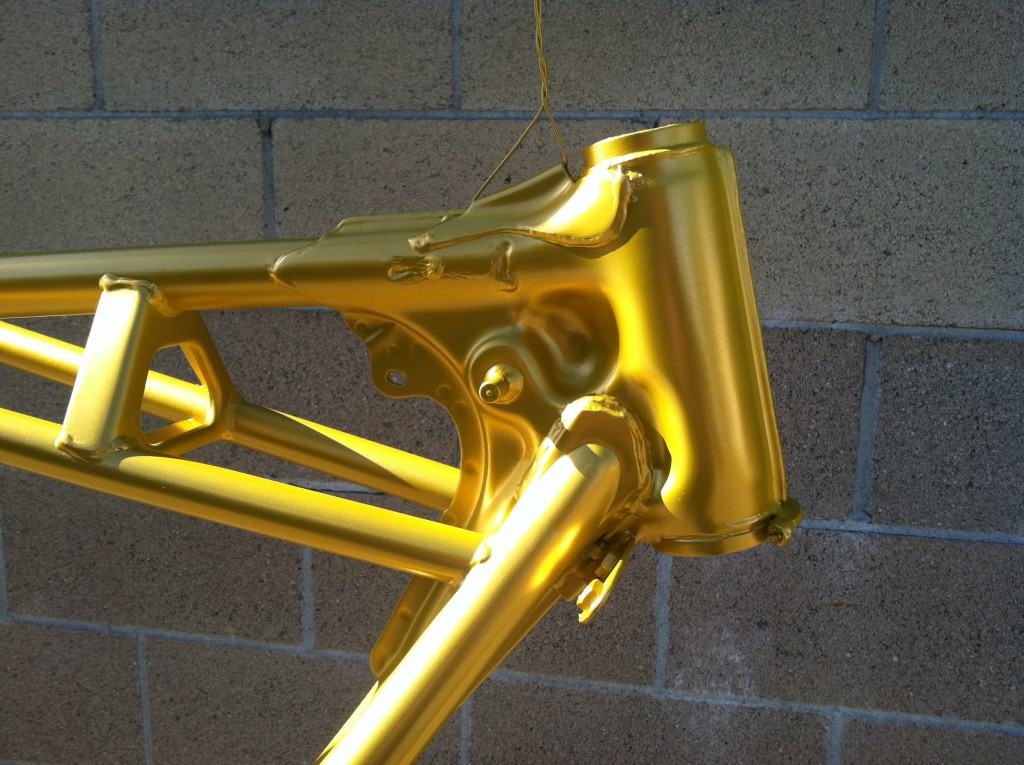
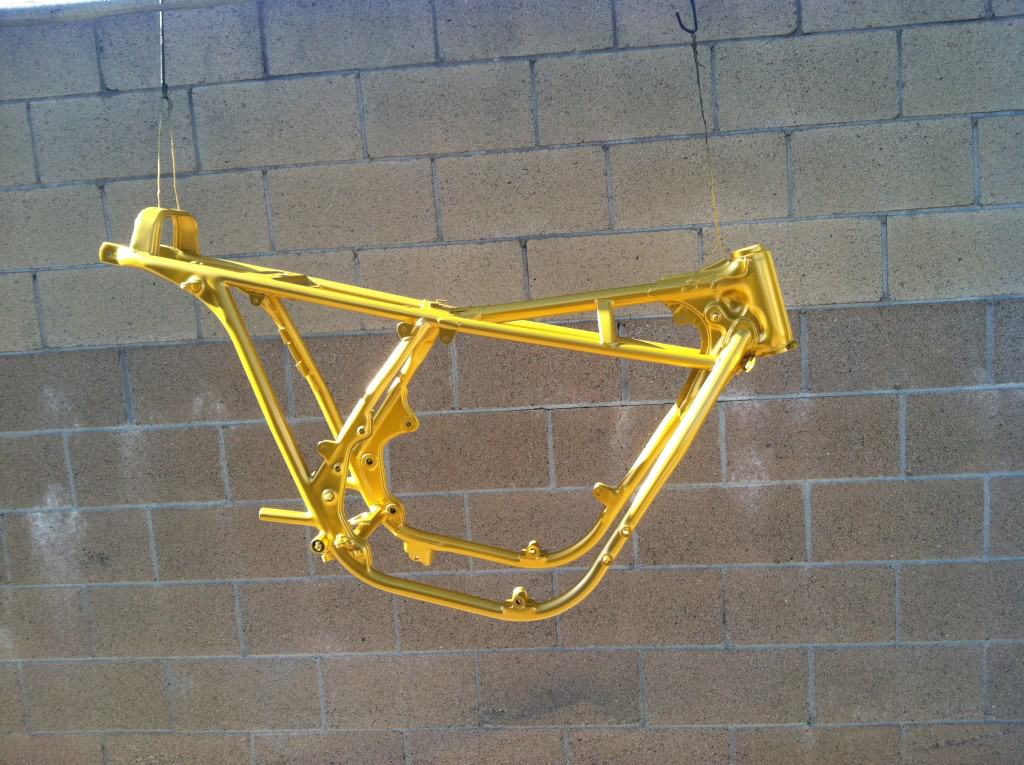
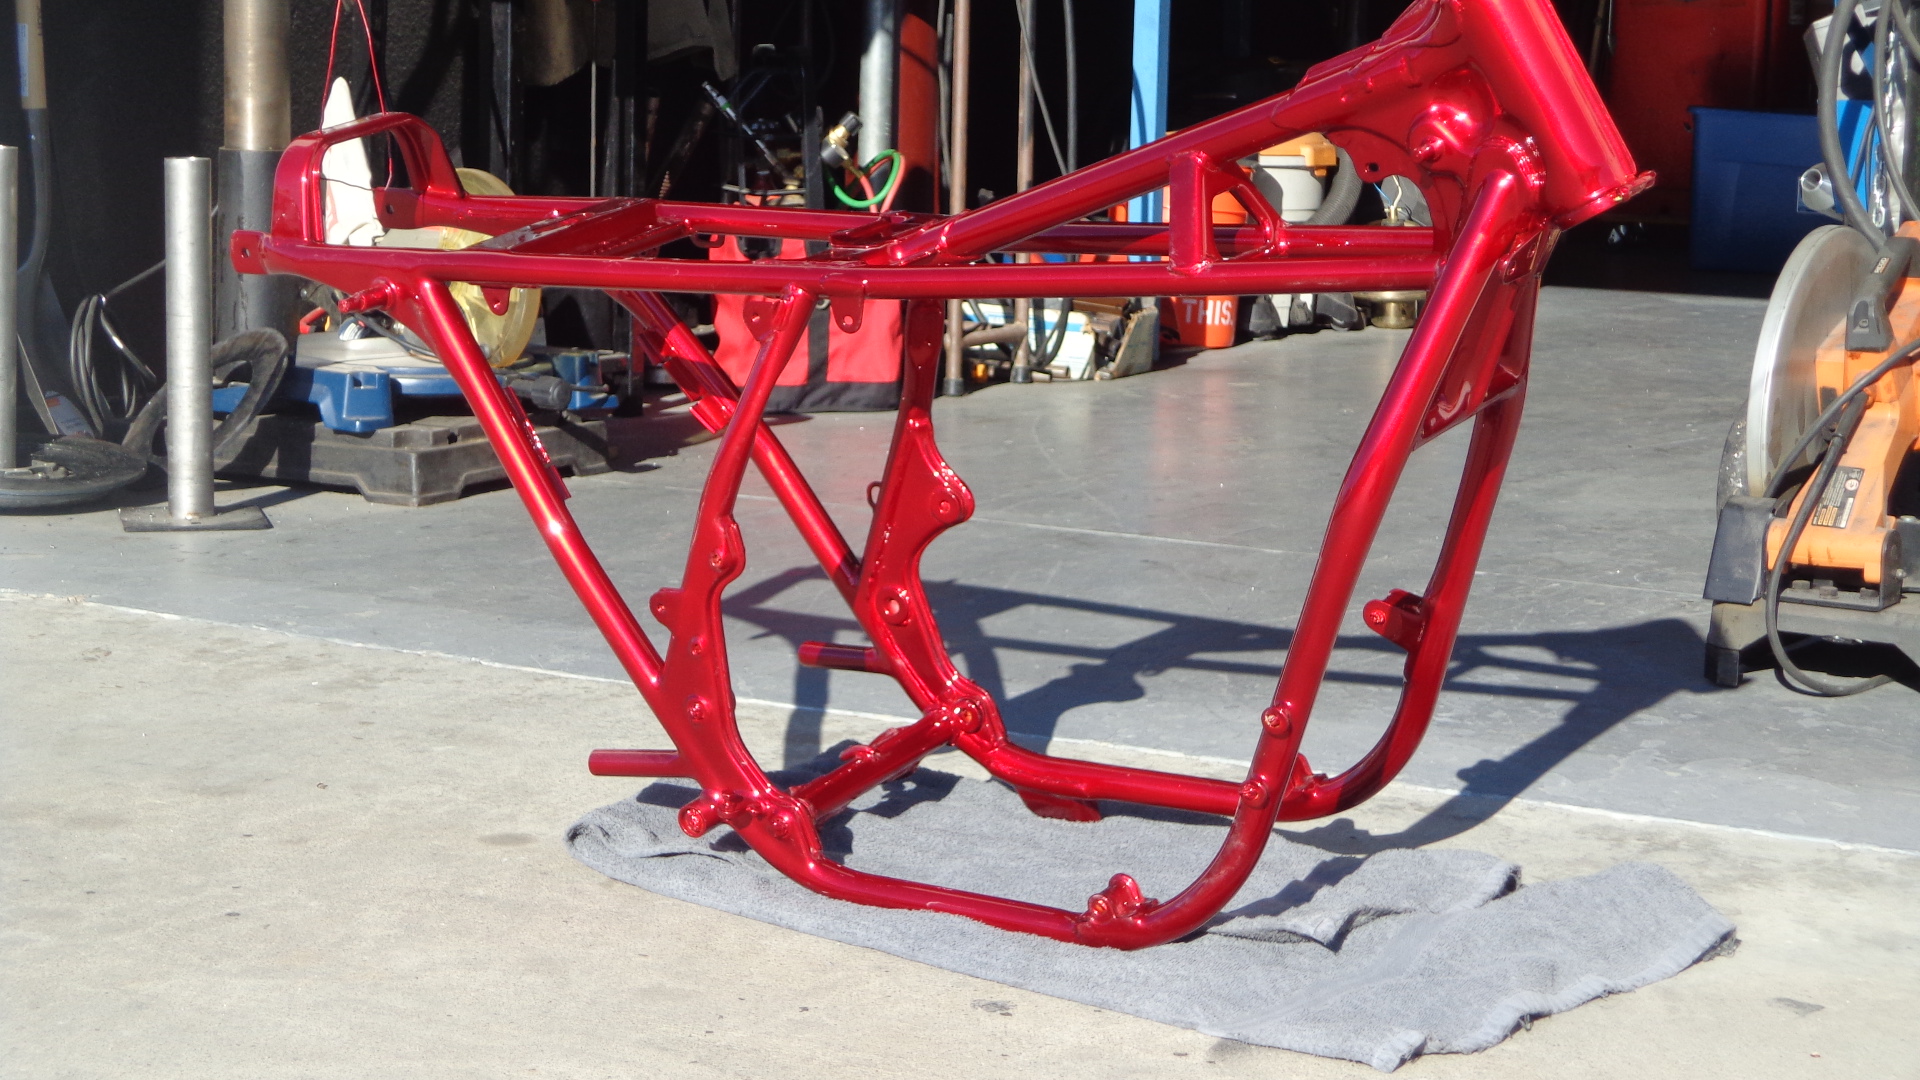
To make the right start, I stripped the bike down to the frame, bead blasted it until the metal was clean, filed the frame for any imperfections, then all the hard work began on this as the whole chassis then had all the welds covered and smoothed and then 6 layers of high fill primer that was sanded by hand to get a really smooth finish to allow for a few layers of Candy paint to be applied.
Hard to appreciate the time and effort that goes into the preperation of a show quality frame, but this had so many man hours into it.
As you can see, this is a long process and to be honest you haven’t seen much of the entire work that has gone into the frame alone, first the frame is bead blasted and cleaned, then the welds grinded and filled smooth, then hit with high Fill primer and hand sanded until a smooth finish is acquired, then it has to be sanded again and the base coat of Aztec Gold needs to be applied.
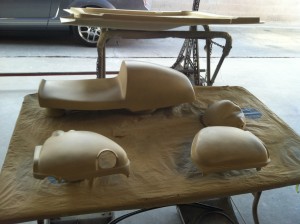
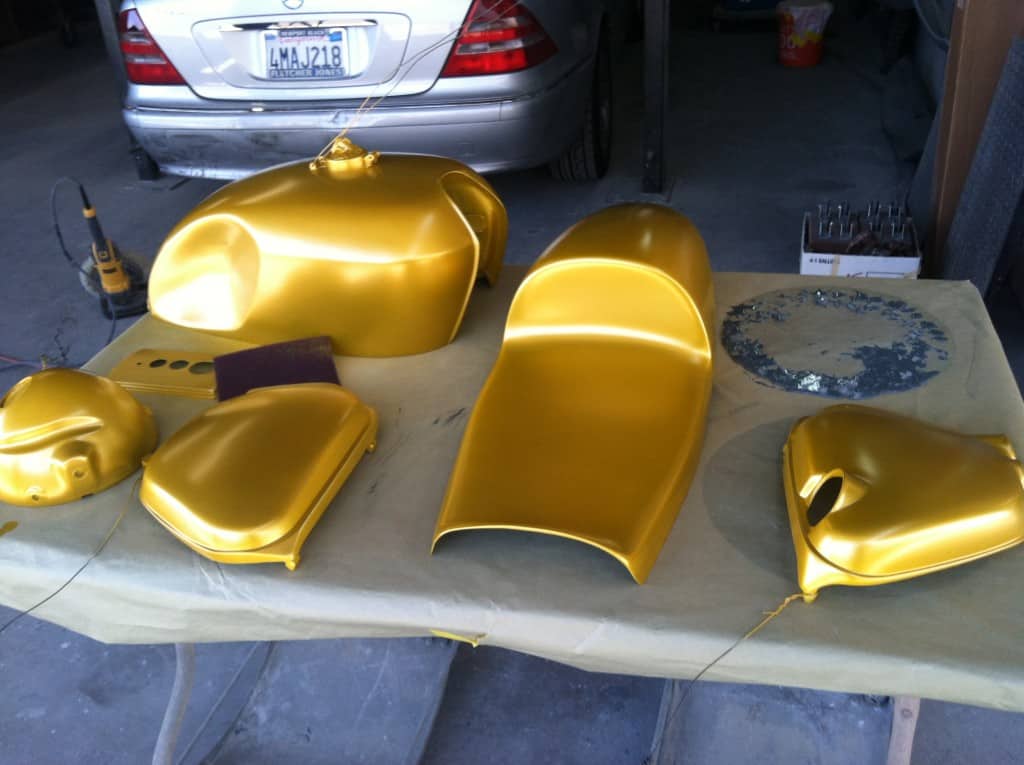
This machine undergoes so many procedures and work by hand, until you have tried this yourself, you will never inderstand the man hours alone just to get the frame completed as well as the tank, side covers and seat, as these have to all be painted at the same time as you cannot for the life of you, match candy paint.
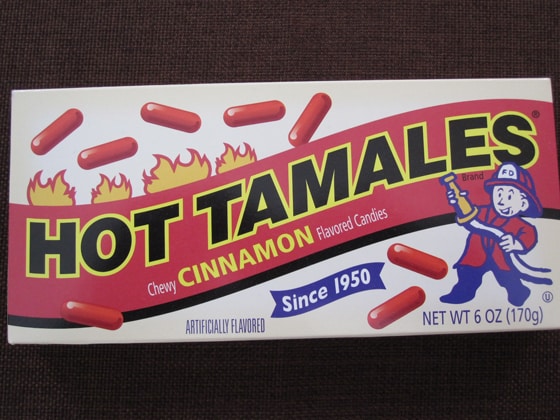
So, now all the parts that I want Candy have now been spainted and sanded and ready for the Color, and the color is Hot Tamale Candy, which I wanted to match the Red from the real Candy you used to buy as a kid and still available today. To get the Candy color of the kids sweets, I used an Aztec Gold base to set the base.
So now its time to get some paint to try and emulate the kids Candy from the local store.
It was fun trying to match it but we managed to get it bang on to be honest.
I am So glad that trying different colors finally worked out to the shade of Candy red we wanted and had to count all the coats of candy Red to make sure that it matches the rest of the parts, else it would all look different shades, Candy is one of the hardest to paint.
I think I did pretty good and as I said, this is a double barrel name so it works really well, a hot color that will really pop under the sun.
Now the work begins on this machine and I have to be so careful not to scratch any of the paint work as you simply cannot match this color by touch up.
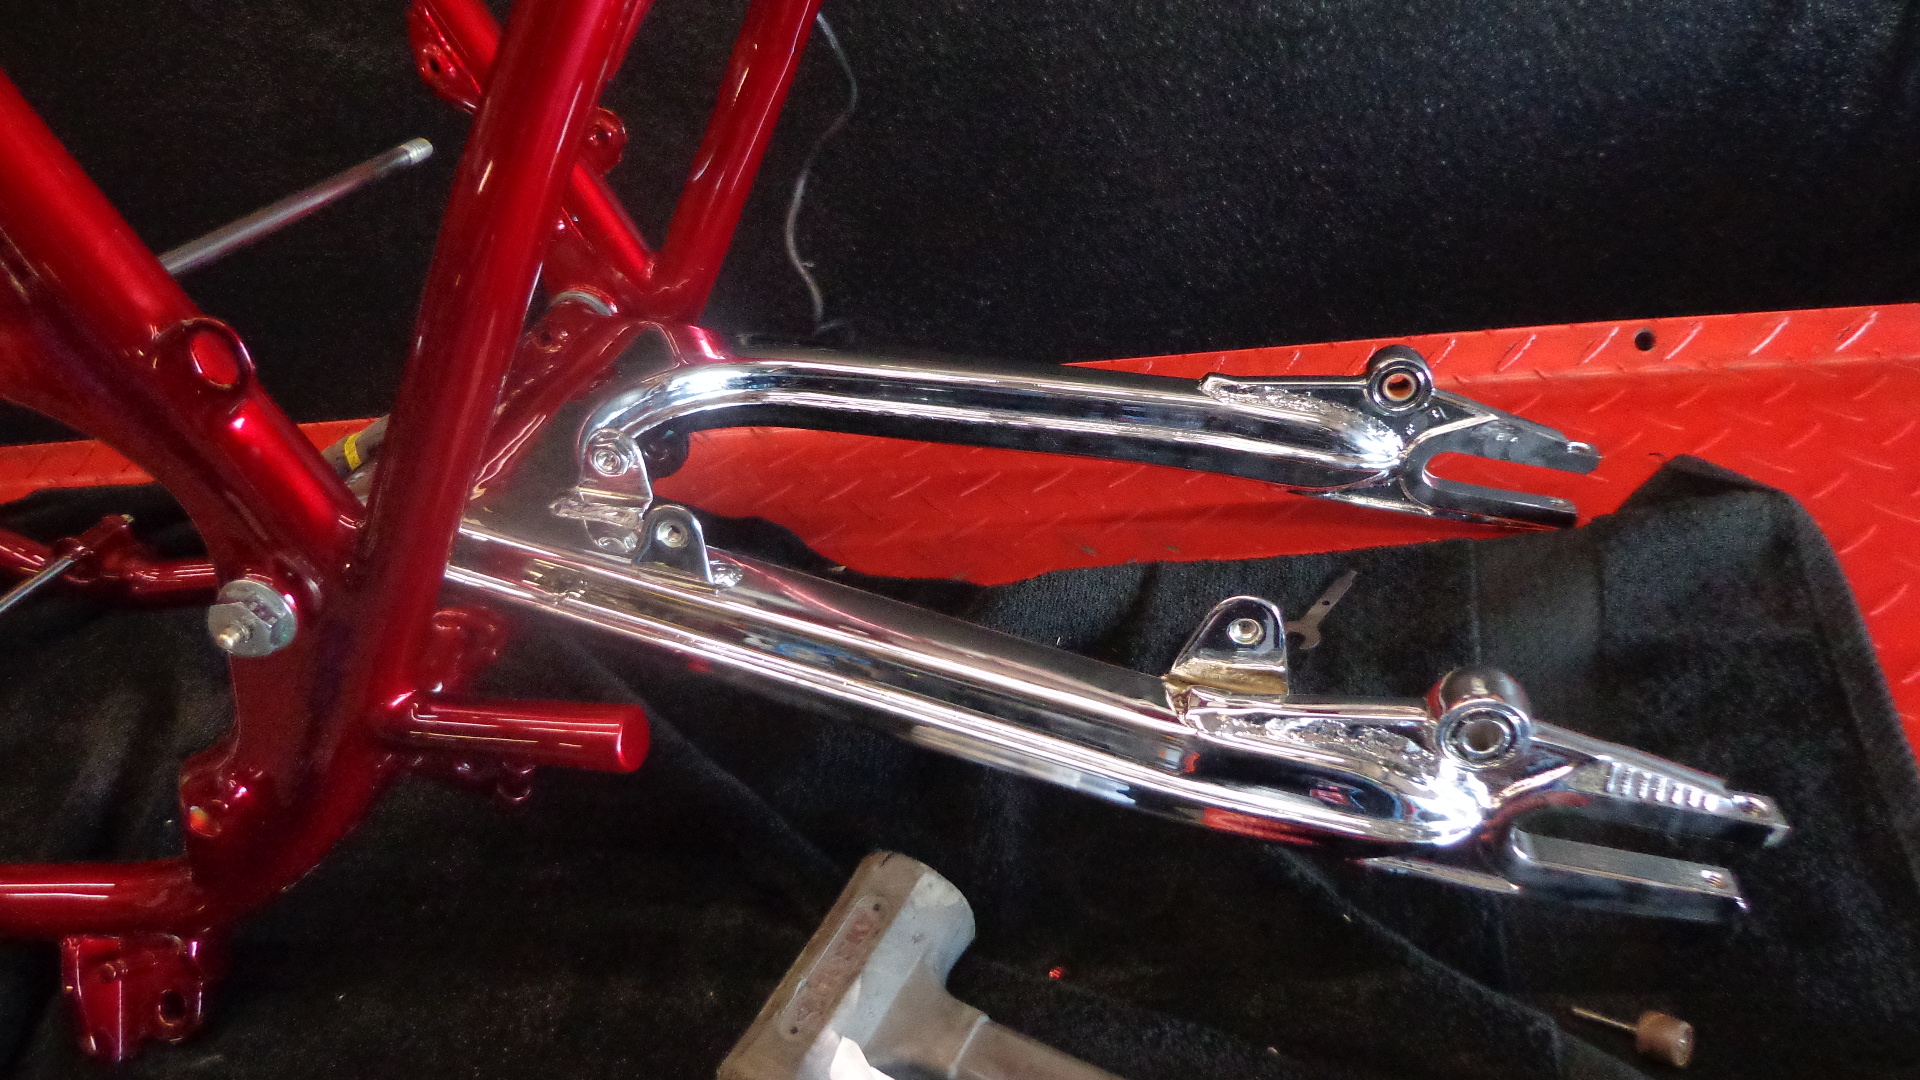
I am being as careful as I can, but still needed a soft hammer to tap the swing arm into lace and then push through the spindle, and- this is all on my own today so really have to be careful.
I rebuilt the front end and made sure that I chromed the lower tree, and then polished the upper to look as good as a chrome finish, then simply added the races and new grease and bearings.
Front forks I machined and magnafluxed, and New tubes, as well as new seals and hardware, makes this stand out from the crowd, i am just going to add old rims as I am going to be polishing the hubs and painting Candy red in the centers.
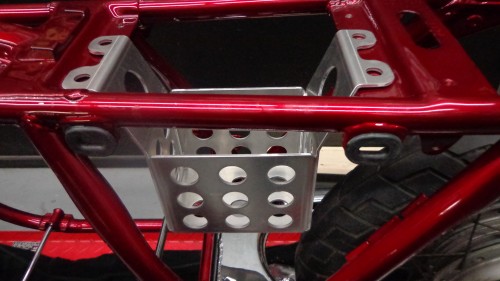
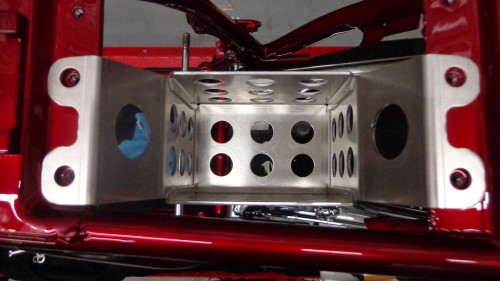
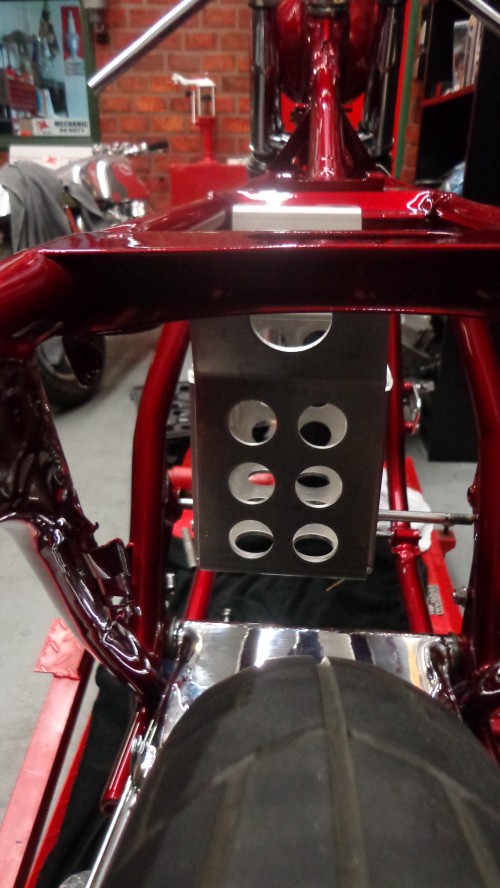
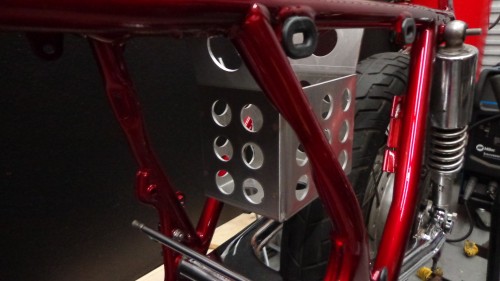
Next up is My Hand made Battery Box that’s made from 6061 Aluminum and we use brass Rivets to give that Aircraft quality, nobody was making anything for the SOHC bikes and I needed some cool parts for my own machine and set about designing some neat styling to add to your inline four and from there on I continued to make more parts.
This fits in the original area that the stock battery did, but you must admit, this looks way cooler? I have always liked the Hot Rod styling and think that this design of mine pulls that look off big time and is a very functional lightweight piece for the bike.
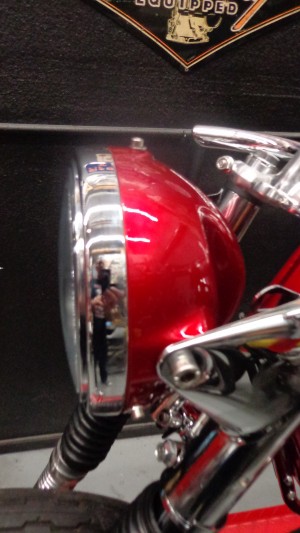
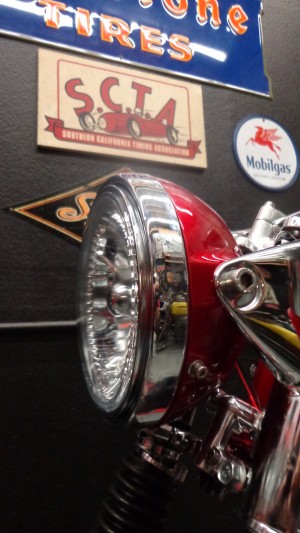
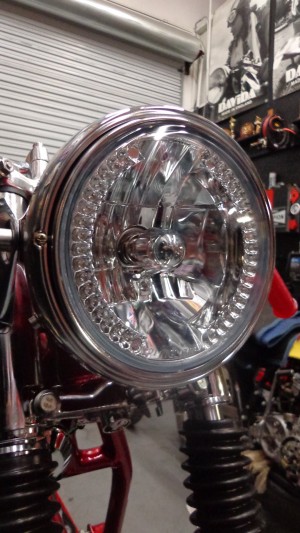
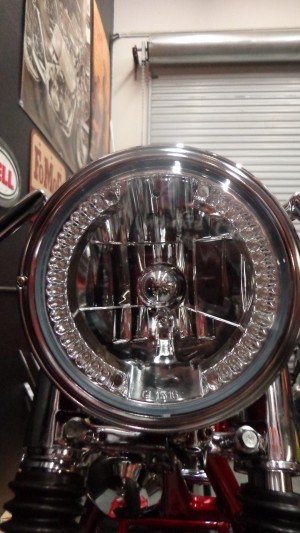
So much to do, in so little time, but rebuilding is always fun when everything goes to plan. I was also fed up with dim headlights and not a huge fan of turn signals and wanted to clean the front end up, i started to fit these to bikes years ago and now it has become quite popular but I fitted my 32 LED Light and the internal signals are bright and very very cool.
So easy to wire up, they look clear, but when the turn signal is used they glow bright Orange.
Now onto to some cool stuff, as I thought long and hard about this creation and she sure is going to be bright and attention getting.
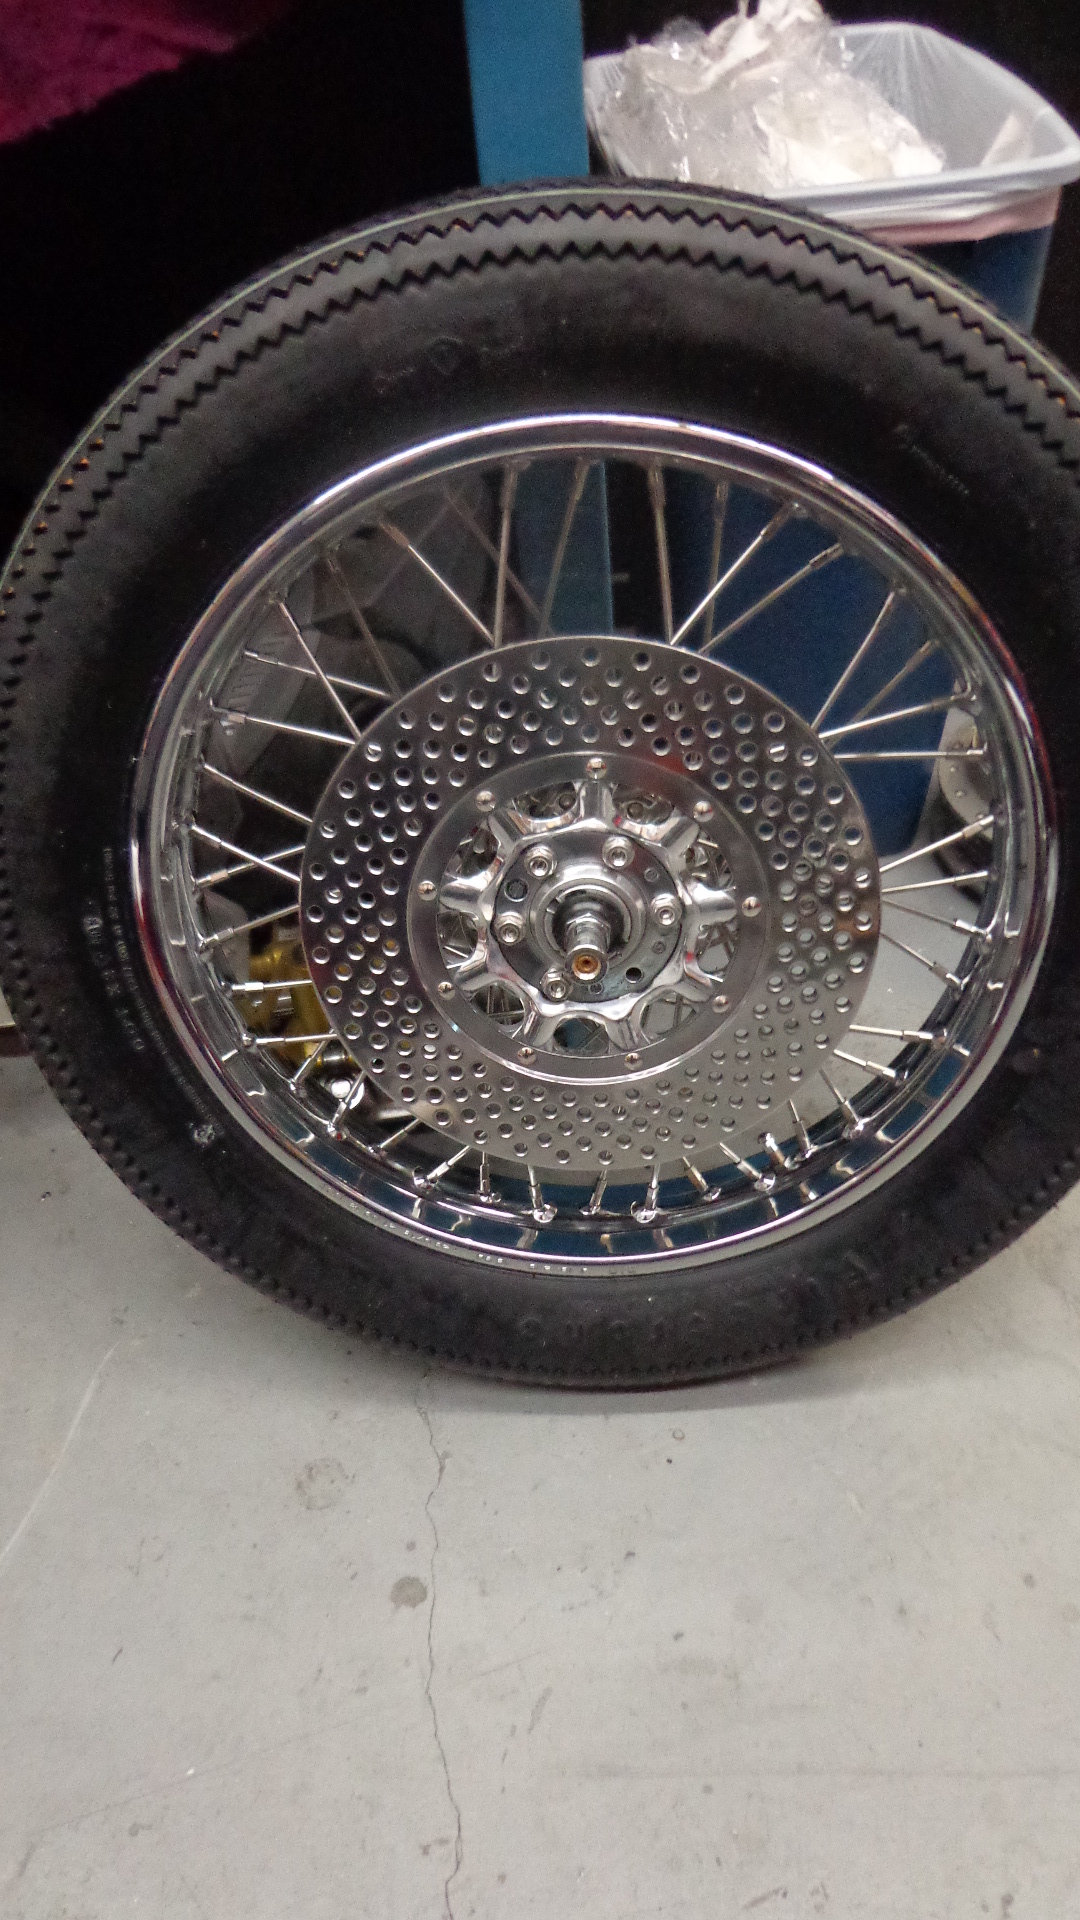
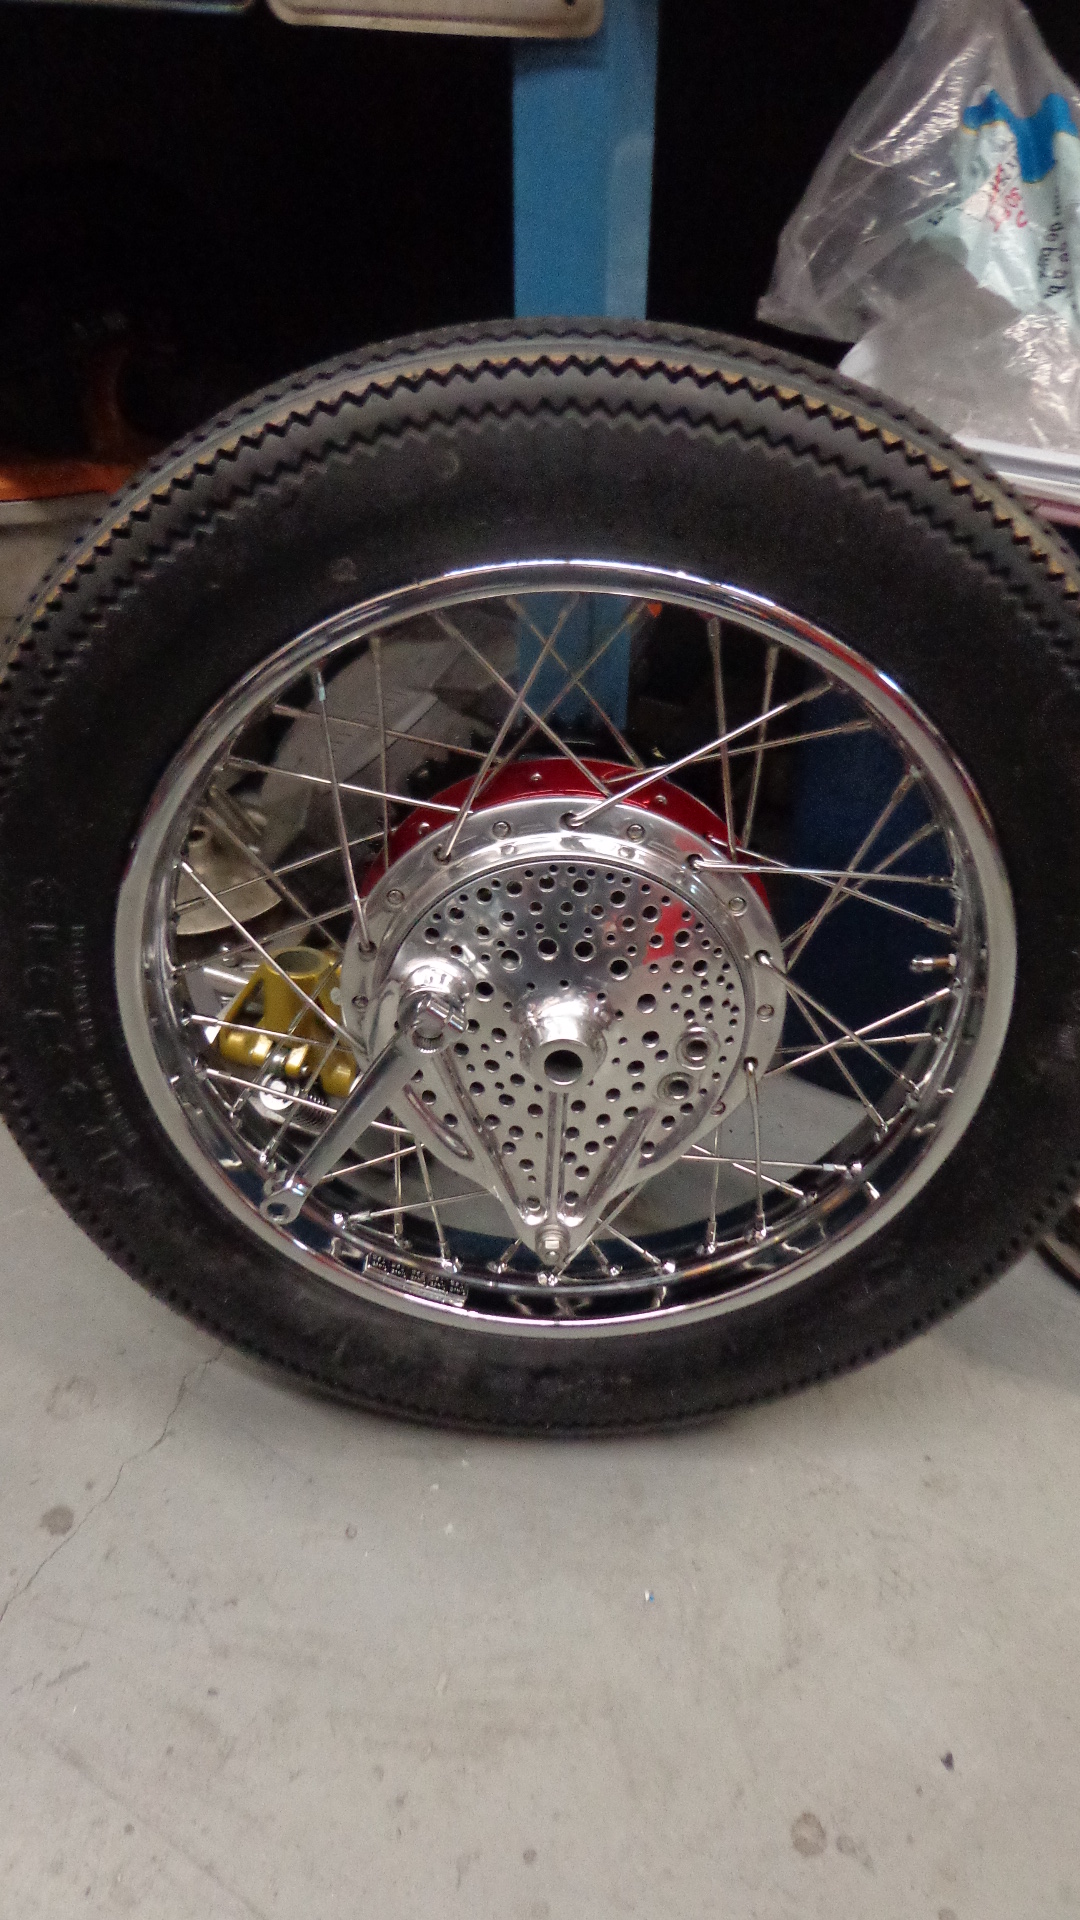
I then used brand New Genuine Honda rims and after the hubs were stripped, polished, painted and New bearings fitted, re-laced to the rims and finally, throwing on some vintage style Firestone tires to have that old School Custom Look.
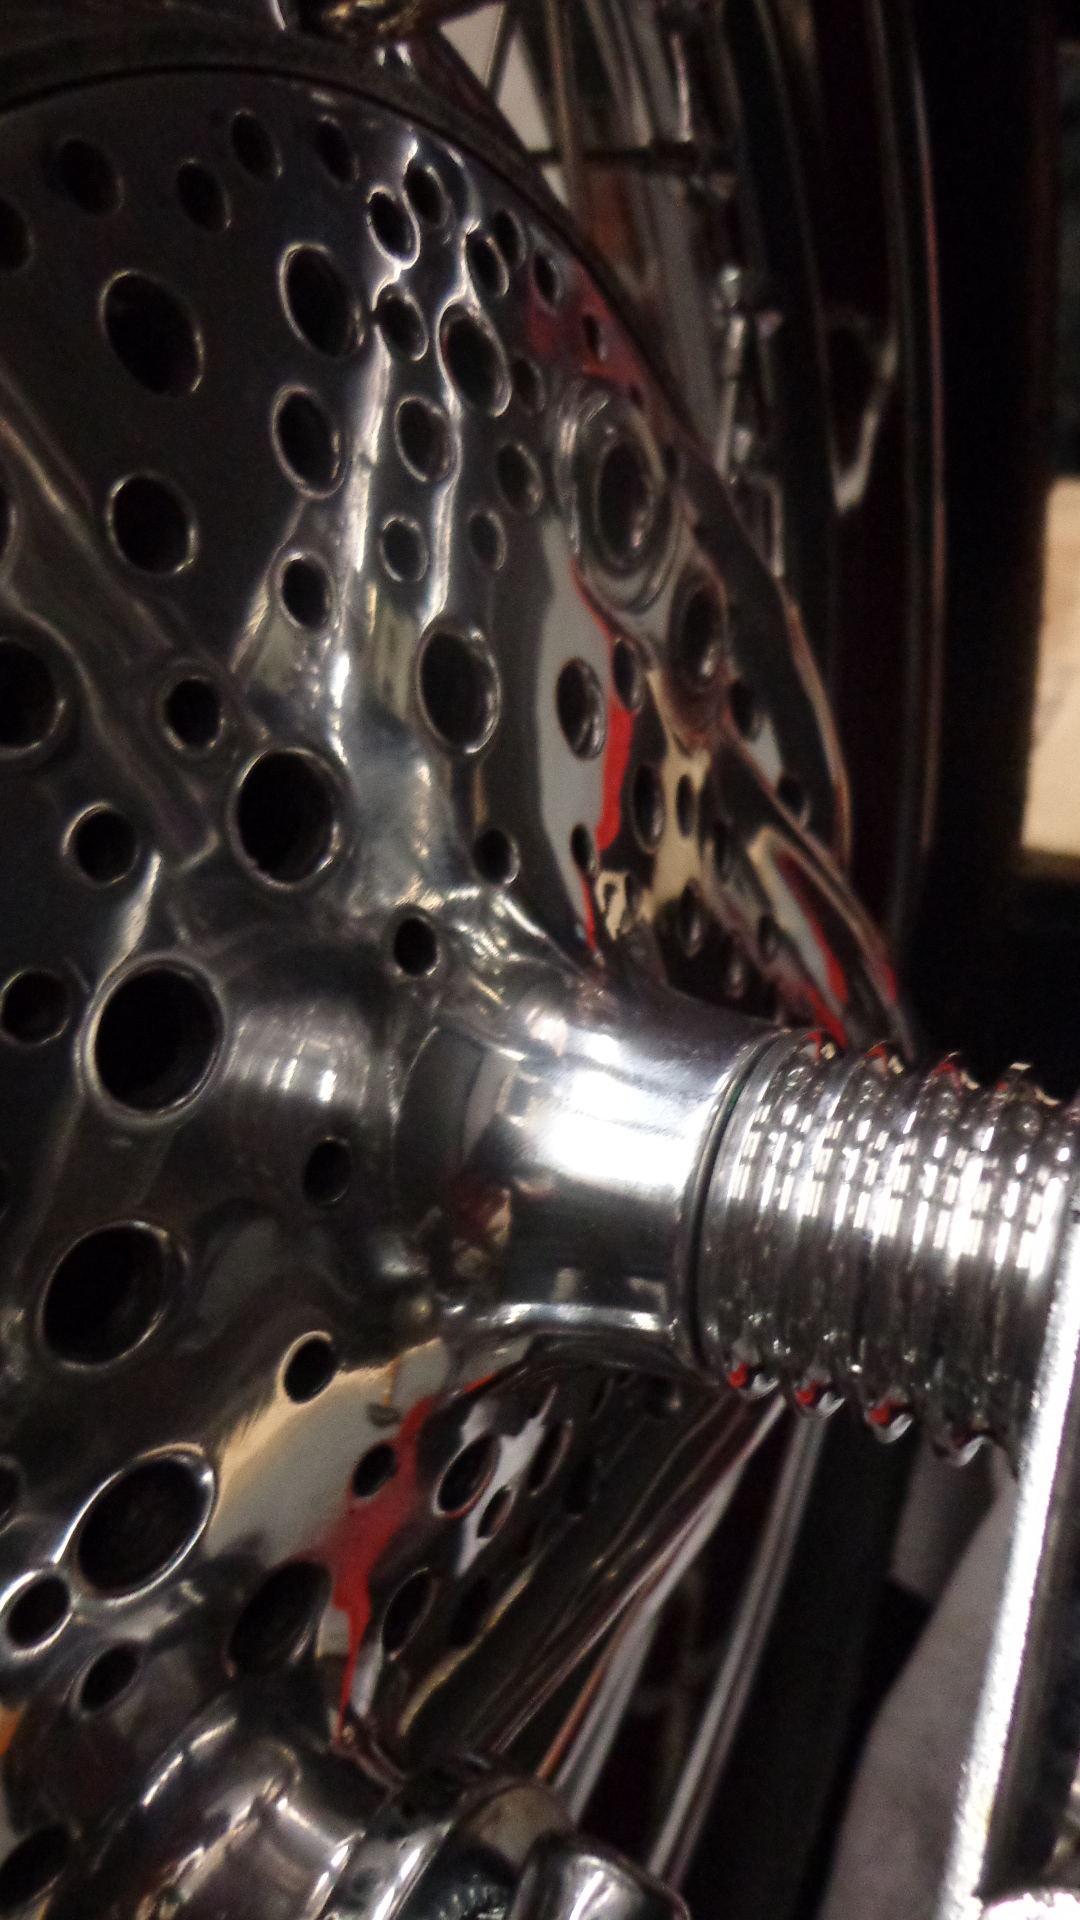
I drilled more holes in the front Rotor than BP has done in the Louisiana state, then polished the center.
Just have a look at how much work this takes, I stripped the forks and then machined the fins into the lowers, then I magnafluxed them to check out of there was any hairline cracks, once that was established I polished them and fitted the dampeners and then brand New fork tubes and seals, as well as fitting New Black Factory gators and New chrome fork ear clips, to really make this stand out from the rest.
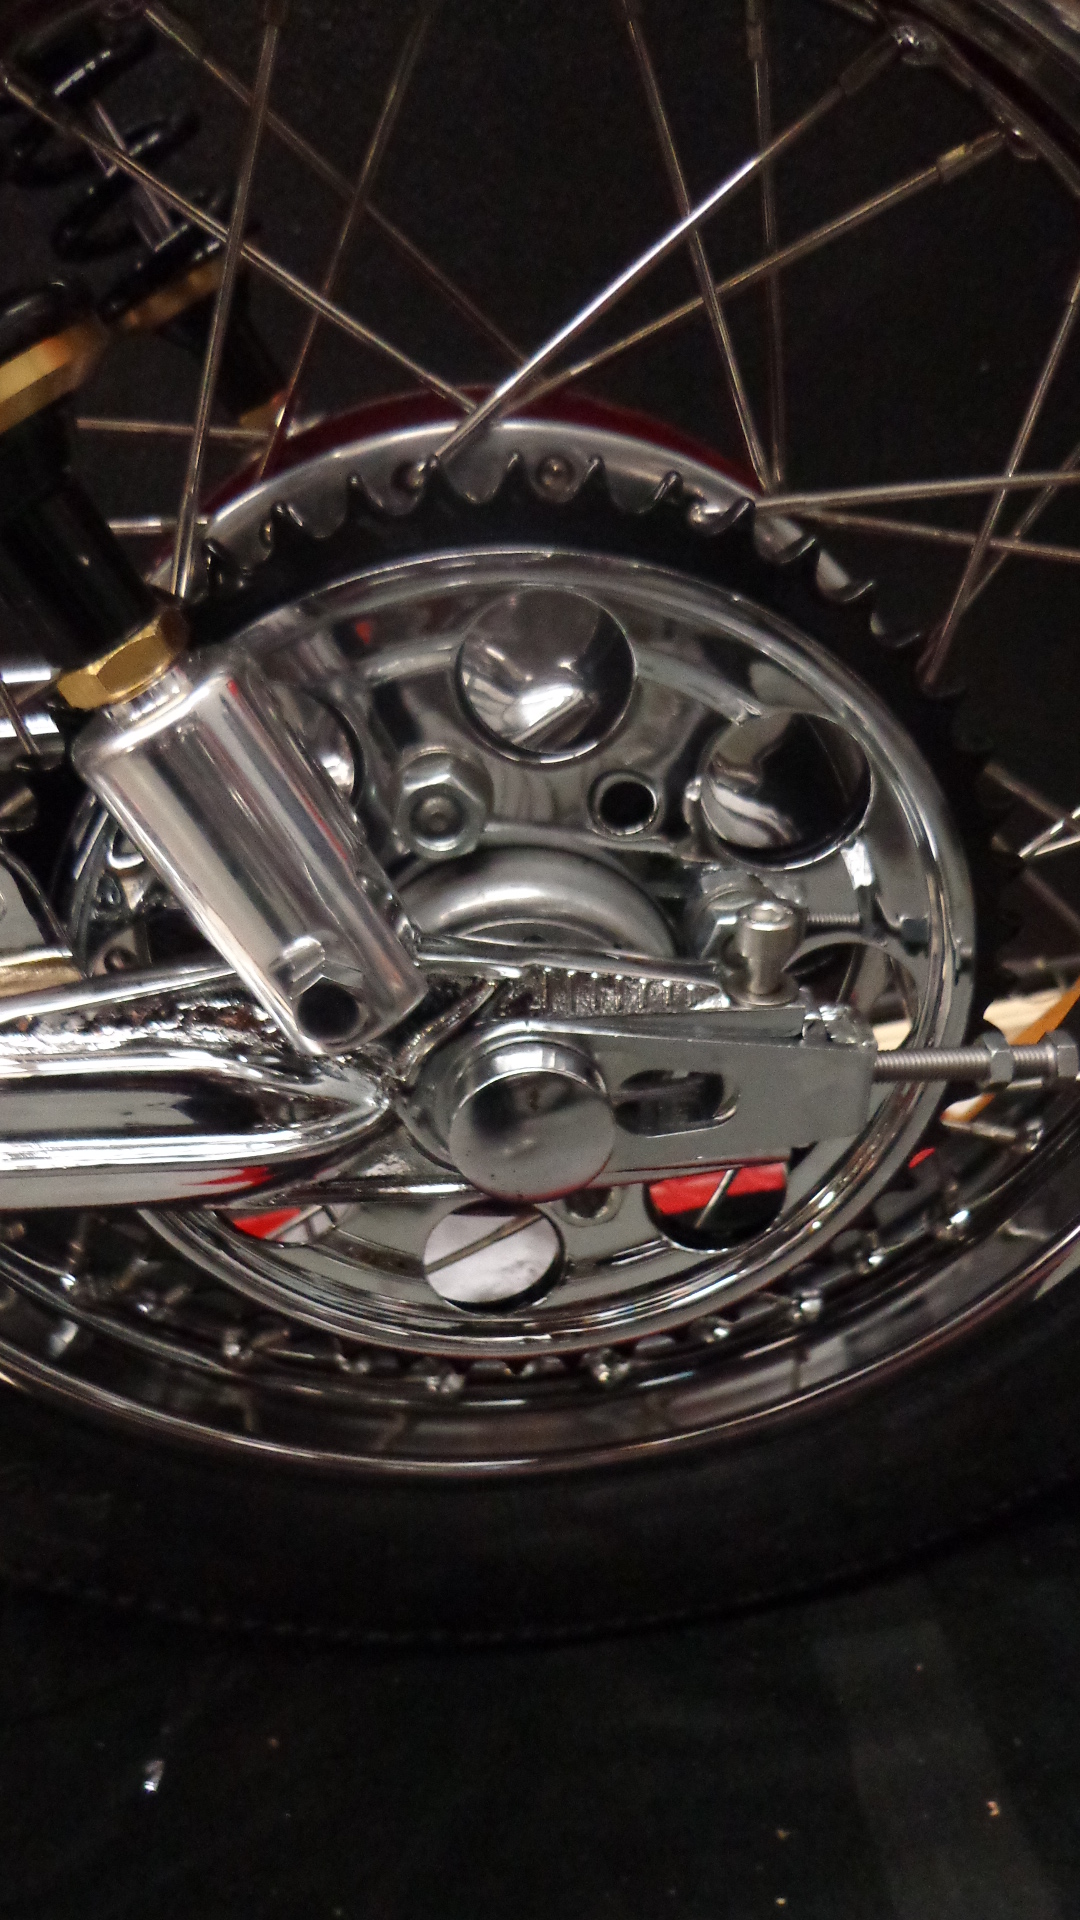
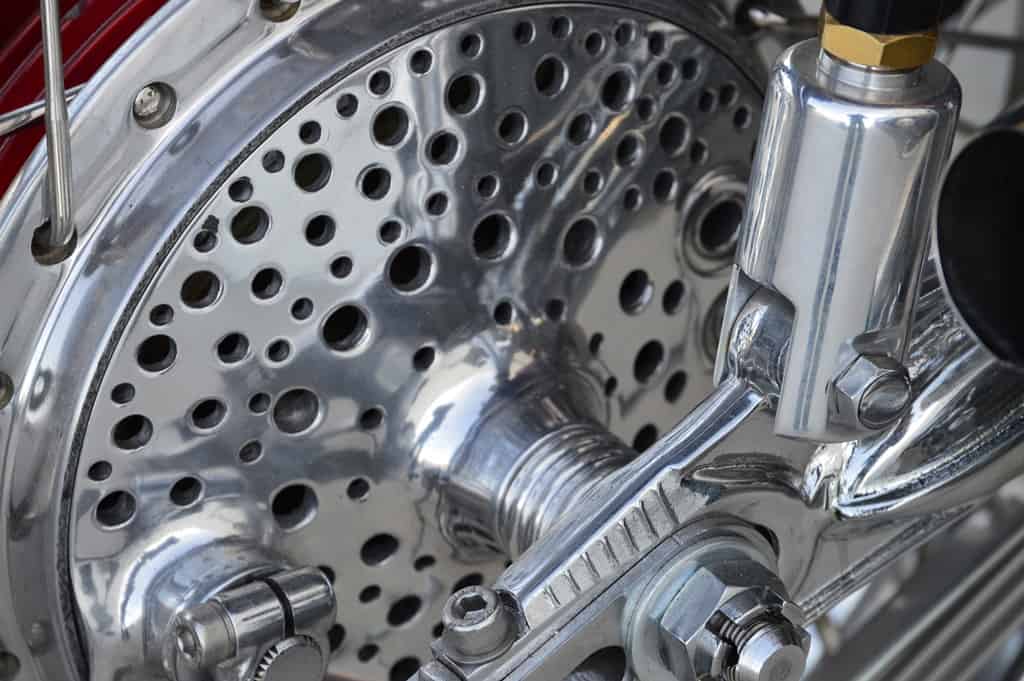
To match the front Brake Rotor, I did my usual and drilled the rear brake hub, then polished it to a chrome like finish, fitted new brake shoes, actuator and springs and this looks killer.
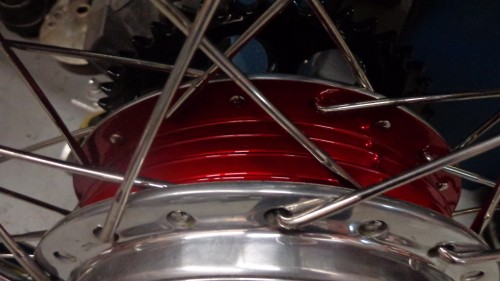
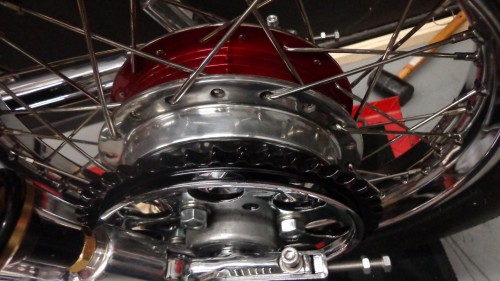
This makes all the difference when painting the center of the hub and making final touches to the rest, this is one sweet rear wheel.
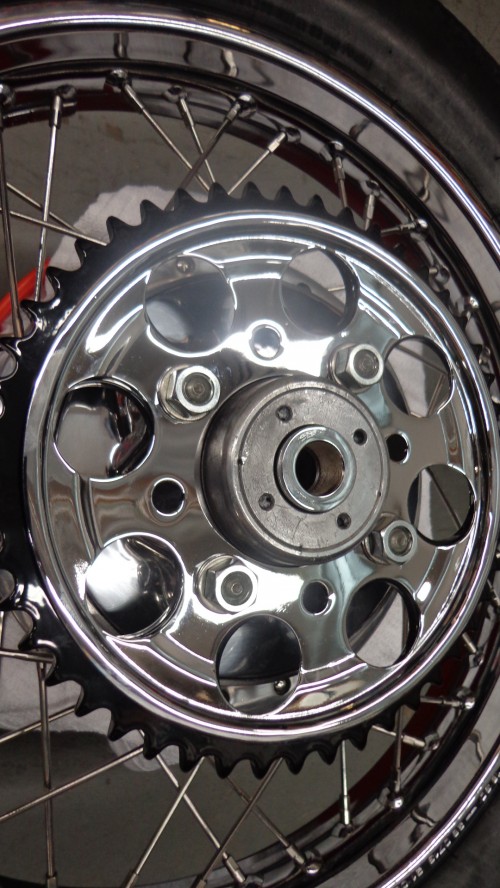
With New Bearings, and I also powder coated the rear sprocket to match the tire, gives it some contrast, I even chromed the safety ring to give it a little more Bling.
Of course, I stripped the original rear swing arm and then chromed it, fitted New Bushings and plopped this all together on my own on a Saturday afternoon.
OK, this time I fitted brand New piggy Back Shocks, new Honda hardware and our 2 inches extended Alloy Shock lowers, gives this bike the right stance.
Oh yes, one of our finned rear spacers was a must on this creation.
I like the way that this bike is taking shape and the Customer is letting me run with this, so I can use my own creativeness.
How can you not like this? It really is a warm and Custom color that will really stand out where ever the bike is parked up.
Christians machine will get a lot of detail and a mixture of Aztec Candy Gold and the Candy Tomale Red to show this unique machine off.
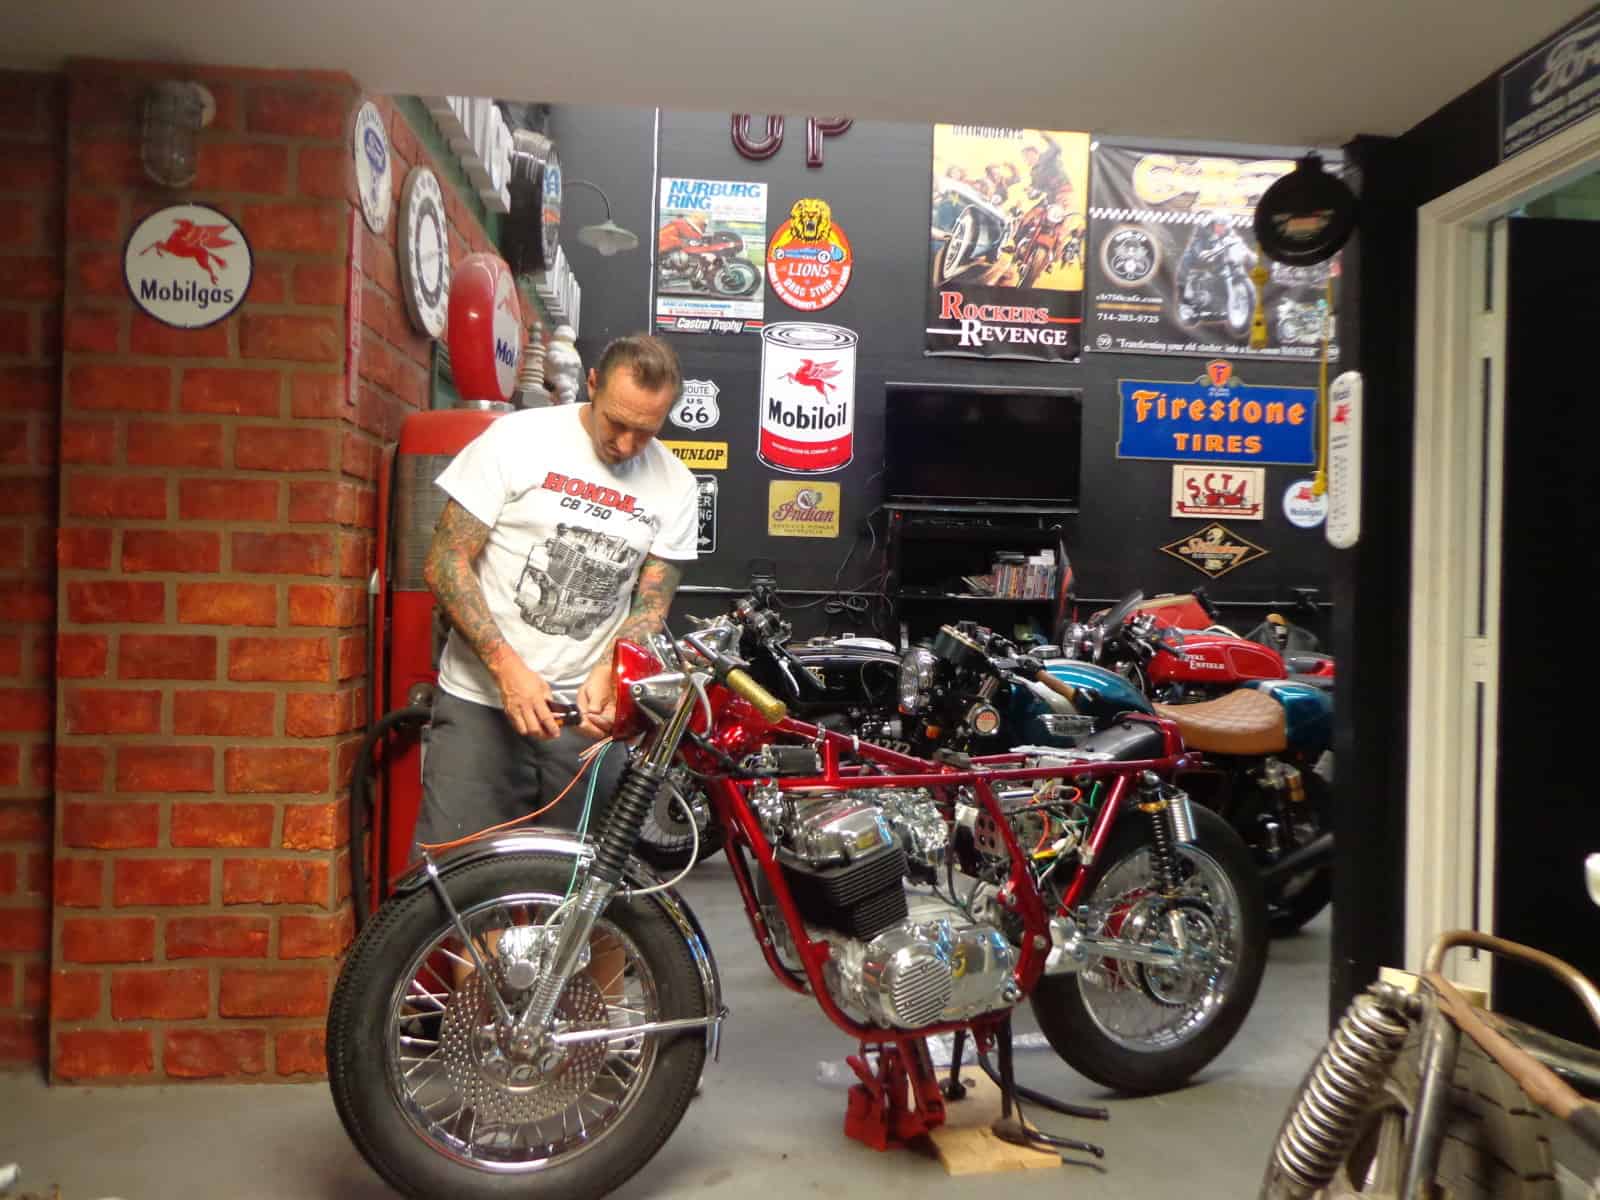
As you can see, the Motor is in and she really is a head turner, I am going to do many cool little attention details you may not even notice at first but the owner is super stoked and thats the main thing for me. I am wiring the bike with all New wiring and New OEM controls.
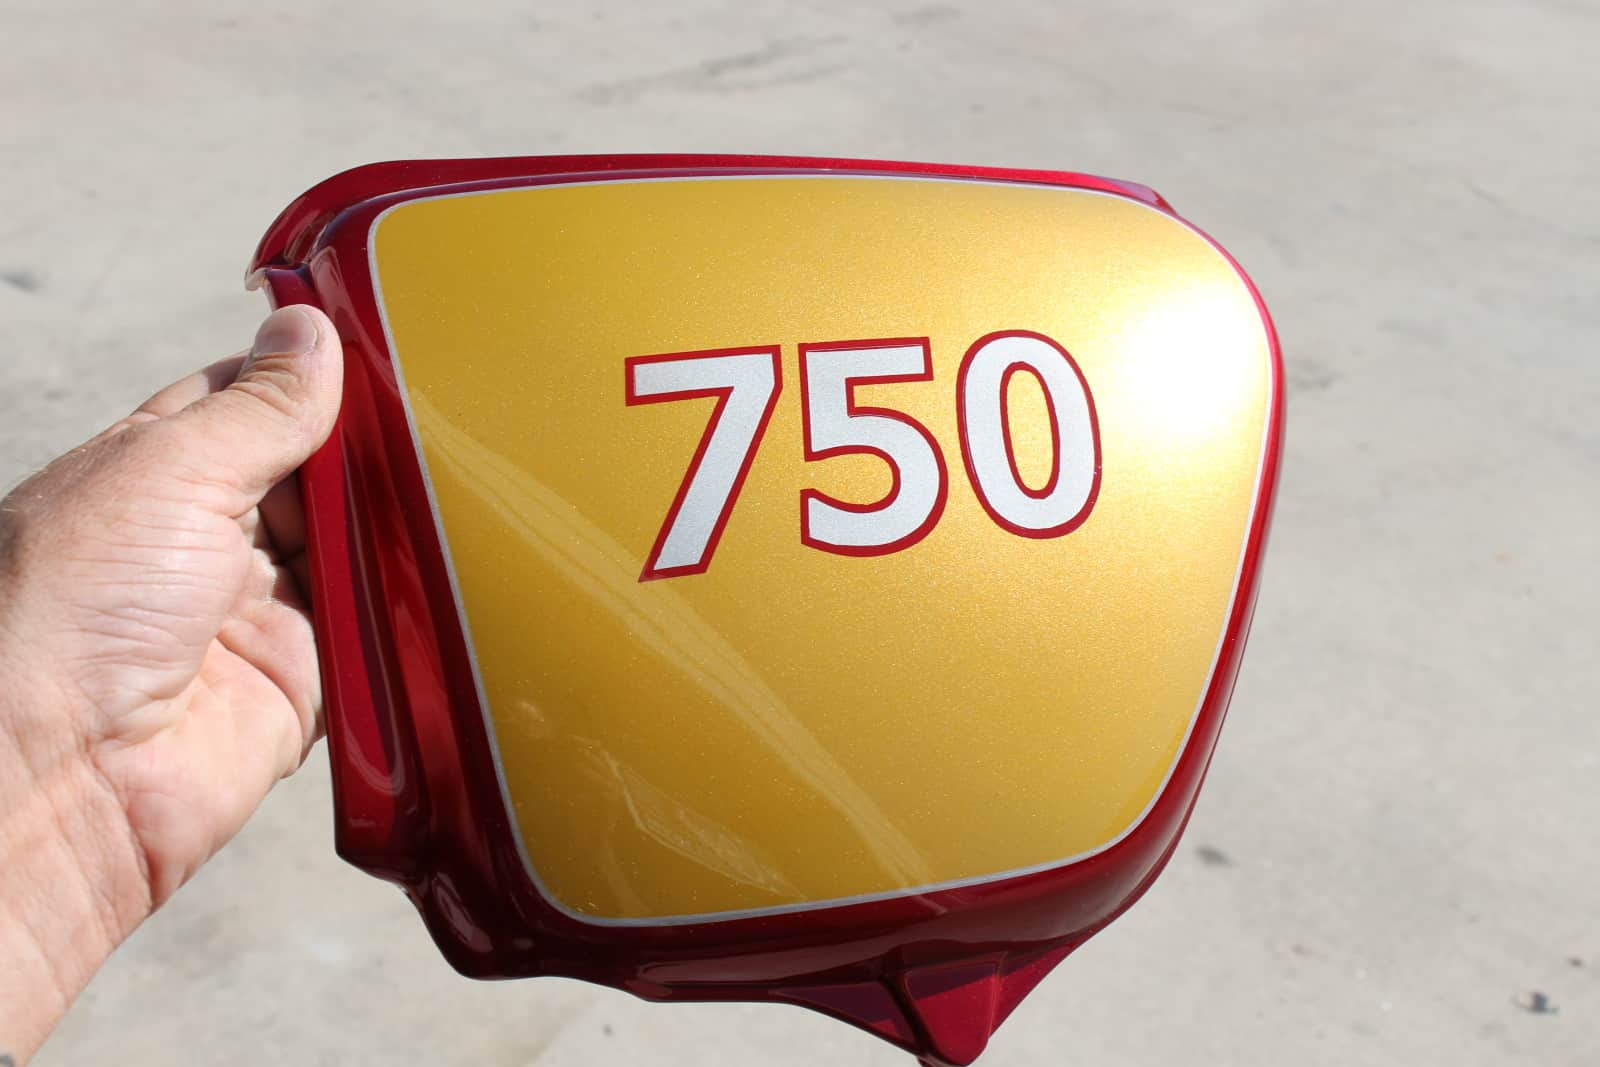
As you can see, Aztec Gold and Candy hot Tamale red is a great Combination, the 750 digits are hand painted there are no decals here on the bike at all.
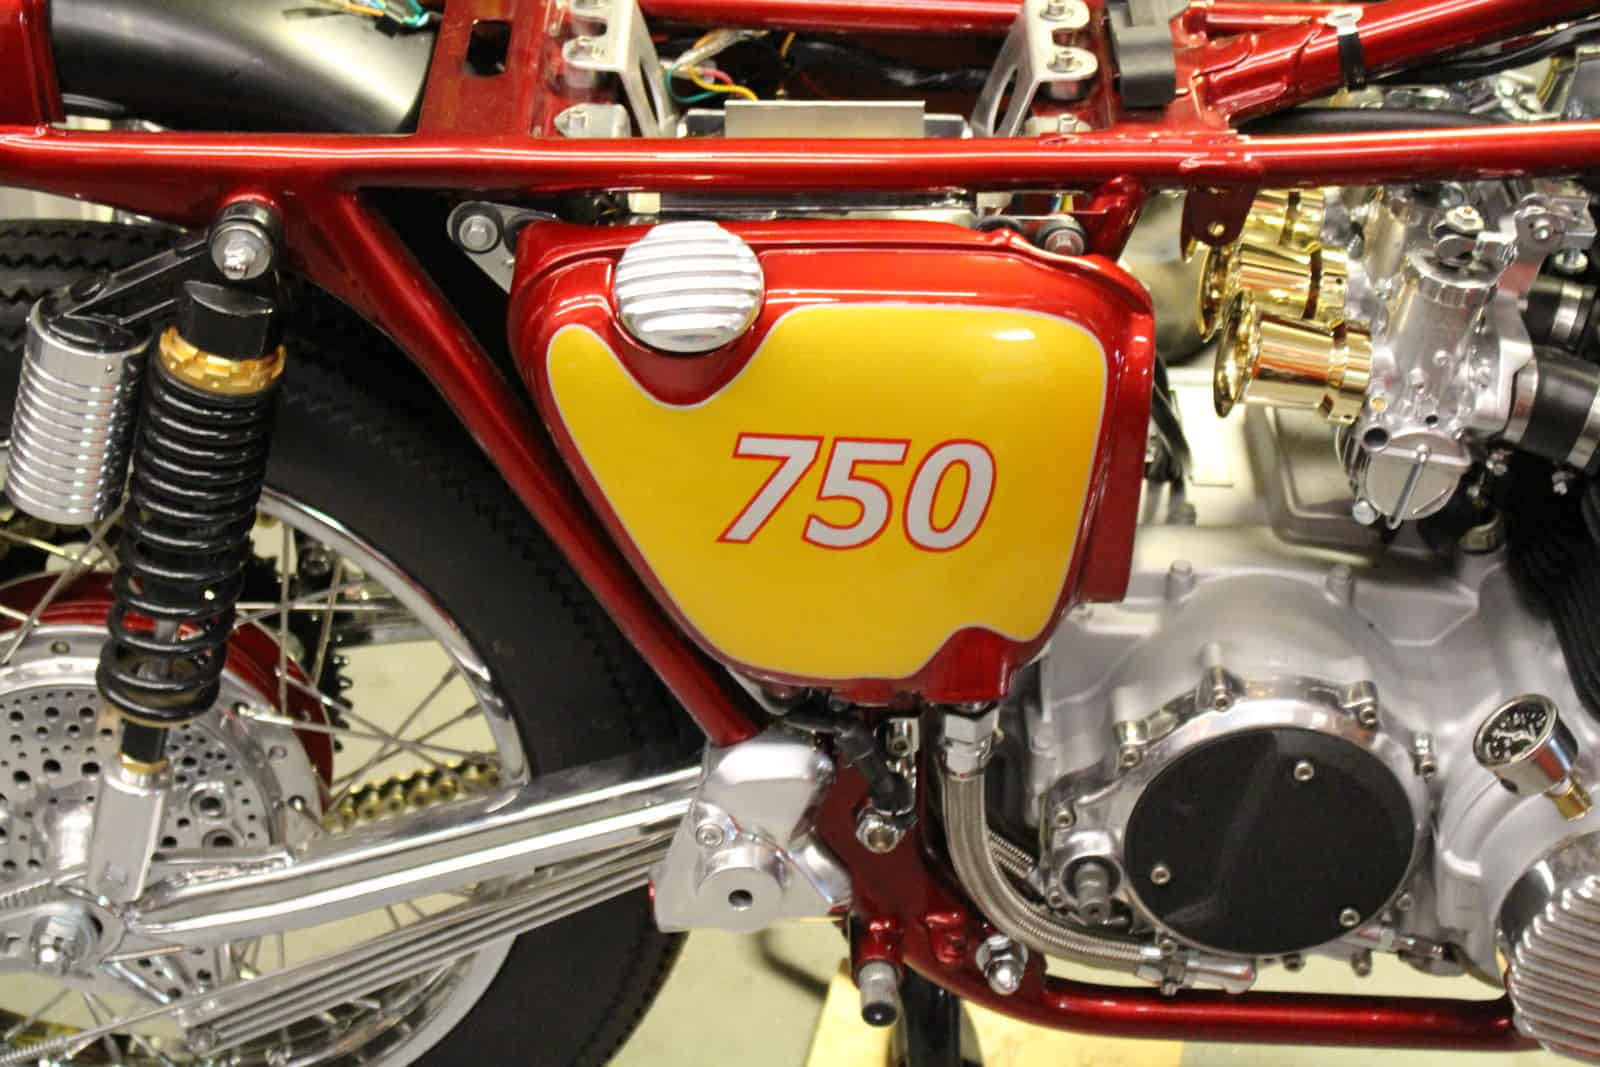
So, with the Side covers fitted, I also Chromed the oil tank and then machined some Dipstick caps to embellish the top of the tank and go with the flow of other finned alloy parts that are through out this machine.
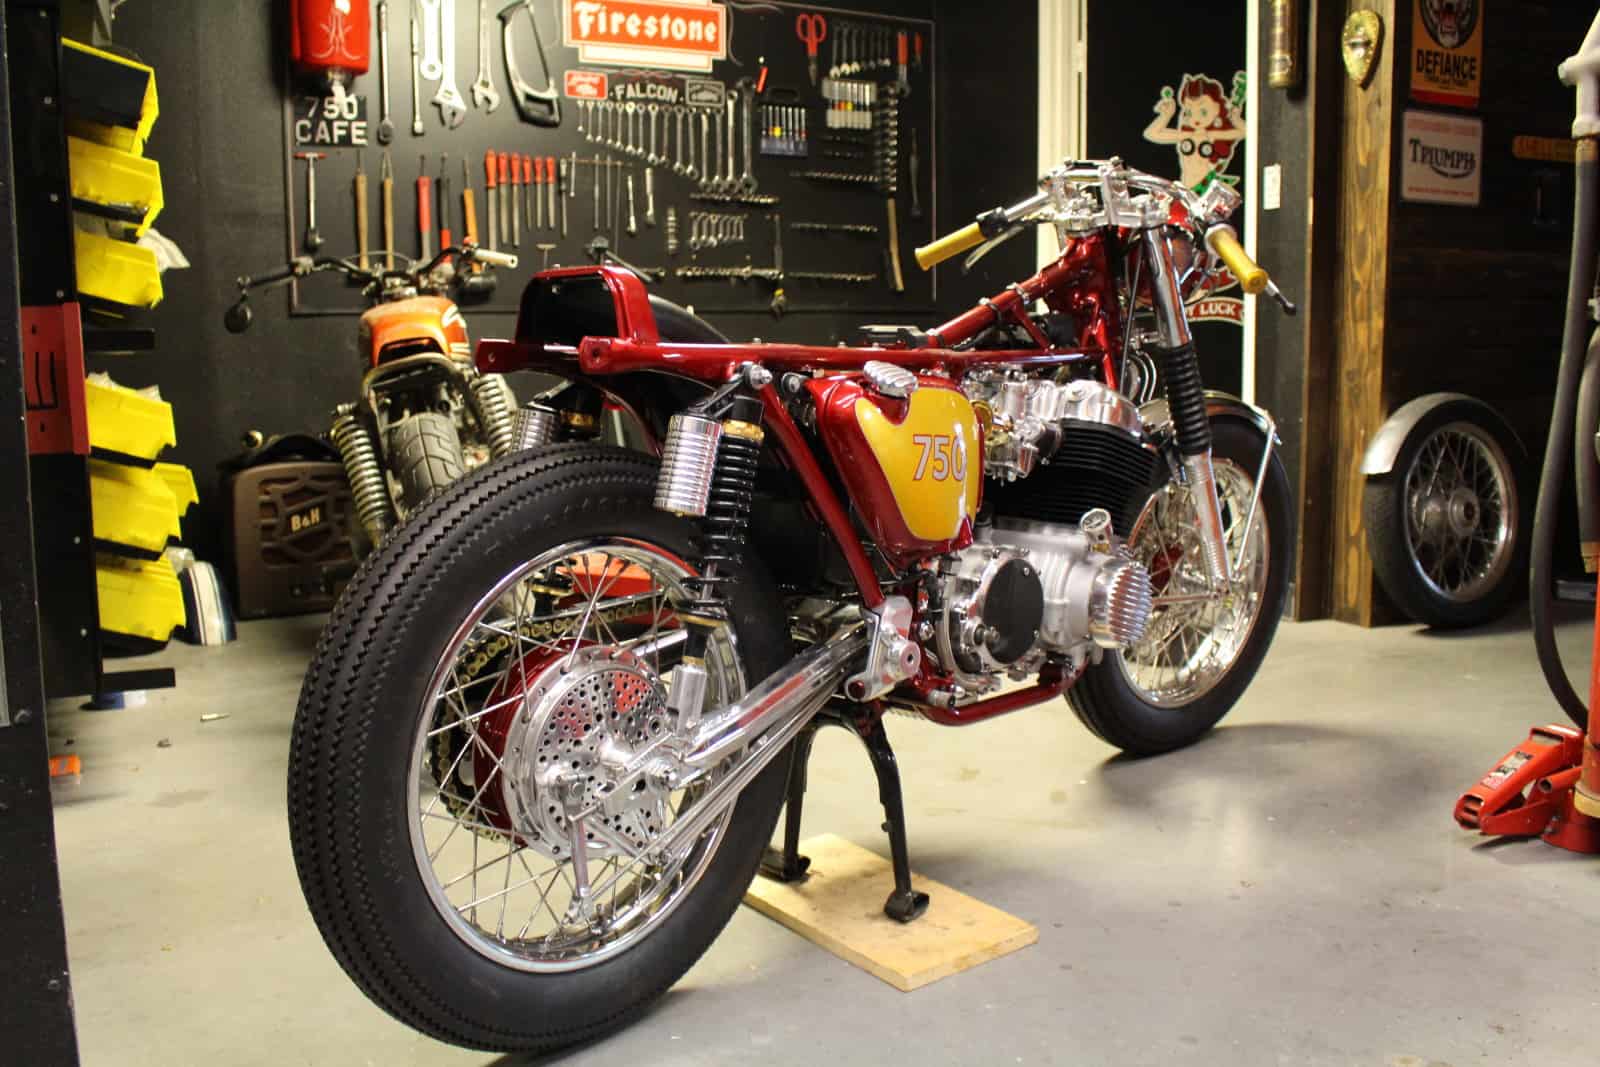
.Other things you may notice on this ride is I have started to fit the mounts for the Rear sets as these will set the pace of the bike and Instead of the stock Anodized black versions you see, I stripped that all off and polished the body to a chrome finish and really sets that off.
Below , this is how cool the turn signals are that are inside the headlight.




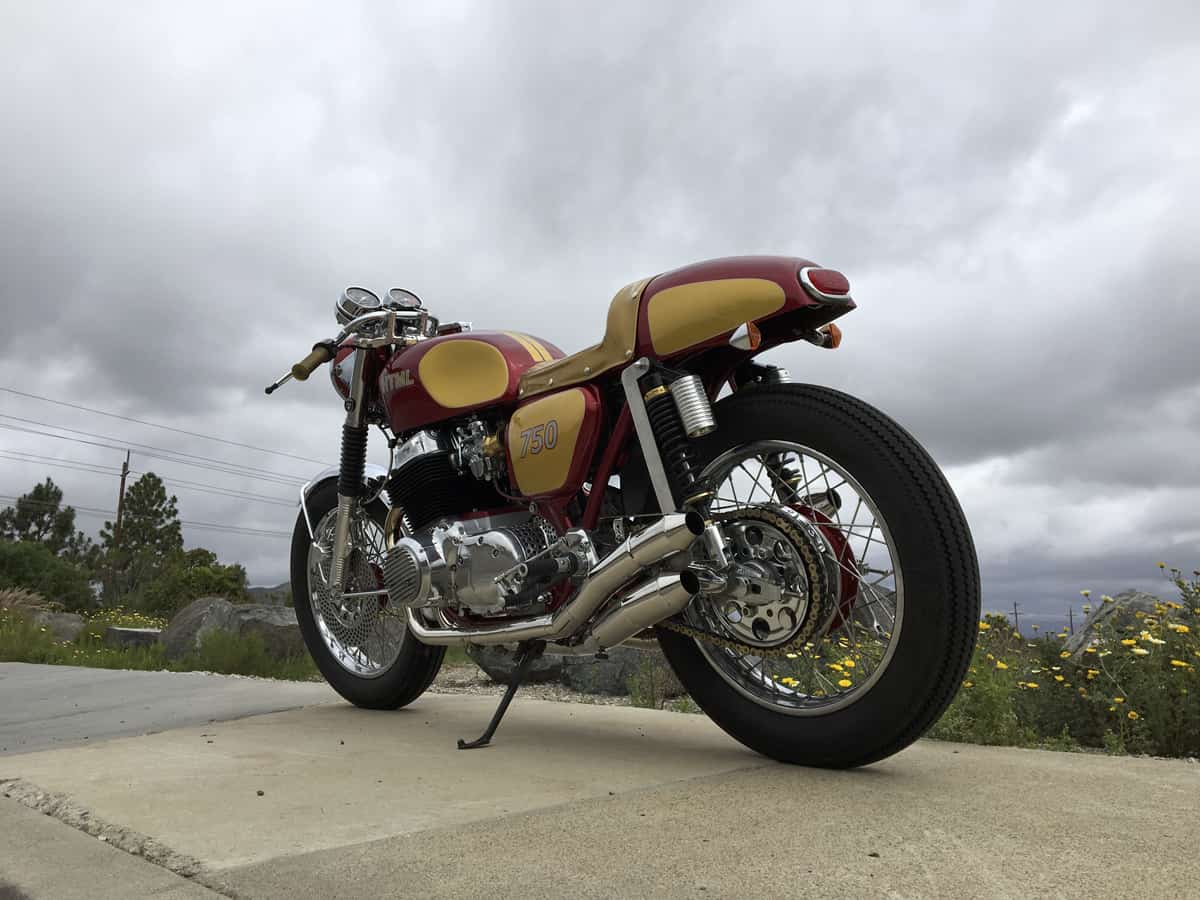
This Motorcycle looks great and from any angle too, I am happy with the outcome and with Christians input, we managed to knock this build right out of the park for a well earned and deserved Home Run!
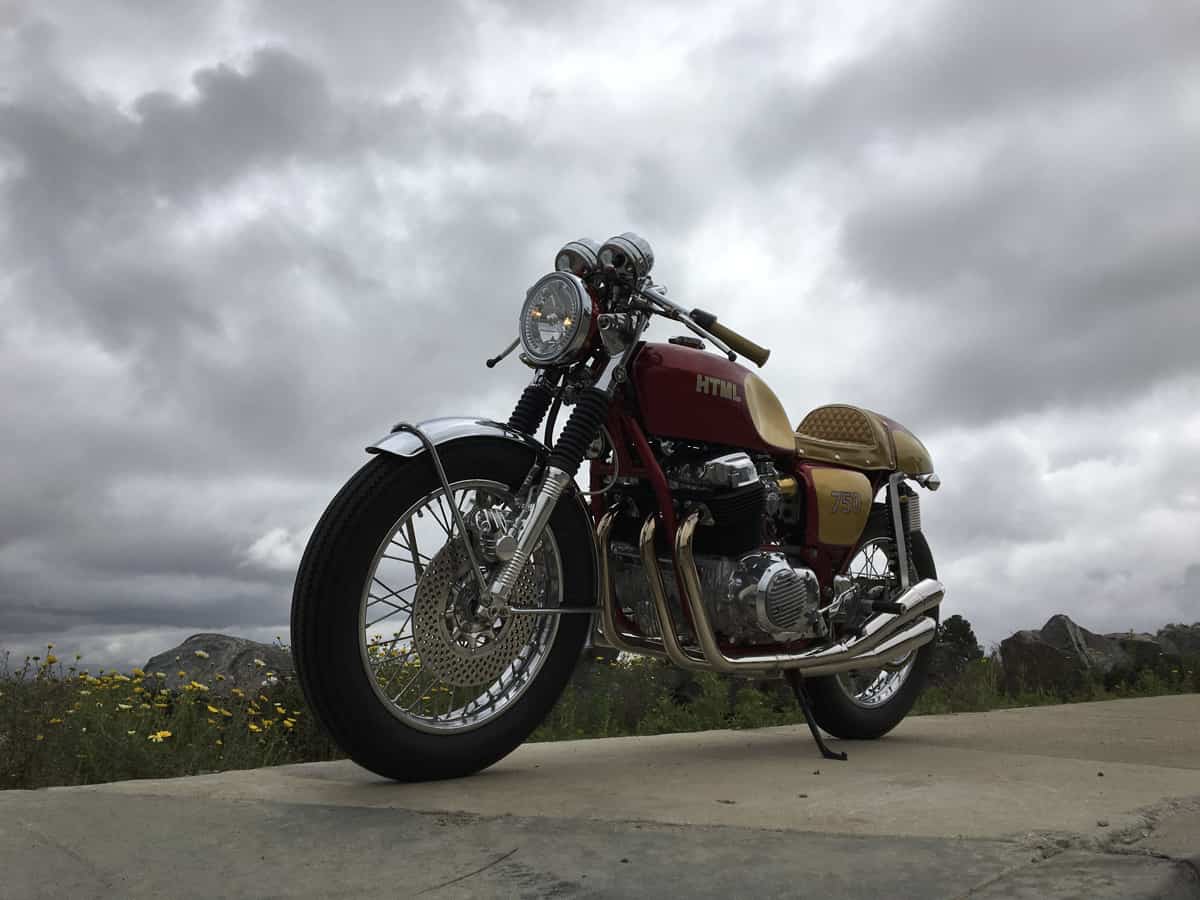
Here she is on the San Diego side of the road, taking in some fresh Grey air as even the Gods were trying to Thunder clap their applause at the creation of this motorcycle that took a long time to get done right and to how we both felt happy with.
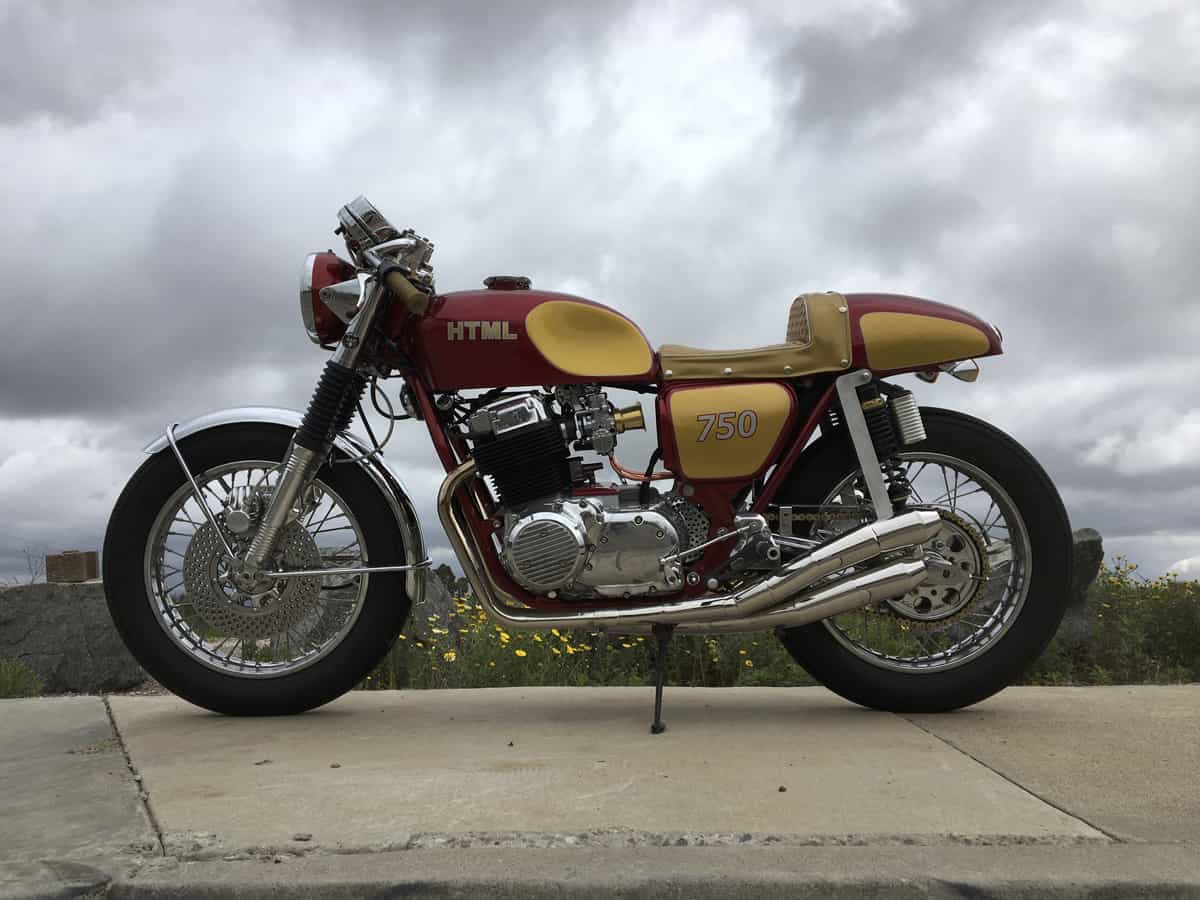
Here she is sat on one of my Side stand, no blocks of wood or bits of metal to have it sit against, she sits loud and proud and a wicked machine.

With a Blue sky above, the HTML really does stand out amongst the crowd, this was a long journey but the end was such a great uplift.
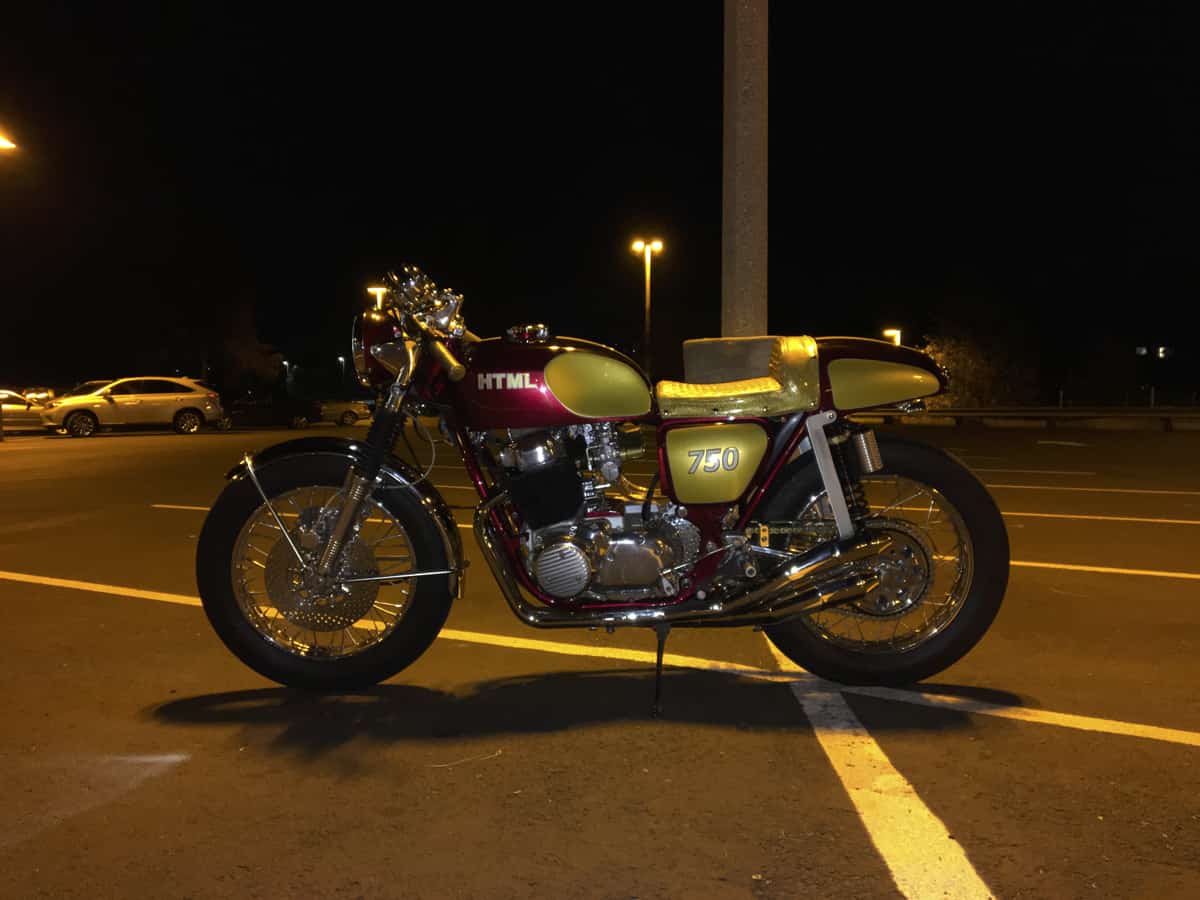
Even at night she will turn more heads than a Dewalt cordless screwdriver.
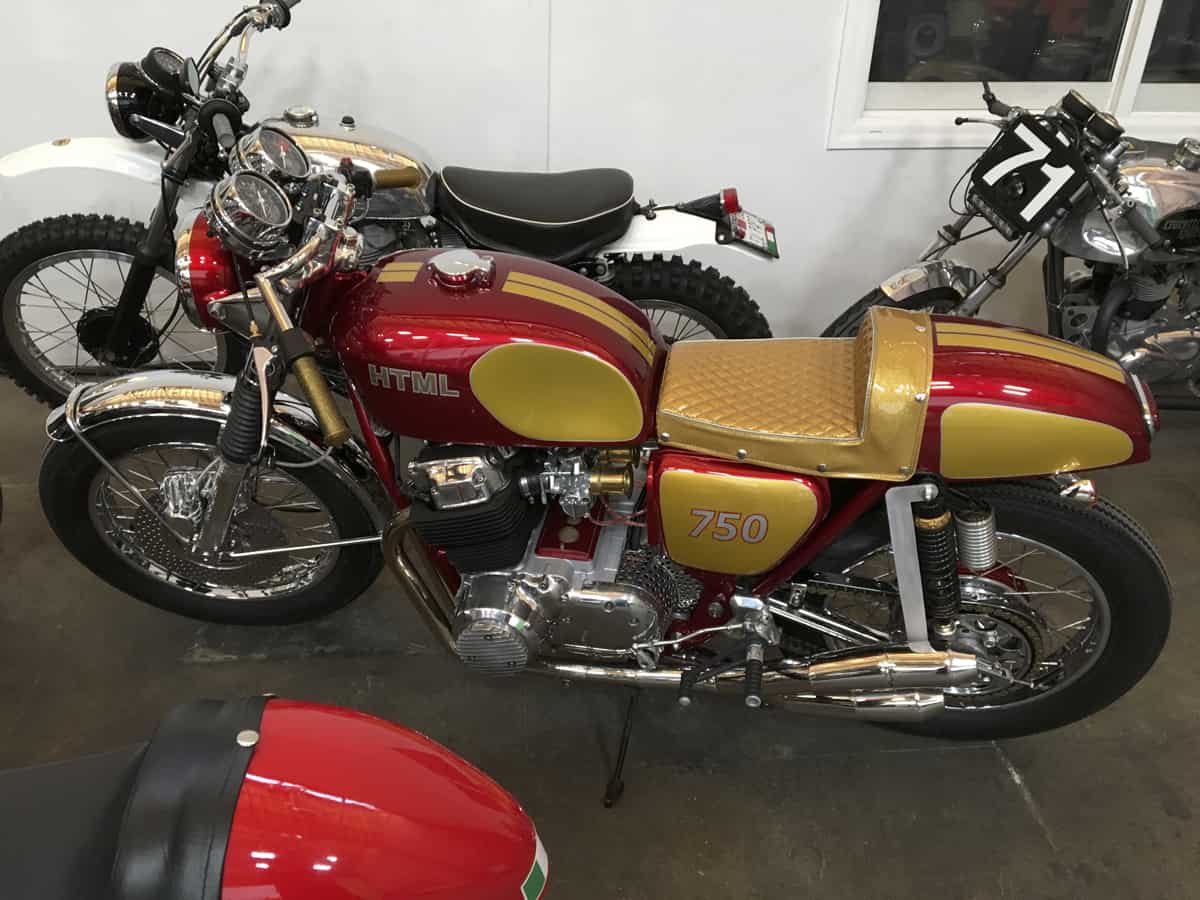
.Even stands out in a stable of thoroughbreds, a fun bike to ride and look at and hope it gives miles of smiles.
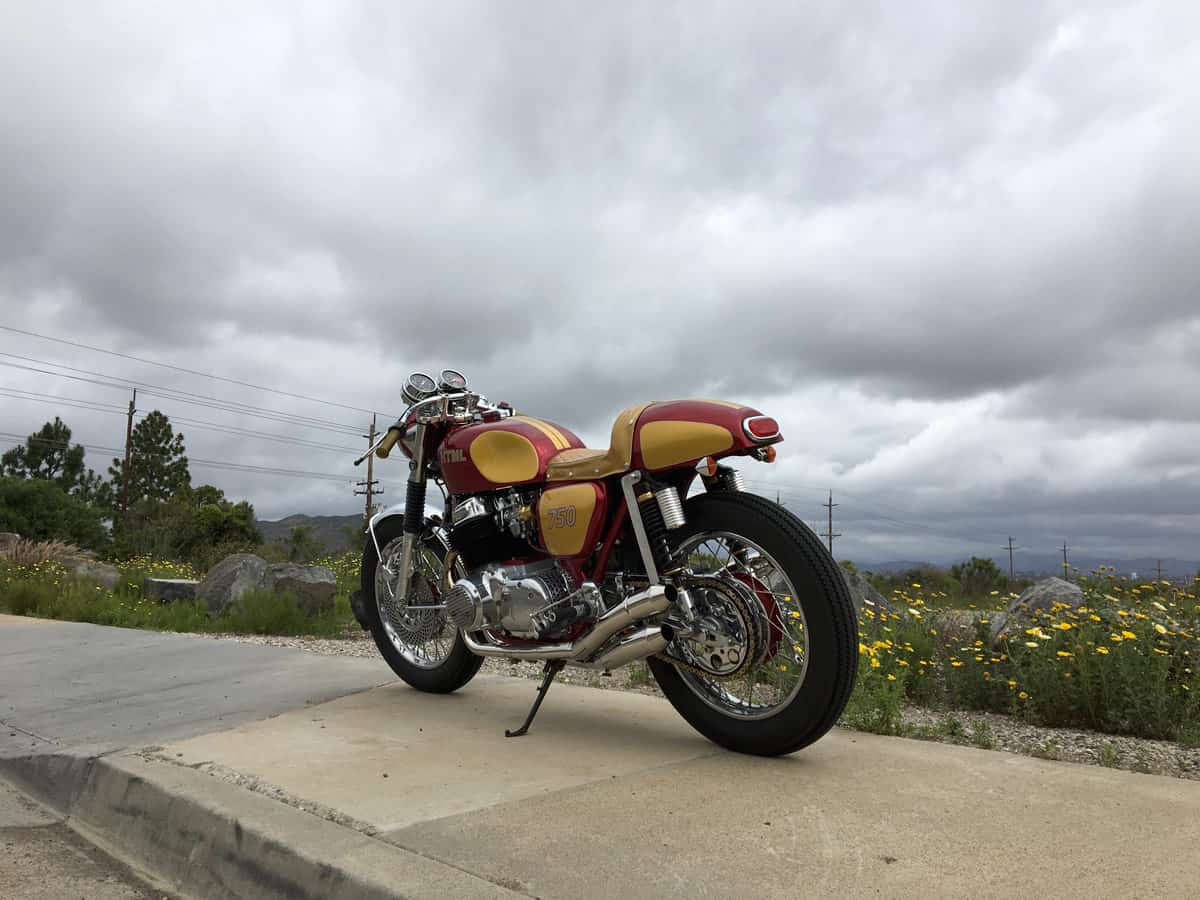
Keep you eyes open for this Motorcycle if you are in the San Diego area and make sure you say hello to Christian the owner, as he will be more than willing to talk about the bike and how it became to be.
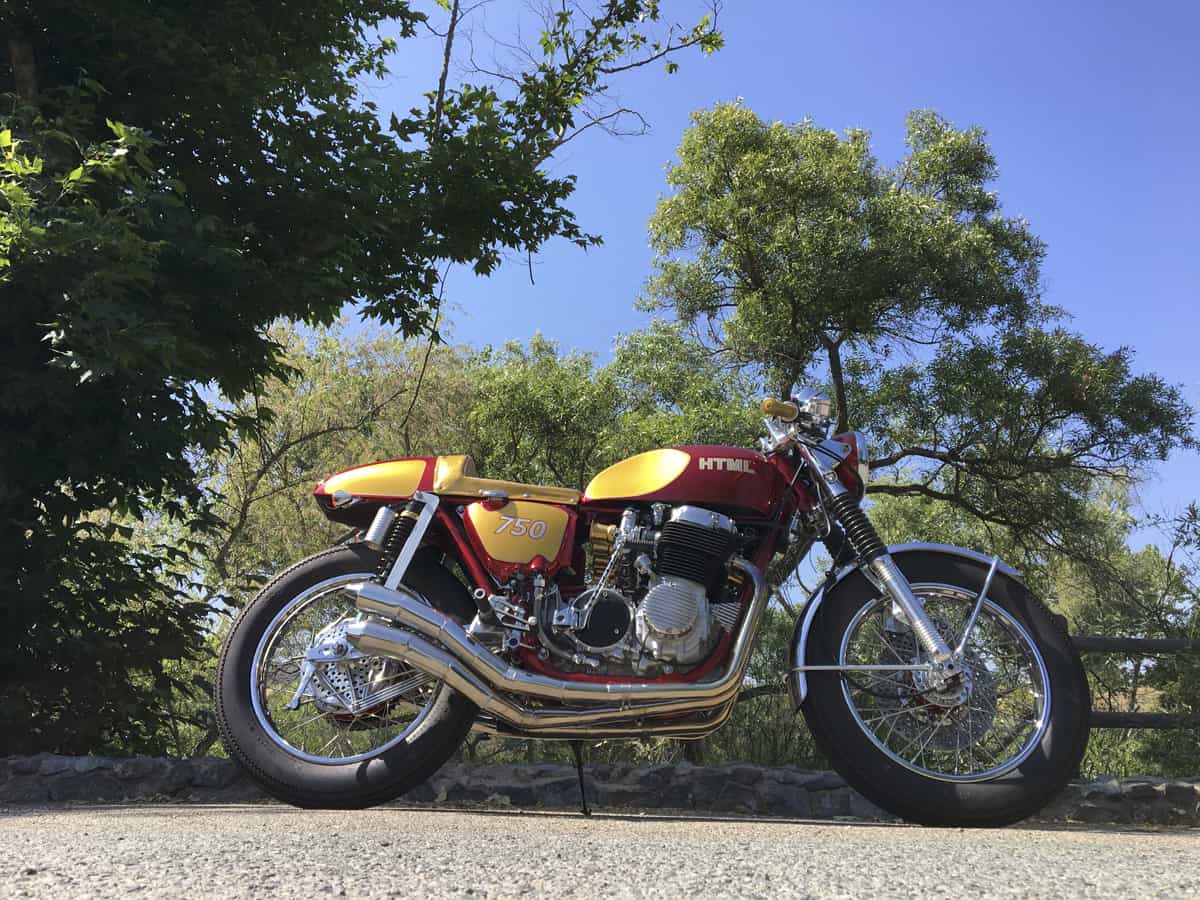
These sweeping pipes are a sectional custom set that I do not want to reproduce, so many hours but so worth the look at the end of the build.
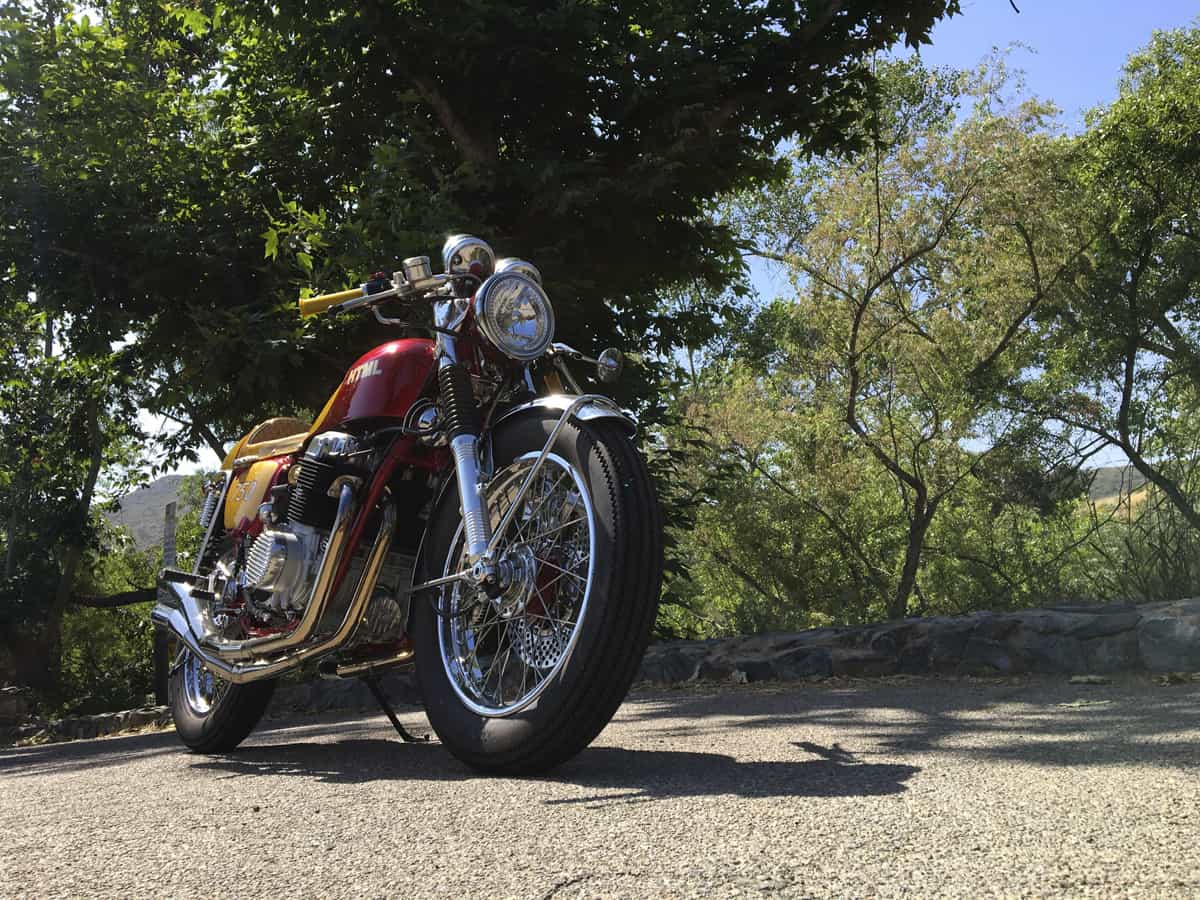
Thank you for looking at this magnificent machine, it is always nice to think out of the box and as Sir Winstone Chruchill once said.
“Onward and Upwards” To the next build. Its been a long build but the outcome made it all worth while.


