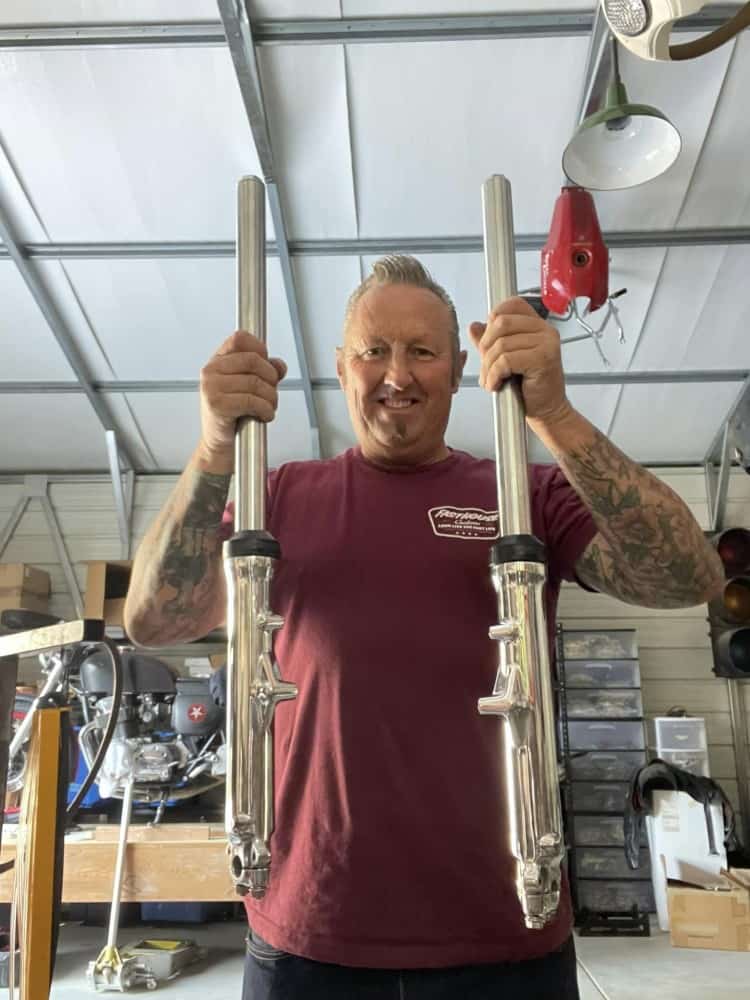
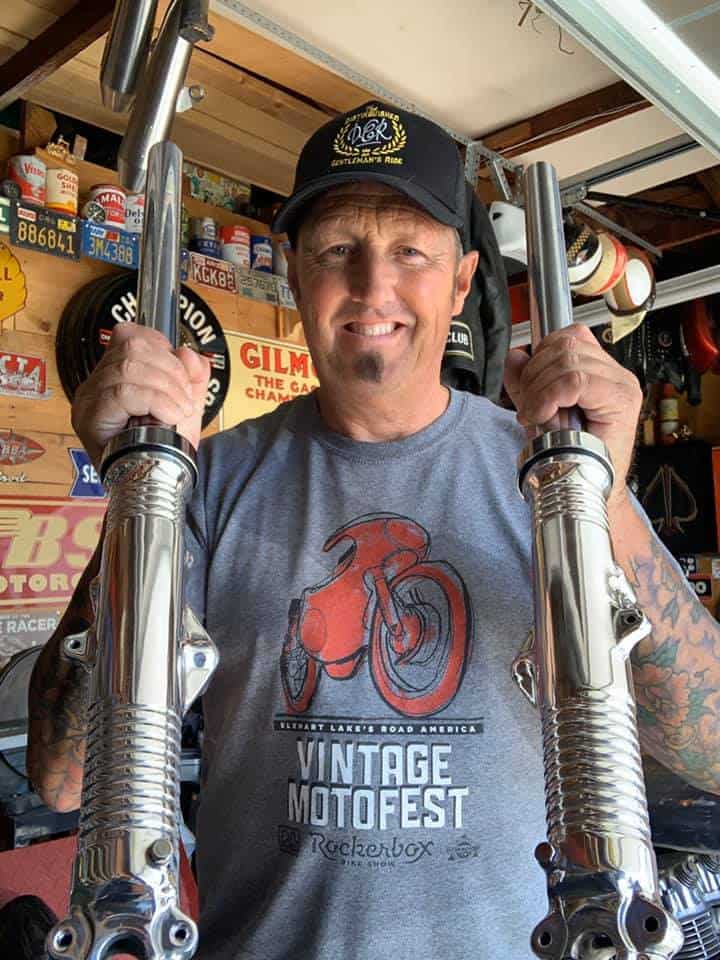
For many years I have rebuilt my own forks, and the transformation is so abundant, I wanted to share what I do in the Barn with you lot and maybe you can have a go at resurrecting your own set?
These tired front forks came off a 1974 CB750 K and Customer wanted Rebuilt and Polished suspension, so this is what I did to these old girls you see here.
The Lowers needed to be stripped apart and then sanded and cleaned then I will polish them to a Chrome finish for that Custom look, lucky Honda cast these quite thick so plenty of meat to polish by hand.
The upper tubes are toast, this is a common issue with the forks as originally Honda fitted fork covers and the condensation in different heat simply left water droplets sit here and slowly rust the chrome away and into the tubing, you would not notice at all until you took the fork ears off the bike.
I have taken these apart and bought replacement Chrome tubes, then I sanded and buffed the lowers to a mirror finish, I covered in cling wrap to keep clean whilst I assemble these so as to not scratch the surface.
I slid the dampner into the fork tube and then inserted the upper tube into the lower stanchion, this is secure by a Bolt with a Copper washer right under the fork leg, secured with allen wrench and began the rest of the rebuild of these forks.
I have fitted so many of these Fork seals over the years and people always ask me, which way up do you fit these, I tell everybody that when you fit Honda seals, the ID Numbers should be facing you when you look at the seal seated in the fork lower.
Also, many people ask me how I fit my seals into forks, I have seen people use scary tools or hit with a screw driver, usually ending up tearing or making a hole in the seal, so what I have always used is a piece of PVC that I bought 20 years ago from Home Depot, this is the perfect size to insert oil seals .
I simply slide the PVC tubing down the fork leg until it sits on the seal, it fits perfectly and will not bind up as this makes sure that it is level when you tap the seal into the fork leg.
Personally, I use a Rubber Mallet and tap the tubing until I feel the seal bottom out on the inner shelf the fork has and then I know she is all the way home as you will feel the resistance right away and you can see the recess in the fork where the snap ring goes.
Some Honda’s have these snap rings, or as we call them in England ( Circlip ). But some early models had a spring clamp, but this is a snap ring that sits in the bottom of the cup of lower fork and secures the seal into the stanchion.
I use a set of Circlip Pliers but long nose pliers will do as you need to squeeze these together to slip into fork lower then release to lock seal in place.
I then slide the New Dust cap that I sell many off from the website, over the tube and down to the lower, it simply pushes on and sits tightly over the end of the fork and dresses it well.
There you go, nice and snug over the lower fork and easy to fit to be honest, and this job can be done pretty much by anyone with minimal tools.
I used New Stainless Lock Washers and Stainless Flange nuts for the bottom cups to finish them off nicely and its ready for Fork oil which is 5 ounces, I use Automatic Transmission fluid, always have and I throw in a couple of stainless washers on top of the spring to set the preload that I like.
And there you go, ready for the customer to fit back onto his Motorcycle and have fun on the tarmac, just thought I would do a little blog on what I do from time to time as many ask me for tips etc, thanks for watching.
The transformation is so cool to see, I often stop and look at what I have accomplished and you will do the same thing for sure.
So have a go at your ones, you may surprise yourself and save some money at the end of the day too.
Any info you may need about anything bike related, email me on carpy@carpyscaferacers.com or text me on 714-598-8392 I am here to help.