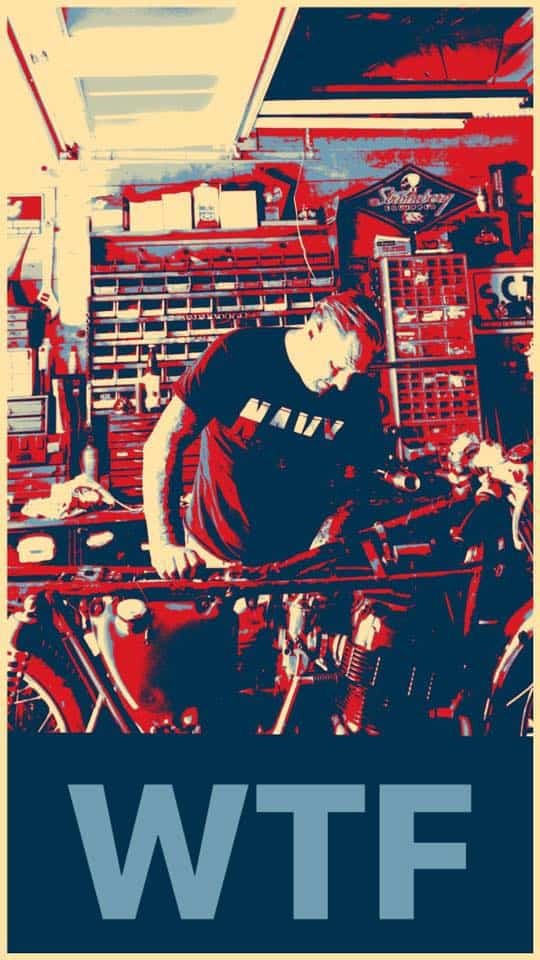
Little bit more work on the Old Vesco Honda

Well, here we are, been away on the East Coast but now need to play catch up as I have this Vesco bike to get up and running, and then I have to plan a build for a Customer all the way in Iceland, so that’s kinda cool.

But, as I was away I had time to collect my thoughts on this machine, it needs tons of work but will be fun and I have gone with the concept of getting the bike to run and see how reliable the engine is, maybe take it for a blap across El Mirage Dry Lakes in a few weeks and then, if I am happy with the old snot Monster, then I can strip her apart and build a nice Custom machine out of it for someone to have fun with.

The Motor runs as we all know now and I am happy about that, but now its time to clean out the gas tank and get some paint on it, so I have used an old knackered gas tank as a mock up as I still need to make a seat base for this ride, and as it is going to be a Brat style machine, I need to get about and cut some of the frame to allow me to fit my special Steel Hoop Inserts and then I can set about making a flat seat base for it once the hoop is all cut and welded in.

I make sure I drill a hole through the tops of the hoop and the frame, then- when I insert the slugs and tap the hoop to Butt up against frame, I will be able to spot weld the holes first and then weld the Butted join for more strength.

So, just some Gloss Black paint for now so it doesn’t rust, later on when I am happy about how the bike rides, handles and sounds, the whole machine will be taken apart and I shall bead blast the frame, smooth the welds and then modify the frame a little more before I go for a Custom paint job, but this is the length of the frame I am looking for and can go onto make a seat base.

As you can see, it looks pretty good, I used Automotive paint to spray the tail end, but I have so much more to do, its taking shape a little bit each day and that’s what I like.

I used an old piece of 1/8th inch steel plate and this is more than ample enough to support my fat arse and will be good to upholster too, yes of course I will clean the surface rust off when I am ready for Upholstery. I was lucky to have some old steel plate in the garage, so no cost involved at all, thats always good right?

OK, the steel is now cleaned up as it was only surface rust and a quick going over with my Air sander sorted that out, when you see the base it looks pretty long but, it is just the length I am looking for as you can easily sit your arse on the bike, and you have enough room to strap some parts or luggage on the rear if you so need, I mean, Motorcycles are still supposed to be practical right?

Now the seat base is done, I just need to weld some studs underneath, as I am going to have them go through the cross brace behind the battery box and can then plop the seat on and add some flange nuts underneath to tighten, I will also add a bolt at the back of the seat to keep everything secure, as well as a small half moon plate on the inside of the hoop, just in case I want to add a tail light or license plate there later. You wont see it as its hidden, so if I chose not to use it, no harm done.

Up front I chose to go for some cool Custom 7/8 Grips, this time I liked the look of the Marble effect that Cole Foster makes, they really are comfortable, so a good choice, you will notice New handlebar control switches as well as New clutch lever and cable fitted to this machine.

This bike didn’t have any gauges at all, so I chose to go for the good old 2.5 mini Gauges, to keep everything neat and tucked away up front, eventually I will polish the triple tree and fit new front forks.

The old carbs needed going through and re-jetting as I am running my Exhaust system, I also fitted new throttle Cables and Bell Mouth velocity stacks for that yester-year look, I made sure that I also fitted brand new Air intake manifolds and used stainless hose clamps with rolled edges. The over flow lines are braided hose and at $4 a foot, they aint cheap but work great, the rubber ones you usually see dry out in the California Sun, so want something to last, ad these Aircraft hoses are just the ticket

Well, thats as far as I have got done today, will take more pics tomorrow, enjoy your weekend everyone and thank you for following me on the Vesco Honda..


Weld in Gas Cap Bung Project

Howdy all

Well my task this week on the old Vesco Honda was to try and get rid of the ugly gas cap and spring lock that the stock Honda’s have, for a start, this one was corroded beyond any help and I had to literally force the bloody thing open if I need to get gas into the tank and then, I could not snap it shut.

So I though I will go ahead and cut the old gas cap and neck off and use one of my own Weld in Bungs that I sell on my website, when in Rome right?

So, with gas tank in had, I placed it on an old old table and then proceeded to get the grinder with a cutting wheel on it, now, make sure that the gas is well and truly vacated that vessel, else you may be like one of Spacex Rockets and heading out of the ionosphere if you put any spark to it.

Lucky for me I had washed it out and aired it for some time, I still used an old BBQ Lighter on the end of a pole and lit it, just in case any fumes were lingering, usually you may get a pop, but nothing this time, so I knew I was good to start cutting away.

I removed the gas cap by simply using a metal dowel and tapping the holding pin out, the same as the clasp too, and now I am ready to bung on my Goggles and start the grinder up with a metal cutting disc inserted.  many a spark I must admit but all good, just took my time and went in both sides and she came off pretty fast.

So – all that was left to do was to use a Flap wheel and grind the neck flat and any old paint must be removed to allow me to weld a bung in later.

With that all cut off, I test fitted the bung and it was perfect, so stoked to get it to fit snug and now with a little more metal cleaning around the top of the tank, it was time to weld it up.

Then, using a Sincrowave 200 Tig Welder and Bronze rod, spot weld the bung into place, moving opposite to disperse heat evenly and not cause any  warping etc.

Once spot welded it is then welded slowly and bit by bit until the whole edge of the bung has been covered and is uniform, that is now done and looks so good to how the stock one was.

The next after it has cooled is to start to get rid of the old paint, I was not going to use paint stripper, that stuff works well but is so messy, I thought this time I would use a DA Palm Sander with 80 Grit paper and take the paint off the old way. There was Green Primer, Blue, Maroon and Black paint in layers on here and that sure would of made a mess with Aircraft stripper thats for certain, so sometimes the more traditional way is the best and to be honest I enjoyed the challenge.

Took less than 2 hours all told and now I am ready for paint, just got to decide how I want to go with color and design but I wanted to share this gas tank project with you lot on my website so you can see how it is done. it gives you a little sense of achievement when you get to this stage and I am now ready to sit down and see if I can come up with some paint color schemes to change the look of this 40 year old Gas tank.

I sell the kit on my website complete with Screw in gas cap too, so if you like me, are finding CB tanks hard to locate these days, try and make do with one thats damaged and simply change the neck and give the tank a brand new life too.

Of course this will have a little bit of Bondo on the tank to smooth it all out but, today’s mud is awesome and you wouldn’t know, even if you put a magnet on it, as the stuff I uses has metal particles in it.

So there she sits, I will put the New Gas Cap back in, I use a Vented Screw in style and this still looks Classic in a way and achieved what I wanted, this will look pretty cool when it has paint on it and will add photos later when I refit the gas tank back on the bike.

Still a while away from paint but thought that Ii would share what I have done as a blog and maybe it will get you motivated to have a go on your project?

I still have so much more to do to this old ride but it will be a fun journey and will keep everyone posted as to its build as I do more things to this 750-4 Motorcycle.

The Weld in Bung really did work out well and changed the look of the tank completly and I am looking forward to applying Custom paint to see how this turns out.

Thanks for watching.


Working on an old snotter that came from the Vesco Family

I pick bikes up from time to time that some owners just cannot get going, other shops have had a go and no joy, and I picked this old bike up a long time ago from the Vesco Family, Grandson of Don Vesco, I left it in storage for a while and wasn’t too bothered as this has not run since the early 1980’s.

Don Vesco was an American businessperson, motorcycle racer, and multiple motorcycle land-speed record and wheel-driven land speed record holder. He set 18 motorcycle and 6 automobile speed records during his life.

This bike is a real mess, no idea if it will run but am determined to get this inline four running again, need to know how the motor is before I begin to rebuild it into a cool ride once more.

It has had a hard life and has been from pillar to post and no luck getting this old 500 pound SOHC machine to run again, but I know I can get it sorted, just takes time and patience.

There seems to be leaks all over the Motor, the kick stand has seen better days and there is oil and dirt all over the bike, would love to know what life it has led.

Has a weird set of clip ons that wont stay clamped on it and the wiring harness is old and brittle as well as the usual repair using different colored wire etc, this is going to be a pain.

The tach cable looks like it ended its life a few years ago and the end cap drive unit is still stuck in the valve cover, thats a good thing else the oil would come out of there when it ran.

Some funky wiring going on with horrible plastic sleeve covering, thats all gotta come off right now, so strange what some people will do to their bikes in the shed.

Top triples had seen better days and someone had ground the handlebar clamps off so they can use some later clip ons, but they are about a millimeter to wide and wont clamp down hard, I shall go back to a standard triple tree and fit some scrambler bars I think, just to get this bike as a runner for a while and see how she fares, then- I can decide a little later to strip and build into a Custom Machine.

Everything seems to be covered in oil or grime and crappy clamps etc, its had a hard life, but my main objective is to first remove the shitty wiring and connectors etc and then fit a new harness, battery, coils etc and see if I can get this old girl to fire up again.

The coils had decided to crap them selves and the wire harness was as solid as a rock, the California Sun had dried it all out and this has to all be removed right now.

As you can see, there are different gauge wires that have been added to this harness, the Fuse box is knackered and temporary connectors all over the place, just really bad work.

The carbs will need tearing apart but for now I shall pull the bottom end out and fit New main jets and Idle jets and see where we go with a new battery and plugs etc.

So now its time to do what I like doing and will see if I can figure out all the bad things that have happened to this inline four over the years, hopefully I can resurrect this 70’s iconic machine.

And we begin, it does take a lot of patients but its worth it in the end, I have to see whats up with the Motor first as that at least gives me an idea at the cost involved to turn this into a great looking Custom Motorcycle and it sure warrants that, seeing it was in the Vesco family.

12 interesting facts about land speed racer Don Vesco

Don Vesco doesn’t fit neatly into a specific category of motorcycling, but the one thread that runs through his career is the quest for speed. He became famous for his land speed records in the 1970s and continued racing through the 1990s.

Here are a dozen facts you may not know about Vesco, who was inducted into the AMA Motorcycle Hall of Fame in 1999.

1. Vesco was born in 1939 in Loma Linda, Calif. During his lifetime, he was a dirt tracker, factory road racer, drag racer, motorcycle dealer, race-team owner and land speed record-holder.

2. He was mechanically inclined from a young age, tearing apart model airplane engines and making them faster by the time he was in third grade.

3. As a teenager, Vesco parlayed his mechanical skills into cold hard cash. He would buy old Cushman scooters for $20, fix them up and sell them for $25.

4. In his teens, Vesco fixed up a Triumph twin and entered his first official race, a local drag racing event. Then he took that same Triumph and started racing scrambles, TTs, and eventually road races on an old military airport outside of town.

5. One of Vesco’s riding buddies, and his archrival on the track, was future AMA Motorcycle Hall of Famer Cal Rayborn.

6. Vesco won a lot of local road races in the late 1950s and early 1960s. He caught the attention of Honda, which was just coming into the U.S. market. Honda hired him to race its rare and very expensive RC161, a 250cc, four-cylinder racer, to promote the brand.

7. Vesco’s relationship with Honda lasted until 1963, when he took an offer from Yamaha, which was also just getting started in America, to race at the United States Grand Prix (a non-points-paying international race) at Daytona International Speedway. He rode a works Yamaha RD56 250cc GP bike and won the 500cc class. Also loved his Norton Motorcycles too.

8. By the late 1960s Vesco had already been a factory rider for Honda, Yamaha and BSA. He was even a factory rider for the little-known Japanese maker Bridgestone in the 250 GP class for a short time.

9. In September of 1970, Vesco set the motorcycle land speed record of 251.66 mph at the Bonneville Salt Flats in a streamliner powered by twin Yamaha engines.

10. In 1975, Vesco broke the 300 mph barrier in the Silver Bird Yamaha (powered by twin Yamaha TZ750 motors). Then in 1978 he broke his own record, turning 318.598 mph in a twin Kawasaki turbo rig. That record stood for 12 years.

11. Vesco lost an eye after being hit by a rock while watching a sprint-car race in 1996.


12. He died on Dec. 16, 2002, after a long battle with cancer.