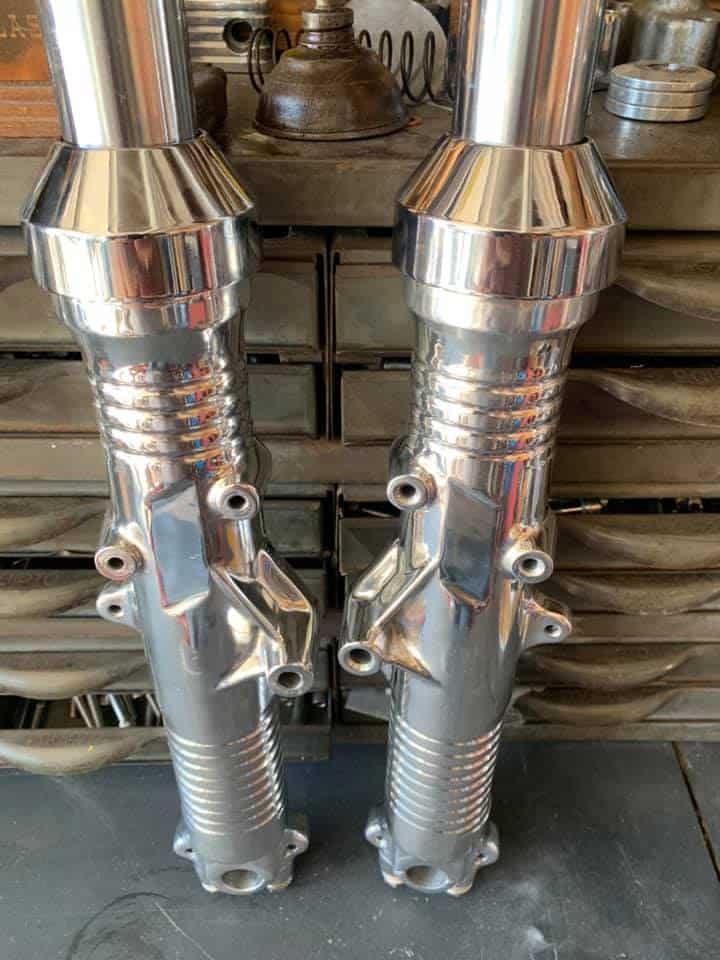
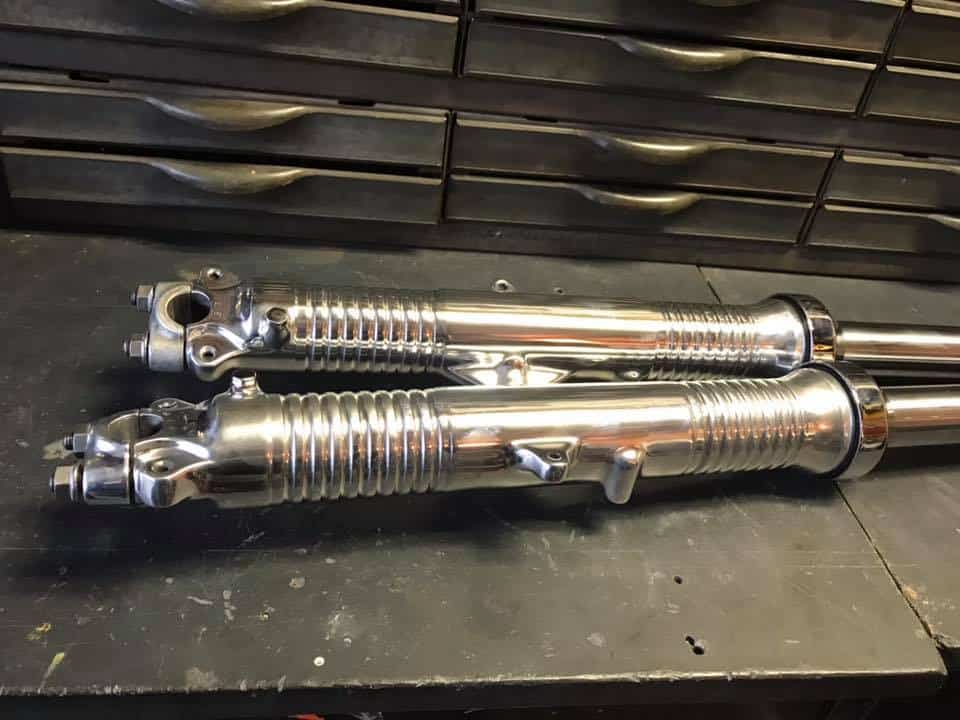
Built a set of Custom forks for a Customer, thought I would share.

Many people have sent me their forks over the years to rebuild, polish or just hop up a bit as they get tired after 40 years of taking punishment from all road surfaces over time.

As the photo shows above, this is the old set that I am going to be working with, I strip these down, clean up and then what I do is machine some cool looking ribs into the stanchions to have that Custom look and then magnaflux it to make sure all is ok.  Once that is done I polish the lowers and then get brand new fork tubes made for the uppers.

I like to use as much Genuine HONDA parts as I possibly can and these will look so clean when everything is put back together and then you fit to your inline four machine.

As you may be able to see, I have New Hard Chromes fork tubes fitted and I have just put the OEM Honda Fork seal in place, here is the trick that I use to fit these seals, also- Remember, make sure the lettering faces upwards not down.

I use a piece of UPVC tubing that I bought from Home depot for about $2.00, this slides down the tubing and sits snug on the seal, but it fits inside the aluminum stanchion perfectly.

I simply tap the Plastic tubing with a Rubber Mallet until the seal bottoms out on the shoulder and there you go, no press needed and no damage at all, I have been doing this method for over 20 years now and never ever have I had a fork that has leaked by using this tubing.

I use some Harbor Freight Circlip pliers to snap the Original 2 hole clip back into the recess inside the fork leg, you will feel it seat when you let the pressure off the pliers.

I use as much genuine Factory parts where ever possible, and in this case I use New old stock Dampner Bolt and Copper crush washer, just to make sure all is new and fits as it is supposed to.

I use genuine Honda Dust caps to make sure all the crap stays away from the forks, then- Just to add some super cool Custom finishing, I like the way these complete that Custom styling on the front end.

See what I mean? Its a nice Custom finished look that really does not cost a lot of money and it is chrome, no plastic crap.

I have always used ATF for forks, the old Pro Racers mechanics used it and I still do today, I also used stainless washers on top of the springs to set the pre-load.

That’s is how much I pour into rebuilt forks and people ask me “How do you know how much to pour in”?

This is one of my Bibles that I use on things like fluids, point gap, timing and the like, always served me well.

I also make sure that ALL the threaded holes are chased through with a tap, this makes sure that the refit goes smoothly and you dont scratch the lovely polishing I have done.

I make sure that I hand polish the lower clamps and use stainless nuts and lock washers, this set up is really a thing of beauty and I am so stoked when I complete a set for a customer, a lot of work and time, but boy is it worth it and changes the look of the front end.

A great looking set of Lowers that will turn heads where ever you go, not a five minute job and not made in China either, all done from right here in California.

These are now ready to ship out to the Customer, so he can easily fit them in to his triple tree’s.

Just take a look at them, what a cool set up these are and all New hardware, Hope that you enjoyed this blog about that what I do with the good old inline fours.

Let me know if I can help you with your Honda, I have been doing it here in California for 20 years and never tire of it, it is a passion of mine that I hope shows in my work?

Thanks for taking your time to read my Blog and hope it may of inspired you to work on your machine?

Worked on rebuilding the Vesco Bike front Forks today

Well, pushed hard today as Rain is forecast for later on this afternoon and needed to start and b rebuild the old front forks for the Vesco bike, as they had seen better days over the last 40 years and it is now time to make them stand out in the crowd as I am trying to get this bike done in time for the OG show in march.

I am super stoked to have got these done and, as I put these away in the garage, the rain started to fall, so great timing on my behalf and feel pretty accomplished today.

Had to fit New Fork seals, and lucky for me I had a spare New set that I could use for these Machines fork lowers and I always fit with the Numbers facing up on Honda’s.


I also use a piece of UPVC tube to act as a drift and tap the seal in bit by bit, its an easy way of fitting seals and many people do this if they do not have a press handy.

I fitted the New Rubber fork Caps onto the top of the Lower fork leg and then slid down my Custom Chrome outer cover over the top of that, just to finish it off a little more Classic.

Now its all dressed up and I am really happy with the end result, these forks now look so different now that they are machines and polished to a Chrome finish.

I love the look and the finish and its the devil in the Detail that I am into and these certainly have a really cool look to them, rather than just stock ones.

I have always machines these fins into the forks so that the whole bike flows from the front to the rear and I get many comments on my fork set ups, which is great to hear from other builders.

Still more to do to the bike but other than adding about 7 ounces of Automatic Transmission Fluid into each tube, but another tick off the long list of things that I must try and complete.

A seriously cool bit of kit for the bike and glad that I took today and spent some time getting these right on the money, they sure look great and finished just in time before the Rain arrived.

So, these will now be bagged up and put away until I start on the rebuild of the frame, the frame is now at the paint shop and getting ready for some serious Metalflake Silver.


Time to head inside now but wanted to share how much I have managed to get completed today and hope that you enjoyed what I have created for the Vesco Honda Brat Bike.