Blog
TON UP MACHINE IN ASSEMBLY AT THE SHOP.
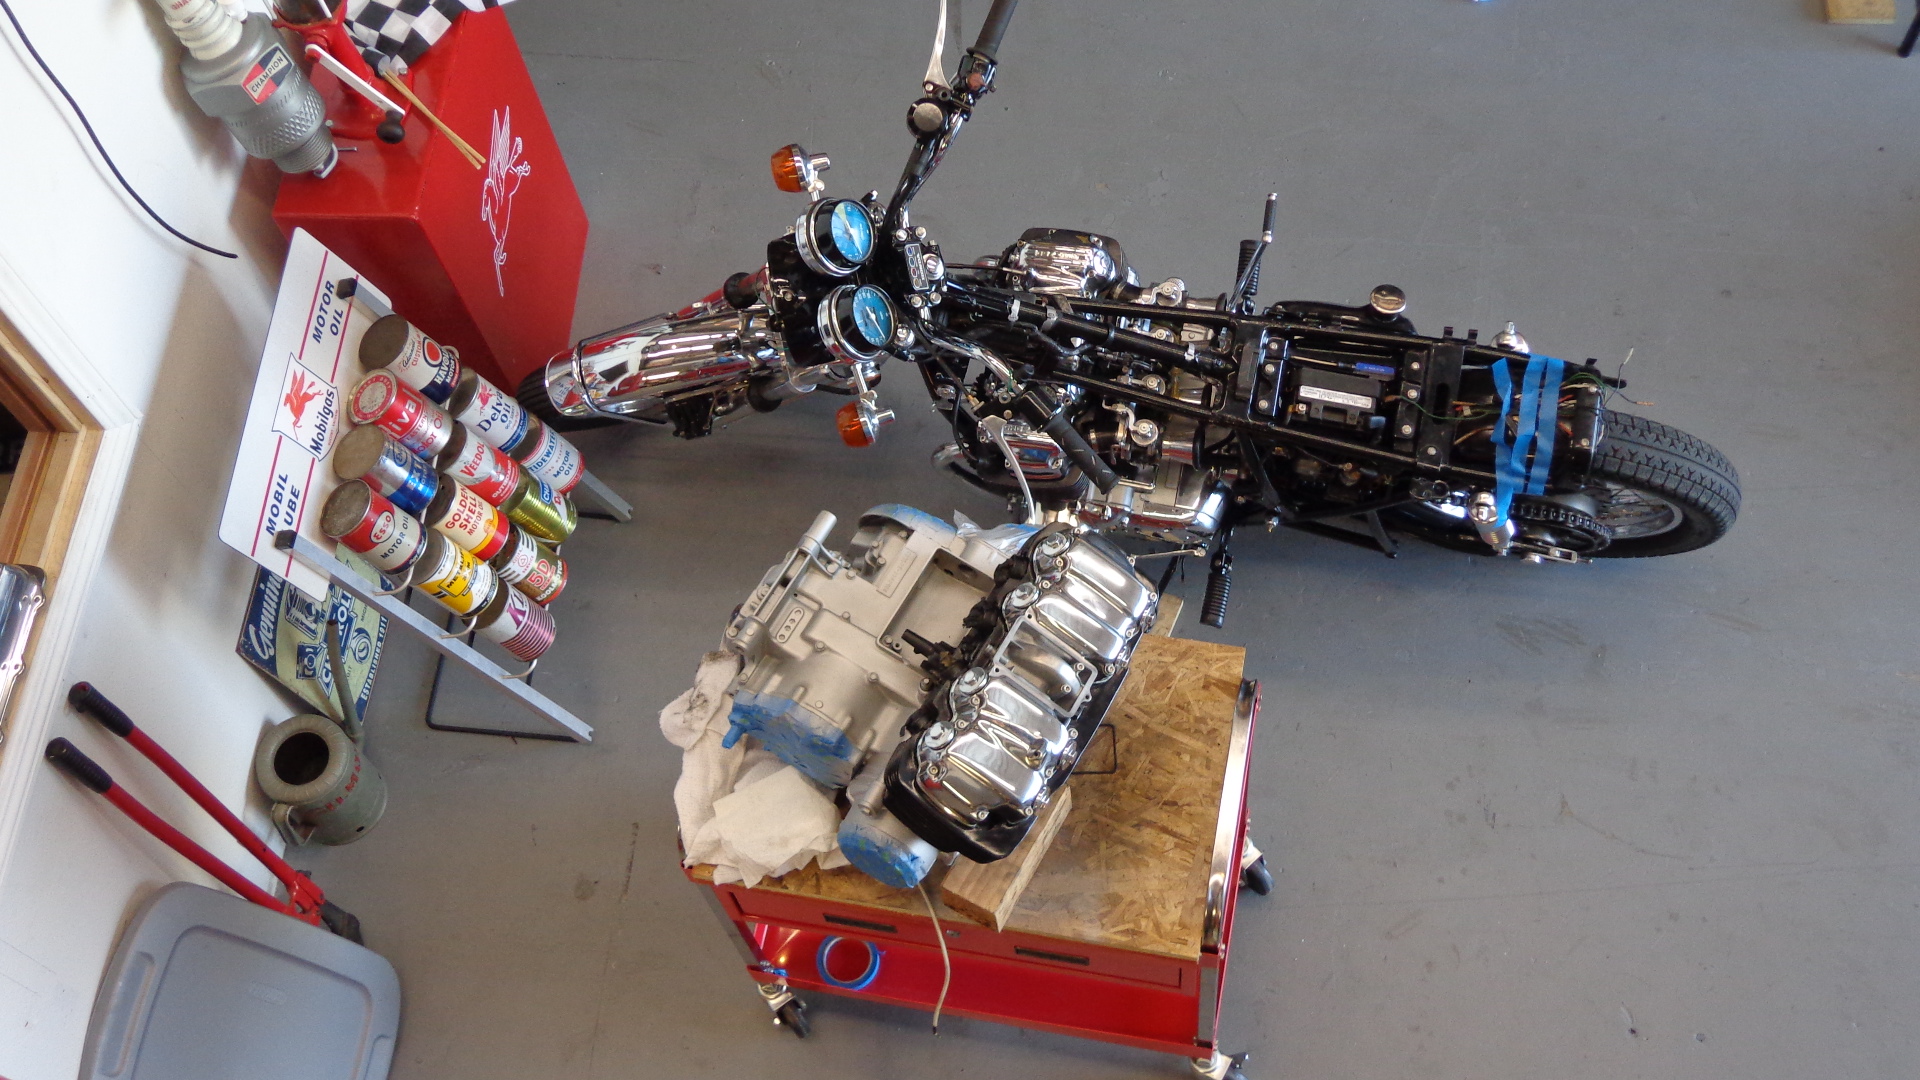
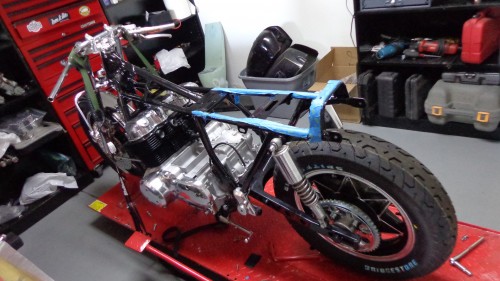
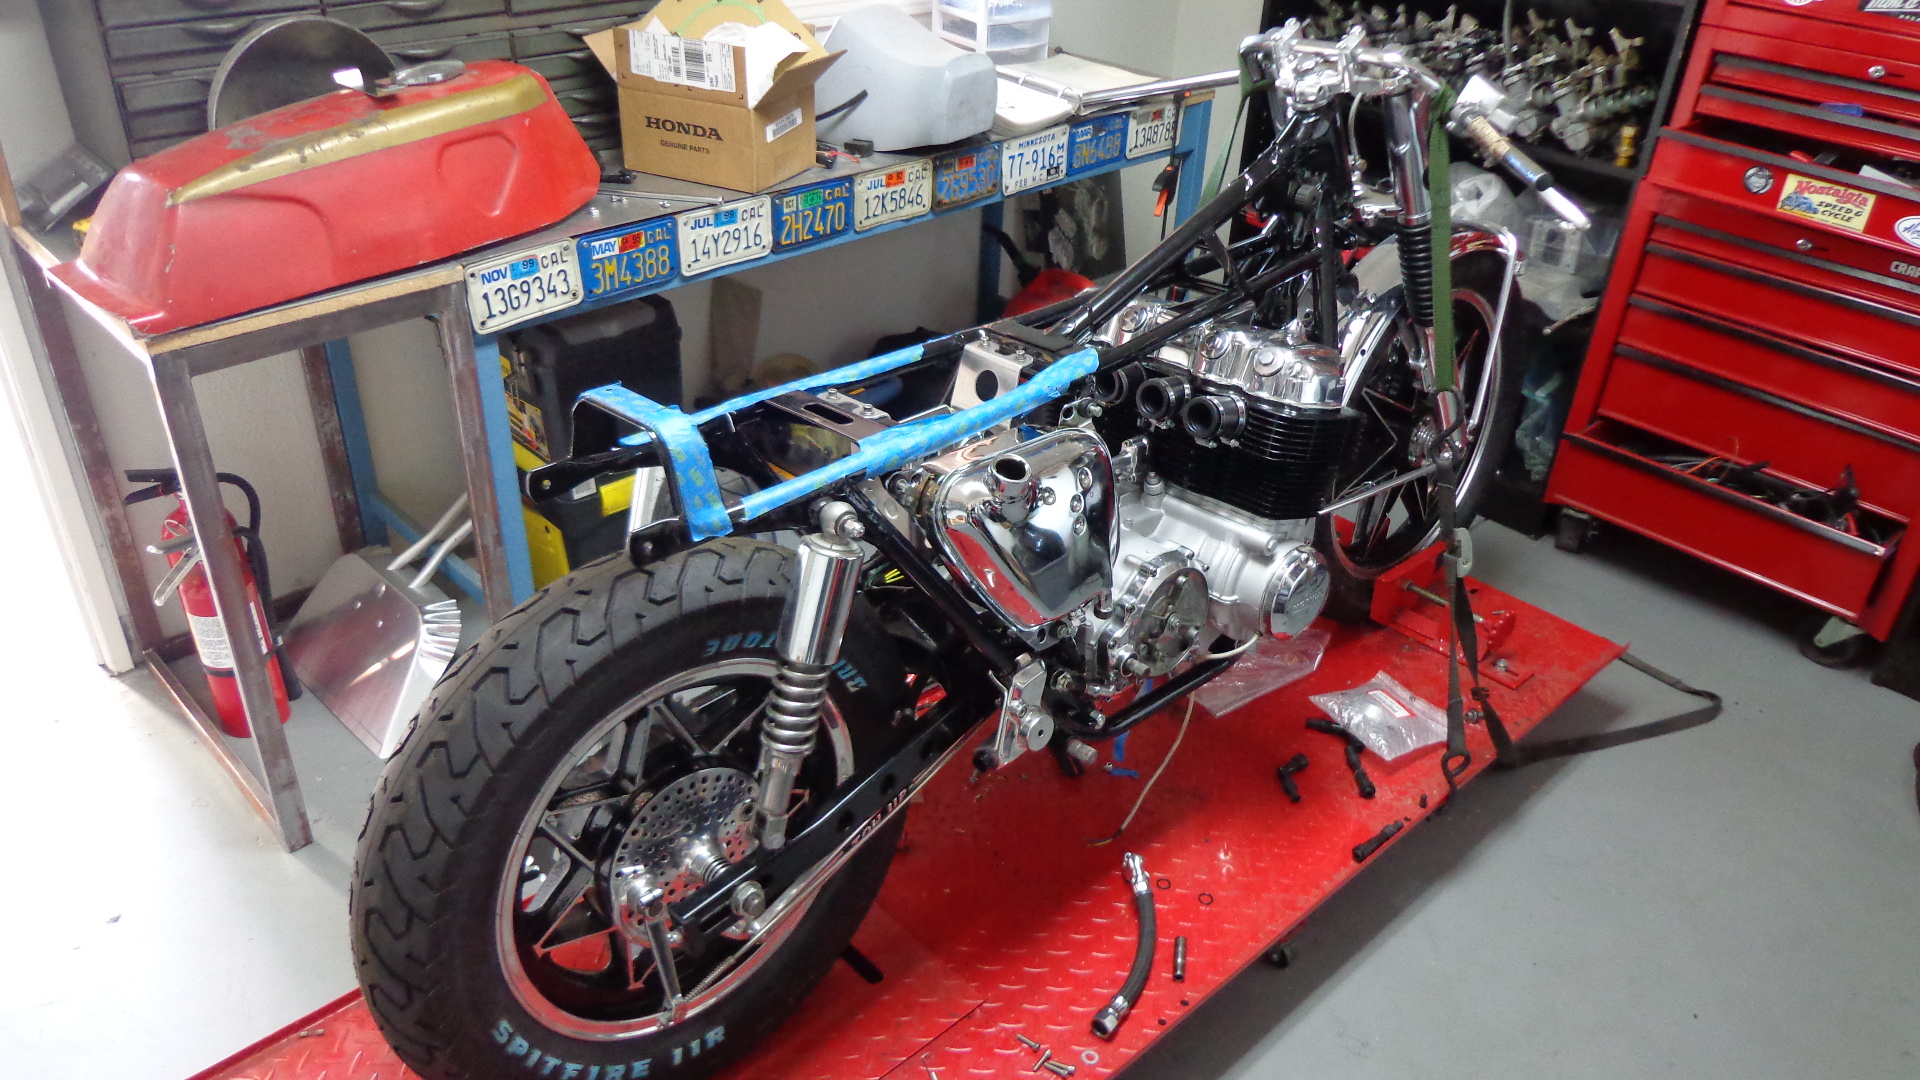
Many of you ask what we are doing at the shop and here is the latest ride I am creating, this will be a cool Cafe Racer machine and I shall be adding many cool parts to this for a Classic Old style of the mid 1970’s feel and look.
As you can see, I am getting a very good start to the bike as I have done a lot of things already to it.
I am running a set of Original H.A. INDUSTRY Alloy rims that I have had many many years, there is a 19 up front and a 16 in the rear as this is the stance I want for this machine.
I have put my favorite tires on as I like the way the Bridgestone rubber holds the tarmac out here and I do like the tread pattern.
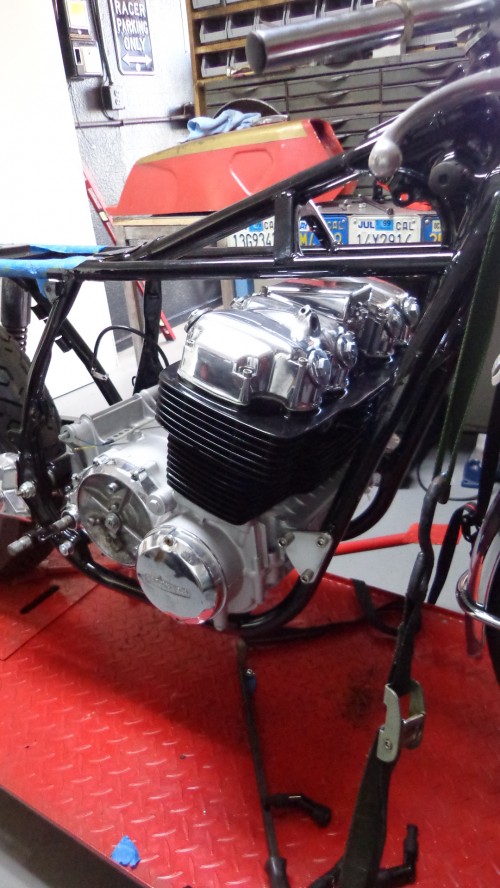
The Motor is now all rebuilt and am rebuilding the starter motor at present, so everything will be like new, the motor is a Wiseco 836cc kit and this will be a strong reliable motor, as if you go too big on the cubic centimeters, well the head gaskets usually leak.
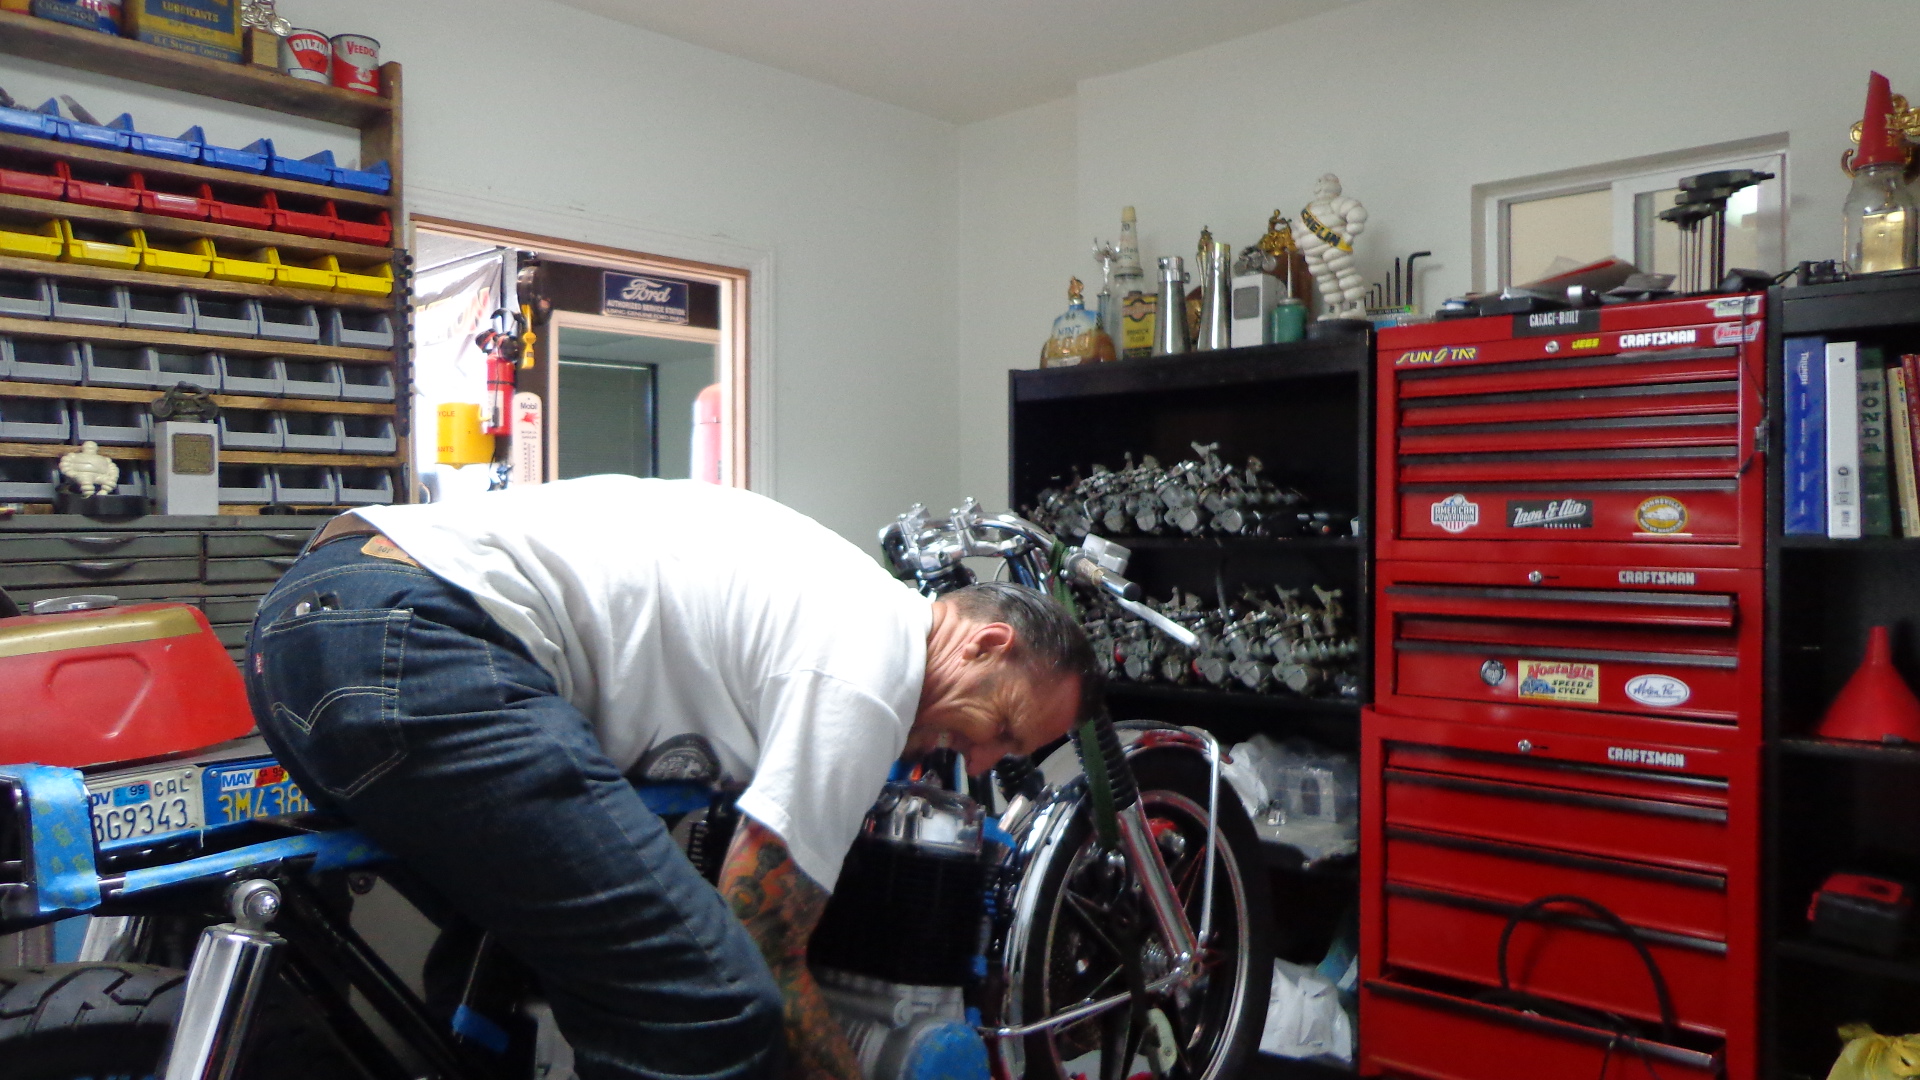
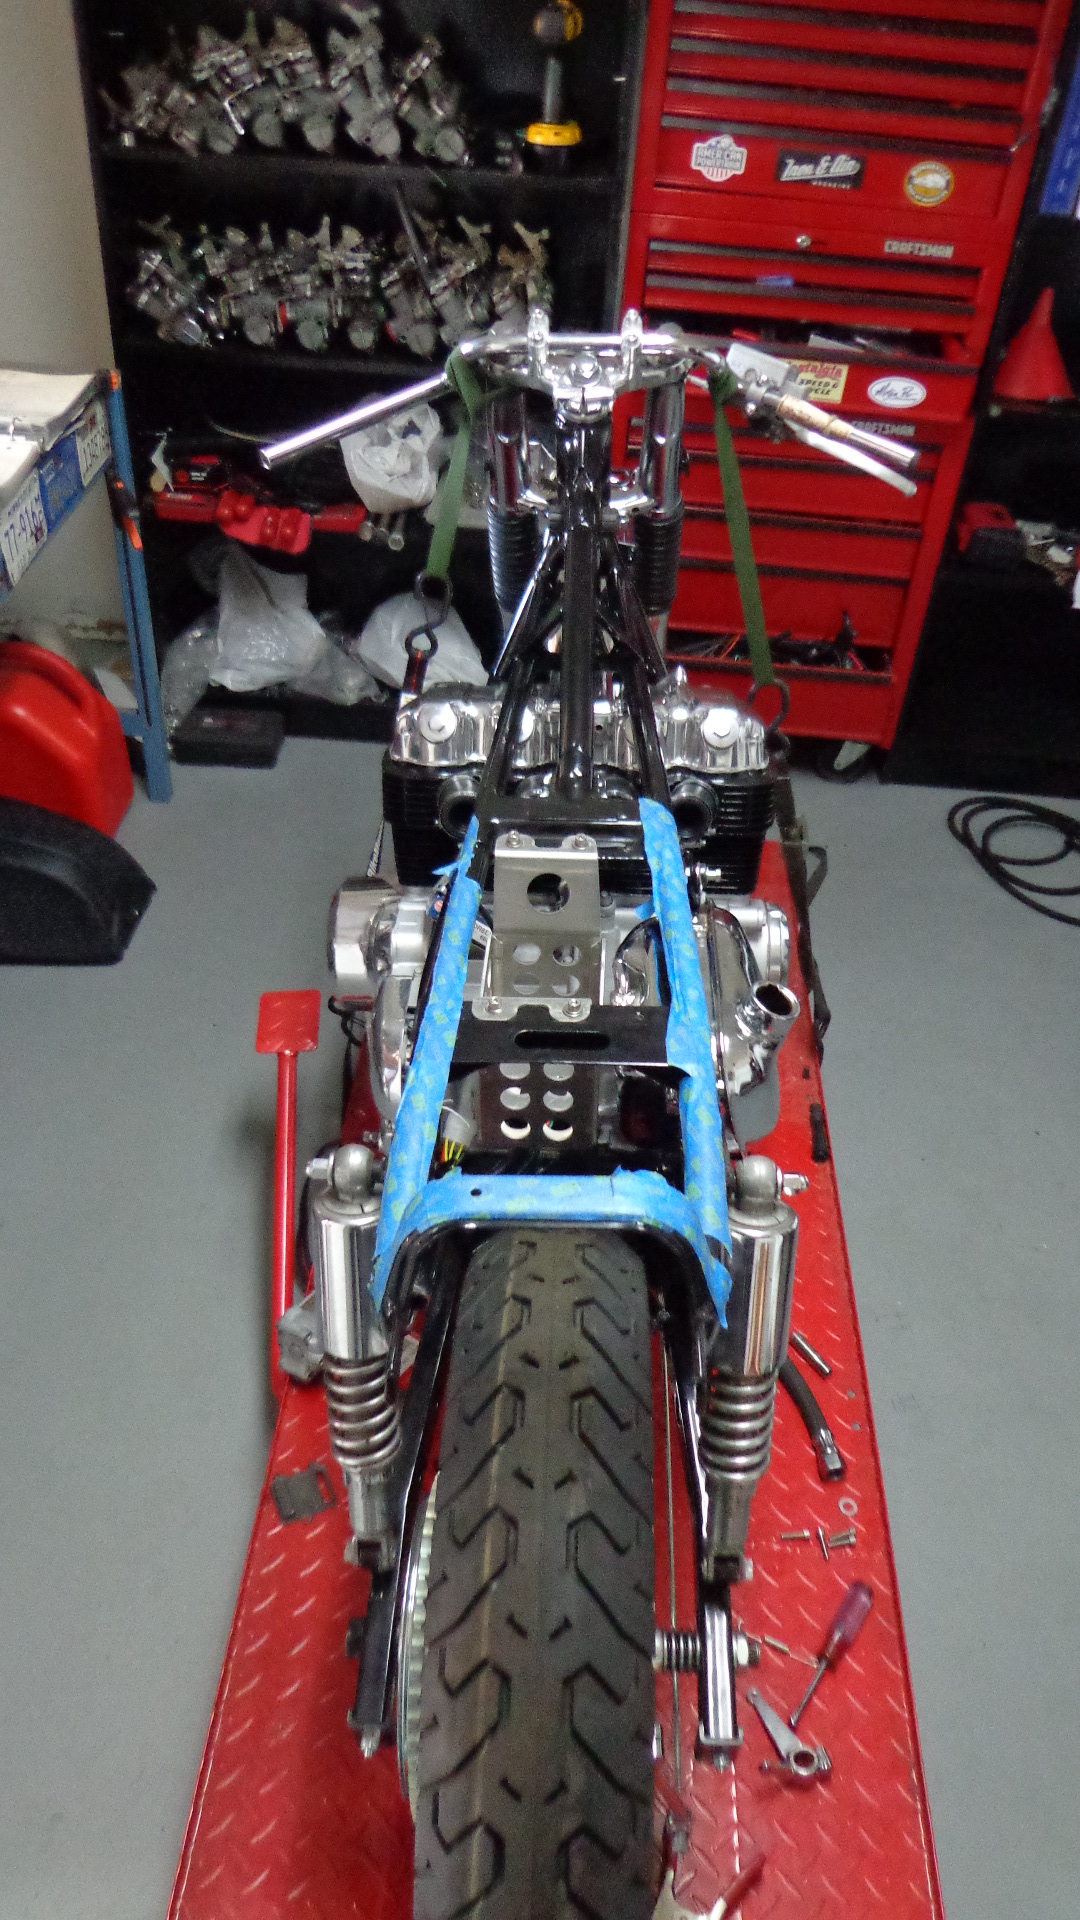
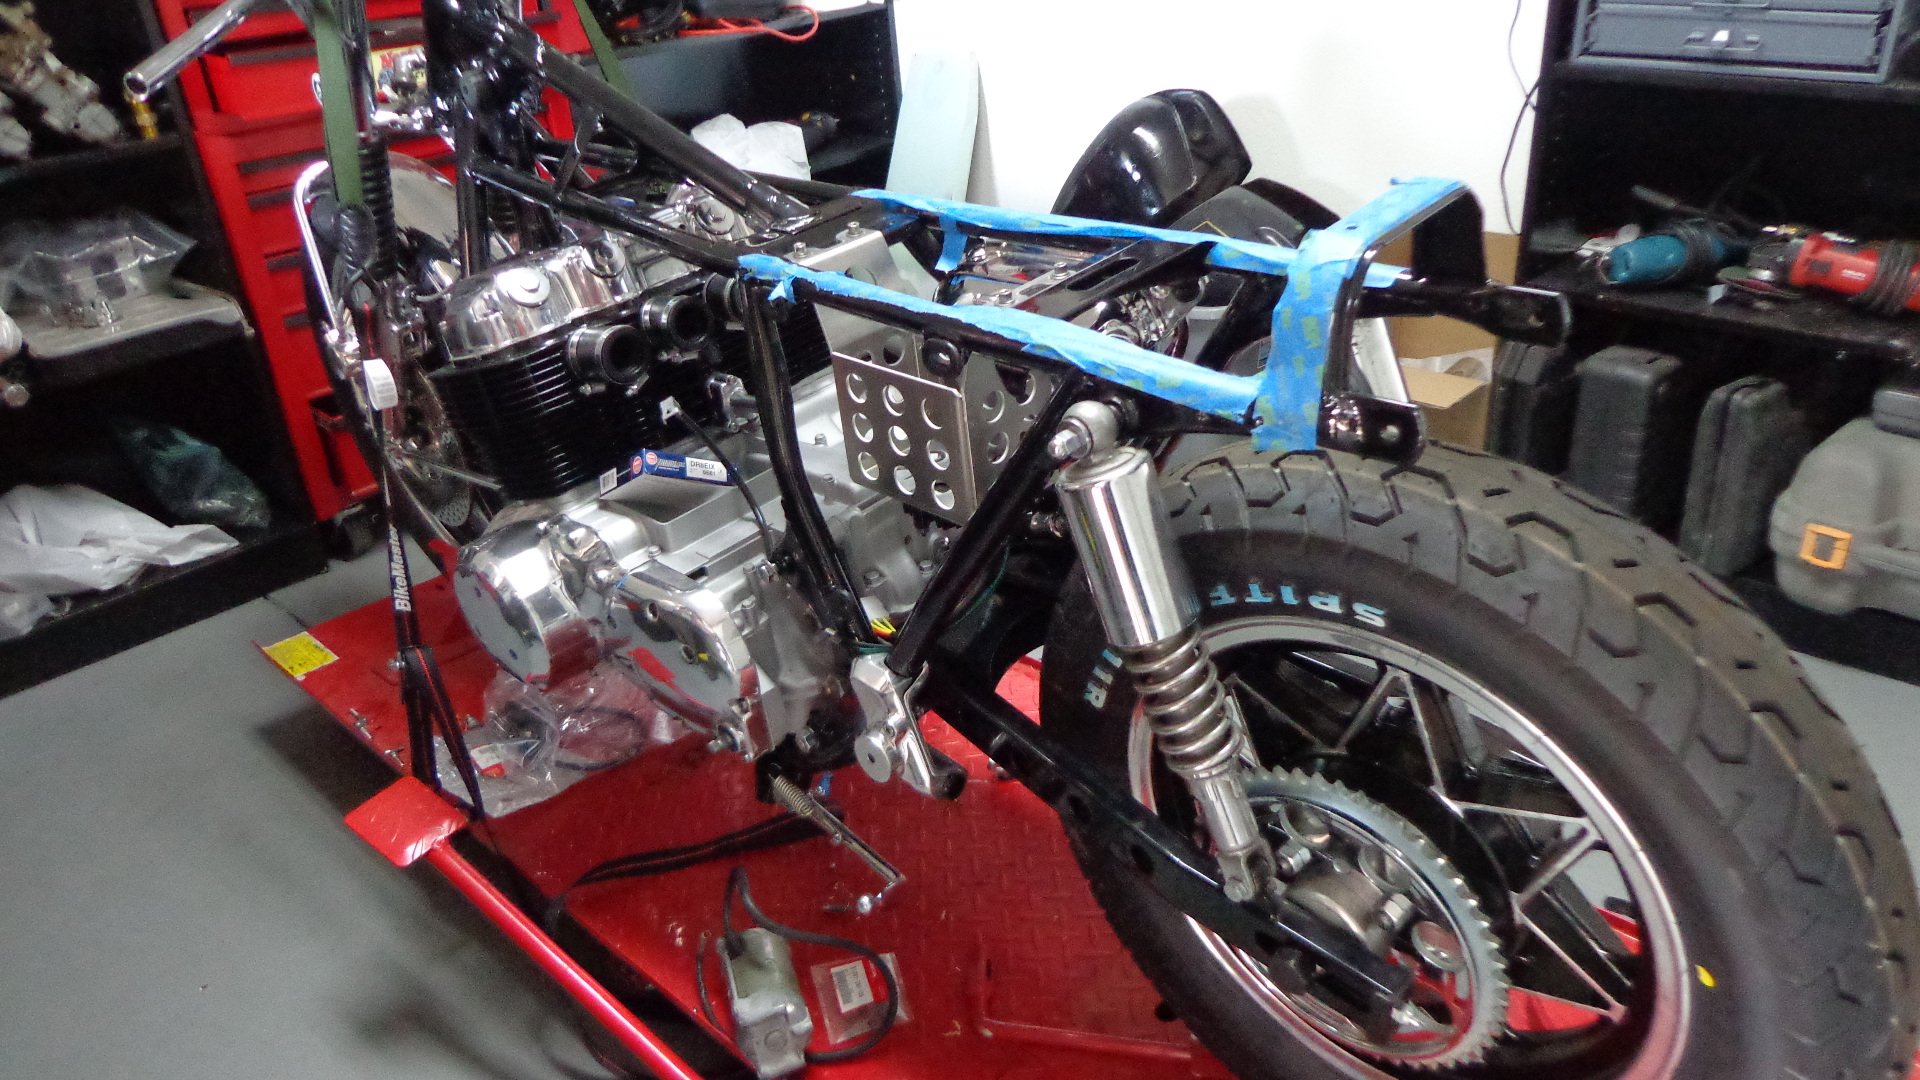
Putting the motor in can be a royal pain, I like to try and get a hand to put the motor on the edge of the cradle , then I wiggle her in, thats why I use rubber strips and tape to protect the paint on the frame.
I have fitted many many motors and tried all sorts of different way, even laying the frame over the motor on the floor, but- for me, this is the best and easiest way to get that 230 pounds of thumping fun in the chassis.
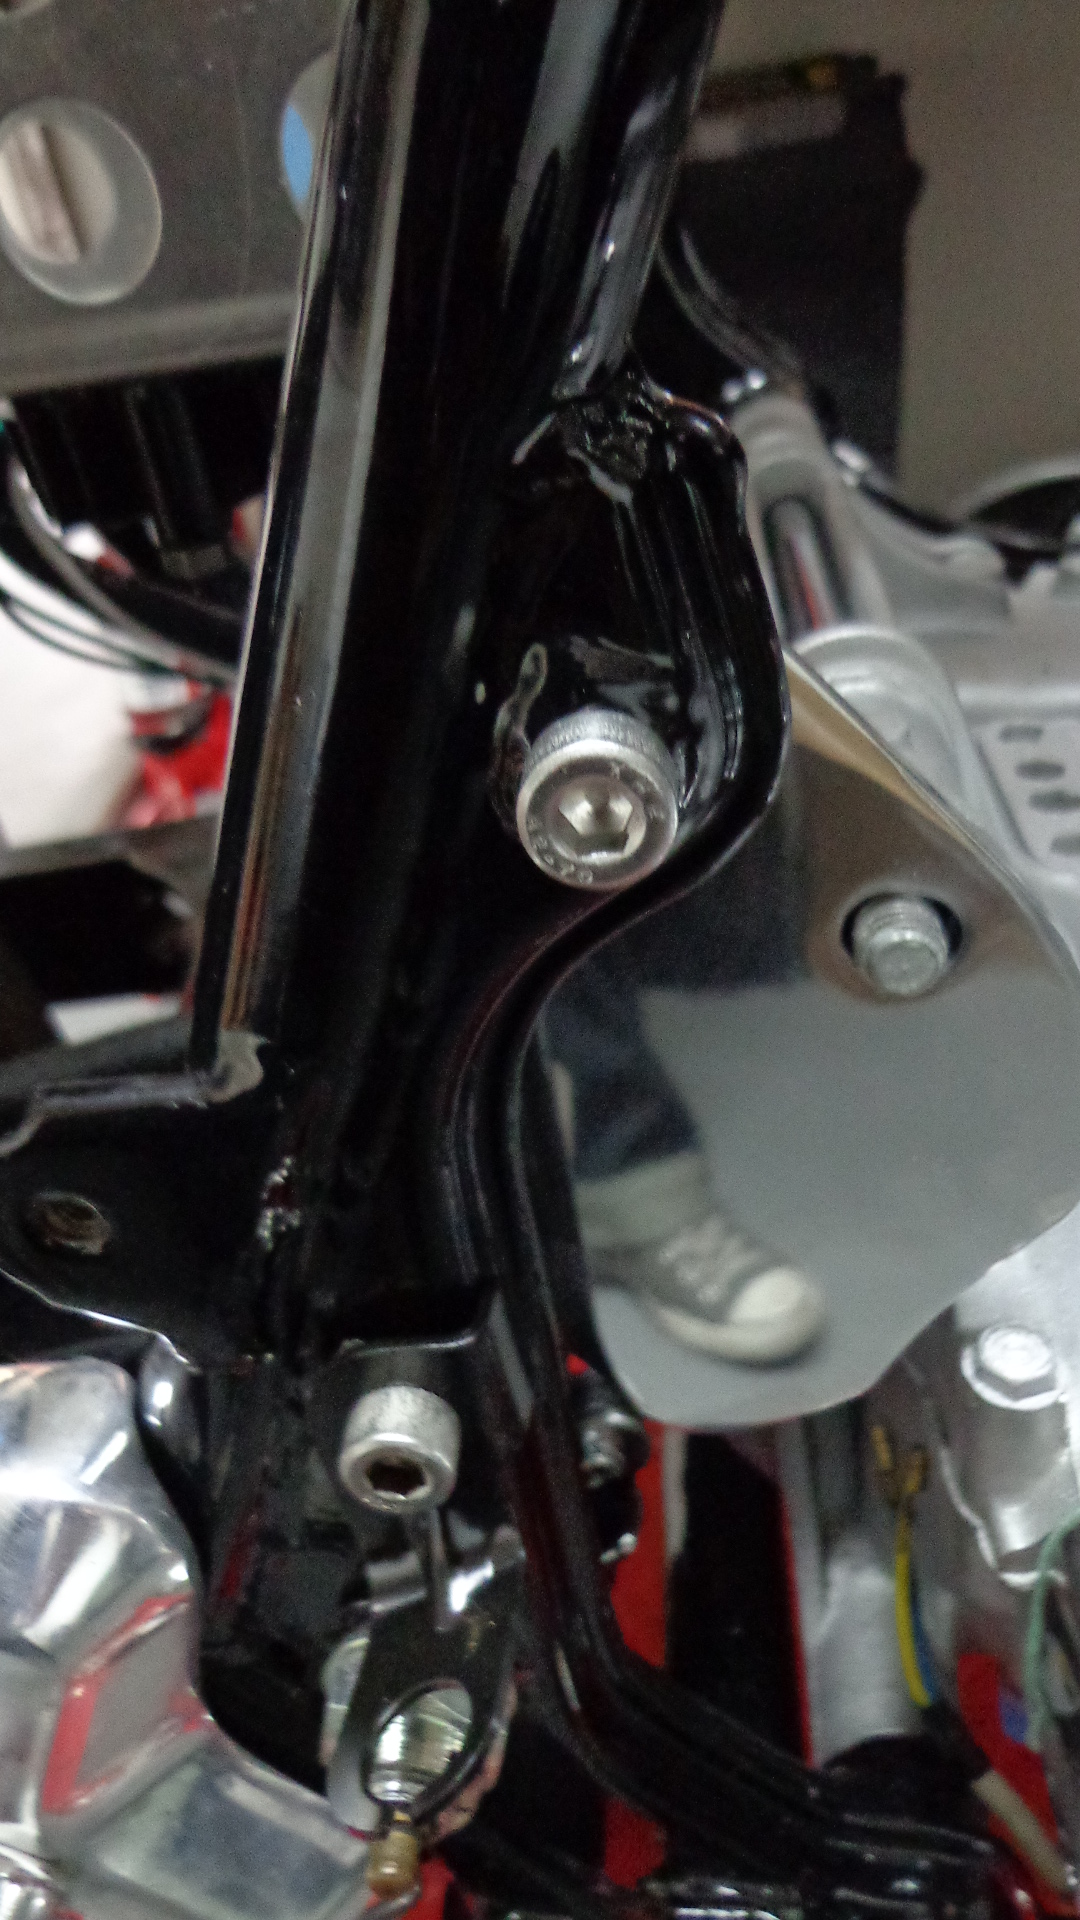
I like to make sure that all the holes in the frame where ANY bolt goes is thoroughly cleaned with a Dremel, as the motor needs to be grounded too, so I really do make sure all is clean and ready for the bolts.
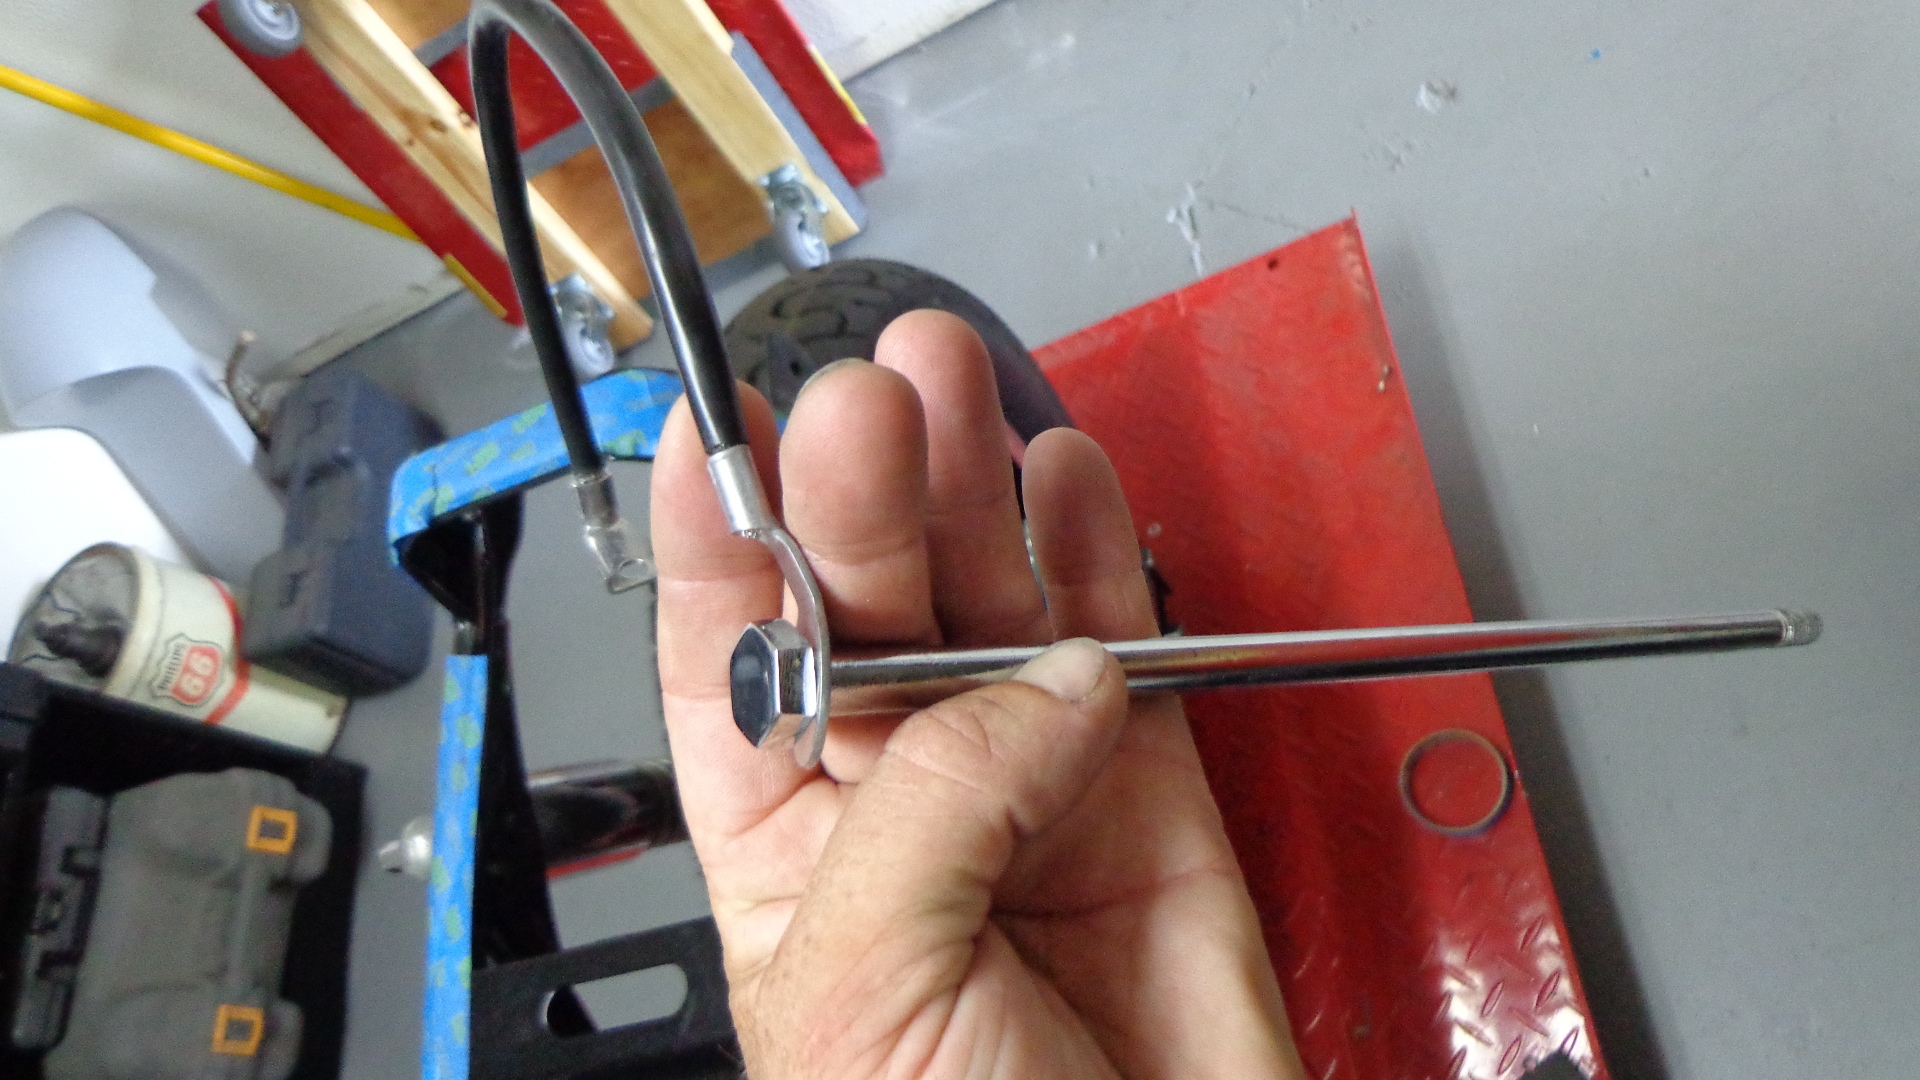
The Original bolts I use , well they are usually rusty, so what I do is clean them and get them stripped and chromed, this adds just a little more bling than painted bolts and I believe that this is the best way to go.
I remove the tape when I am happy that all is lines up and have some locating bolts in, then its a quick clean up with mineral spirits to get any glue residue off the frame that the tape left and begin all the refitting.
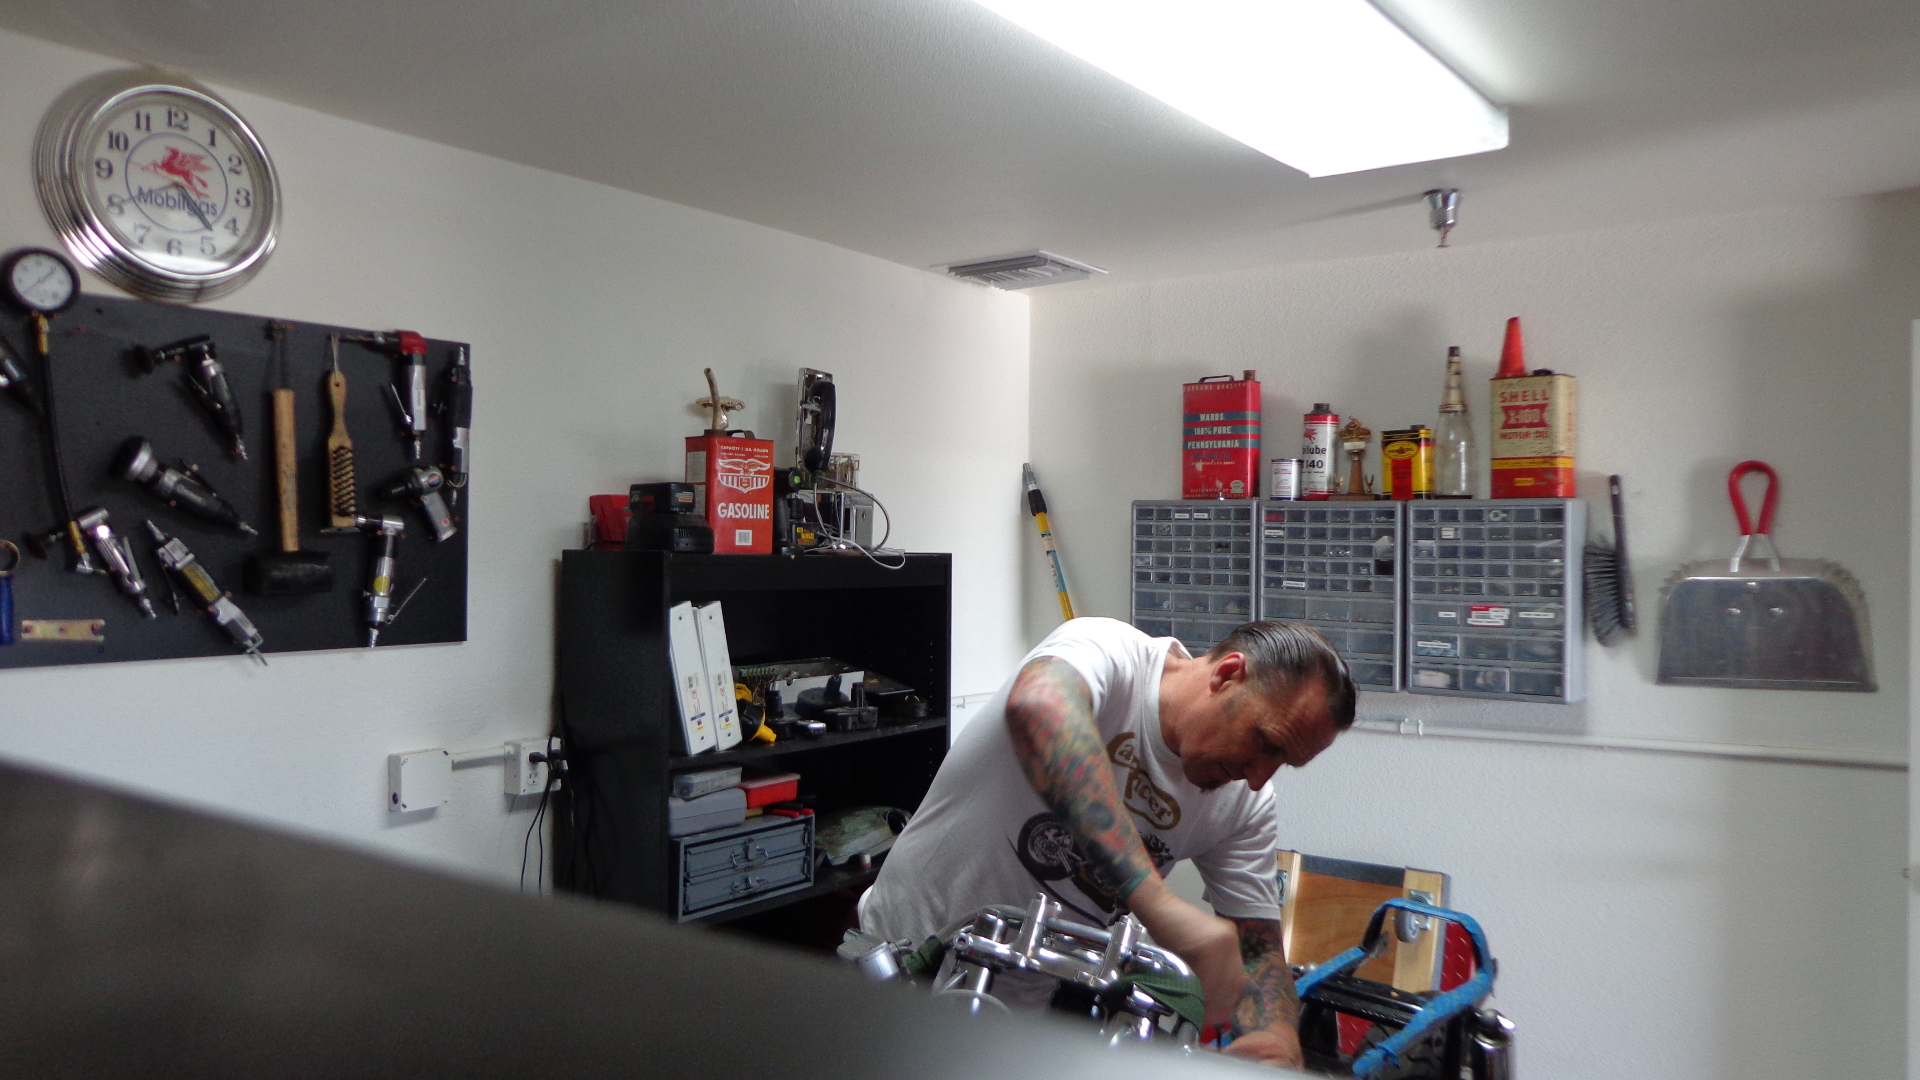
I have a few things to do and today will take photos as I go along and add them to this blog, as that way you can see exactly, what I have put into this mean machine.
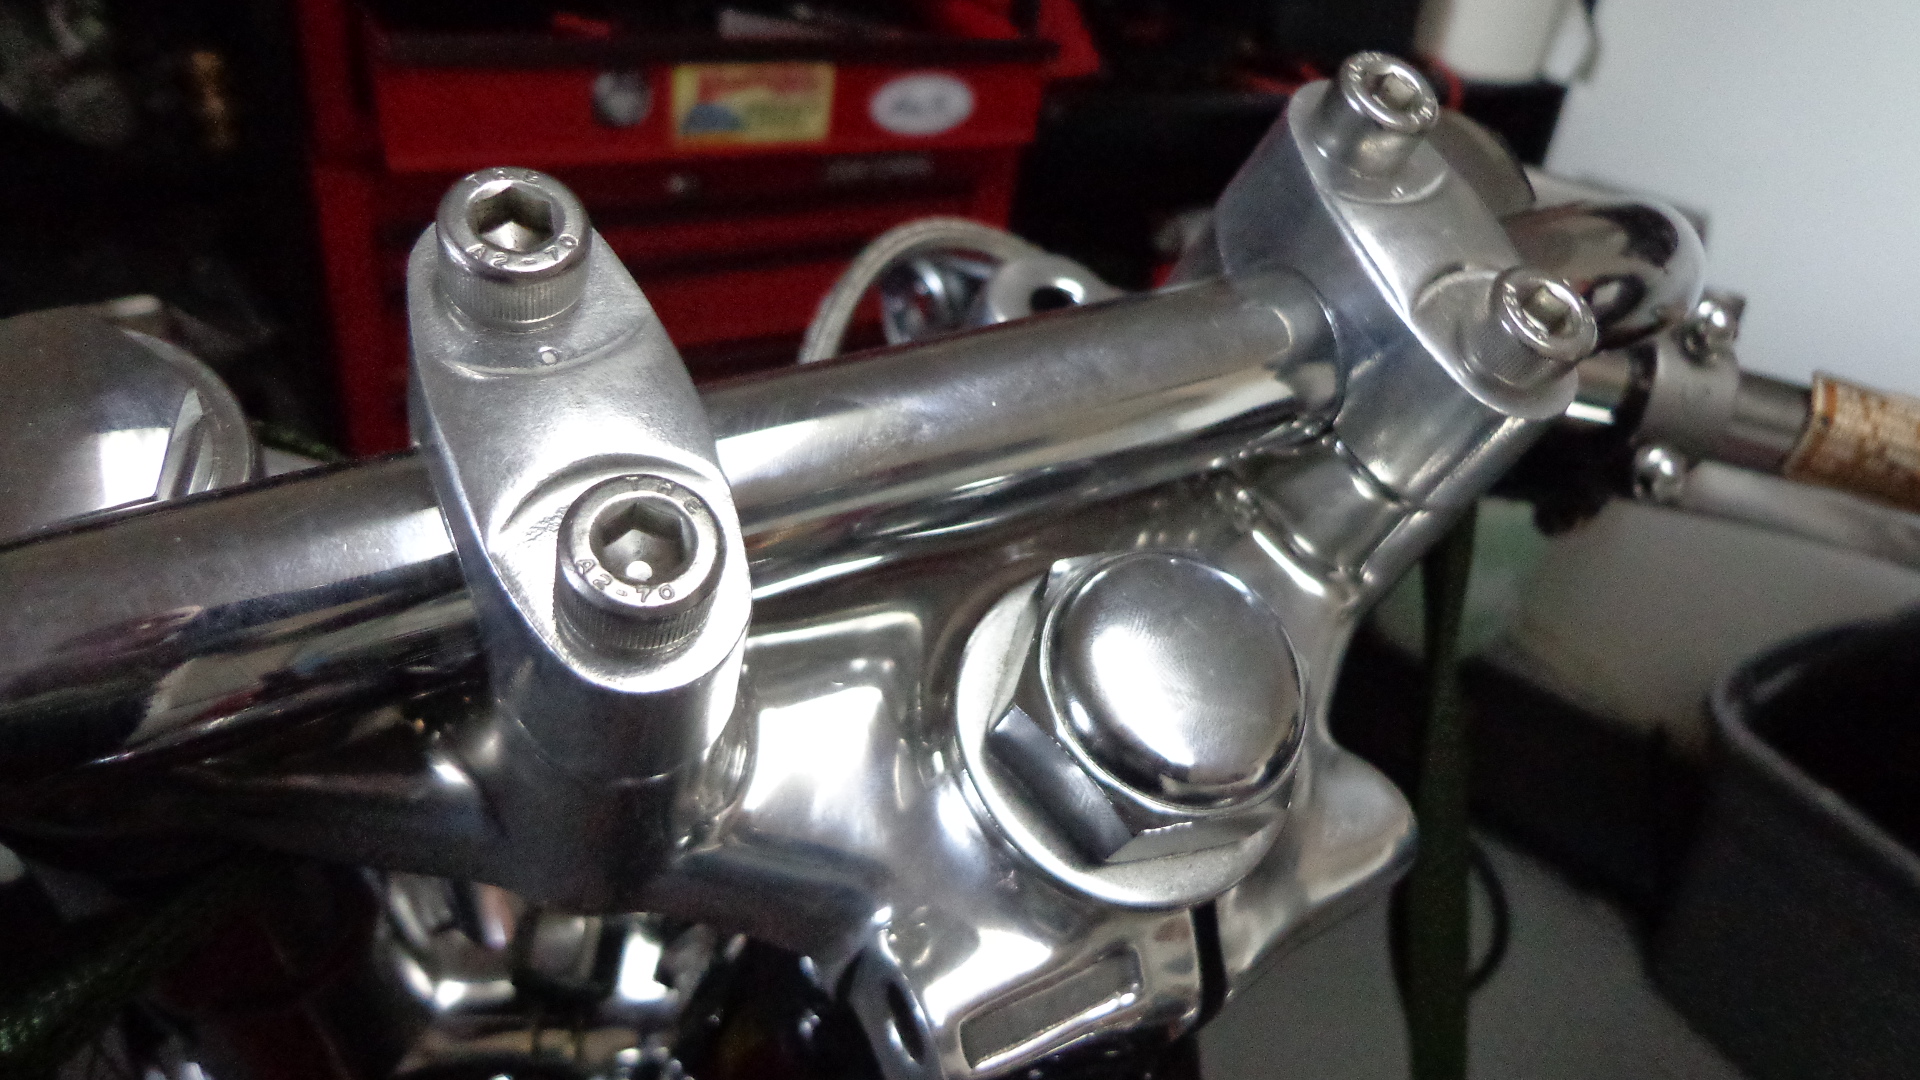
The front end is totally rebuilt, the forks also have new seals and oil, as well as the the fork ears are New Old stock originals, so this really will stand out from the crowd, also I polished the top triple tree and Chromed the lower, this has new bearings in the head stock and a polished brake switch at the front too.
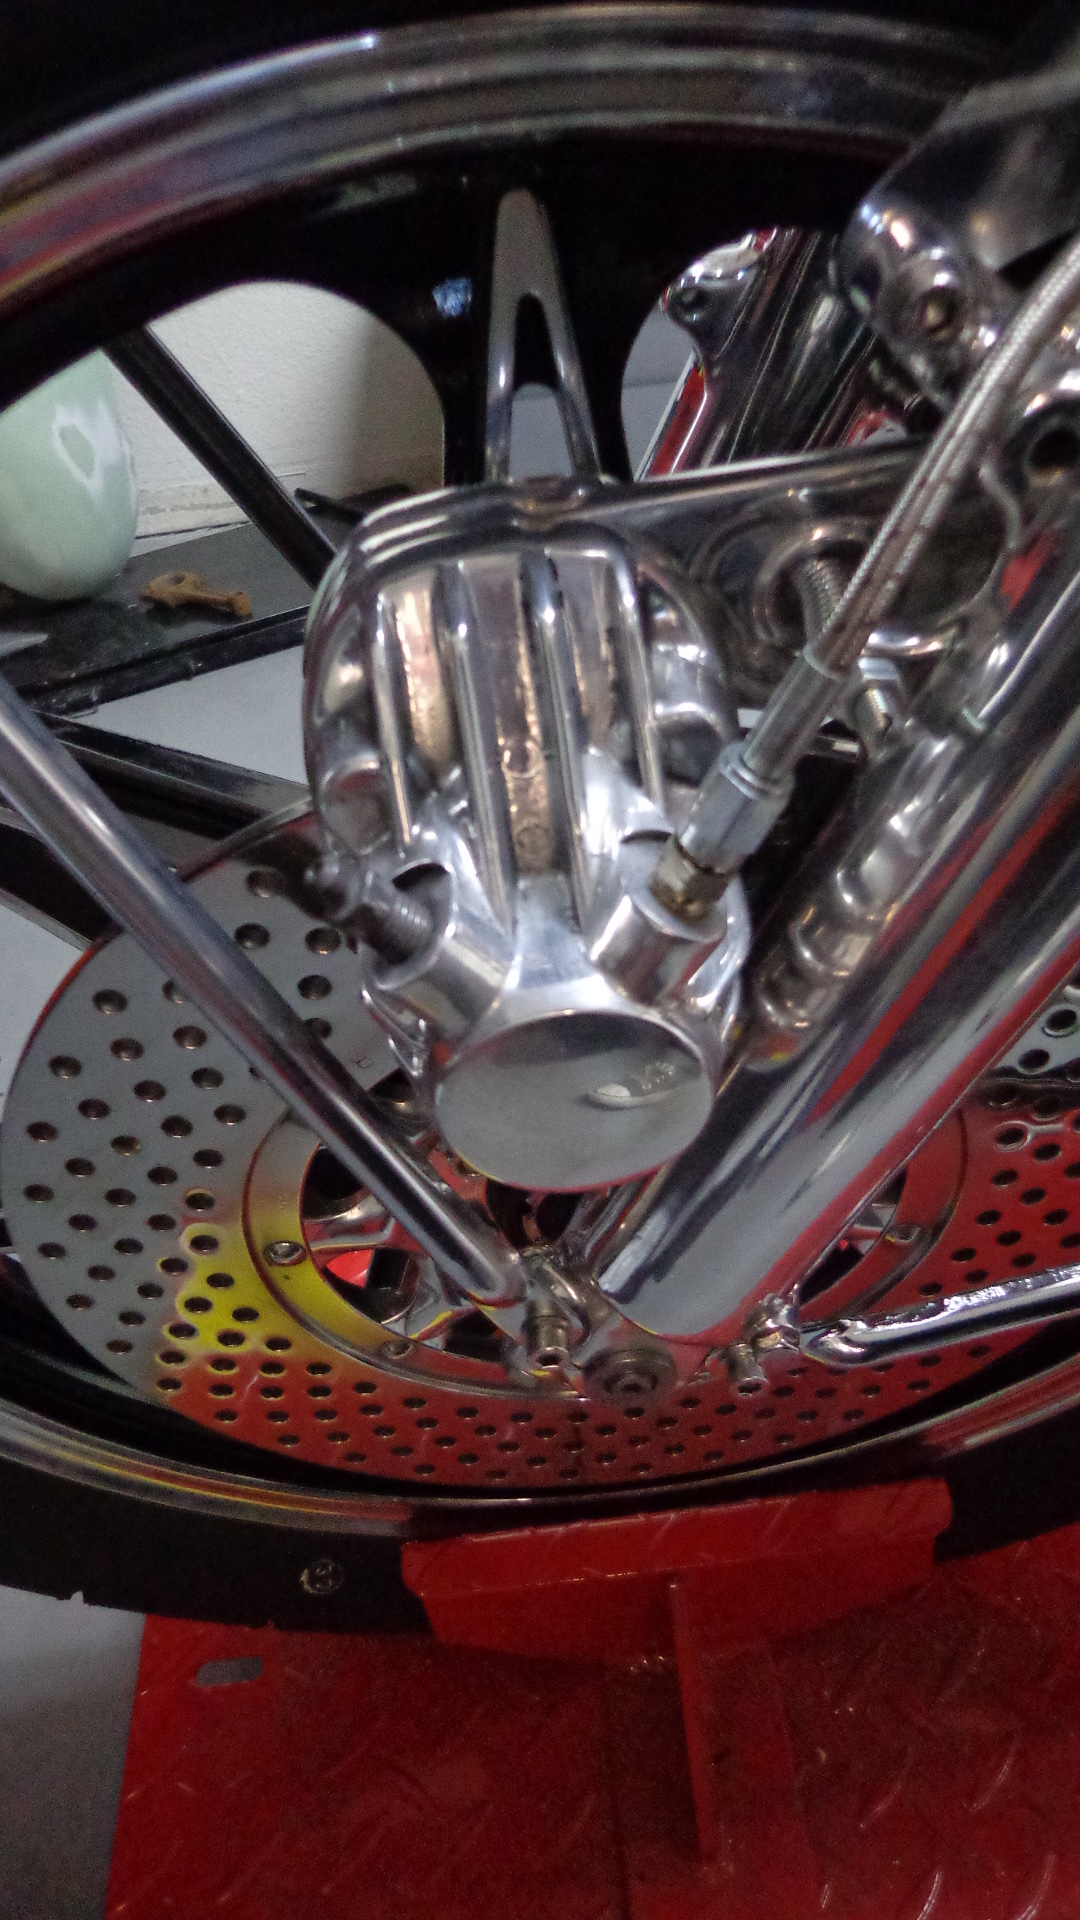
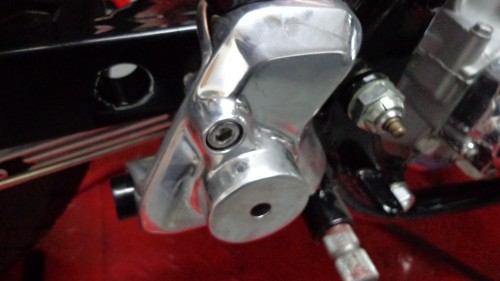
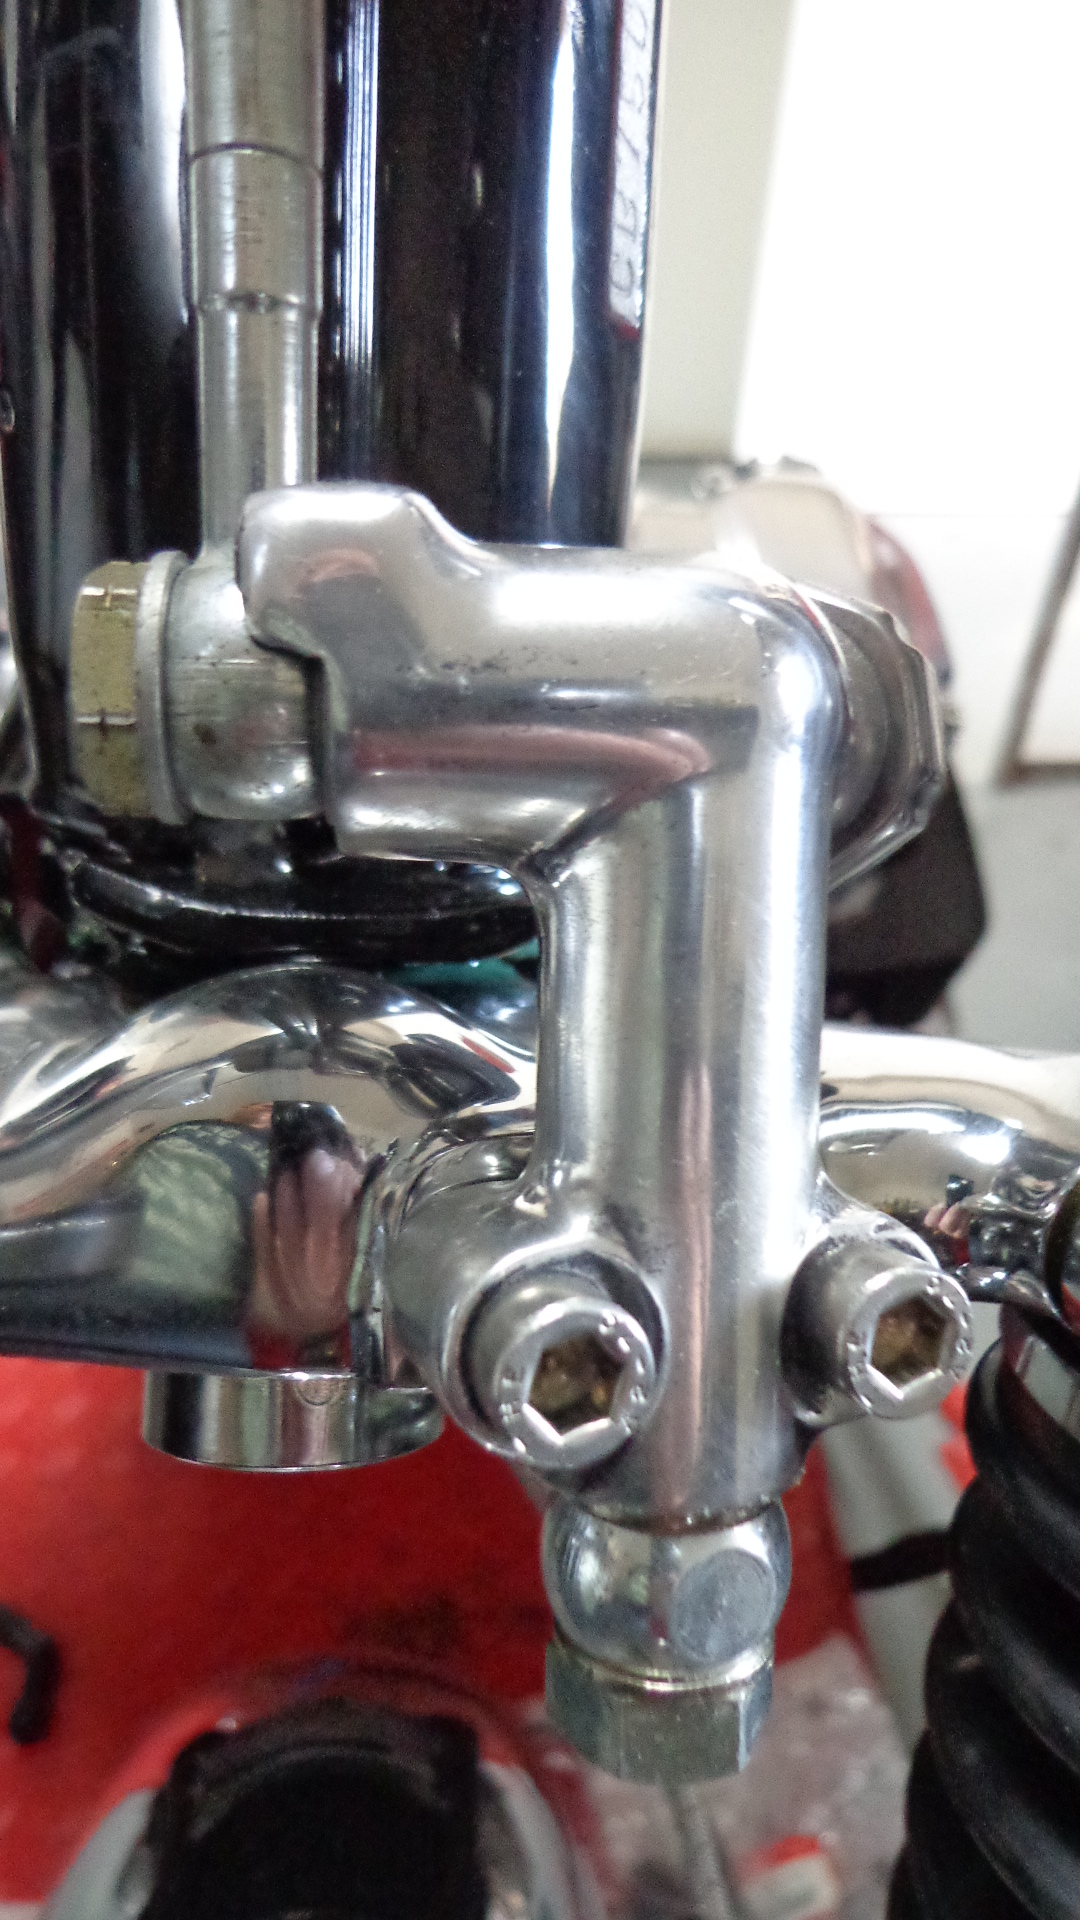
I rebuilt the front brake with New piston and new pads and seal with new bleeder etc, and then polished the caliper bracket and body to look like chrome, this is all connected to braided steel brake lines to enhance the front end.
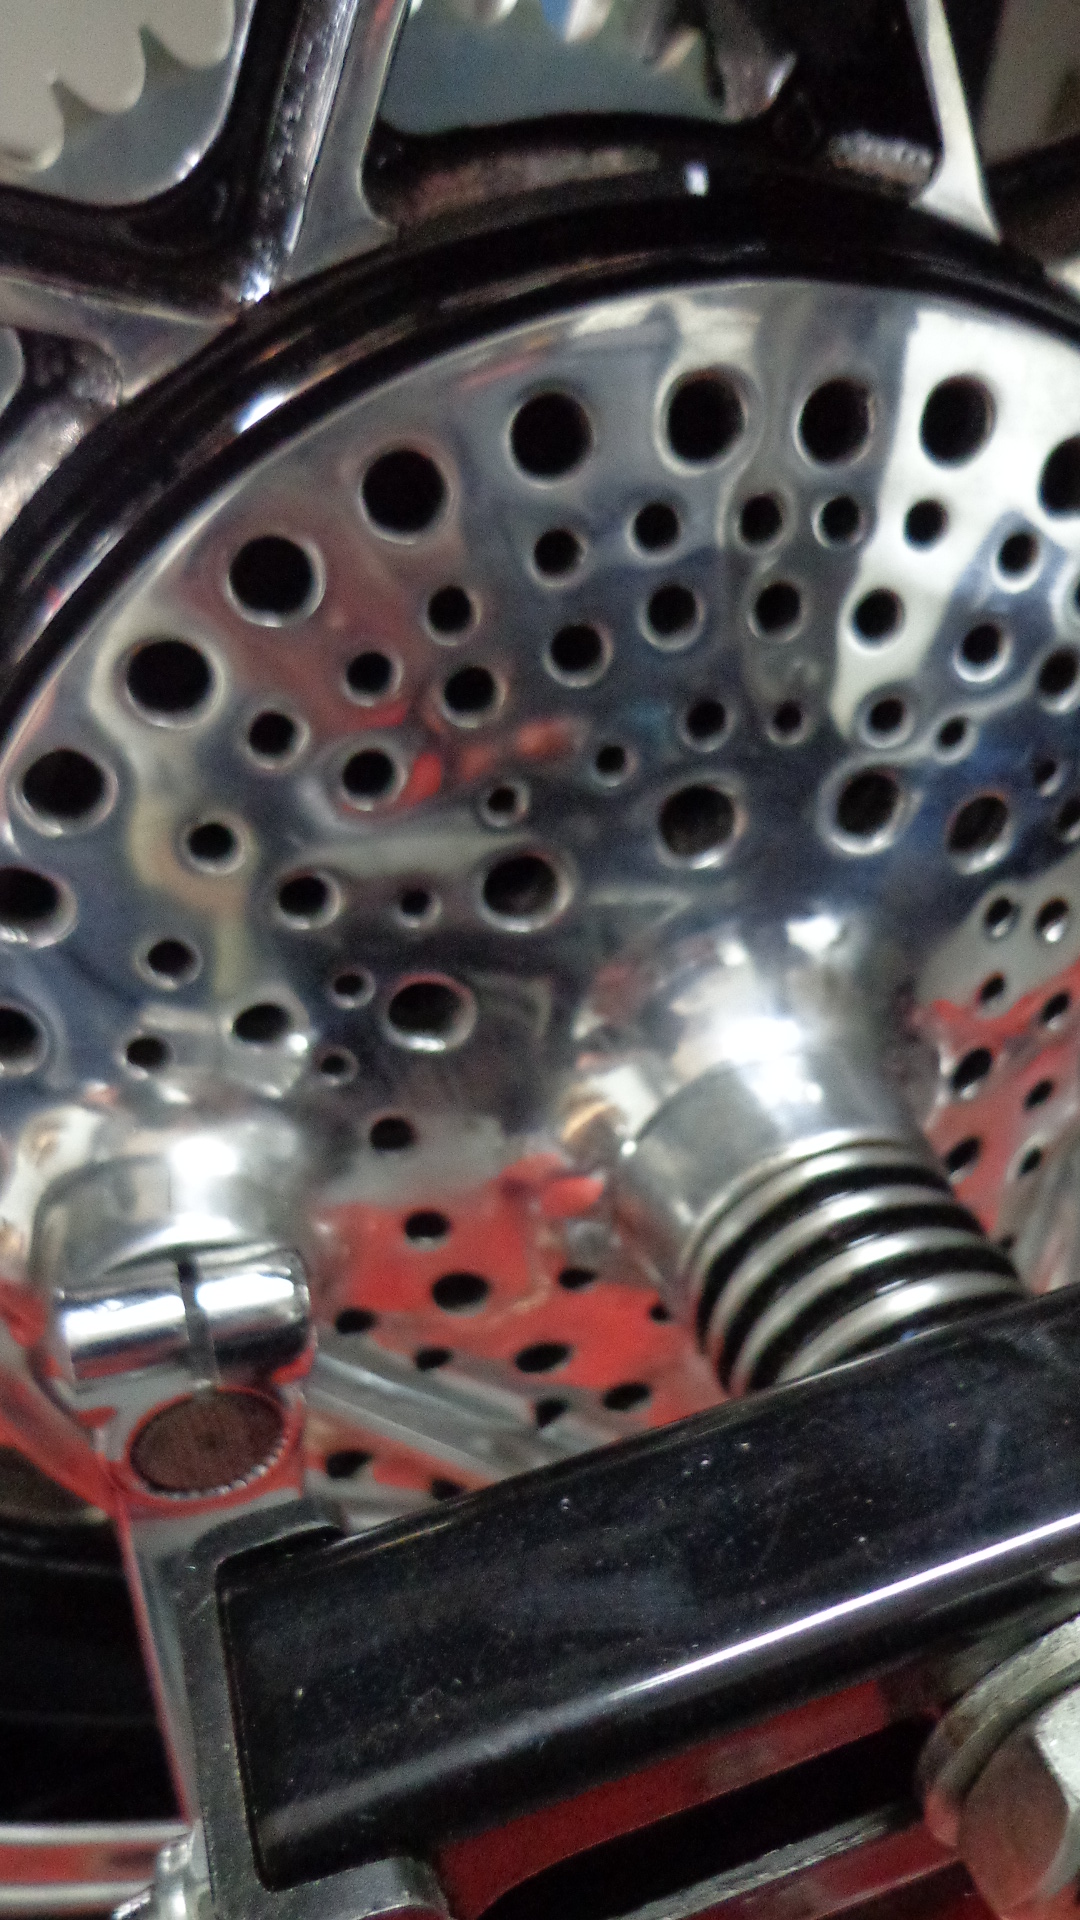
Also I drilled 140 holes on the rotor and polished it, this does look the dogs wobblies right now and am happy that I went that route.
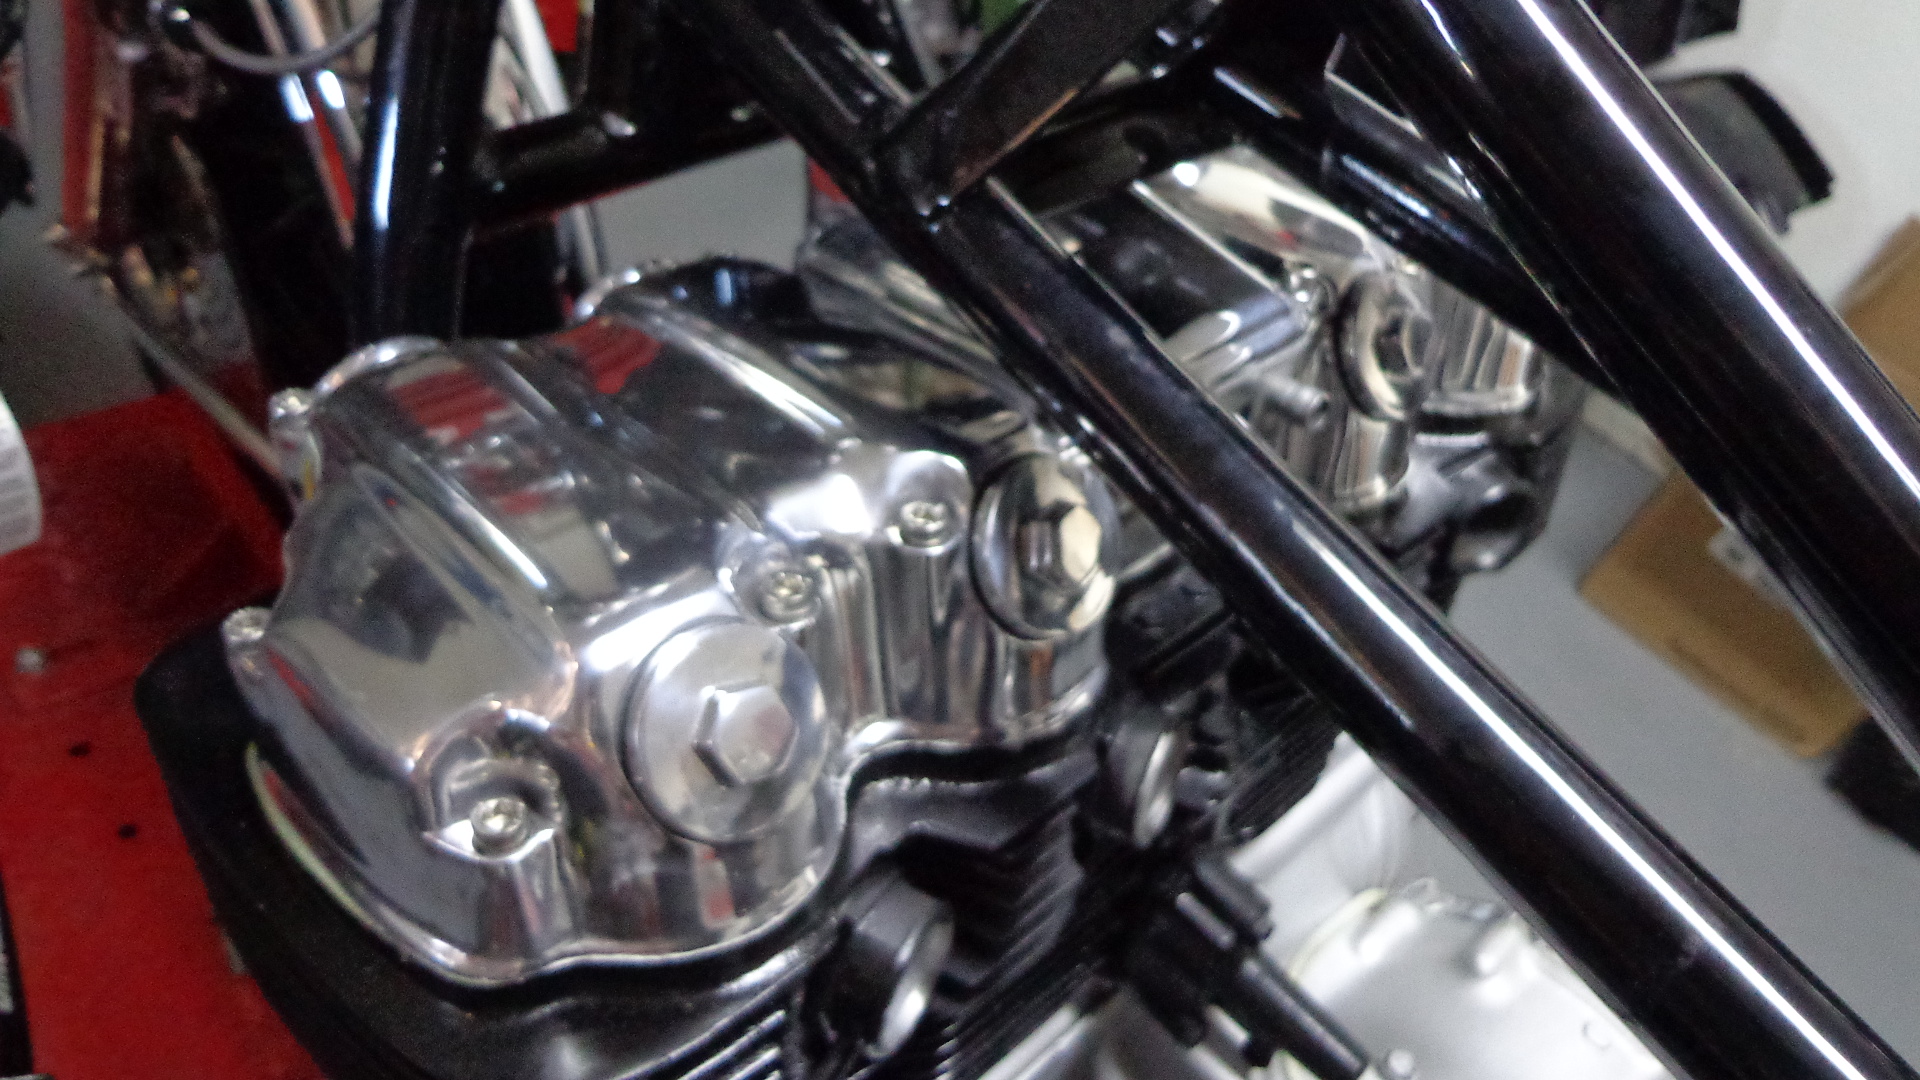
Another thing I have done is, on the valve cover, I ground off all the dented lettering and fins, for a clean smooth look and then polished to a chrome finish.
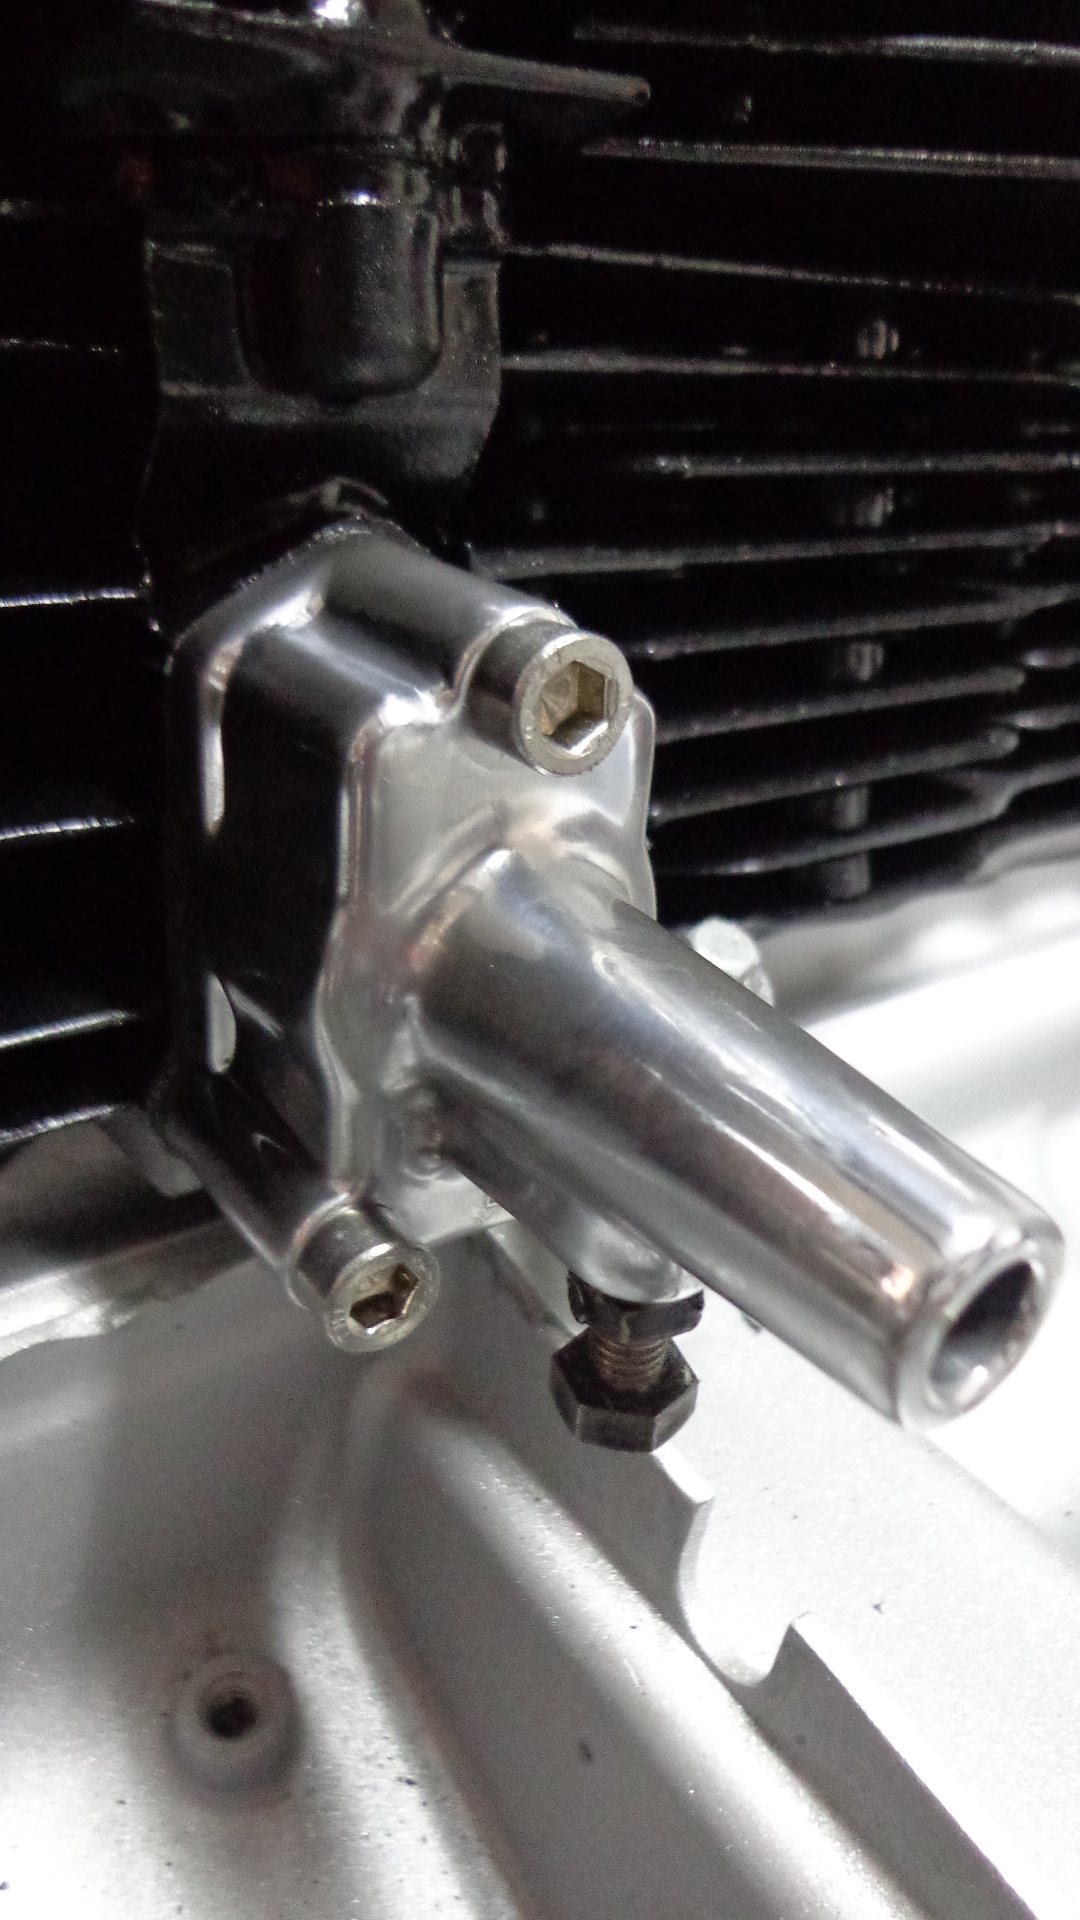
Next up is to pull the old cam chain adjuster body and remove the spring and pad, and buff the carcass up to a chrome finish and then refit using some Stainless Steel Allen head bolts to set the whole thing off, and of course, re -set the tensioning.
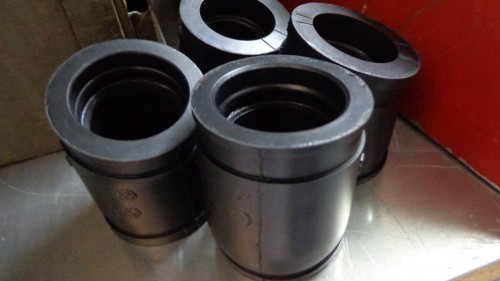
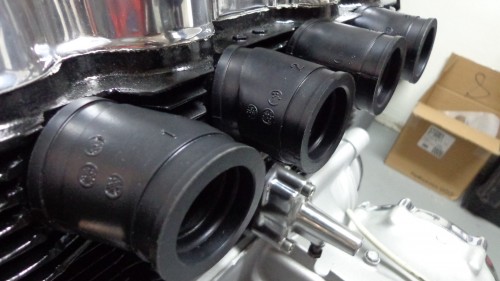
This has now left the room for me to fit brand new genuine Honda intake manifolds as I prefer to use the real deal, I have tried aftermarket ones and they tend to suck in air and go out of shape quite quickly.
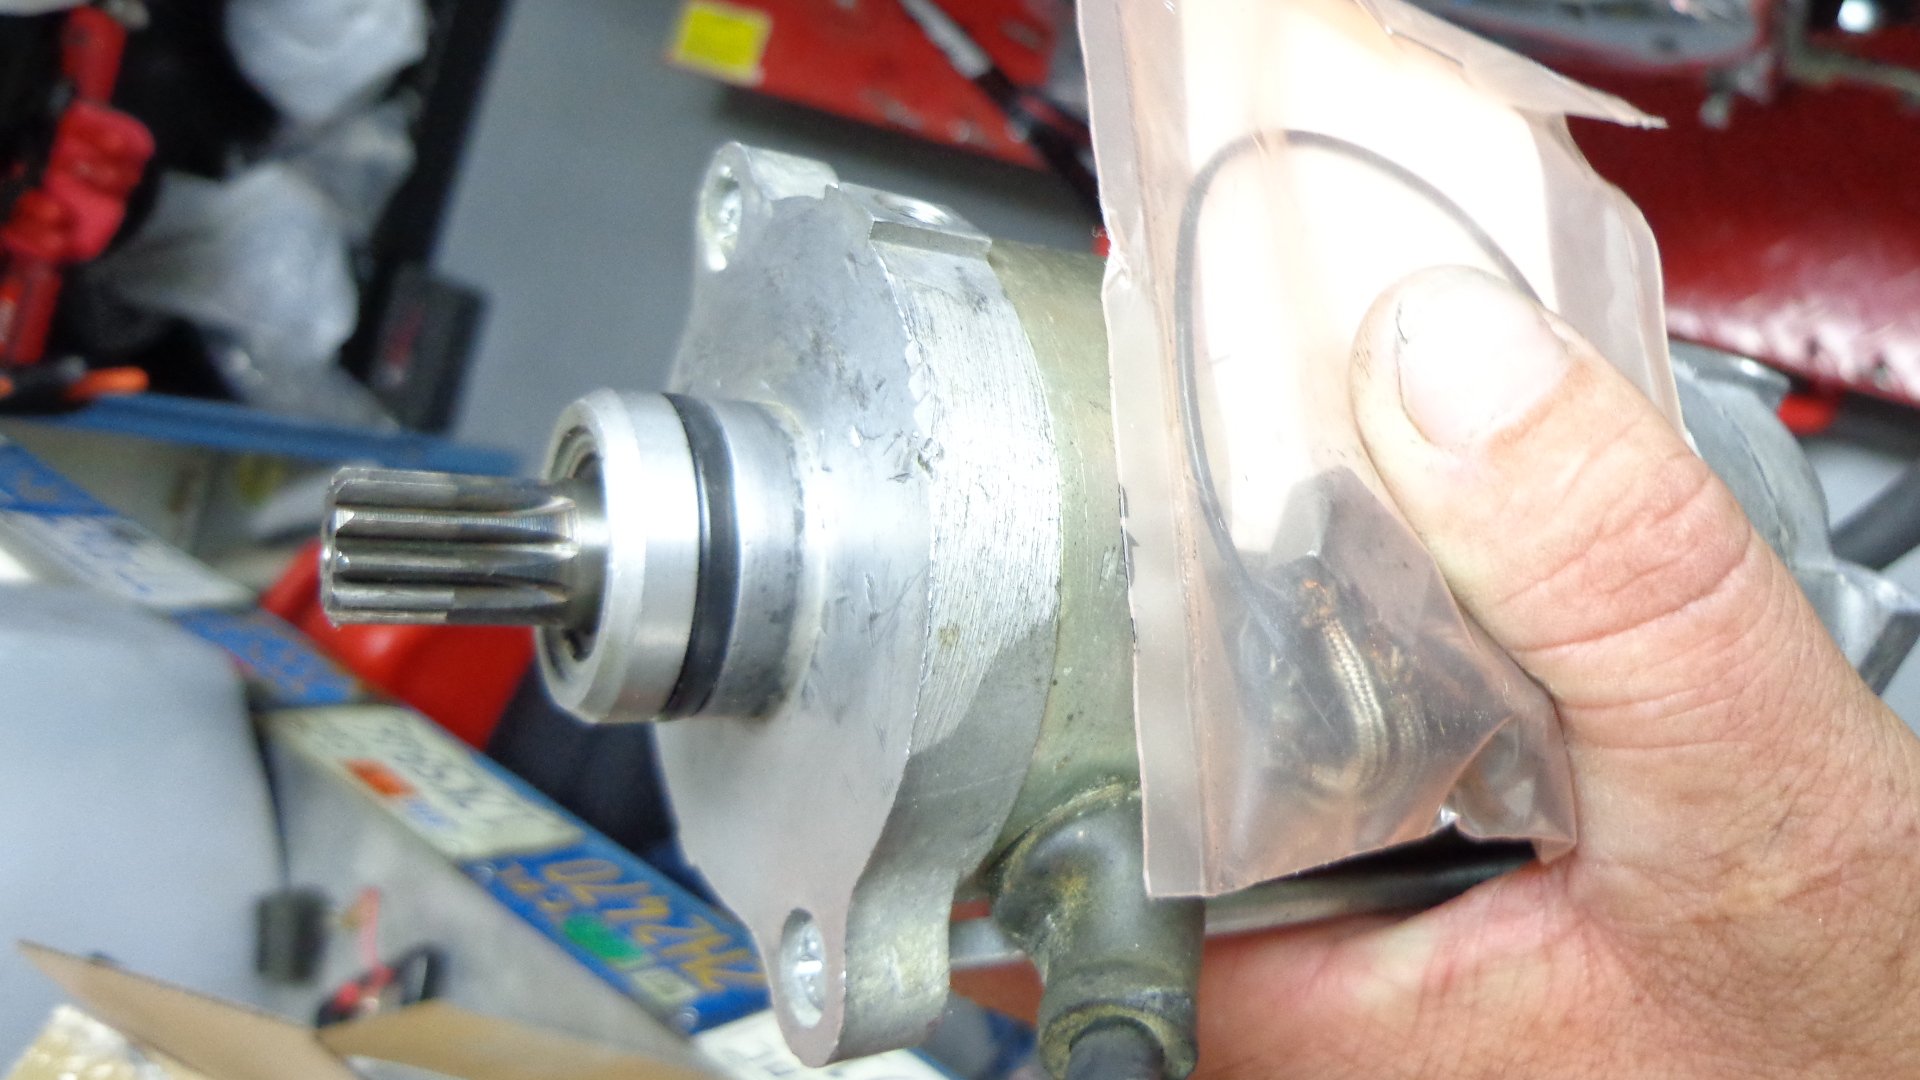
Then this is out of the way, I can continue to do a few more things, as the starter motor is now out and have ordered New Carbon brushes and rebuild kit so we can have a new starter in the box and ready to go at a hot of a button.
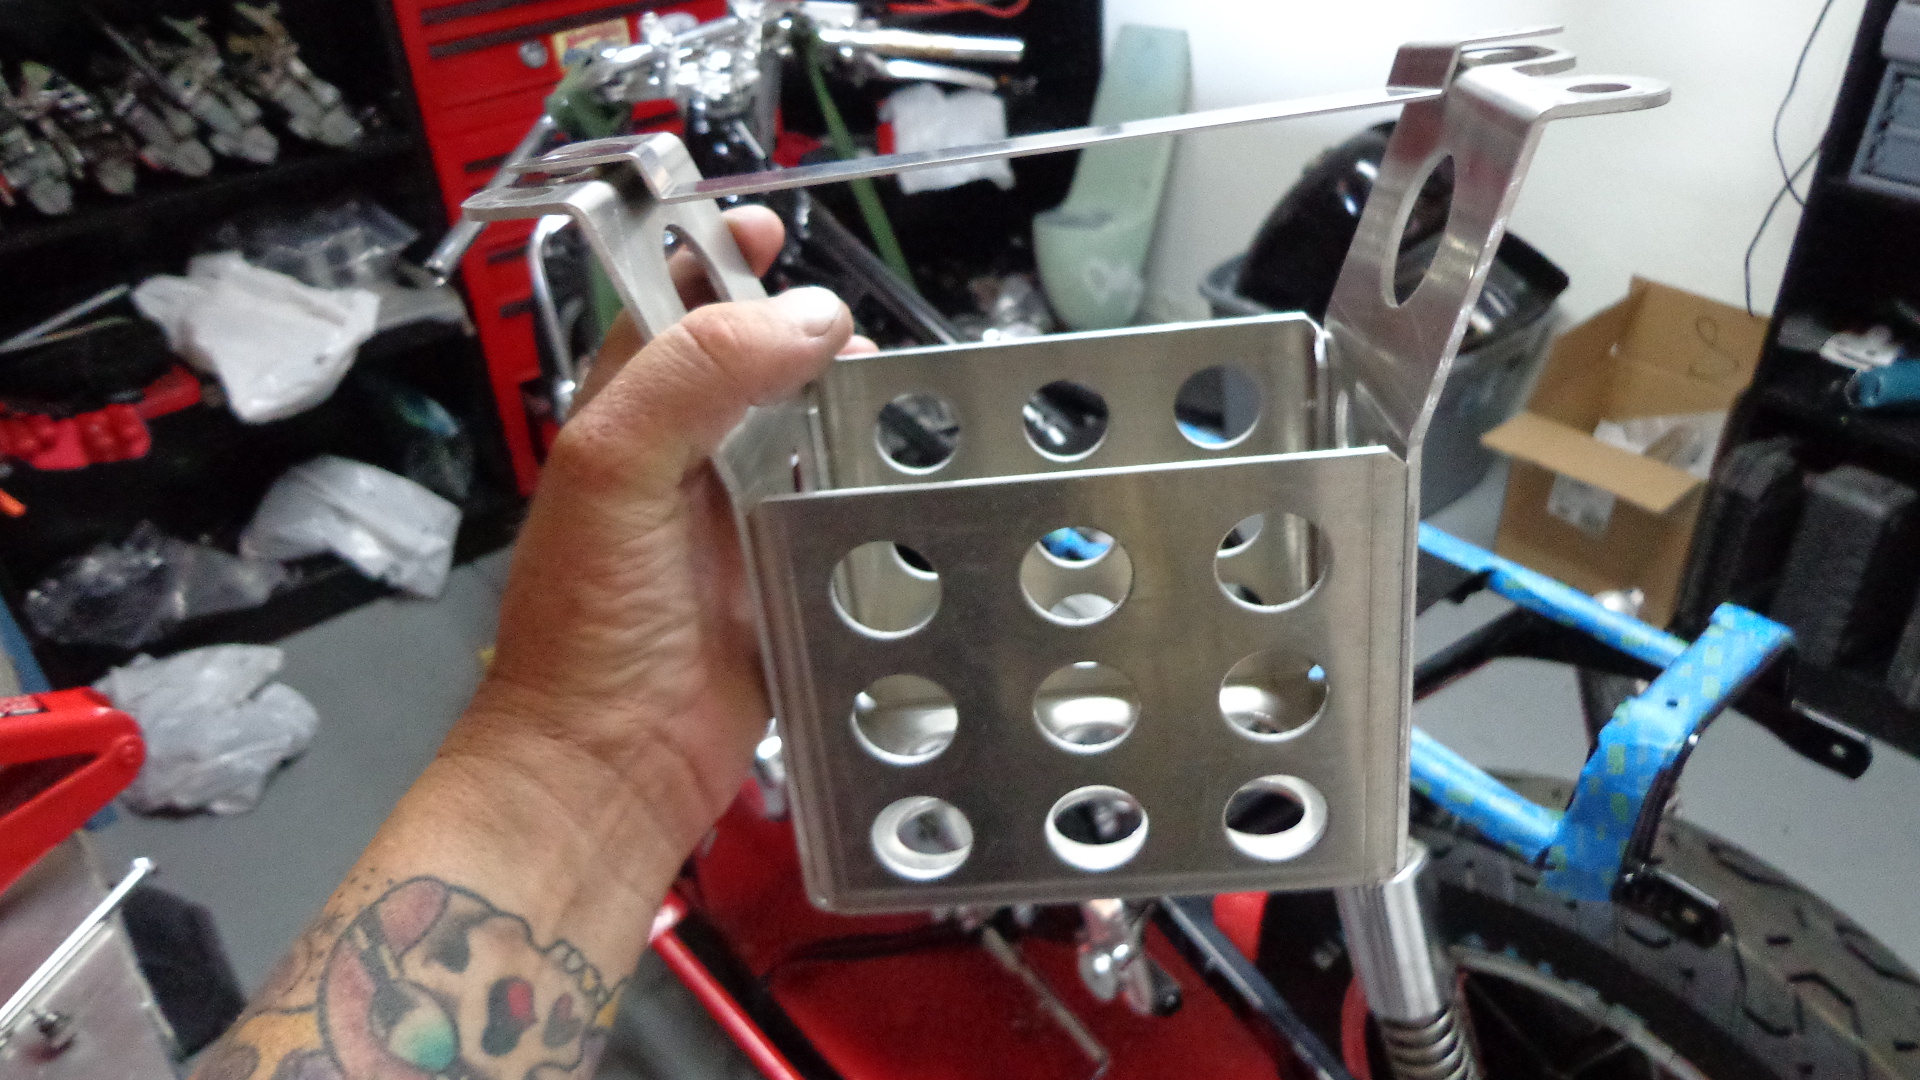
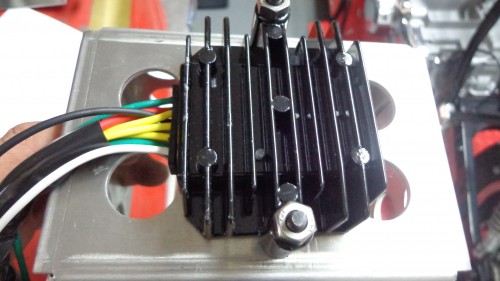
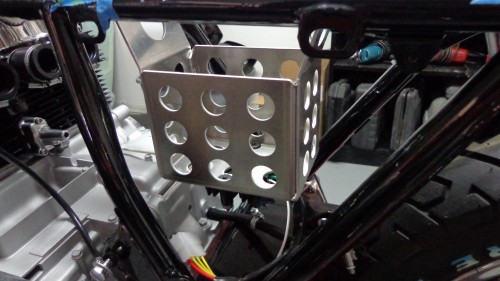
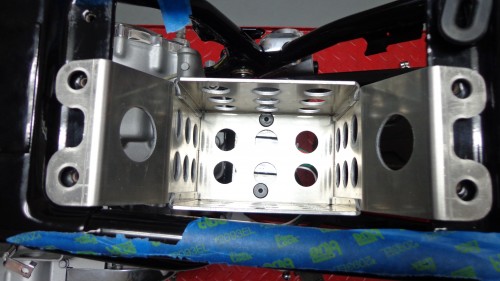
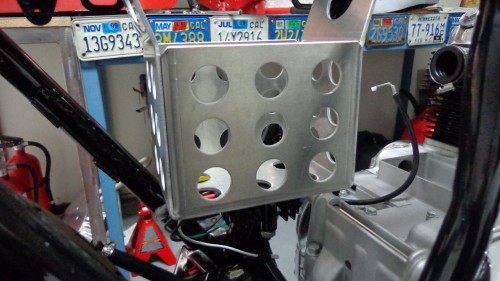
I now have time to get some other things together now and this time I wanted to use my NEW Aircraft style battery box, complete with aircraft rivets, this is a cool set up and wanted to see how she looks in her new home, but- before I fitted her inside the frame, I went and drilled the base of the box to allow me to fit a brand new Solid State rectifier, as this will give me constant voltage and I can do away with the ugly black and gold box of the old model.
This is just what look I had hoped for and am glad that I went ahead and made 25 of these as many people have asked for them for their machines.
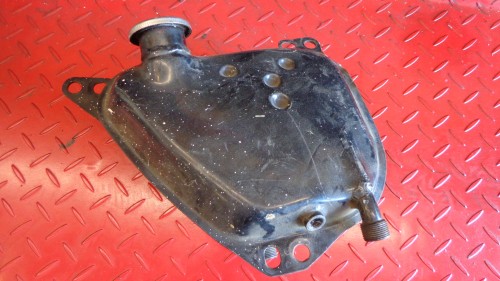
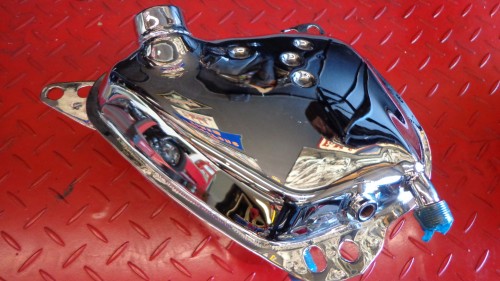
This is starting to take some shape of its own and I am more than happy at the result right now, I thought I would do some other things as the poor old Oil bag was as torn up as a wet paper bag and needed something doing to it.
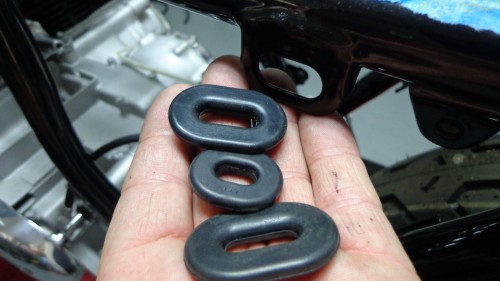
Now this does change the look a lot and I have now decided to use some original New parts on this machine to really make this a head turner. I have used brand new Honda grommets, that way you wont have ill fitting side covers and lose them on the highway.
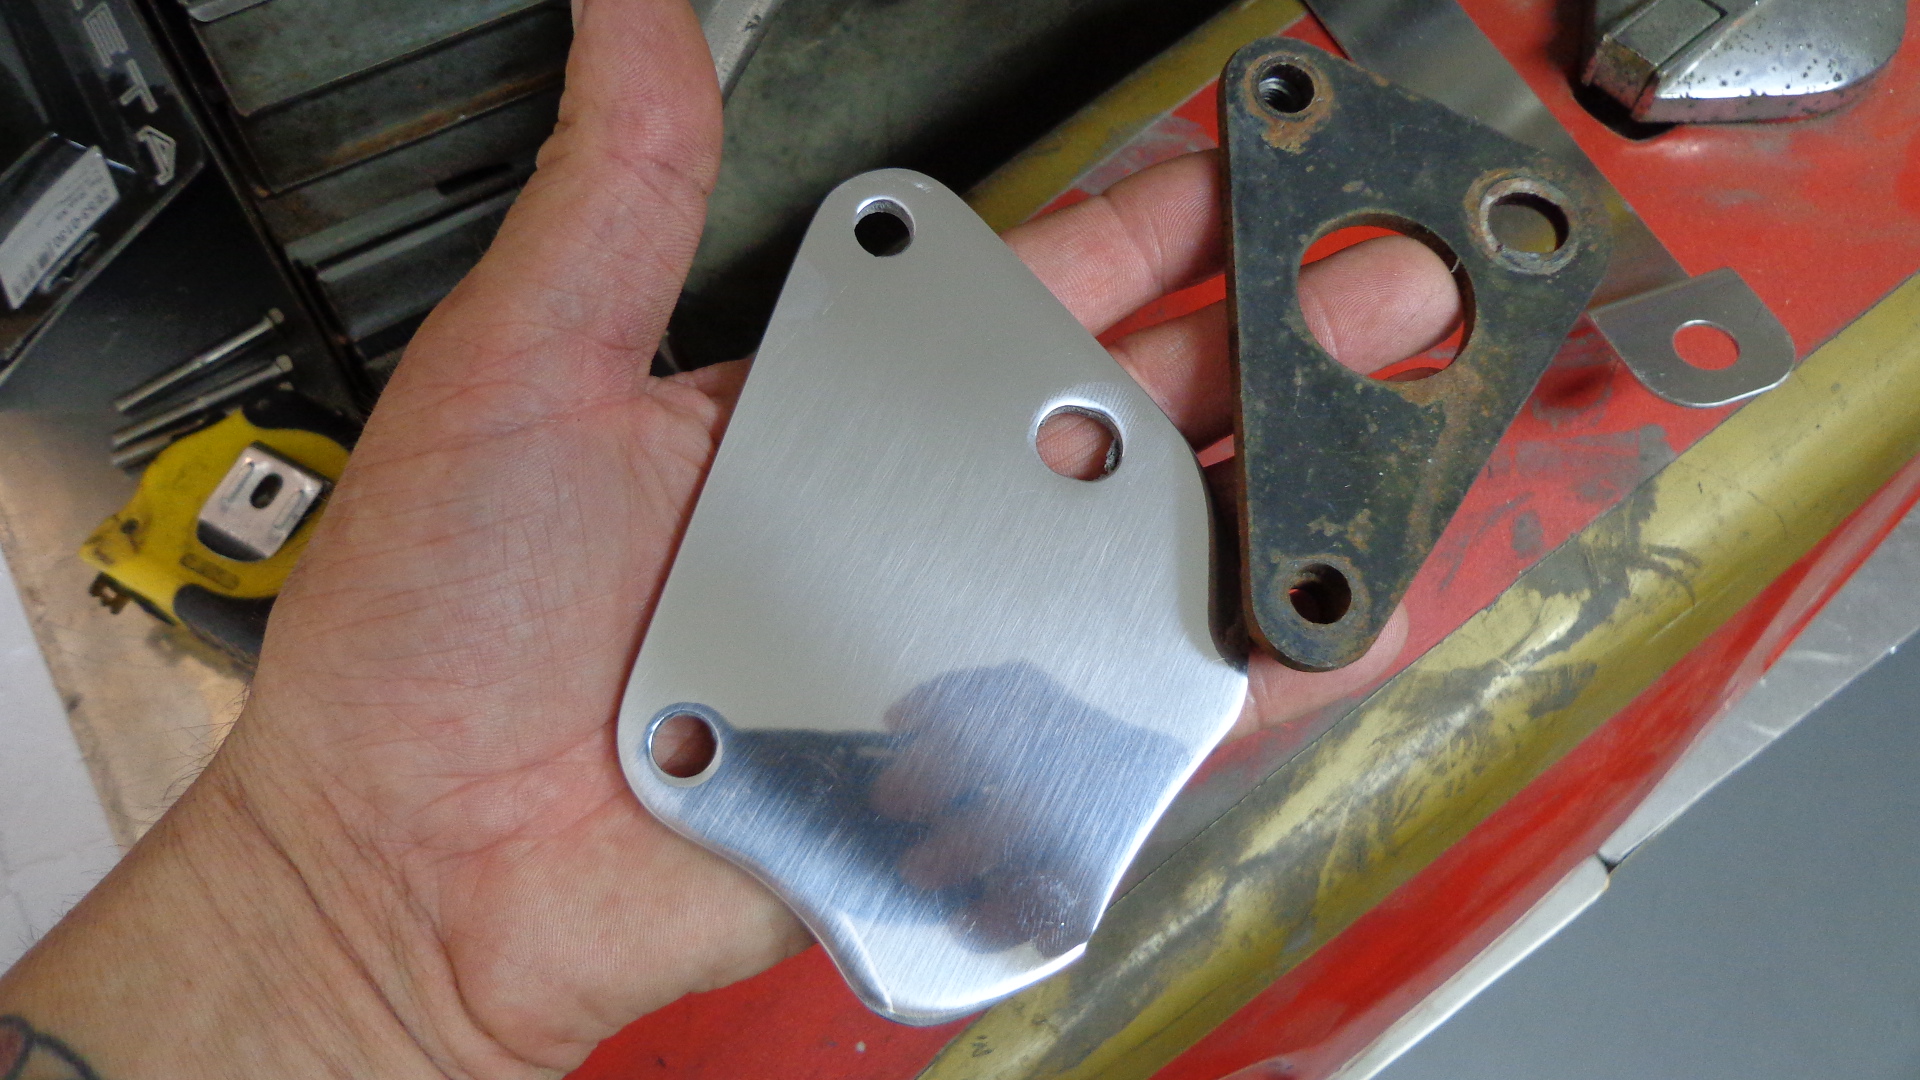
Then I thought that I would use the New rear motor mount I designed as the original was as rusty as a pee stained lamp light in a busy neighborhood.
More to do though and I am having fun, and that’s the main thing right?
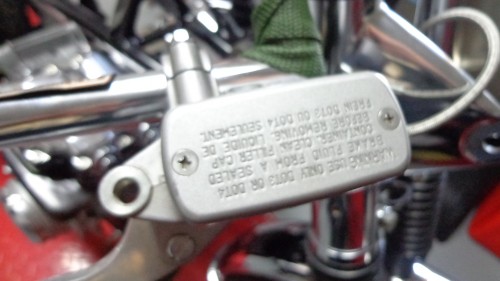
I have fitted a bigger master cylinder this time and took it from a 1990’s Kawasaki and it seems to work fine, albeit I have not had this on a road yet but I am sure it will be more than ample for the job.
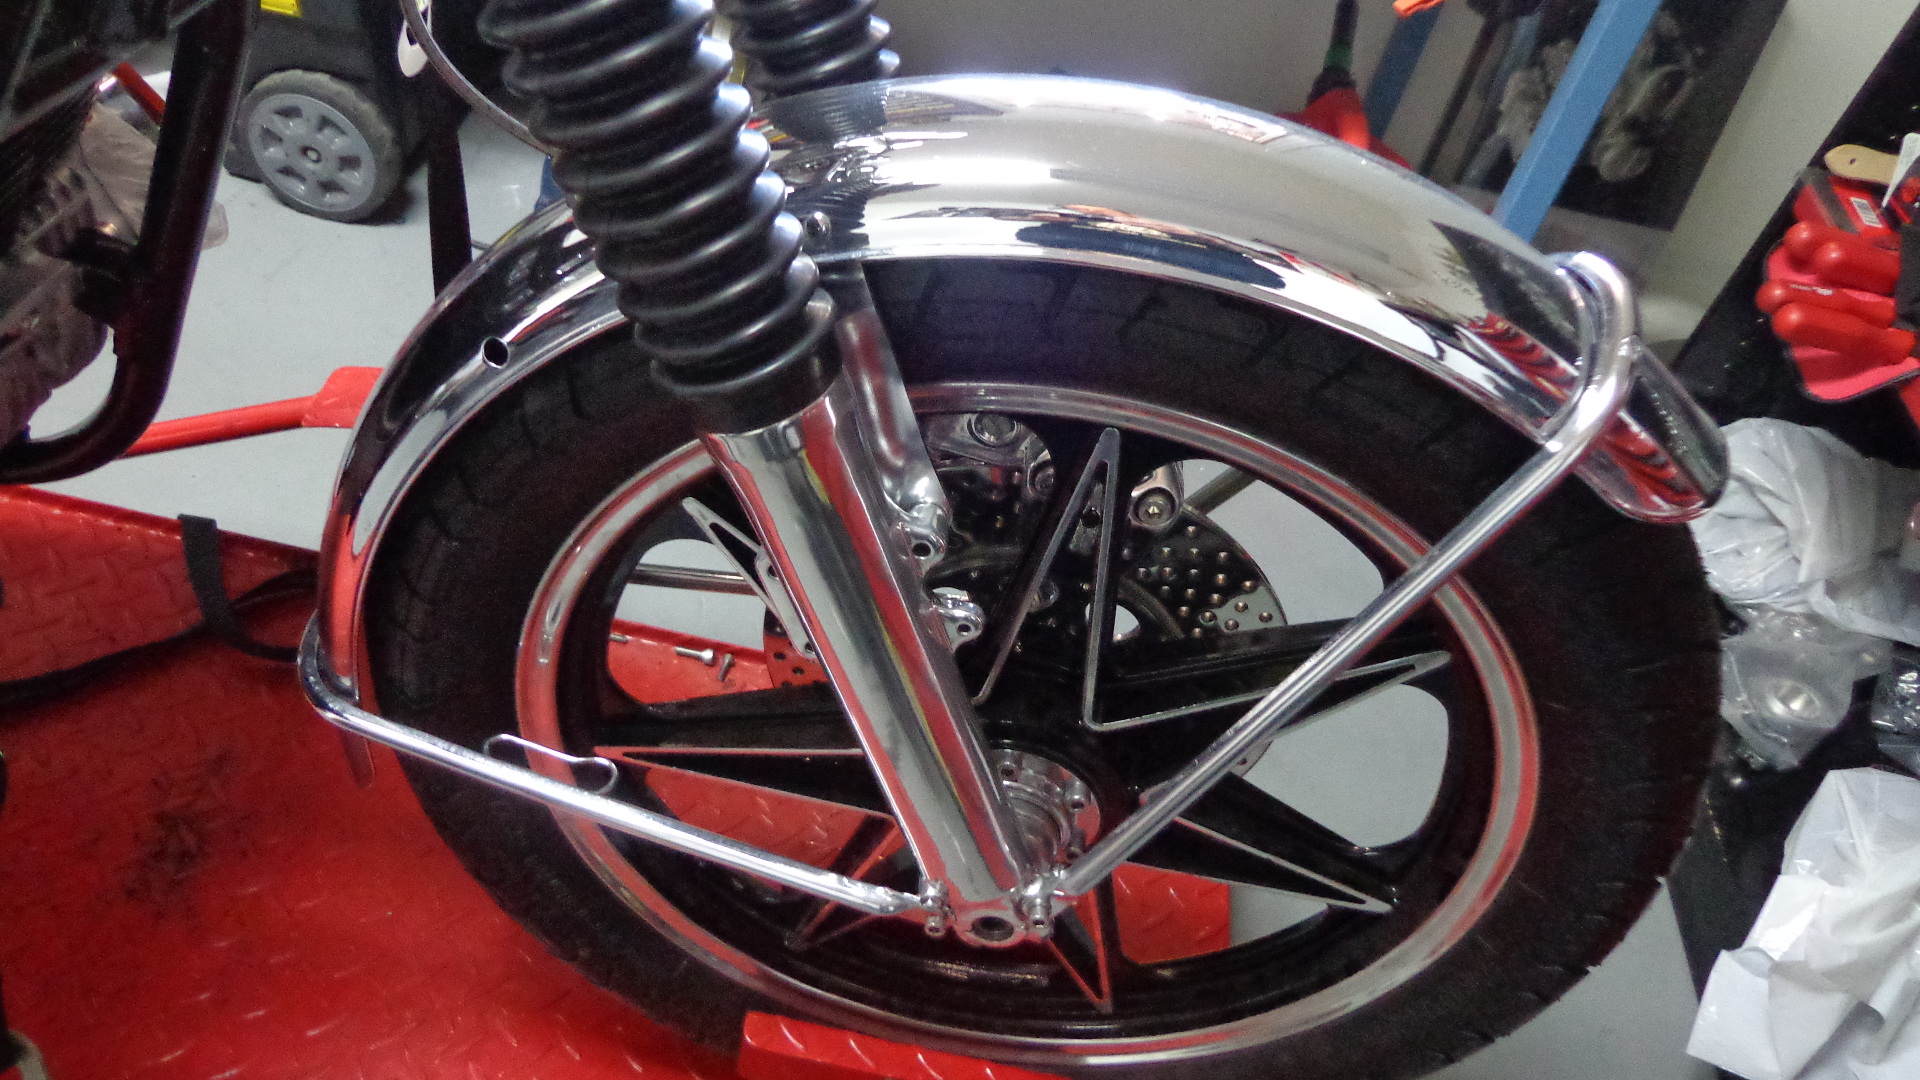
Also, I have fitted a Brand New $400 front fender to make the lines of this machine stand out and it is finally looking like a motorcycle at long last.
I also polished the Speedometer drive and all the bolts on this puppy are stainless Allen heads.
I have also decided to run a set of rear sets, as I like the way they fit and have used many of these on my builds, I polished the bodies to a chrome finish and think these will look good against the rest of the shiny parts throughout the bike.
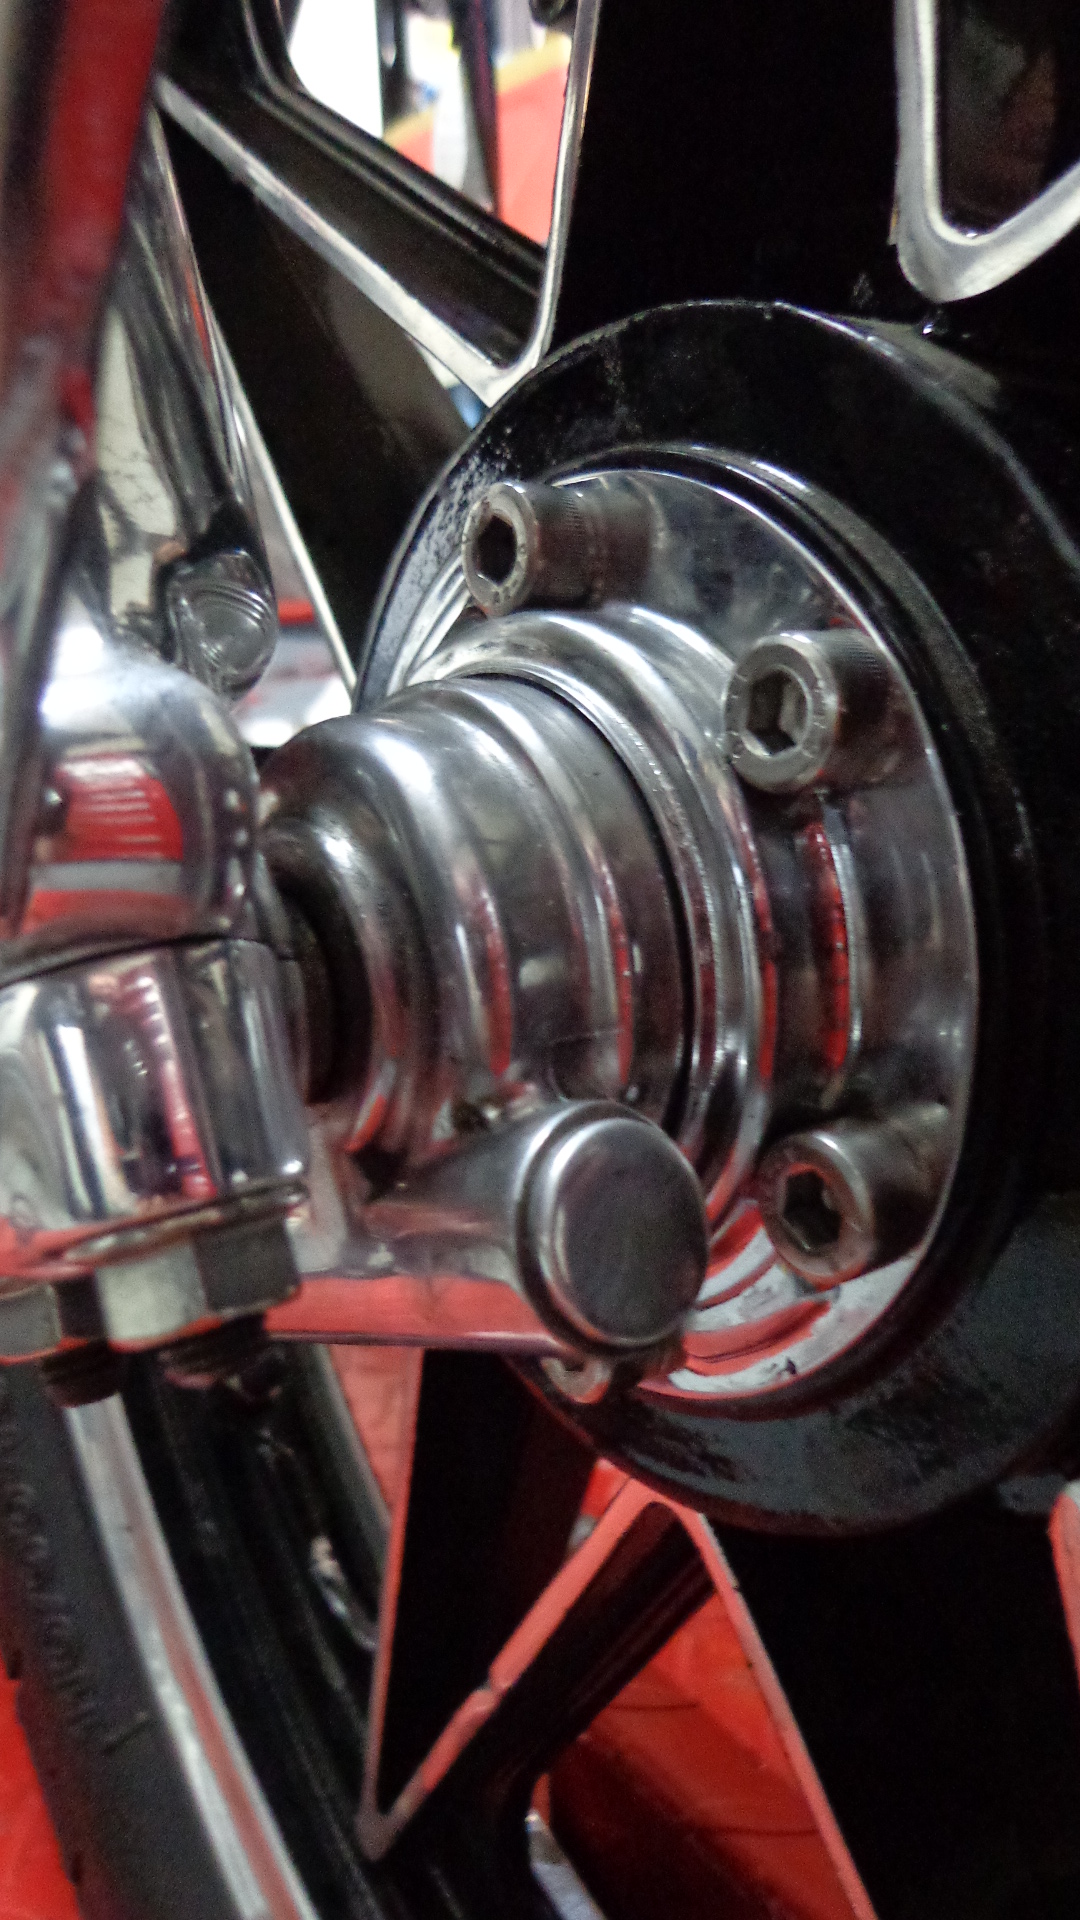
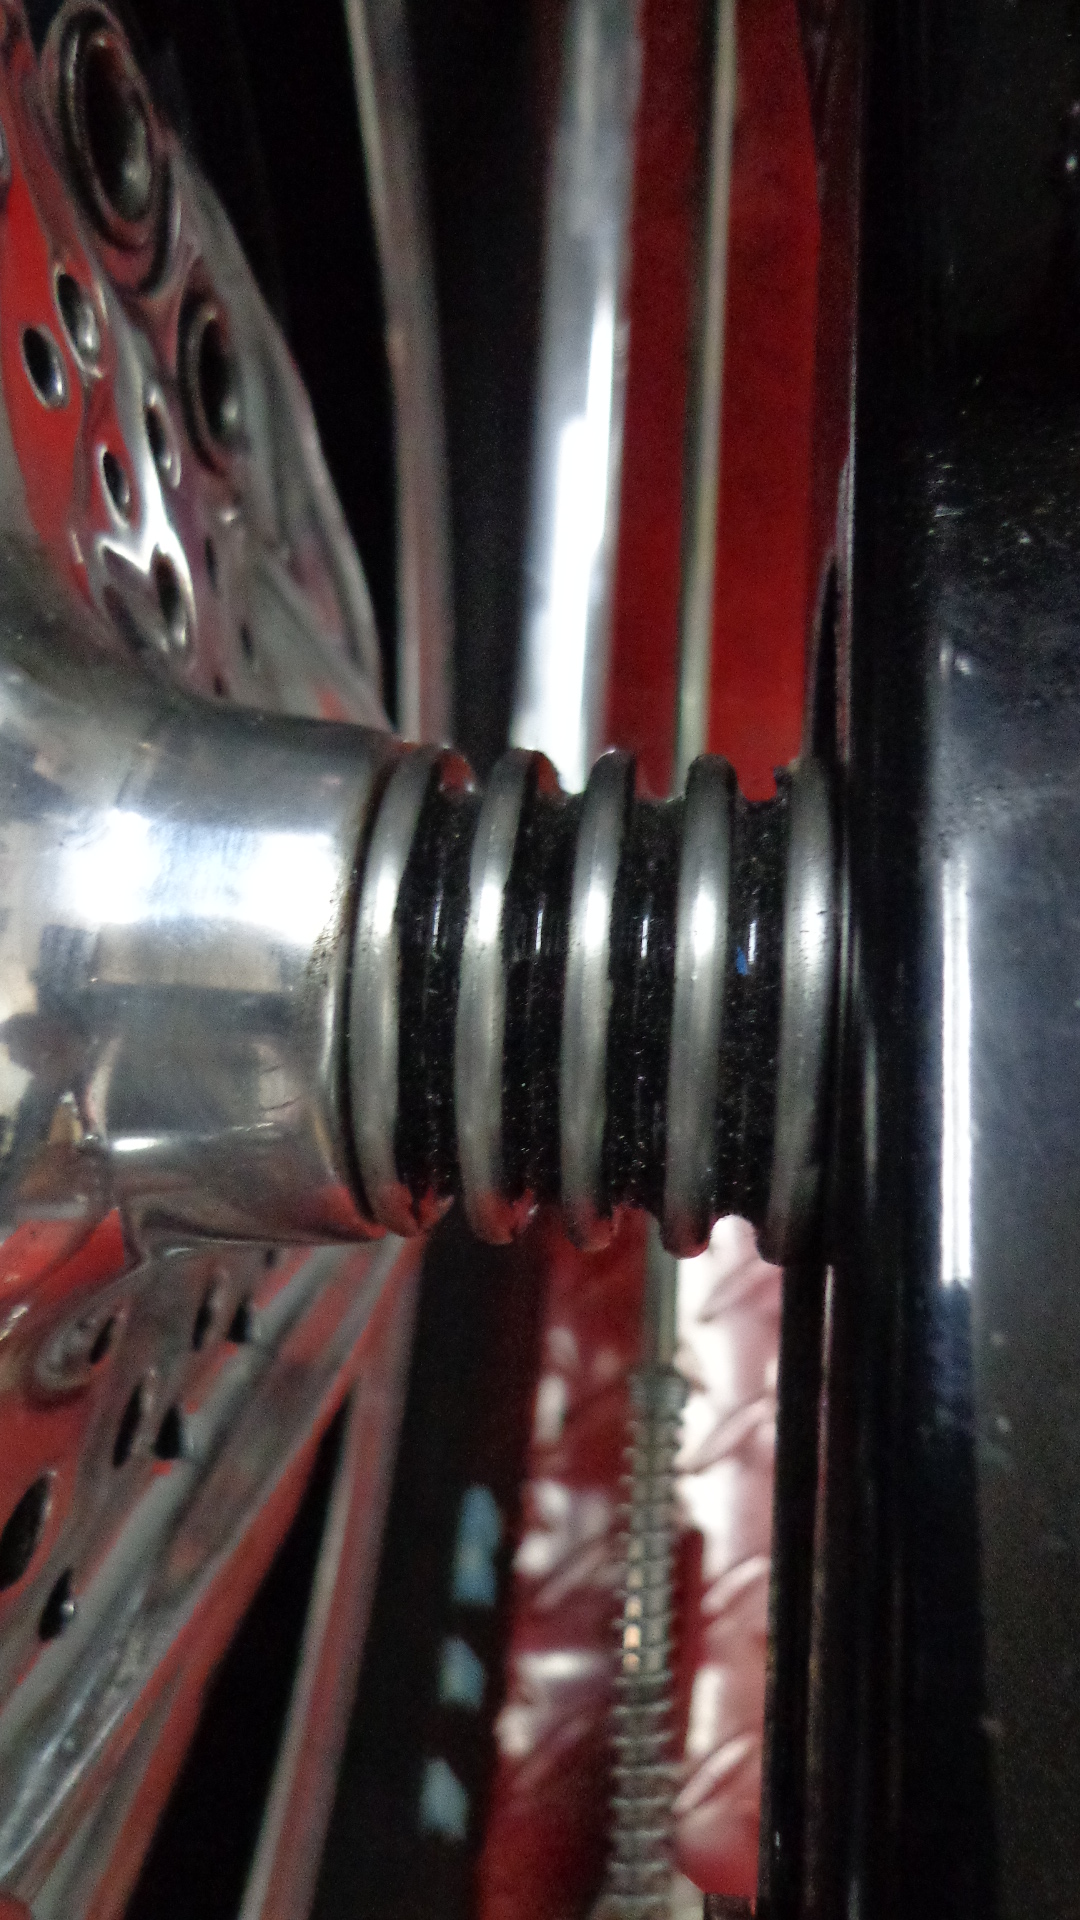
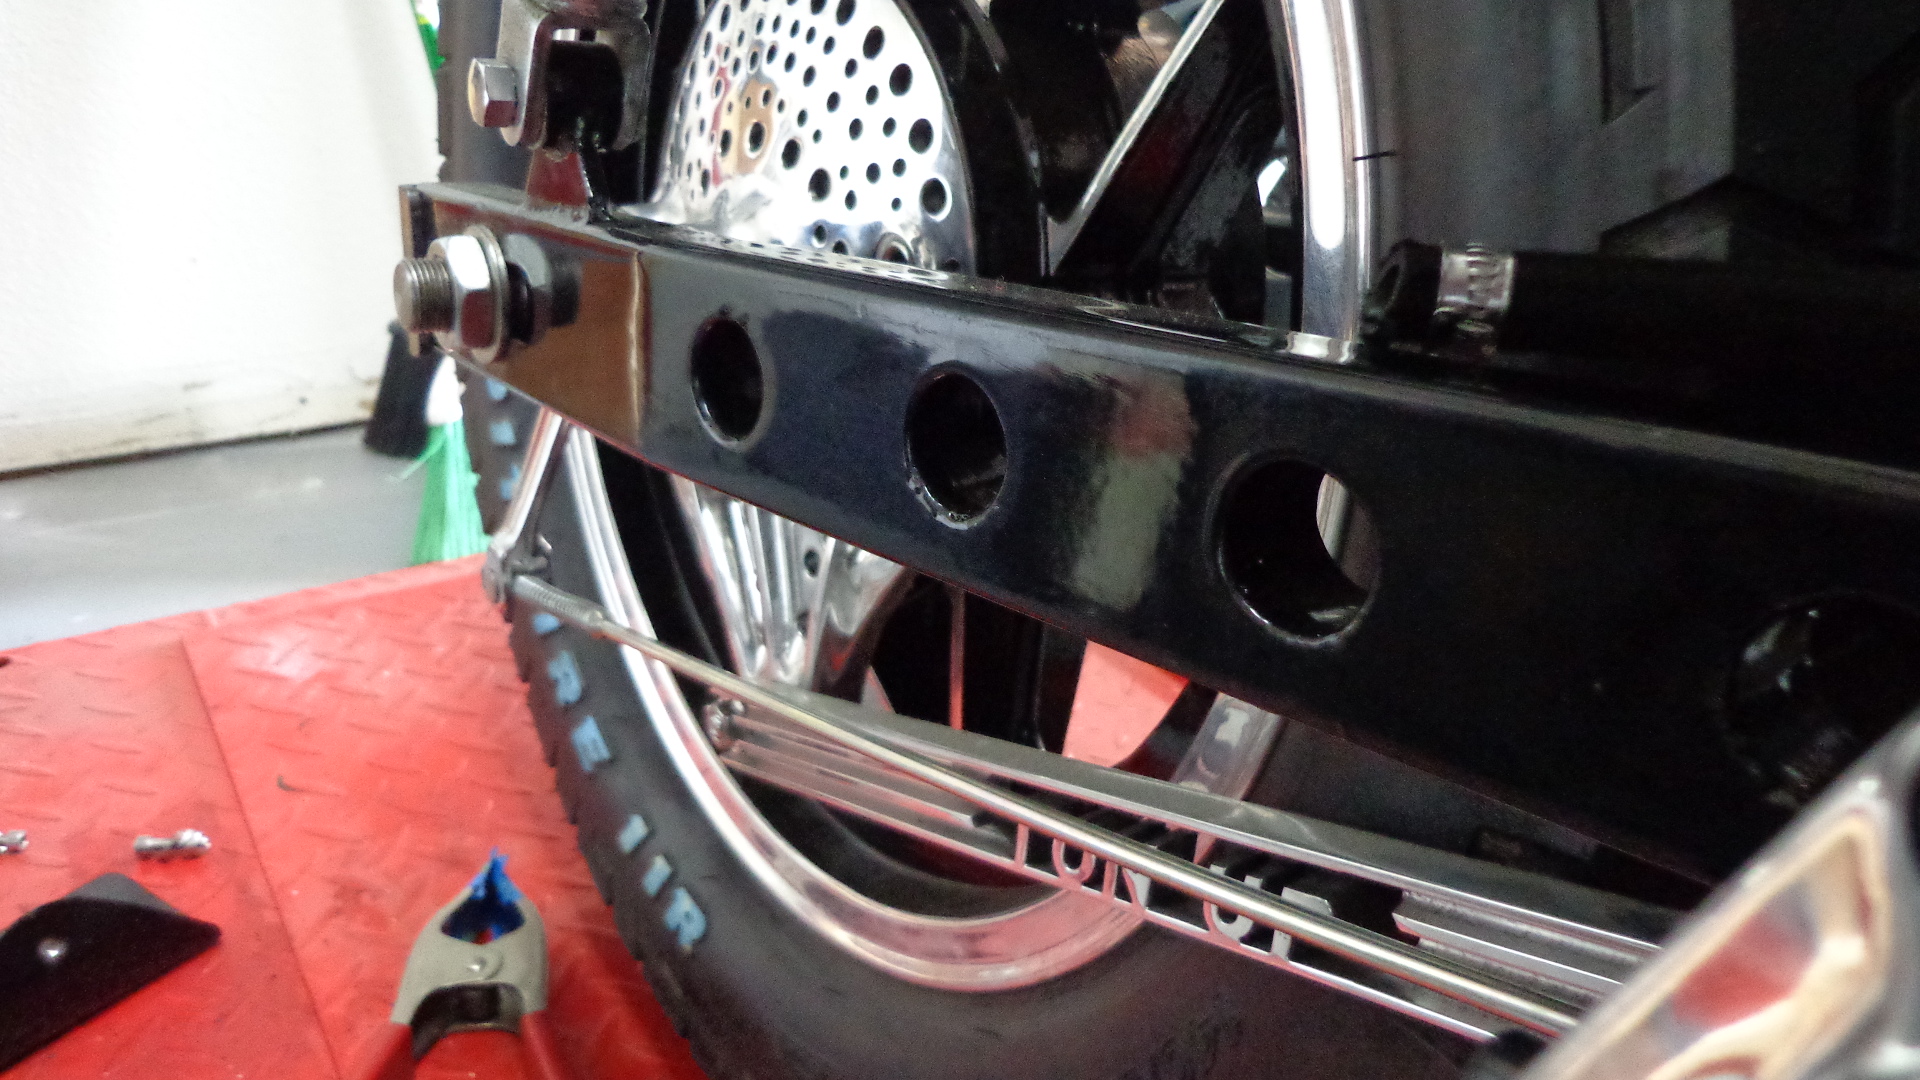
The rear axle has my special touches, like the Finned rear wheel spacer that’s machines from solid 6061 and looks the part eh?
I always make sure that on the bikes i build, they get as many New parts as physically possible and I have polished and buffed the rear sprocket carrier and of course, fitted a new bearing too, as well as that I have fitted a new 48 tooth rear sprocket and just to add some bling, I used the stock rear sprocket guide plate and chromed it and its a nice offset.
I also have my signature ” Drilling” style on certain parts and this has the same touch, I did this the other day and I tell you, it is not a 5 minute job that’s for certain but it is so worth it when you polish it and fit new brakes etc, then attach it to the wheel.
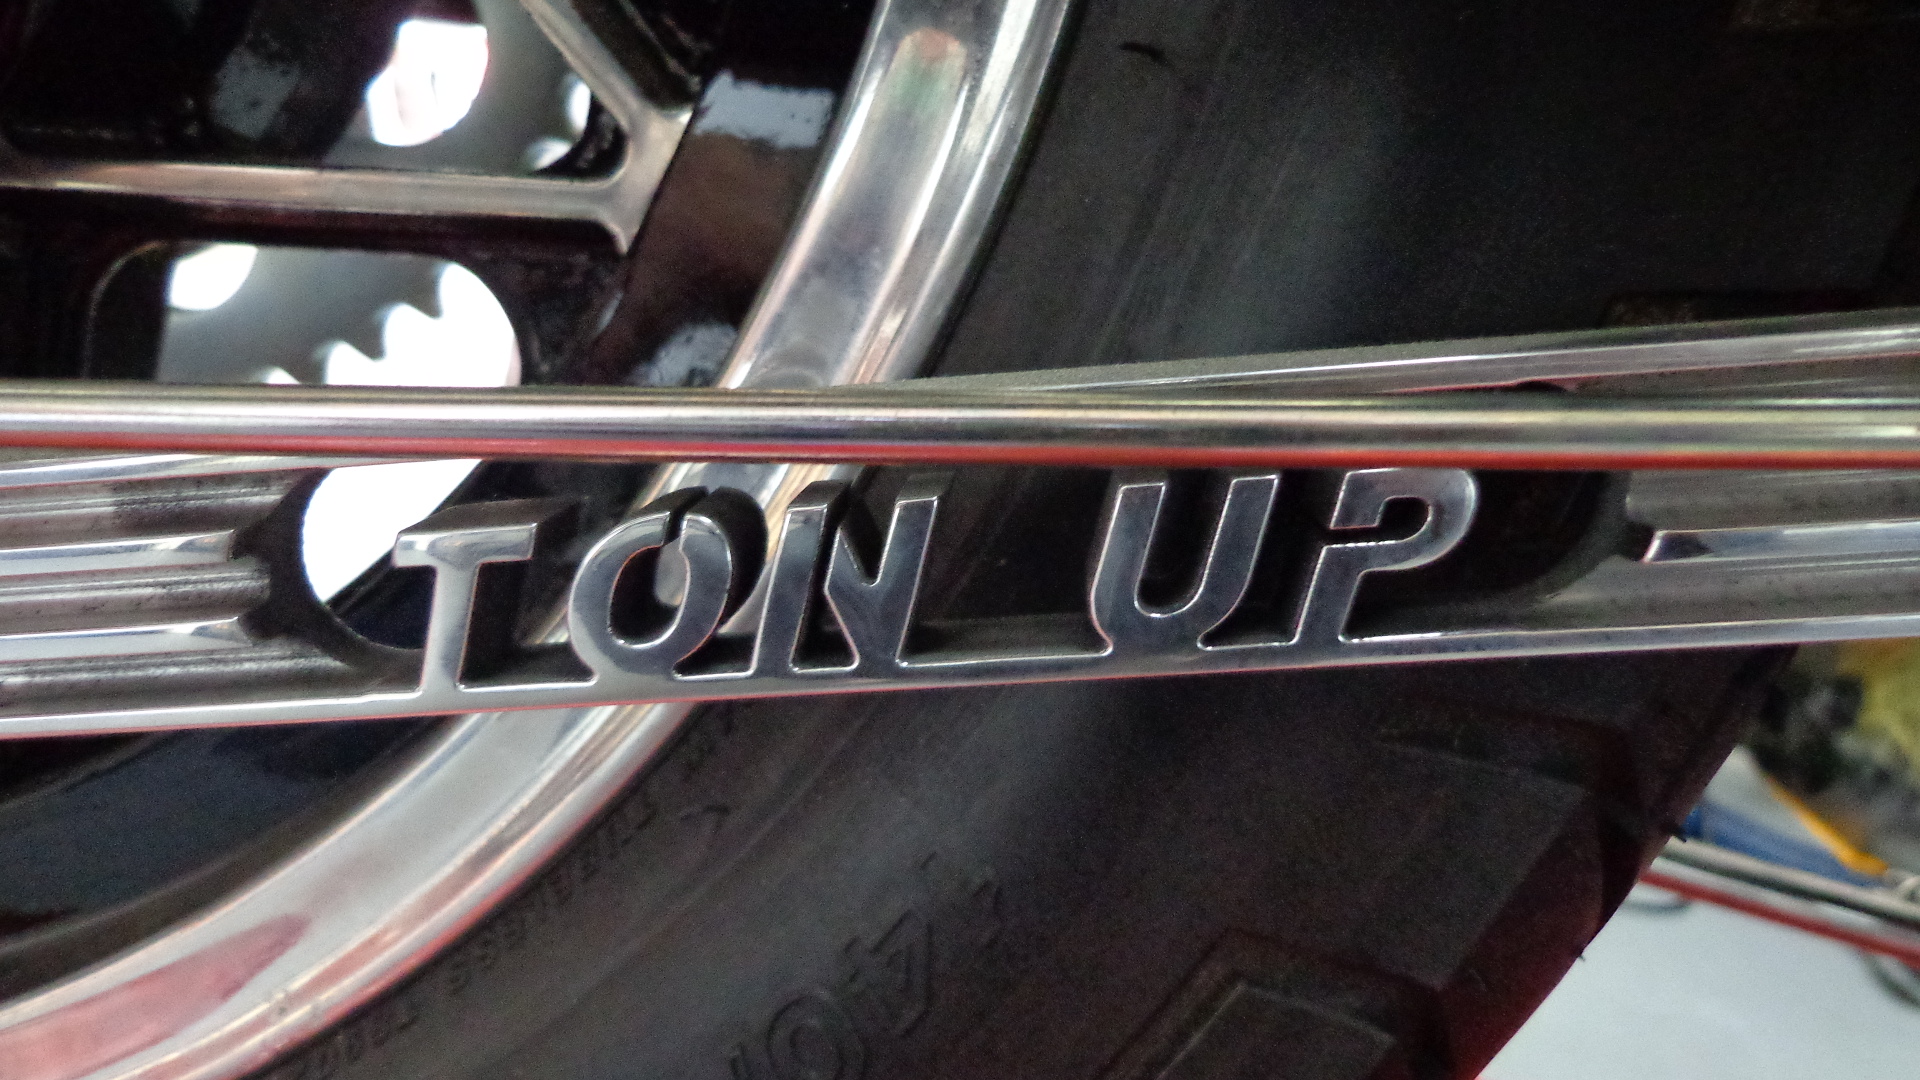
The other thing I enjoy is the design side of my parts and I have 3 finned stabilizer bars that I manufacture but wanted to have Ton Up on this one as the bike will be all Cafe Racer style.
The drilled boxed section rear swing arm is about 22 inches long and is a direct replica of the old Dresda style swing arms of the day, complete with Navy Bronze bushing’s but- it tightens the rear end up a lot in the corners that’s for sure.
I removed all the old Black Factory paint from the triple tree and polished to a chrome luster and as the lower tree is now chromes and has New bearings, it may as well have new Allen head stainless bolts through out and new chrome steering head washer and nut, I also removed the “idiot” light display canopy and fitted my New Polished Alloy handlebar clamps for a cleaner look.
Seeing as I was up at the front of the bike, I drilled 140 holes in the brake rotor and then countersunk them, after I did that, I removed the old tired black paint from the middle section and polished, and also buffed the rotor itself for a healthy glow.
The front brake light switch got a good buffing too and then added Goodridge braided hoses and new bolts to make sure this thing will stop when you need to.
The starter motor had seen better days, so the only way out of that is to remove it, and once I received the rebuild kit from Honda, rebuilt the inside so she is all set for when I turn that thing over to get the oil pumping into her veins once more.
So here we are, getting a few more things squared away, still quite some way to go right now but this is a fun project that I know will look stunning once I have all the parts I require for this speed machine that is soon to hit the streets of Anaheim.
I have plenty to do, but this is really the enjoyable part for me in this stage of its life. But wit the oil tank and battery box in, she certainly is starting to resemble a classic ride.
As you can see, there is a motorcycle starting to take shape, and I hope that you like it as much as I do, I wanted to use my H.A. Industry rims and now I am getting close to being able to.


