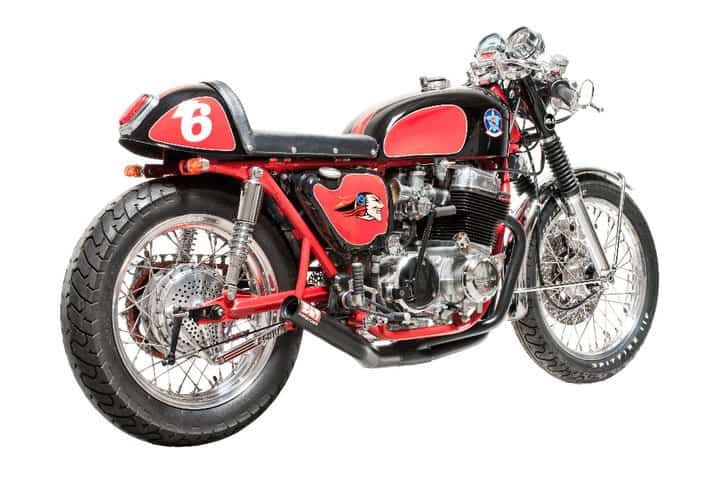
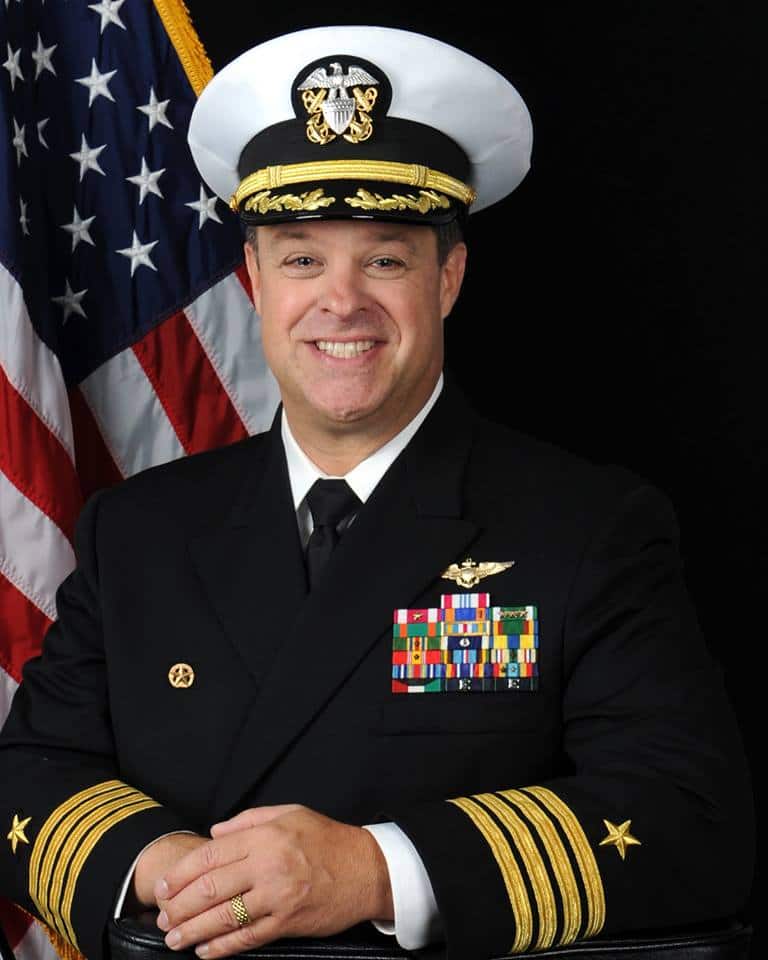
The ROAD WARRIOR Built for Captain Jack Schuller on the USS NIMITZ
This will be known as “The Road Warrior”
IN MEMORY ..
This Motorcycle is dedicated to the Brave Men and Women of HS-6, and to the memory of “Indian 617”, recently LOST with all hands.
I have been so lucky to have met some of these tremendously brave people and its things like this, that make me sit back and think how lucky we are to do what we do in this free and great country.
I just wanted to pay my respects to Jack and all his colleagues, as they put their lives in Jeopardy without hesitation, to make sure we stay safe and sound.
I will always remember the crew of INDIAN 617 with uttermost dignity and respect.
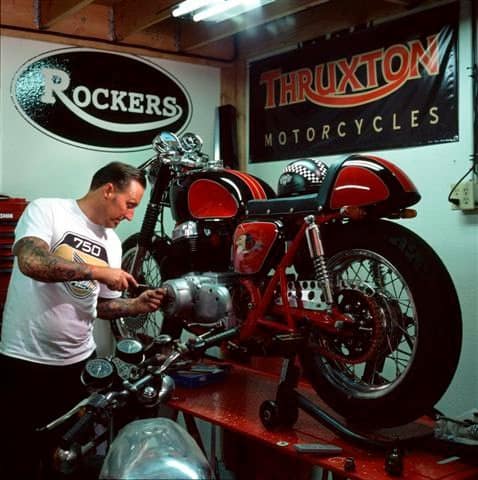
I was appropriated by Captain J. Schuller to see if I would be interested in building him a CB750 Honda Cafe but with some of his Navy insignia and a little theme to the bike to remind him later on when he retires of the Navy, Jack flys the HS6 Helicopters in some pretty Dodgy places and I was more than happy to try and help him out.
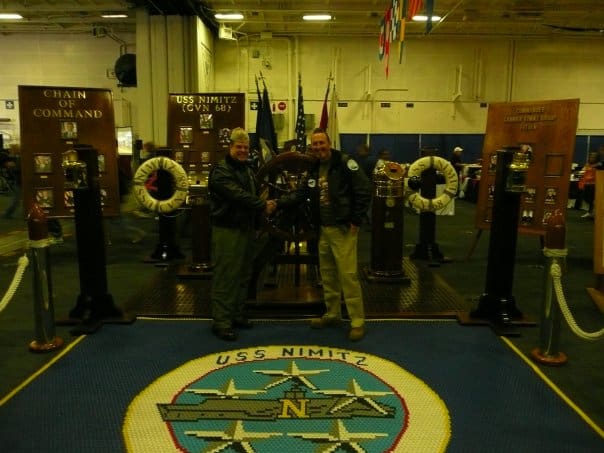
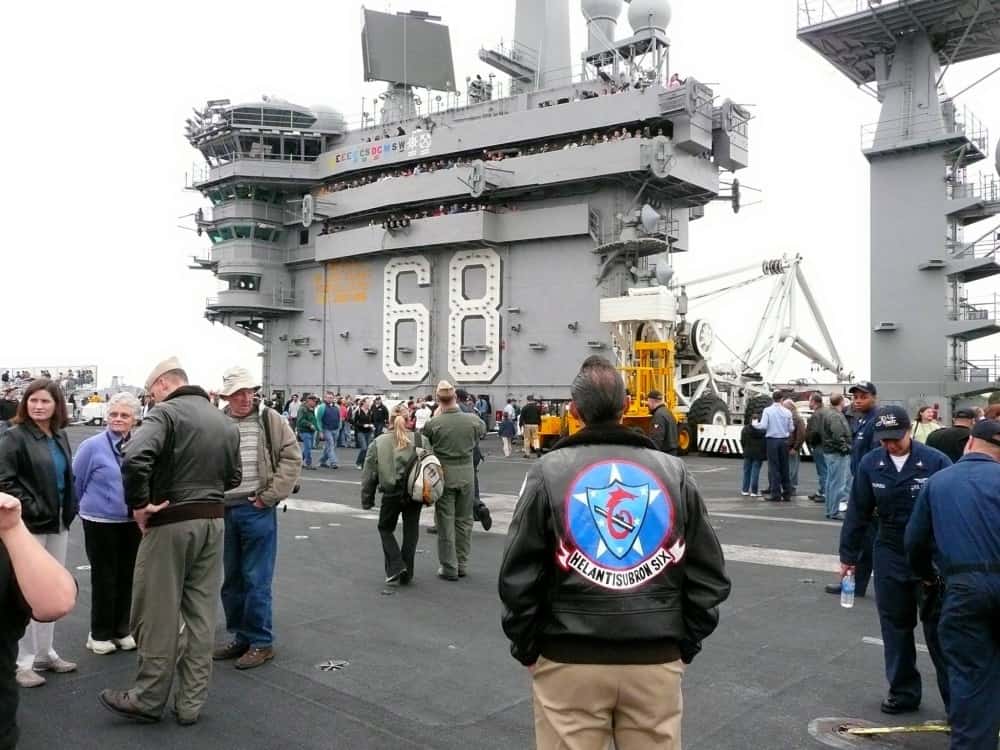
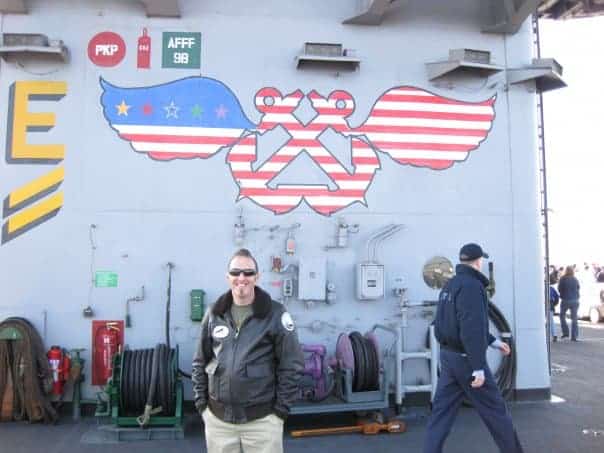
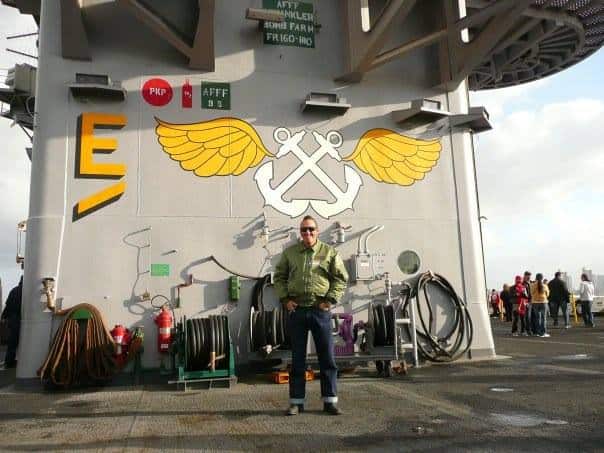
A few trips to Coronado island got me on the Nimitz, I went out to sea for 131 Miles and got a great flavor of the Carrier and some good ideas of how to incorperate some of the things I saw into the bike.
This time we are going to take a slightly different route with this machine and have a Big, bulky, powerful brute of a machine that will shake windows and set off car alarms.
Getting on the aircraft carrier was fun, and then going out for 12 hours on it out to sea and watching the helicopters and F18’s take off was such a blast.
The transition may take a little while as my guideline book is thrown to the way side, but this is all about self expressionism and I want this particular Cafe Racer Project to look just like the Customer explained to me. Also, I shall be using a snotter as a donor and this time, the customer wants RED Frame and a cool Black tank, with Alloy rims that will really bling the bike out and scream Nostalgia racing. But, I have my work cut out and I hope to accomplish this in time for him to cruise the streets of his town and wake up the sleepy residents with a thunderous roar of this 500 pounder. And I have to keep my cards quite close to my chest, as the chap is in the Navy and this is going to be his good luck charm, as well as a Rocket for him to launch when ever he see’s fit. Check this build as I am going “OverBoard on this Cafe”
I shall install an 836cc Kit. A street racing cam and a few more tricks that will wake King Neptune up on his Sea Bed ,The bike will be known as ‘The Road Warrior” And I am sure it will get more attention than a Commander of a Sea Hawk Helicopter. I can pull these Motors out on my own with not too much problem now and the best bet is to remove the exhaust snouts, that gives you more room, as well as remove the square breather cap on top of the valve cover, as that will give you about 1/4″ or more.
I stripped the frame down to its nuts and then cleaned up a few marks, then it was time to cover the old head stock and off to the bead blasting machine, where I removed all the old enamel and got it to bare Metal.
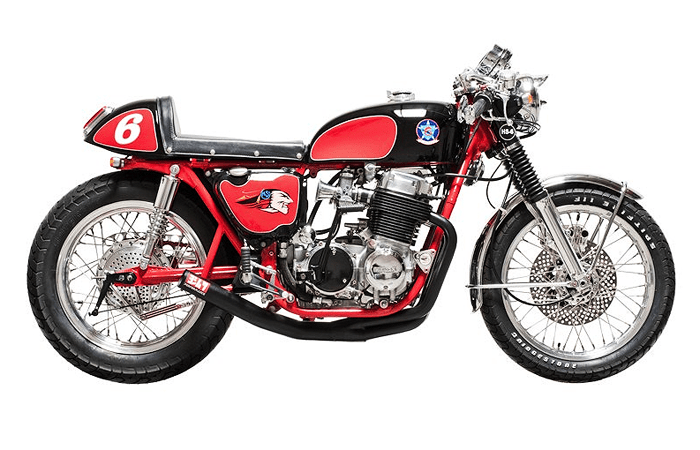
Have a look and see what you think, I love the way it turned out as I wanted to incorporate a little of the Helo Jack fly’s as well as the USS Nimitz that he is on.
The Motor is now an 836cc and has some headwork that I thought would help her breathe a bit better.
I used a WEBCAM 270 Cam, good for the street without getting too lumpy. I managed to plonk this monster in the rails and – with my foot on a floor jack, managed to raise the bottom of the motor, so the mounting holes lined up.

A good tip for you lot is to remove as much of the engine as you can, that way, you can have more room for wiggling the thing into place.
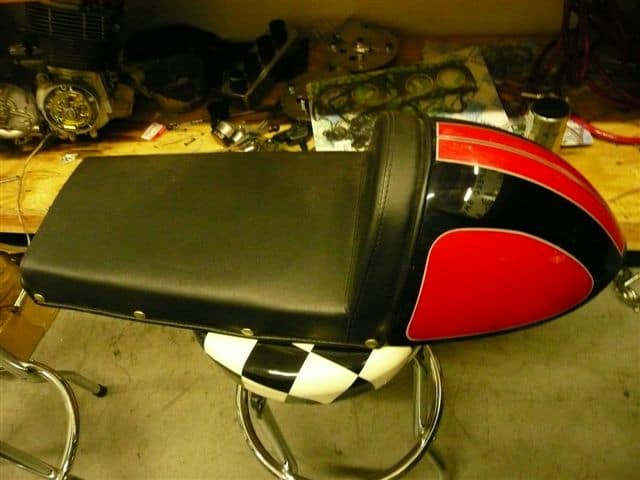
I always remove the breather cap on top of the Valve cover, so that gives you some extra room, the exhaust spigots also take too much space up and that saves allot of fumbling with them removed, you will thank me later for that tip. The stock Gas tank I have changed a little, I used a 1976 gas tank and made my inserts, I then ground the old gas cap off and fitted an Aircraft style one to make the bike more Aeronautical for the bike as I think this fits he needs and interests and, to go with that these, i painted the knee inserts the same color as his Sea-hawk, so that will tie in nice with his stuff.
The tank looks bloody great and have still to add a different color as he wants Black and red, but this tank will do for the setting up and will simply repaint it and add graphics of the ship.

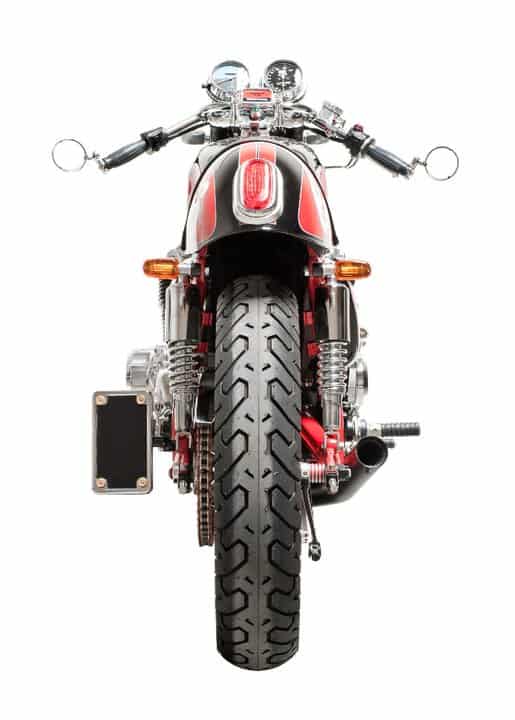
Also I am also going to shorten the front fender for that bobbed race look and I am sure he will be pleased with that?

I have still to add a Race number, as well as some more bits and bobs, and I am going to Bob a steel rear fender and paint that to match and fit a classic looking Tail light to it.
OK, time has gone on a bit and I am trying to get a few things together for this bike, as parts are getting harder and harder to locate, even in japan, so I must try and push on.
I have now completed some cool stuff and if you look at the pics on the right, you will of course see what has been going on in my garage.
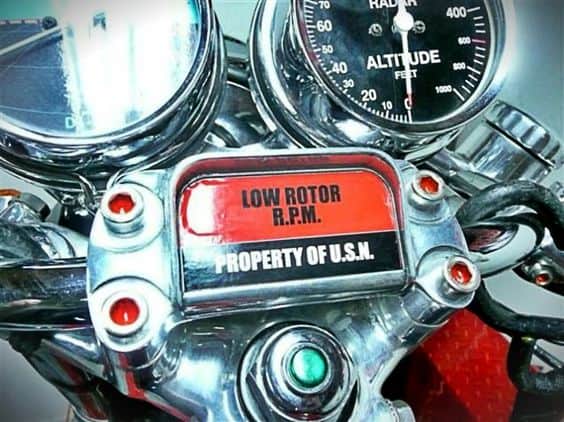
The Gauges I took apart and replicated the dashboard of his Sea Hawk helicopter, he will be surprised when he claps his eyes on this set up but wanted to trick this out a little for him, just to remind him of his HS6.
Also I have just painted the oil tank and gloss black and fitted that and now I needed to try and come up with a cool set up for his side covers.
Well, I sat there and wondered what I could come up with to make the thing stand out and then I came up with the idea of his squadron logo, the screamin Indians.
Very cool logo and this now really does show some of his career on the bike and hope he likes this?
I am now going to fit a RED X-ring chain, they are almost $250 but they will last and look cool too.
I will be receiving the freshly made 4 into 1 of mine for the bike too and look forward to fitting that up.

I have now come up with a cool set up for the rear end, this time the Stabilizer bar got some serious treatment, and made from 6061 aluminum, it now has his name cut into it and fins machined into the rest of the stabilizer bar, I shall add some red in between the fins to detail it out, now this really has given the bike some character for sure and it is more personal for Jack, he has become a really good mate of mine and I want this looking cool.

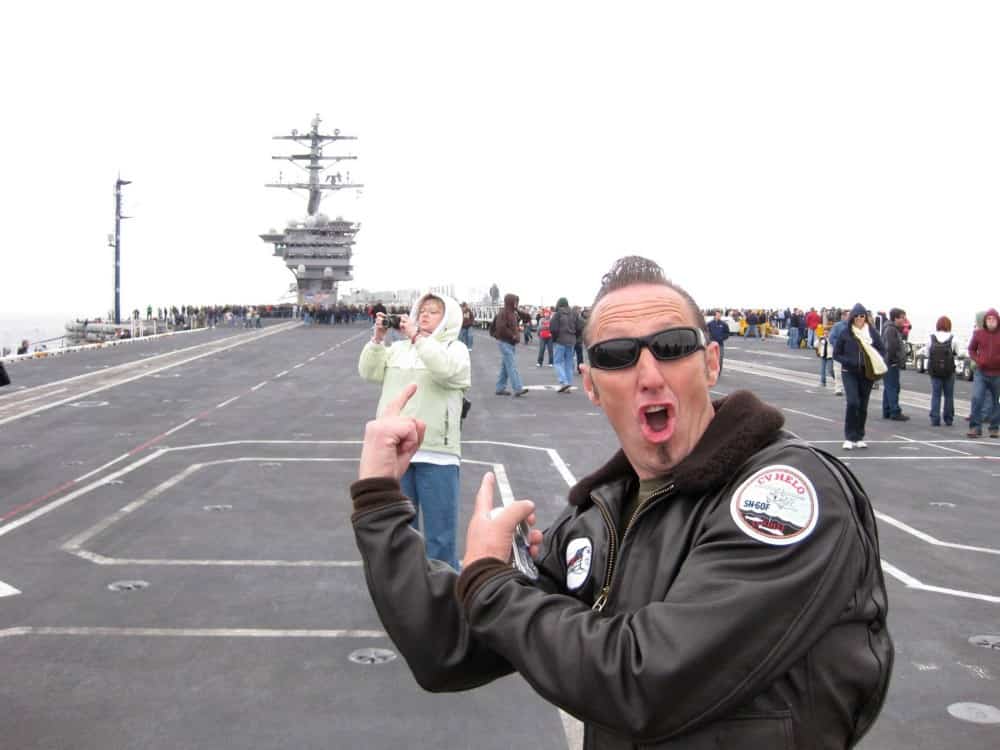
Here I am on deck of the Mighty NIMITZ where the helicopters reside at sea.

I added a good chain and sprocket set up as this will have some Horse power.
These chains are not cheap at $250 but you need it and don’t want to bugger your cases snapping a cheesy cheap stock chain.

Also I have JUST fitted one of My new Yoshimura style 4 into 1 systems and it fits great and tight.

I am sure this is gonna sound great, but still making Baffle today and should have that done by tomorrow.
Right, I have done more to the Road Warrior and she is taking shape now and not too long to go until i fire this puppy up.
I have made all the bolts for the Motor and used Chrome Acorn nuts to make this stand out, I want my mate to remember me for this ride as this guy is such a cool chap, and I really have enjoyed creating this unique Cafe Racer for him.

Having been taken out TWICE on the USS NIMITZ, I will always remember this build and want to incorperate some of the stuff that he too remembers from his Navy days.
I shall try and get this completed, so he can ride the thing around the base to get all the other motorcycle fans all hyped up at this new ride.

To complete this set up I wanted some cool old vintage Velocity stacks. I have had these for many years, saving them for a certain build and decided that this is the one.

These velocity stacks were from Japan and are really suited to this bike and am stoked how they look.
I am so stoked at these and I know he will like them too.

There are many tricks on this bike and it will take time for people to actually notice it, but that’s half the fun and I am getting closer to completing this, but still more to do to the gas tank and seat as yet.
But will add more photo’s as I go along, as I get many emails asking about this build and I am sure my old mate is checking up on the Progress and is eager to get his hands on this Road Warrior.

Almost done with this seat, it has Leather and snaps but still go to add a race number, but almost there and I love the way the Color works on this creation.
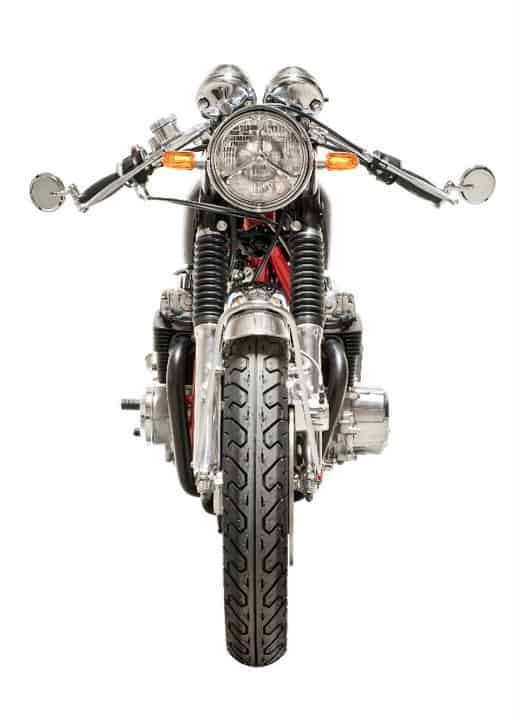
The front end is almost completed but, I am awaiting a NEW front fender from the united kingdom, as this will add to the Nostalgia, as well as the Classic lines that i envisioned when i started to get an idea as to how this was going to go.
The harness and ALL the electrical is now all brand new, from the harness, the switches, the battery, the coils, the solenoid, the Solid state rectifier set up too, so no issues with this puppy.
Plus I made a cool Custom oil Filter cover from the old one.
And this does make a nice transformation to the bike from the front end at least.
I also did a bunch of other things that i thought I would share with you.
Today I fitted the rebuilt carbs and then I made some Aircraft braided overflow pipes and then made an Aluminum catch tube and used that to fill the void in the frame where the old main stand used to frequent.
As well as polishing all the parts i made, i did fit a New non maintenance battery and shall also fit a Batter tender to this, so no issues with flat batteries.
I also fitted a Solid state regulator kit so plenty of voltage at a constant 14.5 volts too.
New throttle cables and new clutch cable will be here this week.
new switches as well as Original GT grips from the 1970’s add to the flvor of this ride.
There are a few more little tricks going on this but still in the mick up mode and hope to get all that done by next week with any luck.
The exhaust is my own style like Yoshimura and has a good baffle that sounds awesome. You can check the sound by going to my parts page and looking up the exhaust section, i think you will be bloody surprised to be honest.
I fitted my finned Breather cover too, very cool and out of solid 6061 billet T6 Aluminum too.

This is RED now and looks great on Jacks ride and many will comment on this as it fits nice and snug in the frame too.

I am also adding all the braided hose to the Motor.
And the Motor will look great once everything is polished and detailed.
As I think they look unreal when they are sat in the chassis, its just All Engine.

As you can see, I took all the Honda logo’s off and polished all the casesm to hell and bike, this is a stunning machine to say the least, I really want Jack to be more stoked than an old steam ships boiler when he see’s this ride for him.
Ok next up was the brake caliper, as the old one was as stiff as road kill.

So, I took the piston out by using an old set of handle bars and a master cylinder, then I honed the bore and then I polished the caliper body, and also fitted new rubber seal and of course cleaned the piston up with a rubber polisher.

Now we are talking business, and this came out pretty good for a snotty piece of alloy.
I also had to polish the rear assembly as that was as bad, but I am glad I did now.
The next job is to polish the old caliper bracket and then fit it all to the lower fork leg, I will also use Aluminum Buttons headed bolts, as this gives me more room to fit a wider tire, as stock bolt heads will catch the tire as you try to fit it inside the fender later on.

The front fender fits like and Glove and dresses up that area really well.

I made an Engine mount out of 6061 Aluminum, then cut a recess and fitted The screamin Indian logo in the middle, this really is a nice touch to his ride.
next up, i thought about this for a while and as he used to road race, what would be better than a set of italian Torrozzi rear sets.
So I got the kit from Italy and began putting it together.

These will be really cool on this bike and give him the old feel of the race days.
I love the way these actually work and the shifting is so much easier than the other after market brands out there to be honest.
OK, next up, I wanted to dress the sprocket cover up, so I cleaned all the oil from it and then went and drilled the heck out of it, making a pattern up as I went along.
I had an arm like popeye by the time I had finished this, but after I had Polished it and fitted the cover to the Motor, well, it was all worth it in the end.
This really is a cool set up and I know you will like this.

Next up, I wanted to try and build a Cool front headlight, so this time I thought I would incorporate a cool look, as he flies the Seahawk Helicopter, I would use a Tri-Bar style Bezel to look a bit like a Propeller or on his Seahawk, the ROTOR Blades.
This works quite well.

So, now we are getting there, not too much more to go and I can fire this baby up, but am stoked at the way she sits and looks right now.
The wiring is now all complete and I wanted to test the light.

I have also added another cool set up for the bike, I added a neutral light, but this time I applied it to the Main Nut on top of the steering stem, then wired through the stem and into the back of the headlight.

The bike is now going to get all buttoned up as I am finalizing a few things on this Creation.
I made sure everything was working correctly and now I just have a few more bits and bobs to iron out, the next step is to fit some of my chrome Bar end Mirrors on the Clubman’s and that should be the front end done.

These are always a great set up as these are not them ugly Elephant ears you see on a lot of bikes, I have always used this set up.

I really wanted to have as much detail as I could muster for this USN themed Cafe Racer, and I thought it would be great for me to make an ID tag, the old dog tag and have all the information on it like owner, Vin number, Engine Number etc and tell them who built it.
I shot down to the Local Army and Navy store and got them to press me up a Dog tag, where upon I curved it to fit the frame rail ,and riveted it to the bike Chassis for all to see.

I am stoked how this looks now, and am sure Jack will be too?
I am now getting close to completing this long haul, but worth every minute as I have become great mates with jack and of course, got to know the USS NIMITZ Aircraft carrier, as well as the HS-6 Helicopters too.
I am now getting a few more things tied up and thought about how i could make something cool for the starter cover, as often this is missed out for any sort of detail work on builds etc, i usually paint them and decal them, but this time I wanted to keep some of the Helicopter them going and thought that I would attempt at making a .50 cal Ammunition box.
I actually broke the handle off my Harbor Freight tap and die set, and then I looked at the handle and thought, I could attach this to the starter cover, of which was welded, then stripped of all chrome, i then bead blasted and powder coated the starter cover a Drab Olive Color.

Then had the stenciling done on the top and simply clear coated, but then , I attached it and Bang!
There you go, one cool Ammo box that some of these helicopters have to carry from time to time.
After this I wondered what else can I do, I mean I have cleaned, polished, buffed, chromed, painted, powder coated and carefully gone over the Cafe bike to see what else I could do for this great guy that has put his life on the line, for us to be able to have the liberty we do.
I thought I would actually detail all the Allen Head bolts on the bike, and this will help the design flow, as the color is the same as the frame.

Now, doesn’t that look the dogs wobblies?
The rear light is a cool set up and should sit on there proudly once worked out how to make a bracket, for it.
Here she is getting ready for it’s debut at the International Motorcycle show in LONG BEACH.

That’s the New owner and boy is he happy with the end result.
This was a long build but, worth it all, I met some of the crew when I visited them at the base, and now tragically some of them are not here now, – I know they are looking down giving the thumbs up on this bike, as it has many Naval themes on it.
I then thought about not only the bike being honored to them, I thought a Helicopter helmet with all their names airbrushed on the back of the helmet, alongside the colors of the bike and of course in memory of the Squadron, would be a fitting completion to this Motorcycle.

The headlight represents the blades of the Helicopter that the crew fly in.

I loved creating this machine and Captain Jack was super stoked to receive it. I asked him what was the most important light on the control panel of his Helo, he said the Low Rotor RPM as if that comes on , he is in trouble. So I incorporated that into the Display light section on the bike which is the Oil light originally and told him if that light comes on, he is in trouble too as its out of Oil.
So thank you Jack, wish I had taken some more photos but cannot locate any, but shall ask Captain Schuller if he can maybe take some when he is has a spare few minutes.
Thanks for commissioning me Captain, proud to have made you happy.