Blog
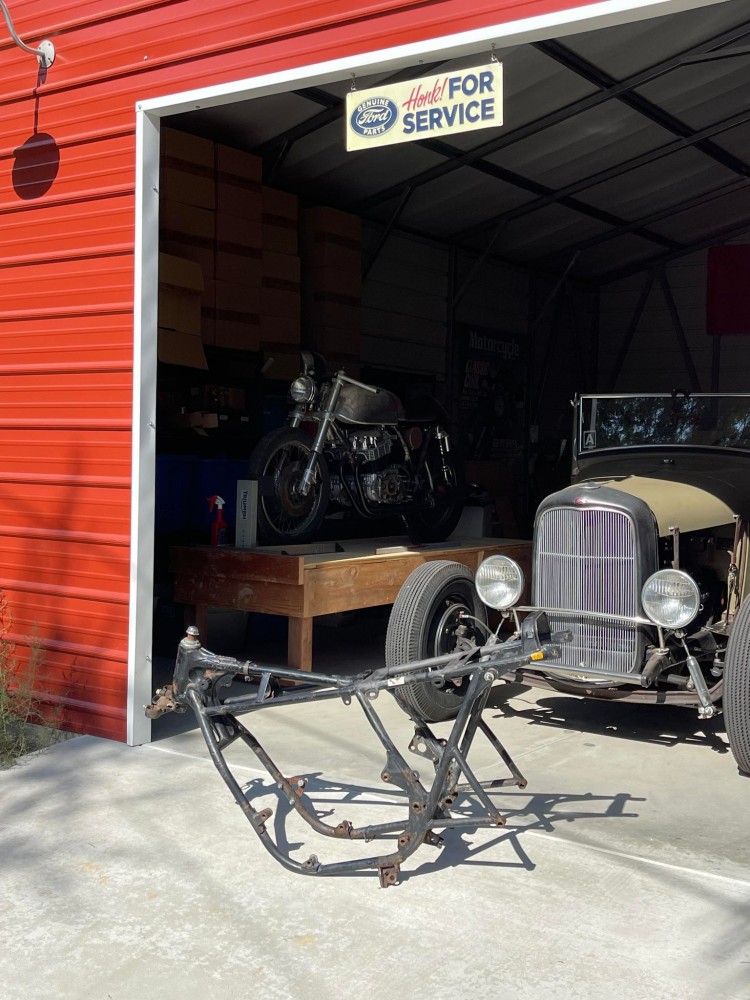
Wet weekend, so thought I’d rattle on about what’s happening in the Barn and Blog about things I like.
Mar
Well, we are getting another downpour in Southern California, something that we really do not get much of down here, the last storm was the worst in over 100 years but i think that this weekend storm is just light rain, just hope the hills hold out a little longer. But when it rains its keeps people inside, same as me, I have 16 bikes to try and put together in my own time frame but I am still working on getting the inside of the workshop into a usable area and not just storage. But, when you have crap weather, it gets you motivated to get on with a few jobs you have been putting off.
This brings me to Sean Skinner of Virginia’s MotRelic, he was twiddling his thumbs and came up with a unique concept of his old Orange Krate Schwinn push bike and bung an XS650 motor in the frame, something I had done back in the 80’s in the UK with Moped engines, but this is on another level and thought that I would share.
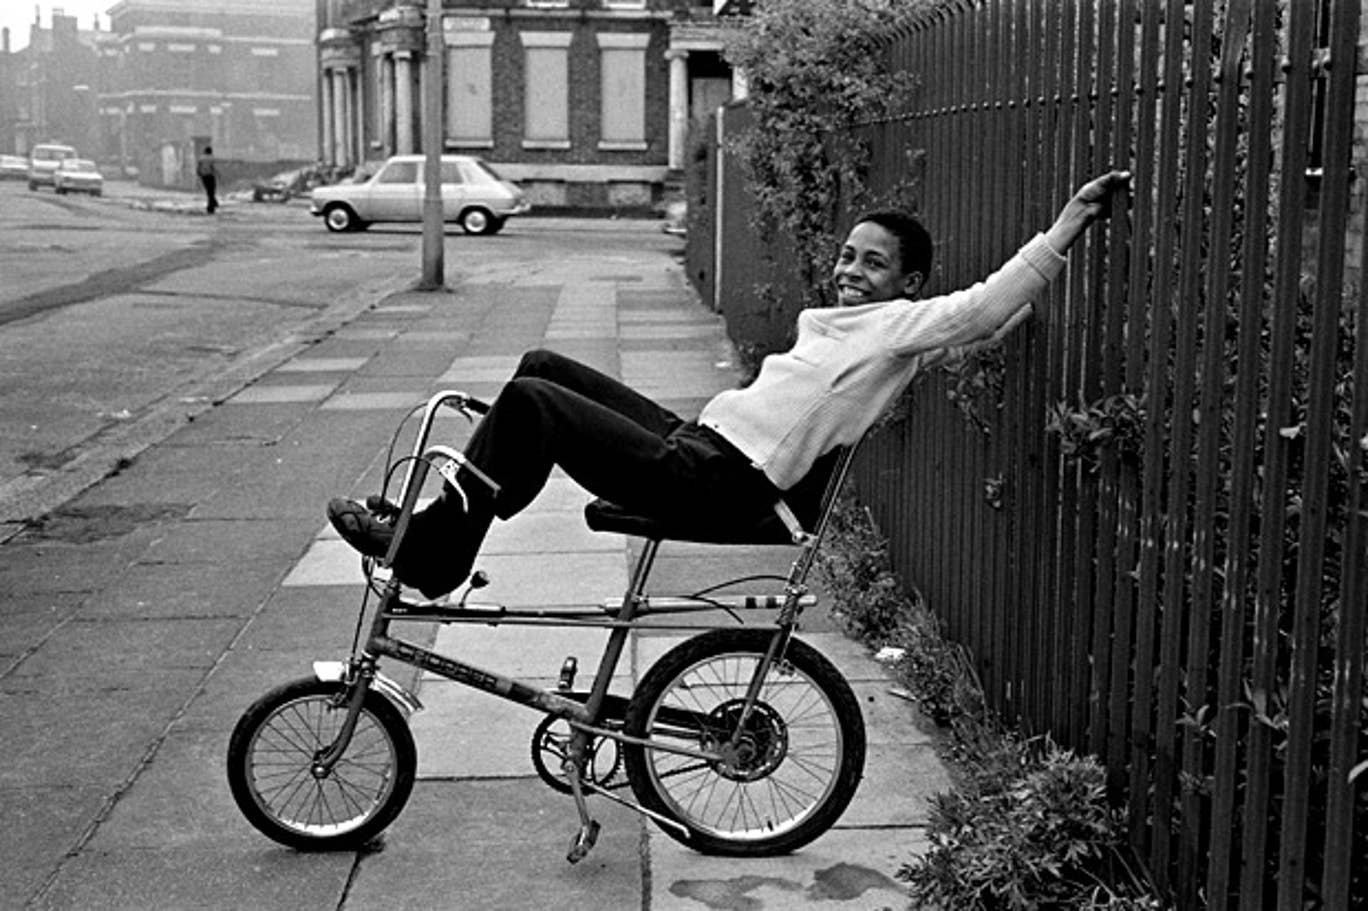
In 1968 when the Orange Krate got its name, it hit the streets running, well peddling to be precise but the Hot Rod styling oozes Custom features and for less than $90 back then you could own one of these Kustom Push bikes.
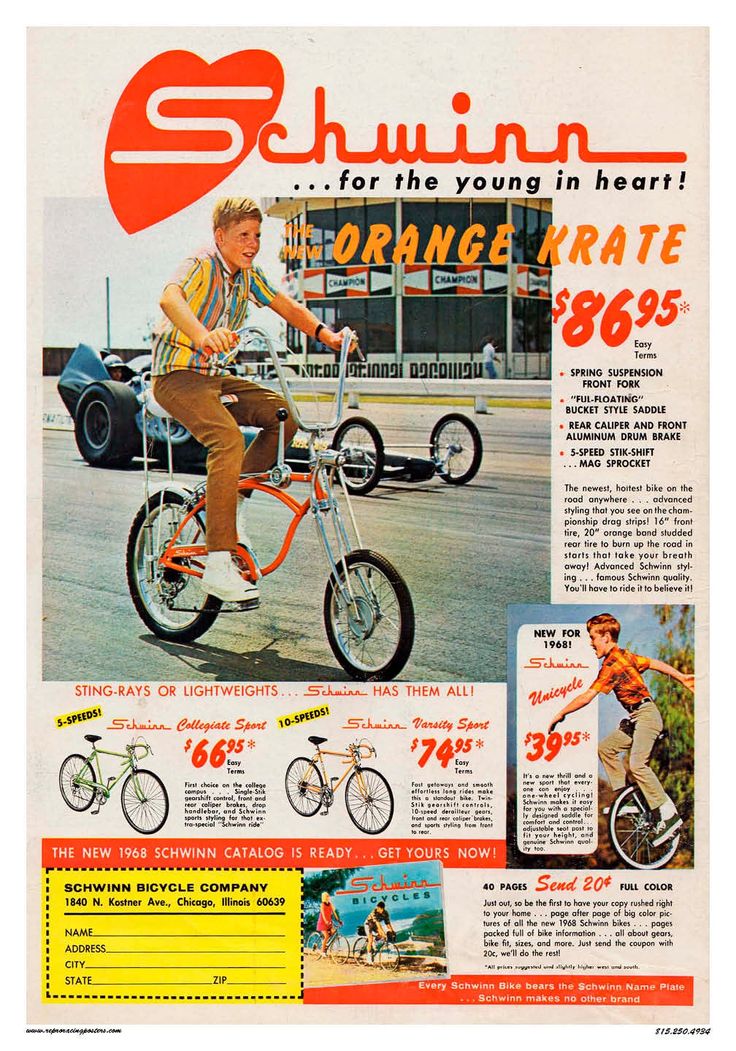
“Schwinn introduced the original Sting-Ray in 1963 after the company realized kids in California had been customizing their bikes to look like motorcycles. Bikes were fitted with 20-inch wheels, elongated seats, rear ‘sissy bars,’ and ape hanger handlebars.” – Schwinn Bicycles:
Sean Skinner – Builder of some of the most popular machines I ever had the pleasure to feature, had the idea to take things in the opposite direction: to build a motorcycle based on the 1968 Schwinn Sting-Ray Orange Krate.

This was no easy task, I have tried many engines in push bikes and most have failed or, after a few miles I grenaded the motor, the frame or the whole thing, so a lot of thought, effort, sweat and tears went into the designing of this machine to accept Yamaha’s Triumph Motor, the infamous XS650 Twin.
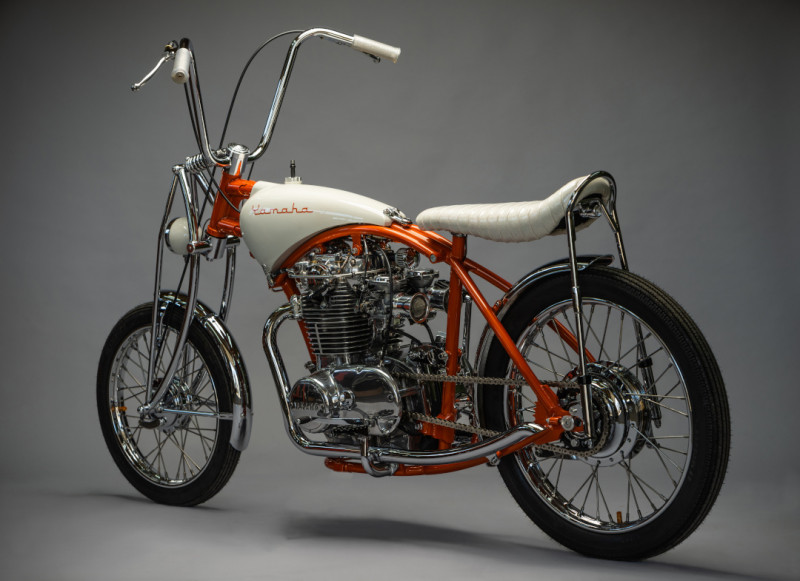
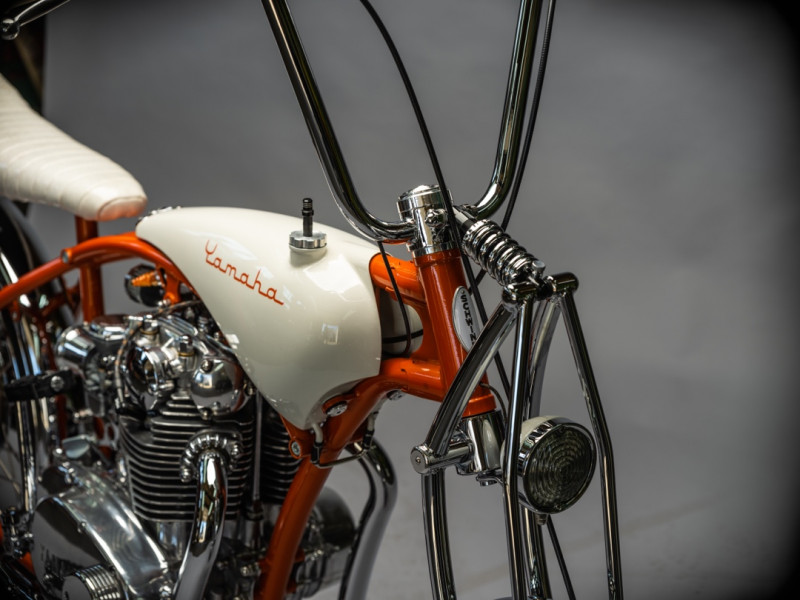
Sean purchased a frame jig, cut the neck from a stock XS650 frame to retain a valid VIN number, and used a ring roller to begin obtaining the curved bends of the frame. As you can imagine, almost everything on the build was custom-fabricated. Sean takes us through the entire build process below, from the creation of the Banana Girder forks to the iconic banana seat, complete with spring-loaded sissy bar shocks like the original!
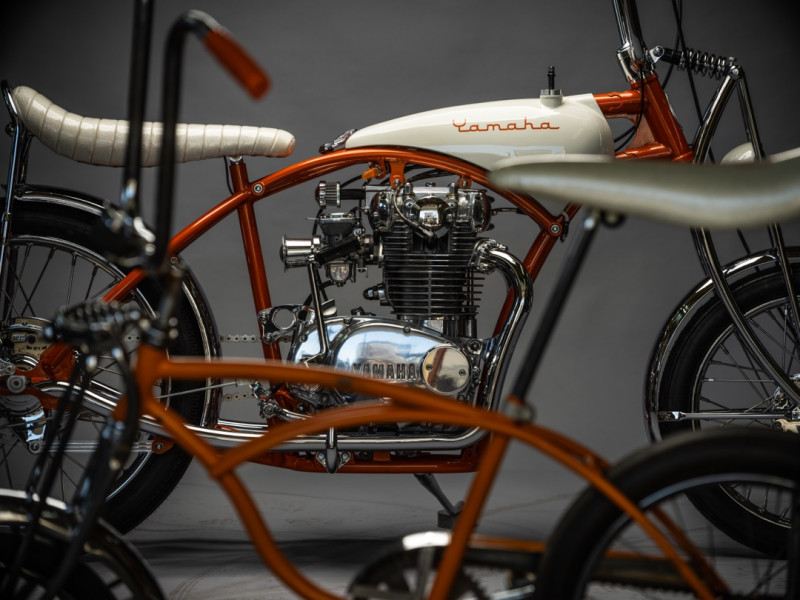
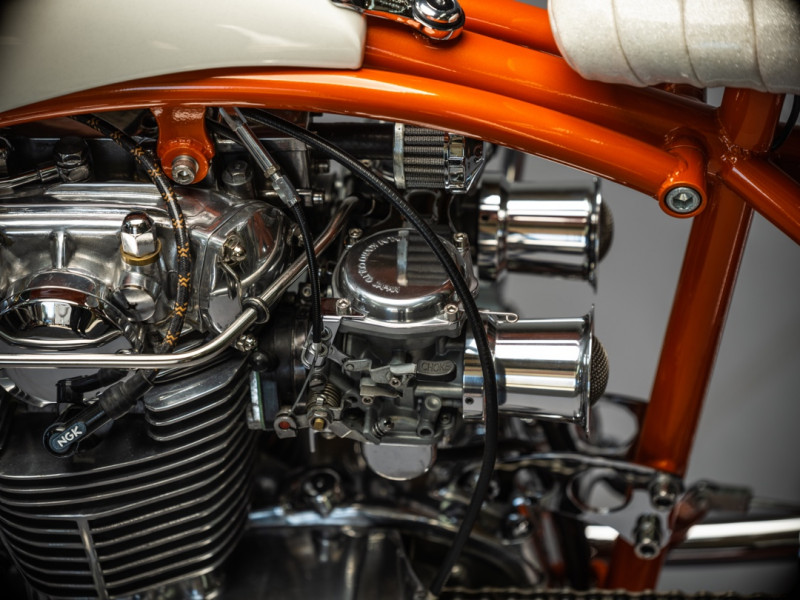
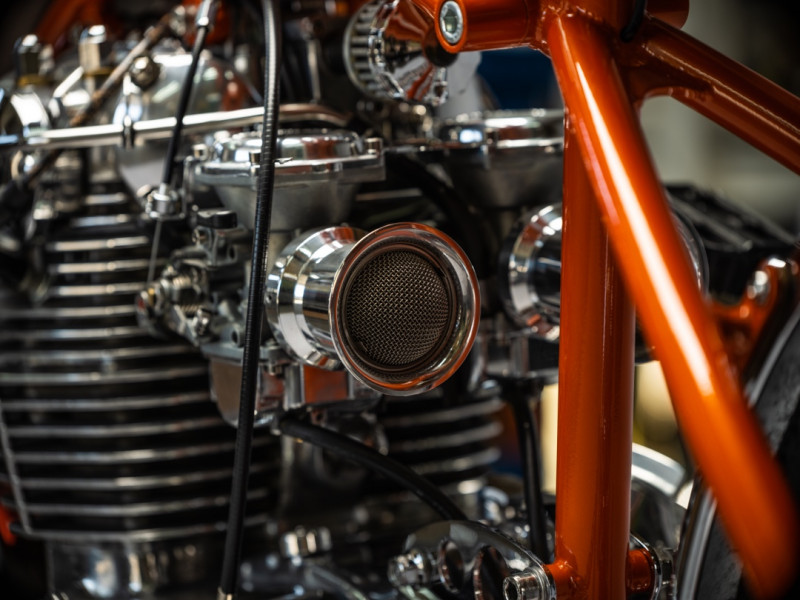
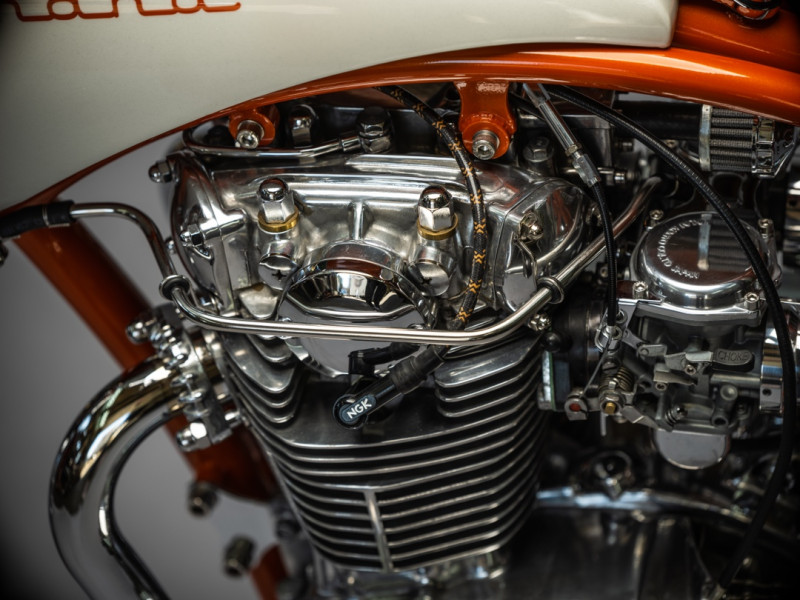
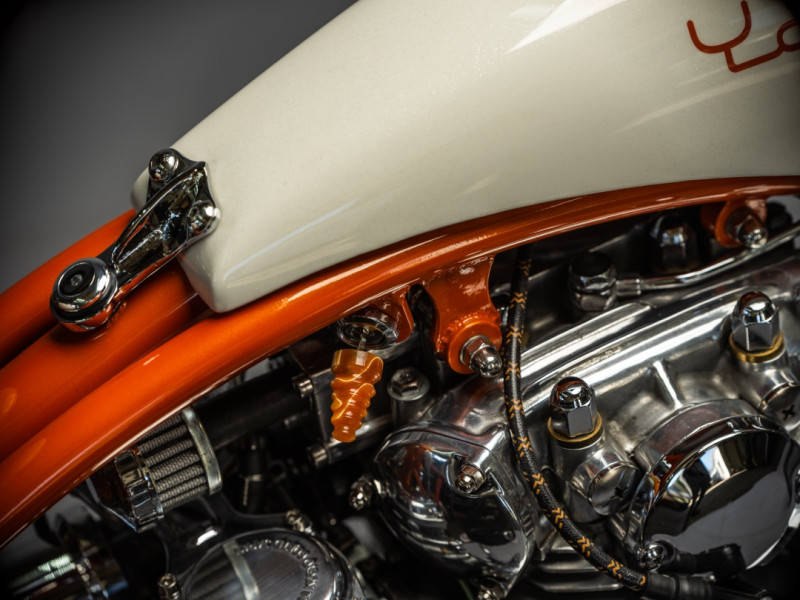
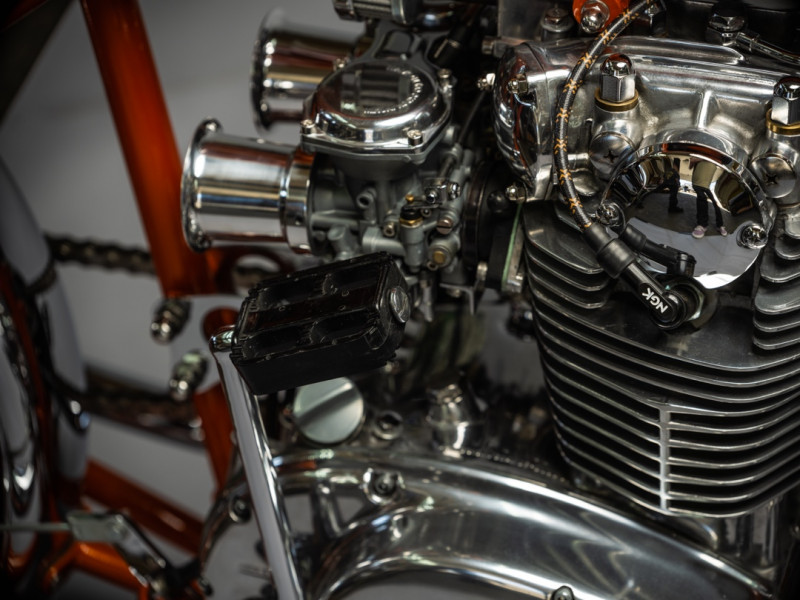
There’s the bicycle-style two-gallon tank, cut and shaped from a Virago unit, and the custom exhaust that seems to vanish into the curves of the frame. The engine itself is XS650 perfection:
“Fully polished, big fin cylinder, rephased by Hughs Handbuilt, electronic ignition and tons of chromed parts…”
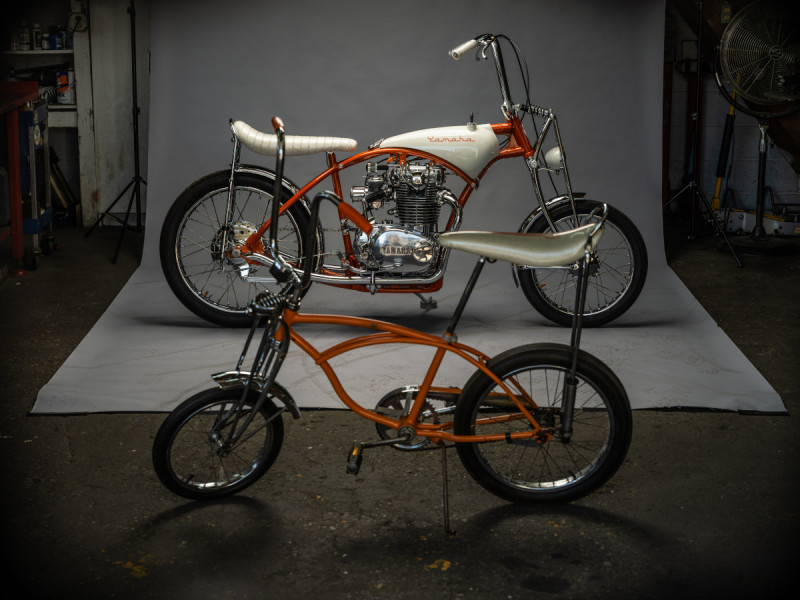
“A fun whimsical build that is art in motion and nothing else. A childhood memory of wacky bicycles with squared off slicks that didn’t handle well but were there for fun. When you could customize them with lights, speedometers, wheelie bars, sissy bars, and anything your child heart desired. This bike is for that.”
Such a stunning piece of work that many could try and not come close to the flowing lines that this Custom piece exudes, a creative signature from the master builder and the more you look, the more you see.
Where to begin…
Back in 2016 I had an idea to build a motorcycle designed around the looks of a 1968 Schwinn Stingray Orange Krate. Now let’s add to the mix that I have never built a complete frame before or lots of other parts of this build that follow. I acquired a clean stock frame that I cut the neck off of so I could retain the proper VIN number. I installed the lonely neck onto my recently purchased frame jig and then I started to brainstorm how I wanted it to look.
I started the frame process by bending and building the lower hoop around the mock-up engine cases so it could sit centered on the jig and give me a nice base to build from. The Stingray has a very curvy frame that flows from every angle. Achieving the correct look and bends required the use of a ring roller. This tool let me slowly roll the straight tubing into any radius I needed. To help me with finding what radius looked the best, I secured some PVC tubing to the axle blocks and curved to the shape I needed and then copied that in steel.
Once I had the frame tacked up and resembling the Stingray photos I had, I went ahead and welded the whole thing up. The two frame pieces that follow the shape of the gas tank are removable and serve as the upper engine mounts and frame strength.
Once I was done with the frame, I hit a stumbling block and the frame sat for four years in my basement. It was either the lack of money for all the engine parts or the lack of confidence in building the front end. Probably both. As time went on I never forgot about the build; it just wasn’t top priority until one day when I was surfing Marketplace and stumbled upon an XS650 that a good friend had built. He was selling a bike with the perfect engine for my build. Now when I say perfect, I mean, fully polished, big fin cylinder, rephased by Hughs Handbuilt, electronic ignition, and tons of chromed parts. And just like that the build had a fire lit under it once more.
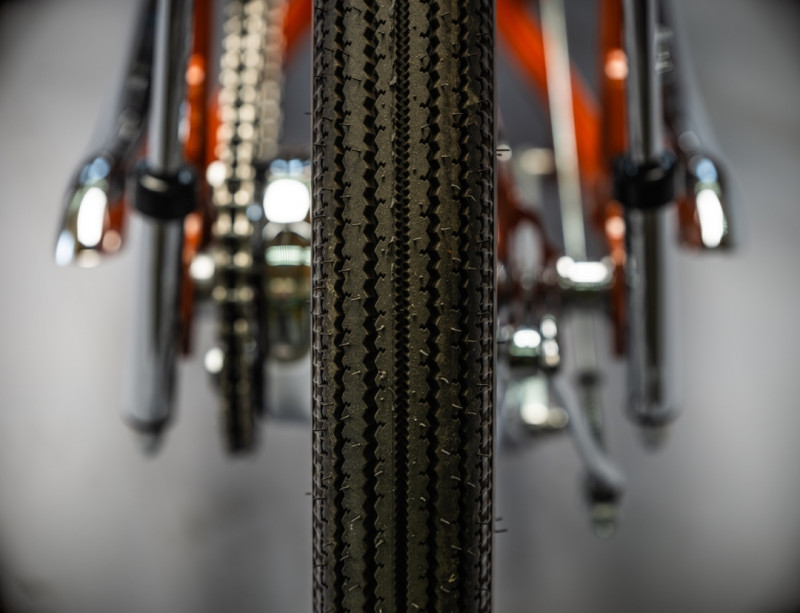
With the stress of sourcing all the parts for an engine floating away, I could focus on the front end. Rake and trail are the most important things to consider — too much or too little and things get…interesting. I had to get the frame at the proper ride height so I found a 21-inch rim, a perfect Shinko to use for mock up, and laced it to the XS650 hub with the help of Buchanan Spokes. Having the comically large wheel mounted to the frame really allowed me to see my vision in real life. It’s adorable.
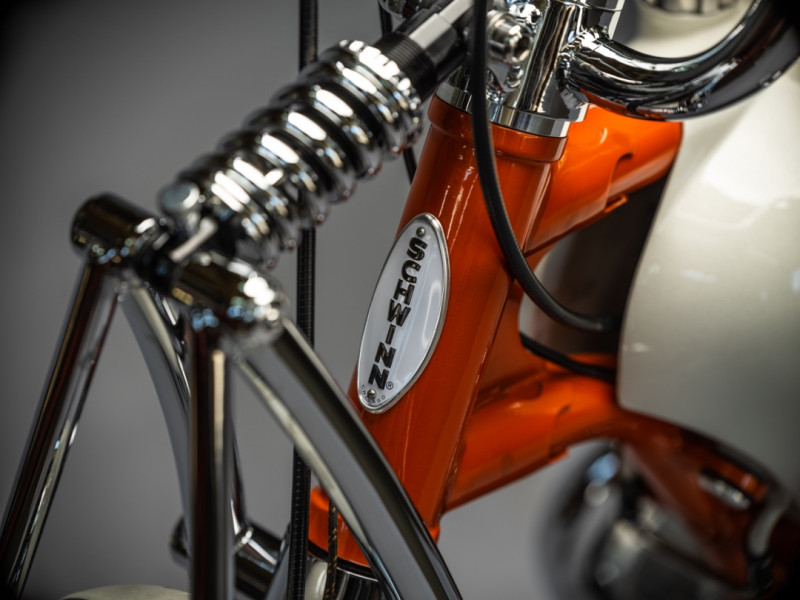
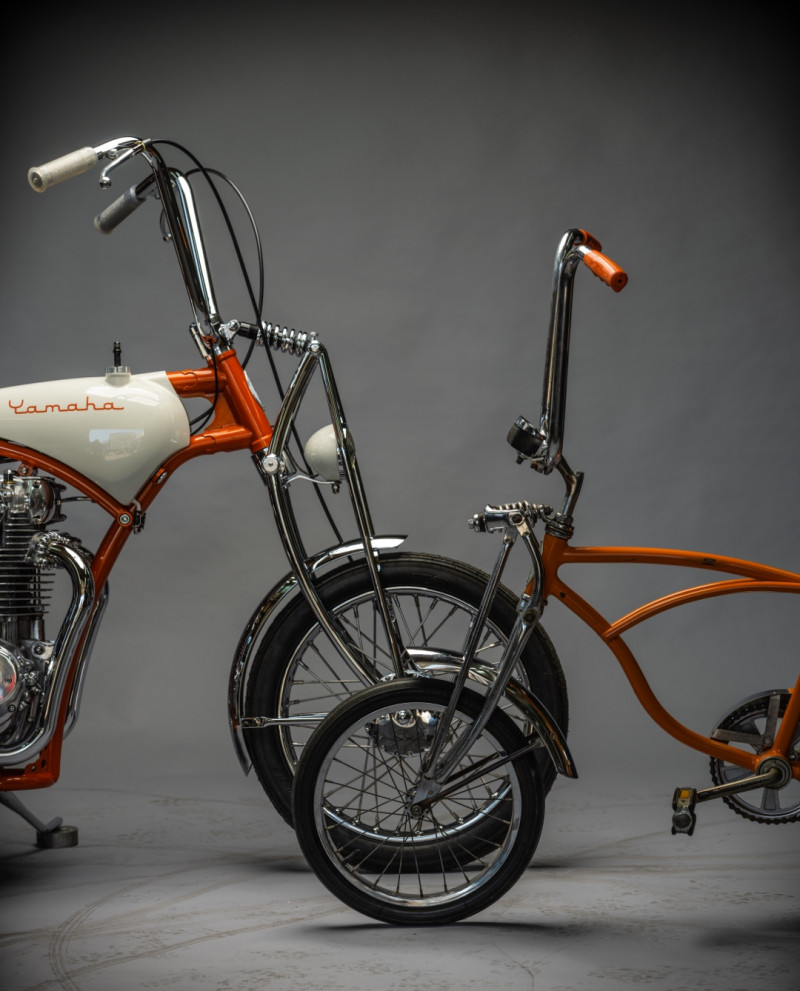
While knowing how the front end should look, getting it to reality is a different story. I scoured the internet looking for a company that has built the Banana Girder in the past. The front end is not a new design and it has been used many times. I found a fab shop that builds them for Harleys, but they would be way too large for this build. I was able to get them to sell me the upper and lower “trees,” which included the stem and center pivot parts. The rest was on me to design, fabricate and build.
While walking around a swap meet I ran into my buddy Dave. He handed me a skinny little 17-inch wheel that also had a tiny drum brake. It was the perfect front wheel for this build. Now that I had a front wheel to build up from, I got to work figuring out the geometry and curves needed to get to that point. Once I had the measurements, I built a crude jig to hold the three pivot points on each fork leg, assuring that whatever happened in between those areas, the pivot points would be symmetrical. I found a stout little mountain bike shock with adjustable preload and rebound to handle the road. Spacers were machined and bungs were threaded and drilled. The front end was coming together!
Next I had to figure out handlebars and how to attach them to a very non-traditional upper tree. I machined some studs and centered them perpendicular to the stem. Now that they are welded, I cut up a new set of ape hangers to position and weld to the upper tree.
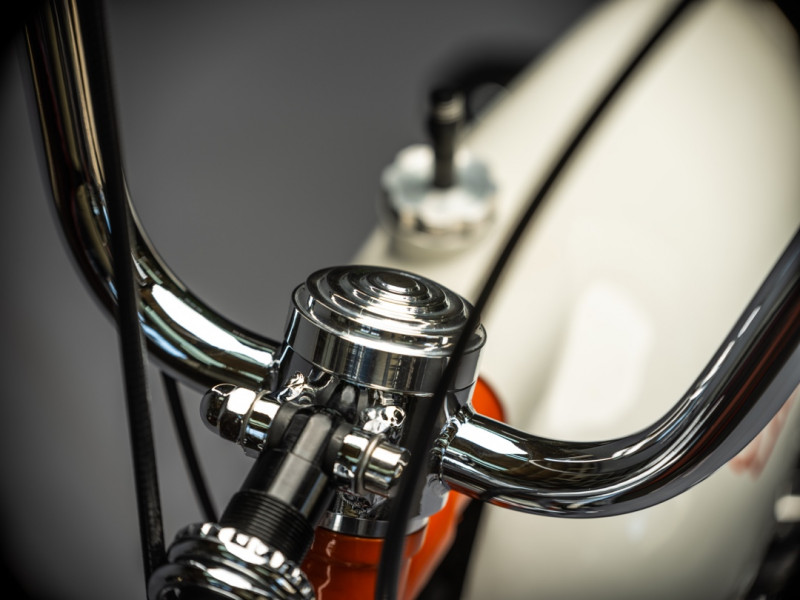
So many things were handmade for this build. One thing that was a challenge and fun to do were the lever perches. Cut, milled and drilled from 1/2″ steel. I created a clean and tidy part that once welded to the bars made the bicycle theme come alive. Venhill made the cable kits that worked fantastic and gave a vintage look to the build. With the front end wrapped up and bars in place, it’s officially a roller!

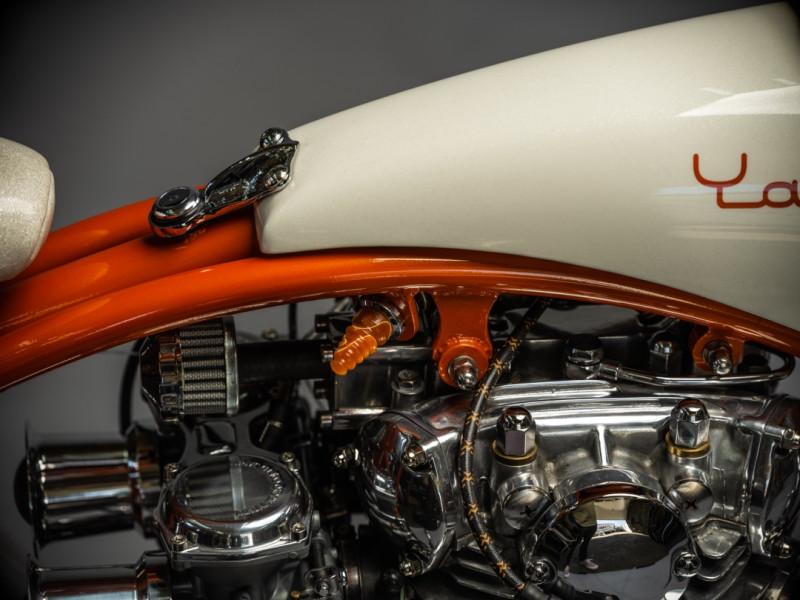
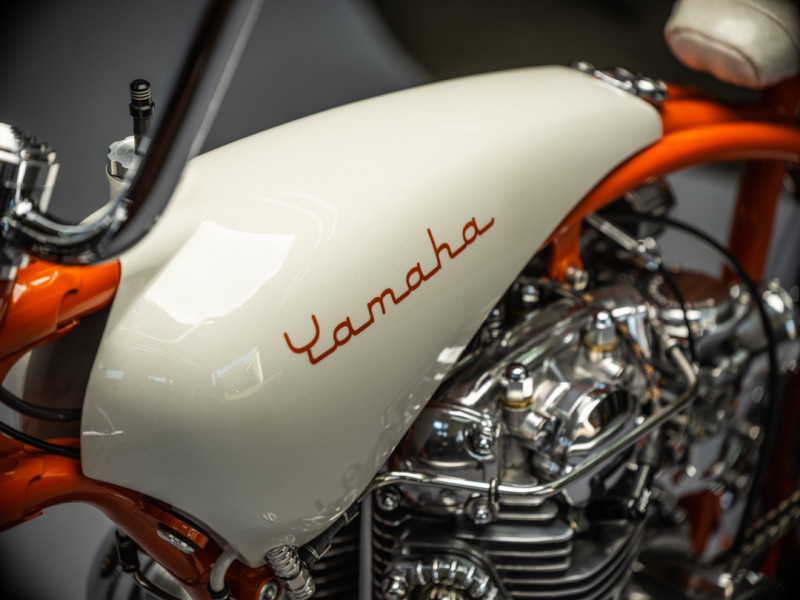
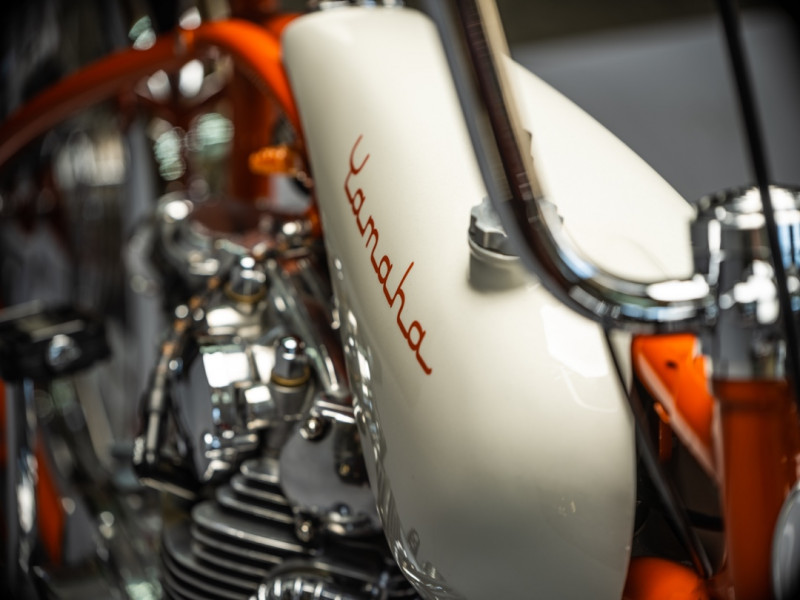
On to the gas tank and seat. Trying to stay in the lines of the Stingray, I had to make the gas tank a shape that flowed with the frame and still held at least two gallons. While sitting in the shop I noticed an old Virago tank hanging on the wall. I could see from the side that it had a similar curvy shape in the side of the tank. I made a tunnel and base to the new tank that followed the frame. Once that was in place, I cut up the Virago tank and found the shape I needed in two pieces. More sanding and test fits than I care to admit, I had the tank parts tacked into place.
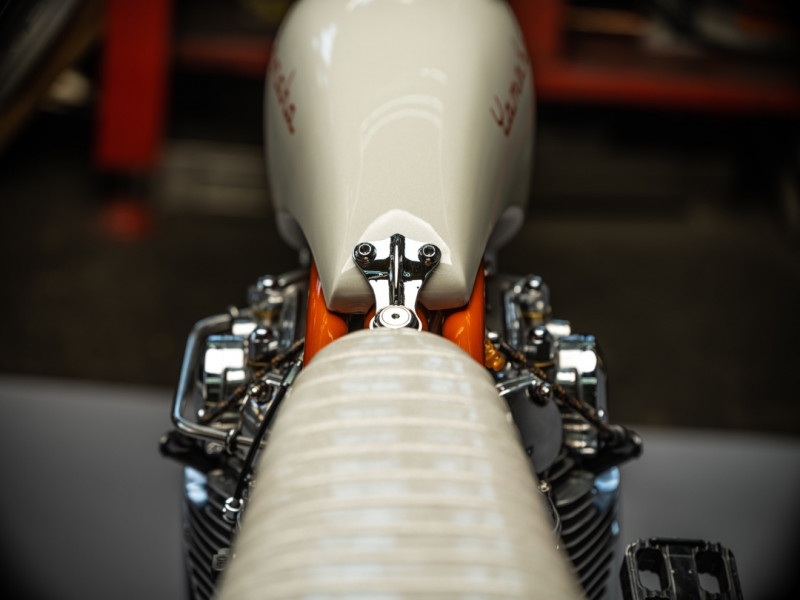
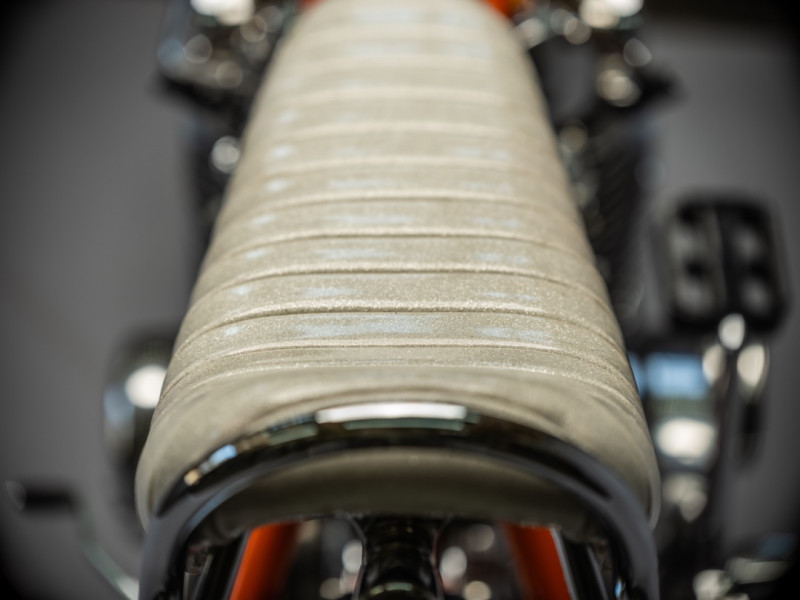
The seat had to be the iconic banana seat. Aluminum was used and I cut and shaped it to flow with the tank and flow with the frame. I shaped the foam to compliment the base and flow with the tank. Schwinn used spring-loaded shocks on the bottom of the sissy bar, which allow the seat to move and give some cushion over the bumps. I had to reproduce this in my build.

Mcmaster Carr carries all kinds of springs and bushings to make this dream a reality. After measuring, I ordered everything I needed and machined all the parts to create a full-size version of those seat shocks. I had to also make a pivot up front to allow the shocks to work.
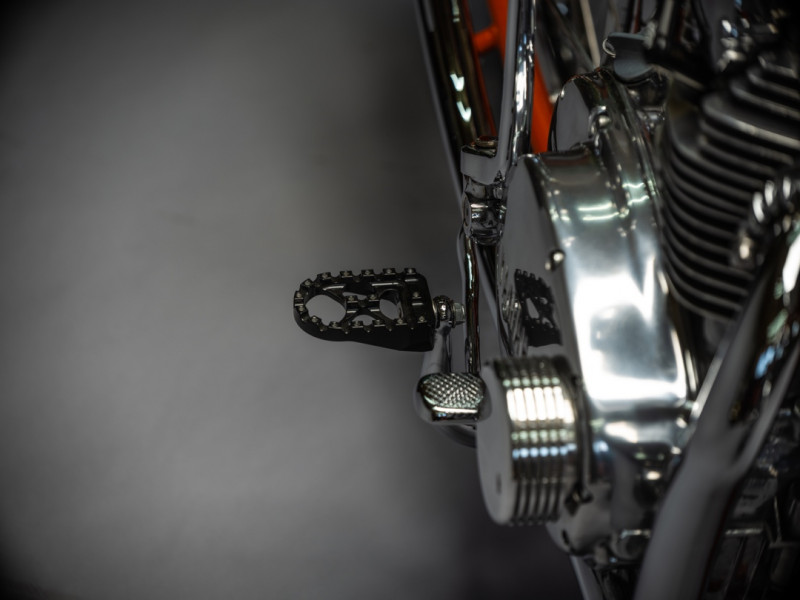
I can’t believe it’s actually all coming together. The bike’s fabrication is nearly complete. The rear brake pedal mount design that incorporates the switch was a cool project. It uses a Magura brake lever switch that keeps the wiring small and tidy. The foot peg mounts were found at a swap meet. I think they are early Sportster or Shovelhead pieces that looked so much like pedal cranks I had to make them work.
The final project to tackle was the exhaust. At first I wanted to make an exhaust that doubled as a chain guard, but then realized I didn’t want to see the exhaust and was sure it would ruin the look of the bike. After a long while of staring and mental anguish, I decided to have the exhaust follow the frame from the subtle curve at the front to the full length curve the rear frame has. It made the exhaust somewhat get absorbed into the frame. Some people don’t even notice the exhaust until they’ve looked the bike over for a while. I guess that means I succeeded at making it blend in and not take away from the bicycle look.
The final project to tackle was the exhaust. At first I wanted to make an exhaust that doubled as a chain guard, but then realized I didn’t want to see the exhaust and was sure it would ruin the look of the bike. After a long while of staring and mental anguish, I decided to have the exhaust follow the frame from the subtle curve at the front to the full length curve the rear frame has. It made the exhaust somewhat get absorbed into the frame. Some people don’t even notice the exhaust until they’ve looked the bike over for a while. I guess that means I succeeded at making it blend in and not take away from the bicycle look.
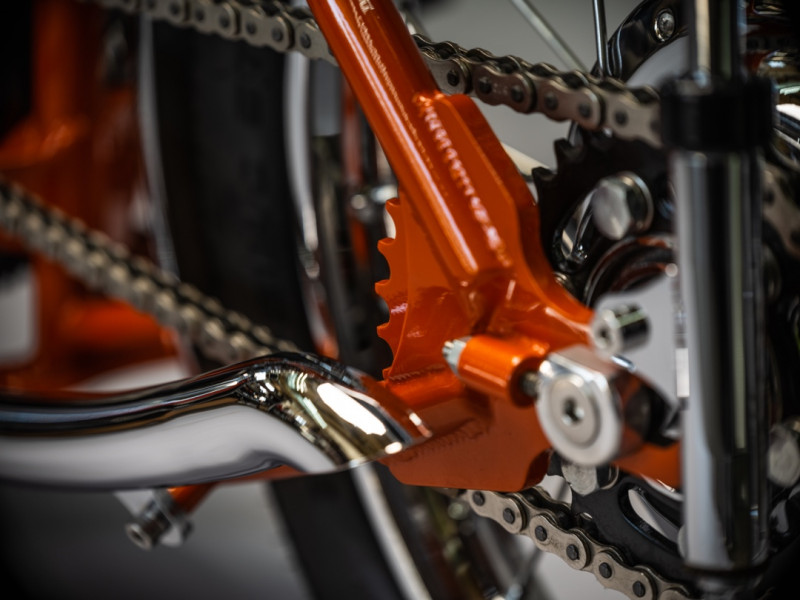
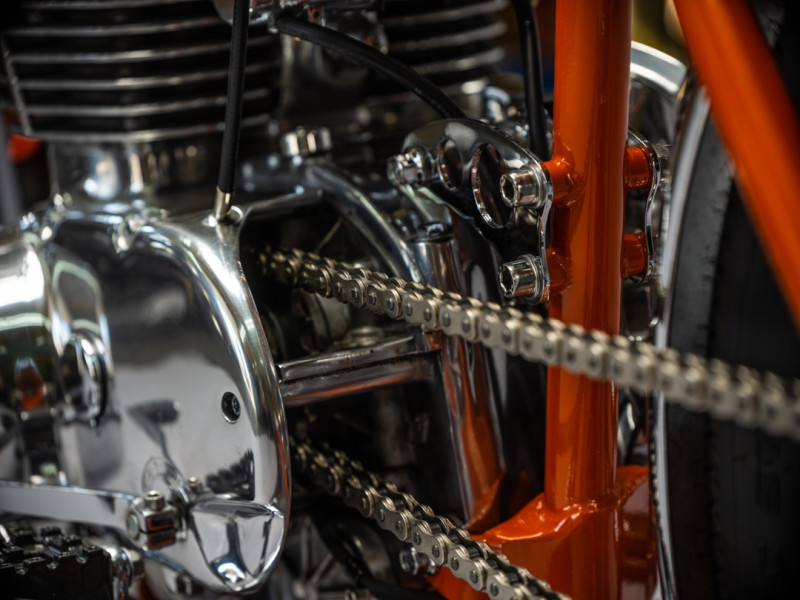
This is the first bike that I have gone all in on with chrome. Don at DGM Chrome Plating in Philadelphia, PA handled this tough job and all of my parts look unreal. It’s amazing how good he and his guys made everything look.
The frame was finished in a micro flake orange powder coat laid on by the talented guys at Right A Way Powder in Middletown, MD. The orange sparkles in the sun and looks beautiful with all the other sparkly bits.
The tank paint was sprayed on by Danny Knight at Knights Kustoms in Winchester, VA. That off-white paint was mixed up to look like the vinyl on the seat, heavy flake and all, he nailed it! The “Yamaha” font was painted on with the help of stencils made by John Ralph at Quail Run Signs in my town. He’s a wizard with the program. I am a one-man shop that handles all of the fabrication, welding, and building, but I could not do it alone and really, I wouldn’t want to. It’s fun to have talented people in your corner to experience the creation with you.
Now with all the parts back from powder, paint, and chrome, I can get to work making my creation come to life. With the engine on its side on the lift, I gently set the frame over the engine and push the chromed bolts through the mounts. The rear wheel is next to install. This lets me hold the frame upright in the lift.
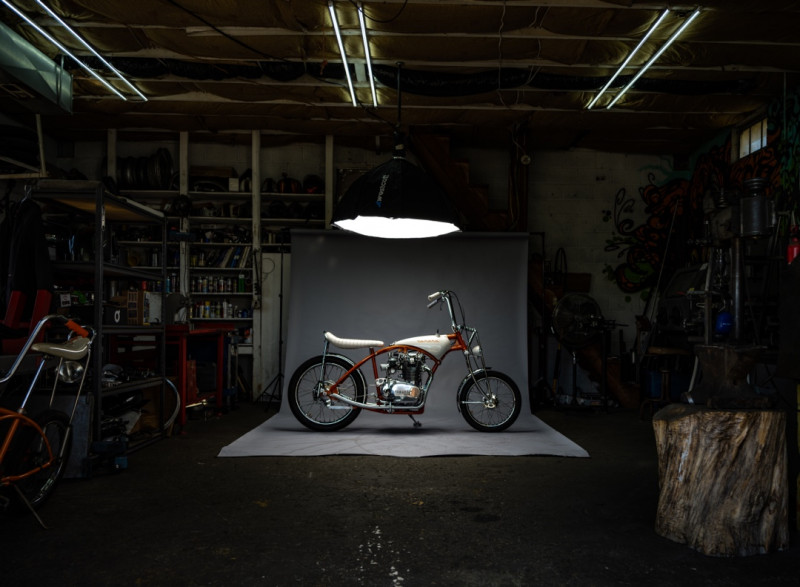
The front end slips on and the front wheel is put into place. I stand back and look at all these mirror-like pieces and I get very excited to see the finished bike on the ground and out in the sun. The gas tank is set on the frame and I can finally see the bike coming to the finish line.
All of the time spent designing and building has come down to this, the first start. It took about five kicks to get her going. Blame it on dry carbs, no battery, stage fright, or whatever. It started and sounded amazing. The gamble on welding baffles in the middle of each pipe paid off. She sounds glorious!
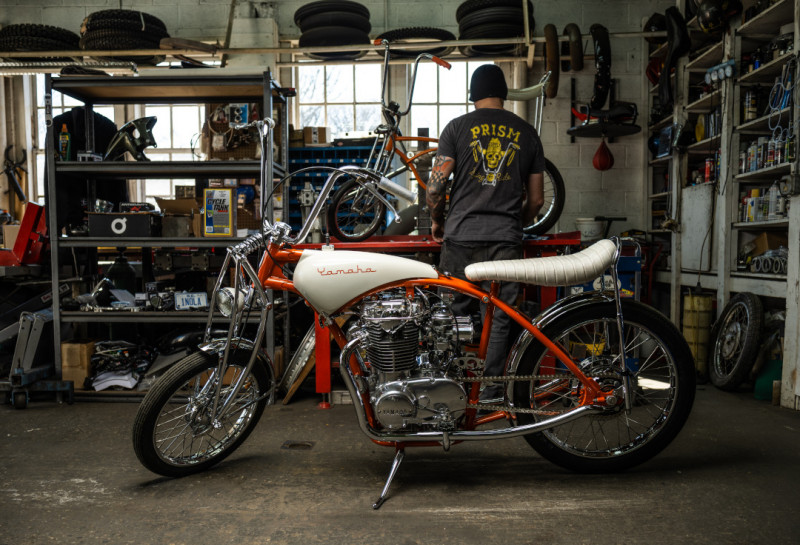
Once I checked everything over, I didn’t hesitate to fire it up again and go for a ride through the neighborhood. Smiles for miles on this thing. It handles well and rides very nicely. 100% happy with this build and I’m excited to show it to all of you. Since writing this I have been to the Mama Tried Show in Milwaukee and have been invited to the Handbuilt Motorcycle Show in Austin, TX. Y’all come out to see it in person!
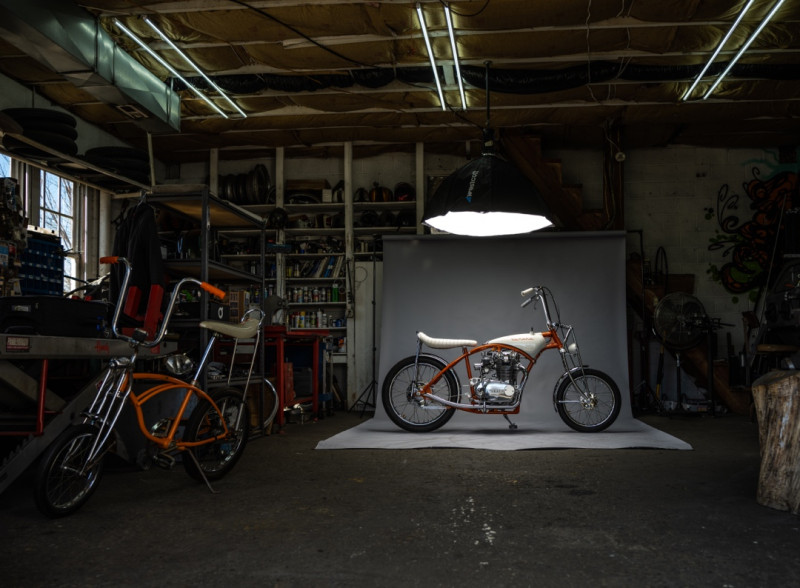
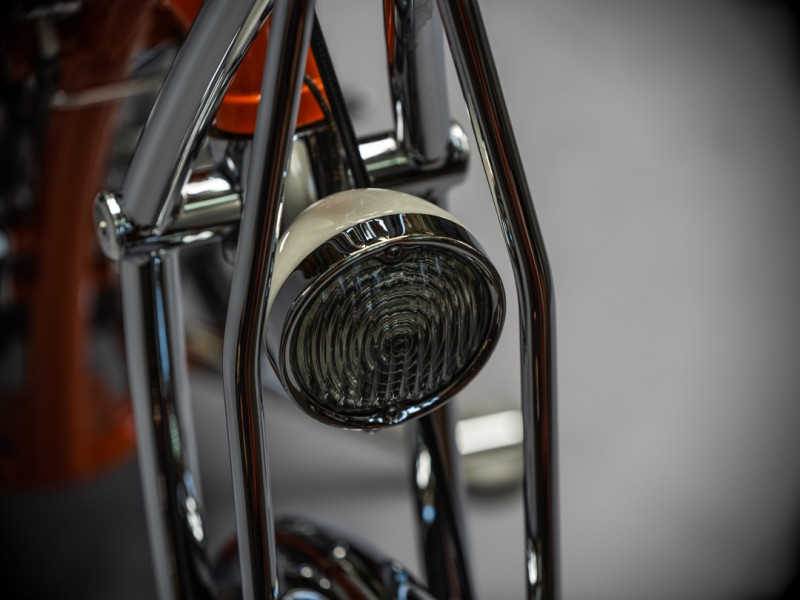
You have to look at this bike and smile at the fact that it was built from inspired dreams of the Schwinn Stingray Orange Krate. A fun whimsical build that is art in motion and nothing else. A childhood memory of wacky bicycles with squared off slicks that didn’t handle well but were there for fun. When you could customize them with lights, speedometers, wheelie bars, sissy bars, and anything your child heart desired. This bike is for that.
Thanks for reading,
Sean Skinner
A great ride for sure, like back home in the UK, we had Raleigh Chopper push bikes, but i am thinking of my mate Alan Oller up in the Bay Area as he loves XS650’s and this would be a fun project for him next.
Hope you all have a great Easter weekend and thanks for reading.
Until next time, get them grinders out and start having a go at something constructive.