No products in the cart.
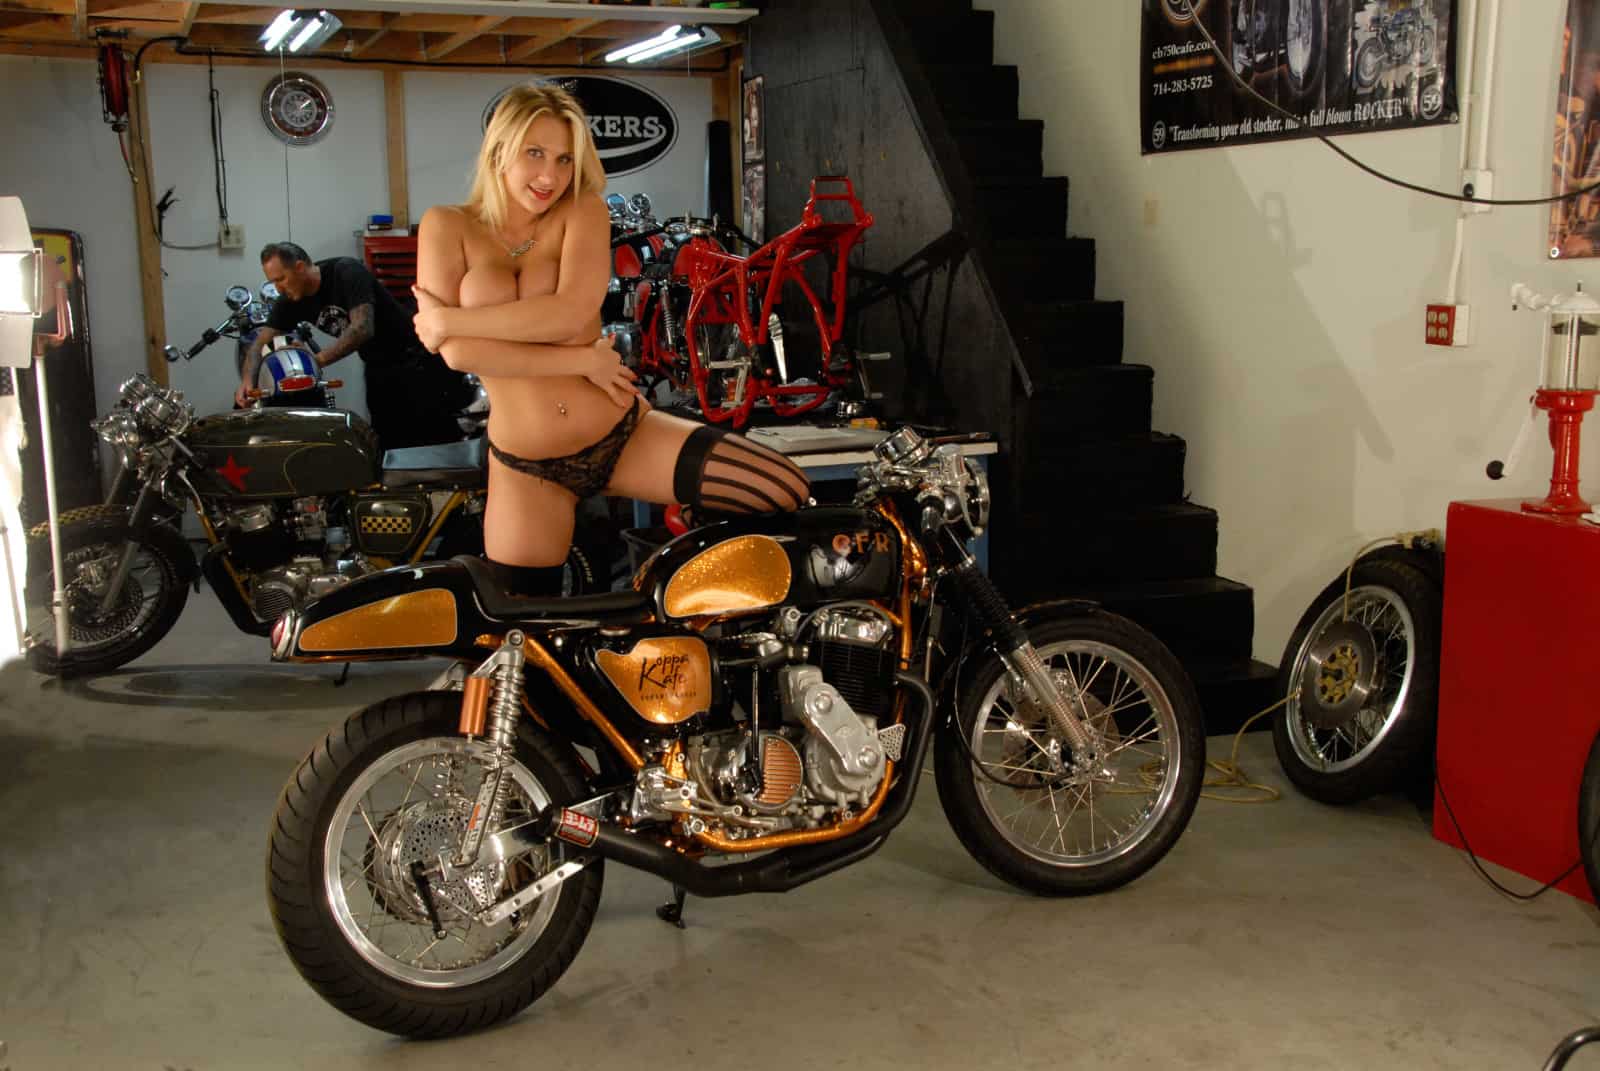
KOPPA KAFE
03
Apr
KOPPA KAFE MY WILDEST RIDE.

Here is a Video I have done to show the build.
Enjoy:
Hey Gang
OK, here we go, I miss my Vincent Cafe, I must build something Cooler!
COOLER?
How can that ever be achieved?
I know, a big task is ahead of me but hear me out.
How about a Cool Copper Flaked frame that has a 1969 First year Motor that is BLUPRINTED and Balanced.
And to throw Gas on the fire, how about a Belt driven SUPERCHARGER one side of the Motor and hanging out on the left, a Magneto that is also belt driven, there will be more belts on it than a Taekwondo champions locker.
And, just to throw the Cat amongst the pigeons, how about a sprinkling of Nitrous Oxide to really give it some punch?

Then add a Custom Tank of mine that i shall make from 3 stock CB750K tank and stretch the thing 4 inches, to give me more Gas room for longer journeys.
Dunstall Clip ons.
One of my cool Rocket Four seats with Leather trim.
Rear sets.
NOS Dresda swing arm. that I have chromed the Balls out of.
Alloy Racing Rims.
Finned equipment.
And a Yoshimura exhaust that i am having re-made in quantities so you can all use them and have that Raspy sound too.
Sounds cool enough???
Stay tuned Gang, I am underway!!!!!!
As you will see from the pictures up there on the right handside, I had to use a SNOTTER of a bike, to show what can be done, this thing has been beaten to within an inch of its life, it was a weird conglomerate of parts, some way out of my head, Police lights for gods sake, whats all that about?

I found this sat in the Middle of the desert out by El Mirage and Edwards Air force base, they should of used it for target practice, and on Closer inspection, I think they did.
But, from little Acorns, grow big Oak tree’s – so had better get on and give it plenty of water to grow into something cool.
All the bolts were as tight as a locked safe door.

I used more penatration fluid than a Gay priest at a kids school.
There were all sorts of Critters living in the fork ears, some I am sure have not even been discovered.

I think it is the first time I have slung everything I took off the bike except the frame and forks, over the wall, nothing worth saving, it has more snot than a Barry Manilows hanky after a cold.
The last time I got rid of a bent Fork was when my Mum cooked potatoes when I was a kid.
This will be a Challange and I am sure you too will enjoy the transformation.
Challenge is right and I am running out of time, but I shall try and make some time in between working on Customers rides, selling parts and of course answering the 900 emails plus i am receiving lately, but this is what I enjoy and you lot seem to be having a ball with it.
OK, the frame was taken apart, crap, grime, snot and weird looking critters all buggered off real fast when the media blast shells hit them in the booth, the frame was cleaner than Grandads new Hankerchief and ready for some major changes.

I wanted to change the trail and rake of this frame this time, you know the deal, give it a more Ballsy look, bit like a Sprinter in the traps for his 100 Meter dash.
So, lets see what I can do, as having a Supercharger will give me 50% more power and, up to 10 pounds of boost, thats a bigger increase than Obama’s election lead.
So, I decided to use the stock parts that i cut off the frame and add it to the inner sides, gusset the frame to make it more sturdy, I want the ridgedity, as this bike will have some H.P. in it.
So I made a few adjustments and marked up where everything was going to get TIG welded and thus the build begins.
Many hours was sat at night and day, thinking what I could do and I have pretty much built this Cafe Racer in my head, so I now need to make this a reality.
The frame was in good sgape and I had no worries about cutting the headstock by the neck and making a 5 degree rake in there.
This has alot of strong Vee grooved welds that was more penatrating than a cheap Porno movie.
The Chassis now has the lines I am looking for and all welding done of a steel bed with a jig to make sure everything is bang on and plumb straight.
Next, well, grinding, I grinded more than ya Granny does her gnashers when she is asleep in the armchair when the Football is on.
I wanted to remove the ugly Japanese factory welds, as the early ones were pretty bad with spattering and the like.
After many hours of sanding, grinding and sweating, I finally got it to where I am ready to Bondo all the welds and make everything smooth.
More sanding and shaping but it is all worth it for the end result.
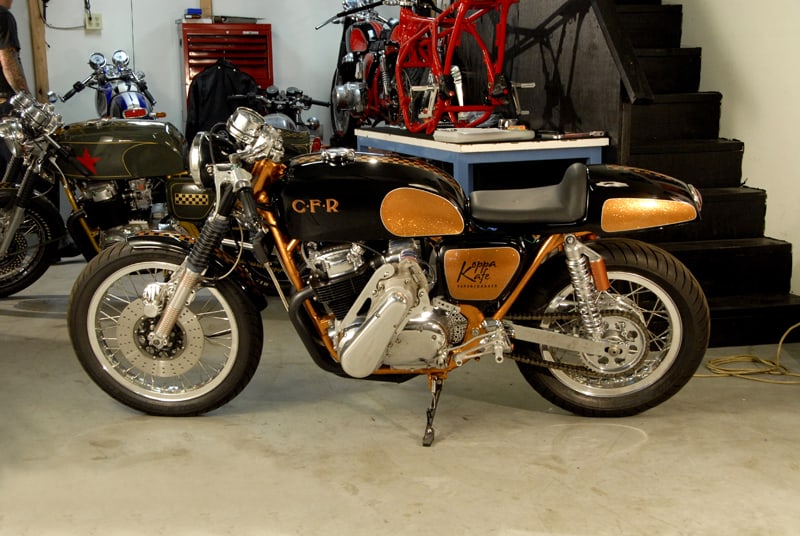
I used about a pound of original Copper metalflake in the paint to get this to how i want it, reflects back to the 1950’s of America and the cool Custom cars that ran around these roads.
Loads of clear coat was applied and sanded, then buffed like a bald mans head at a wedding.
I am happy with the result and now other things have to be started if I am gonna get to any shows in the new year.
The gas tank was a big challenge, as I had to use 3 of them to get the shape and contour needed for the bike to look right.
I have seen some tanks out there for sale but the tops are way too high and look like some one has made them in a hurry.
This has to flow, like all my tanks, it took many hours of drawing, shaping, trimming, cutting and reshaping, just to get the rough look, and then the time to clean and weld and grind and clean again.
but the tank is now done, I have cleaned it up and did the bosy work, I put in my knee inserts and then I primered the whole tank, Remember to make sure your petcock does not foul your carbs too, alot of thought gone into this.
The Gas tank looks solid and I sealed it with good old POR 15 sealant and let dry for 96 hours, yes 96 hours else she will leak before that time.
I have seen some leak more than a bunch of Old timers at a bus stop, and I didnt want that at all.
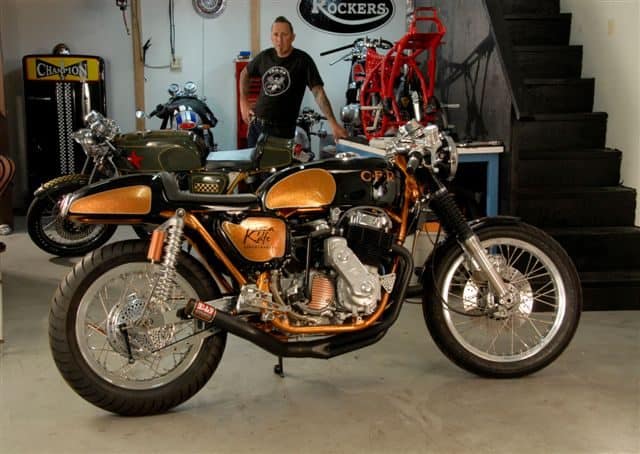
Now the tank is sealed and now painted Black with Copper Flake inserts and a copper and black set of checkers.
I shall sign write the sides if the tank too and add new chrome cap etc.
The rest of the bike now needs to be sorted and I am continuing with this at some sort of pace now, burning the candle at both ends has kind of become a tradition these days but the days are running out for sure.

I used my infamous Rocket Four seat, as I want to show you lot I do use my parts too, and this is going to really look Cool on the bike when it is all together, i already sprayed it Black and metalflake Copper and made a Leather seat cover for it too and used an old Pontiac light for her.
The swing arm as I mentioned was an old one I had in my MUMS shed back home, back in the day when i used to go to Road racing and watch all the cool guys race, one of my heros’ was Barry Sheene and also Rocket Ron Haslam.’


This is a race Dresda swing arm and it was NOS, I had it many moons but got my brother to send it from the UK and I stripped it and then got it chromed, this will look great in that flaked frame.

Well I have now started to get alot of work done on this and have had to build it in my old garage as there is way too many bikes in the way at my workshop to be honest.

And as the kettle is close to the garage, why not?
So, I have bunged the motor together and slung on another head gasket.
The Motor was taken out of the frame way back in about 1973 and then the 69 mill was totally taken apart, BLUEPRINTED, polished and ported and hauls so much ass.

But this time I want to try and really show this as a cool bike that has alot of old options available back in the day, so, as well as having more balls than a golf shop, this thing is gonna have a Belt driven Supercharger and a Aluminum ARD Magneto on the other side to try and even up the look of the Motor.
This will be a really wild looking machine, and I am still a long way off, although I have the ineternational motorcycle show coming up in 2 weeks and am trying hard to get it completed by then.

The Motor looks awesome and I have just fitted the Finned polished Aluminum Plenum (Manifold) that will sit in the head and allow the Supercharger to sit in this.
I guess for people that want to know about how this works in laymans terms, it is pretty much the same as pumping a tire up at a gas station, the same principle.
More compression etc and the velocity of the fuel atomozies in the plenum chamber, thus resulting in peak ignition and the thrust of the piston at a much faster rate than a conventional carb system.
This is a great set up, but an old one.
Half these bits did not fit and, then to find out, some parts on this unit were kawasaki, some suzuki and I was banging my head against the wall for a while.
But I knew my mate Chris had one in Hungtington beach and a trip there and back I was ready to “Simply ” bolt the thing on.
No luck there, looks like lady luck not only kicked me right in the nutz, she stole them, squeezed them in a vice and then to add to the pain. flushed them down the shitter.

My mates Supercharger was the same name but all the internals were different. I looked at 2 more in some magazines I got and they two were all different, maybe the dozen or so model they made were all proto-types?
So, up until the wee hours I was stumped.
I researched more and tried some templates, I got the help of a guy I knew who works with modern sport bikes and he helped make a new bracket and we fitted the charger to the bike.
So, after much ado, we came up with a plan to modify the original mounting plate, as it was way off.
After hours of trying, spacing, and grinding, we said to hell with it.
So, those of you who think some of this stuff is easier than pissing down hill, it simply isnt’ at times and I have run out of ADVIL, so gotta get it right in the next few days, else the show is a no go and, I am hoping to not only do long beach, but Seattle Washington too.
I have done a lot of work on this bike and still more to come, the back brake hub got my usual drilling and, I do this by hand with an electric drill, I know, I know, I can use modern stuff, but, for me, that’s not what it is about.

It is about having fun, creating your own bike, anyone can bang a button on a cnc these days and there you go, something perfect. I want to create stuff that my old Man and many peope did back in the day, in their garage with minimal tools, just have a go and see what it looks like, if you dont like it, do like I do, and sling it over next doors wall.

So my brake hub got well and truely drilled right up, came out pretty well dont ya think?

The rest of the bike will have all sorts of stuff and I am still thinking as I go along. I use Stainless allen head bolts and I polish each one by hand, takes some time but looks so much better.


Many of you email me about my detail and you are all having a go, thats so cool to hear from you lot and glad you too are having a riot building your rides out there in Cafe Racer Land.

To add some more different looks, I went for a Double chain and sprocket set up, I had tried these many moons ago and thought I would again.
I called my supplier about a double sprocket set up, and he sorted me a set out, to be honest , this is the best way to go if you have more power at the rear wheel.

But there is not much clearance and had to wangle it to get it to sit how I wanted, but it does look cool, shame I cannot get a chrome chain, I rang Azuza down the road, as they still make all the chains and they do not do chrome anymore, so this will just have to work until I find something else.
The rear shocks I fitted look great, these were an Original set of FOX shocks that were made for a CB750 back in 1973 and still have the recipts for them,. I took them apart and chromed the springs and painted the resevoir.

Looks so cool with them on and all period parts too.
.I am still trying to think of other idea’s and wil show you how I am getting on as I develop this machine and will take pictures as I go along.
Hope you lot are all enjoying the ride as I am, although at times it is like shoveling shit uphill.
The Rear sets I had are the italian set up, but I took them apart and got them chromed, as I want them to be a god contrast aginst the Copper flake paint and think this will really brighten the rear up.

I have polished an original Oil cooler Adapter I had kicking about in the Garage at home, I now need to look at what sort of cooler set up to use, as I don’t want to hinder the Yoshimura header pipes at all.

But at least I am making some headway and hope to try and get alot of parts mocked up and then cleaned, buffed and fitted, intime for the shows that are coming up way too fast for my liking. Remember, I have other customers bikes to get built too and all my parts and accessories to send out to you lot.
And you think Santa is busy right now?
Right, back once more, and things are slowly getting sorted out, this kit was really a bunch of crap bodged together, Lucky for me, chris managed to work out a few of the problems, without out his help, i would be up shit creek, I would of not only lost both my paddles, but the boat would of had a hole in it and a Sunami of shite would be fast approaching, so things really are now starting to take shape.
So, the brackets I had for mounting, all of them were not correct, we went and had one water cut and that is now so much better, we put the Supercharger back up on the new plate and things really seemed to pan out.
Now the long arduous task of polishing the brackets etc, trying to work out how to make the Belt tension-er as mine is missing, as well as making sure a cable will fit on the Bakalite slide thats inside the Supercharger, a lot to do, and if I have time, maybe some NOS, just to give it that added PUNCH.
If you buy an old kit off the internet, make sure it is for that bike, as mine had more wrong parts than an EDSEL.

This will save so much time in the long run and I will not go this route at all ever again.

Be easier to rig a New TURBO up to be honest and there you go, but time is ticking and now things have to start to change gear and get things to fit and hopefully make this look really like a mechanical Bull on Steroids.

To add to the spark, I have used a vintage ARD magneto, i had about 6 of them a while back and have kept 3 of the better ones, this will really give the spark something to be happy about and no need for Coils with a magneto etc.

Plus it will give the Status Quo to the engine, with 2 Belt driven units sitting opposite each other.
This will look so mad when you see it in person, I am sure you will be head scratching for a while.?

So, tomorrow I have some polishing to do as well and try and work out the guts of the Supercharger and make a tensioner for the belts, then once all done, add the polished parts and start to hook this beast back together, then add some cool H-T leads for the spark Plugs, and then i can start to do other things like maybe add some NOS with a bottle on the side, that should turn a few noggings eh?
So, keep watching as my KOPPA KAFE starts to transform into something unique and entertaining.
This has been quite a toughie project as many of the Supercharger parts did not fit, or, had the incorrect parts anyway, so I had to try and find stuff and lucky for me I did.
Anyway, time has gone on a little bit but, I am burning the candle at both ends, as for 2 days I had a stomach infection and was puking more chunks than a Pumpkin Smasher.
I am now fitting everything else up and today I made the front fender fit and sat that on the bike for final fit and am happy with it, the bobbed fender I sell looks great on the Koppa Kafe and I am sure you will like it too?

I made up braided hose Brake lines and then polished the master Cylinder, as the stock look was black, but had faded over the years, and i wanted all the Grey off and down to the Aluminum and it came out nice, and, not to get the paint work buggered, I fitted a new Master cylinder repair kit.
I wired the bike up about 50% today and still need to shorten all the wirtes in the switches and on the harness , so it will fit in the 1930’s Hot Rod headlight shell, a trying and cumbersome time of which i am sure you have all sweated about, and I am too.
I buffed the side covers and fitted them and they look as sharp as a tack, and am pleased at the outcome, Just hope i can get the tank to look cool as that was heaps of work to get the correct style and look.
I also made my own Speedo face and this time I am not running a tach, just a single Speedometer on the tree and am cutting some 1/4 inch 6061 Aluminum by hand for the bracket and then will hand polish it. Should look pretty trick?

I cut the ends off the old oil lines and made a set of braided steel ones up and boy does that tidy up the area?
Also I hooked up the brake system to the Italian rear sets and this is now looking the part.

The bike took me some time to plan out what it was going to resemble and I am stoked it came out how I really wanted it to.
The Gas tank took me some time to really get it how I wanted and I am now glad I kept going.

Some people ask me where the Supercharger came from, and I usually tell them it was from my Mums washing machine.

The KOPPA KAFE was a bike I had envisioned as a 15 year old kid and now it has become a reality, and just another page in my life of Cafe Racer motorcycle, and hopefully, many more chapters in that book for me to continue writing.
I used a Stock CB750 con rod I had laying about, drilled, bent and welded it, then chrome the thing and boy does it look Swanky on the bike. what ya reckon????

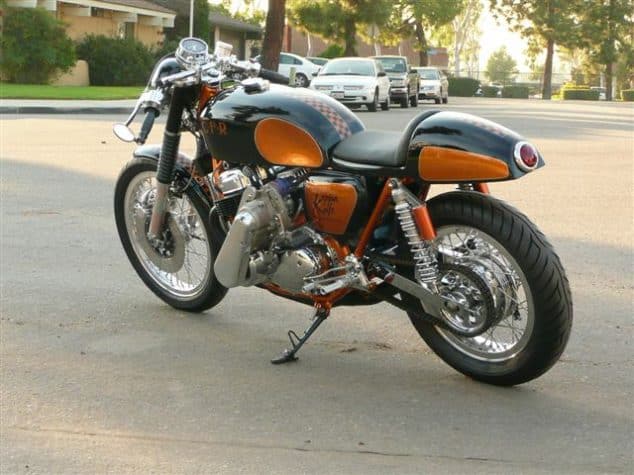
I have used up all my Yoshimura’s and now have New ones being made to look simular but of course, they are not Yoshi pipes, but my own Brand, called Ton Up performance.

And they turned out superb and just like the original ones with a removable baffle, hand bent pipes with open welds and high temp coated in Black.

A fun machine that now resides Down Under.
Thanks for looking.