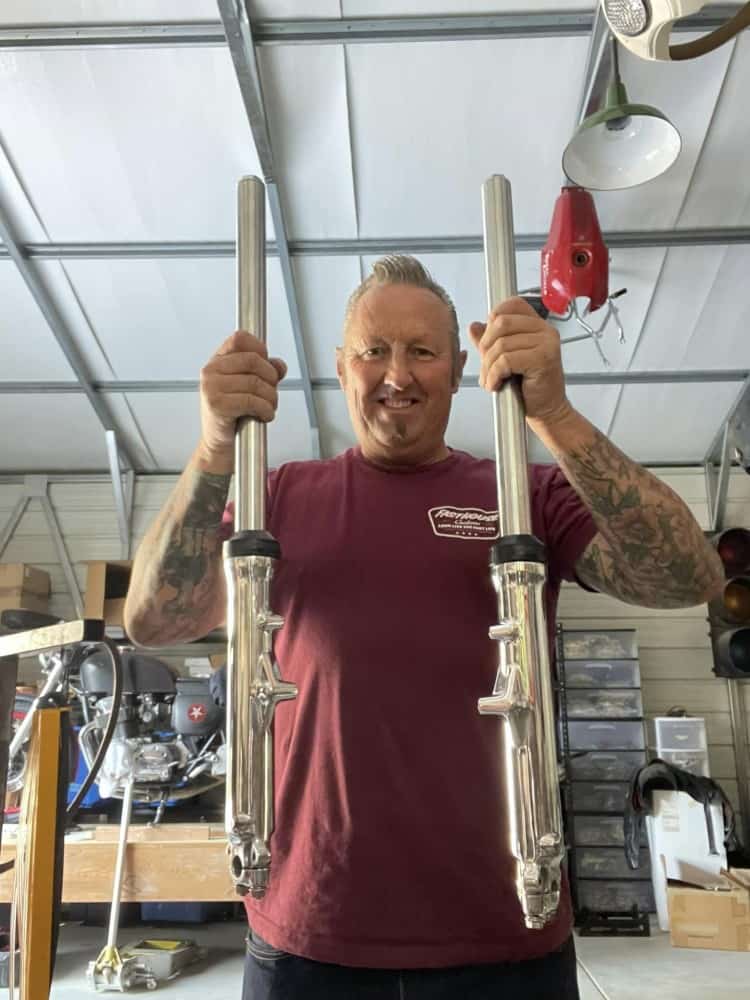
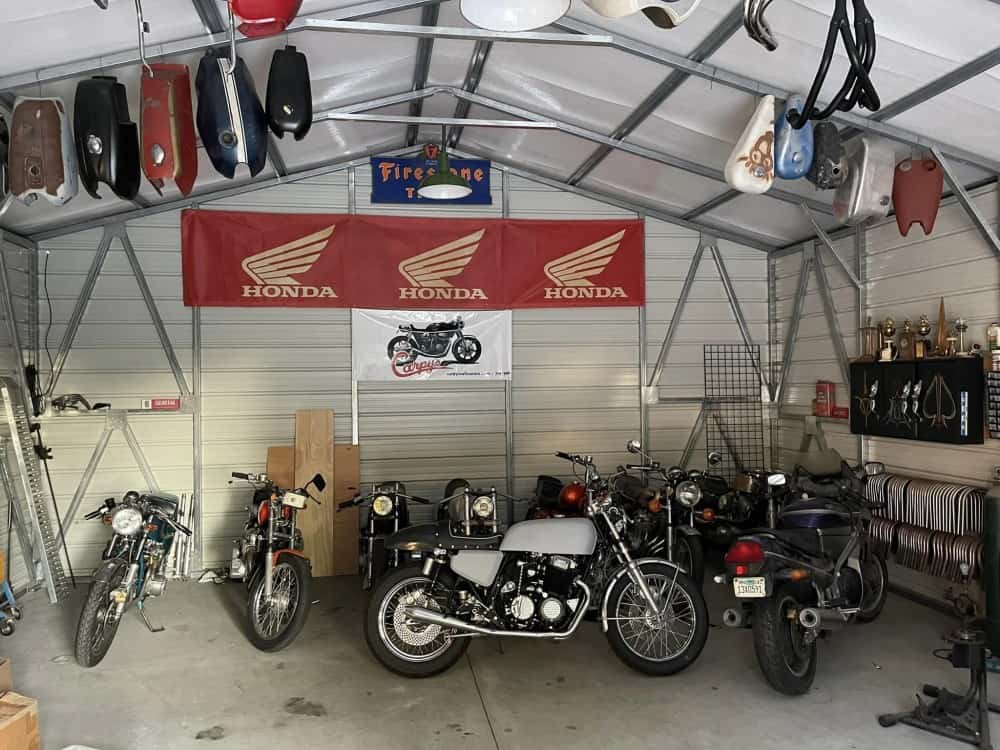
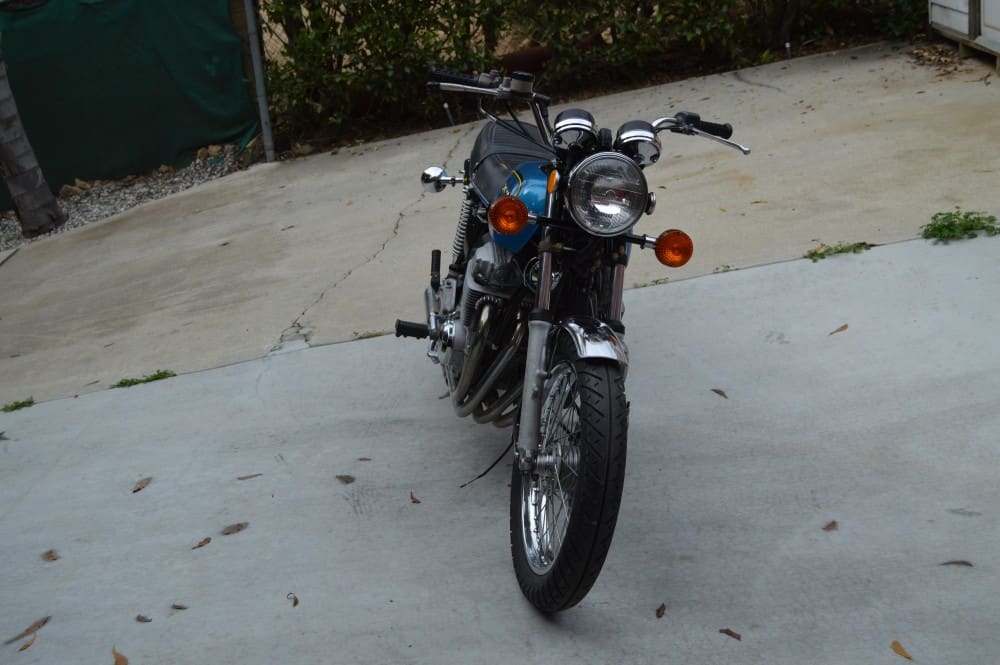
Rebuilding Old Set of CB750K forks 1974 HONDA

For many years I have rebuilt my own forks, and the transformation is so abundant, I wanted to share what I do in the Barn with you lot and maybe you can have a go at resurrecting your own set?

These tired front forks came off a 1974 CB750 K and Customer wanted Rebuilt and Polished suspension, so this is what I did to these old girls you see here.

The Lowers needed to be stripped apart and then sanded and cleaned then I will polish them to a Chrome finish for that Custom look, lucky Honda cast these quite thick so plenty of meat to polish by hand.

The upper tubes are toast, this is a common issue with the forks as originally Honda fitted fork covers and the  condensation in different heat simply left water droplets sit here and slowly rust the chrome away and into the tubing, you would not notice at all until you took the fork ears off the bike.

I have taken these apart and bought replacement Chrome tubes, then I sanded and buffed the lowers to a mirror finish, I covered in cling wrap to keep clean whilst I assemble these so as to not scratch the surface.

I slid the dampner into the fork tube and then inserted the upper tube into the lower stanchion, this is secure by a Bolt with a Copper washer right under the fork leg, secured with allen wrench and began the rest of the rebuild of these forks.

I have fitted so many of these Fork seals over the years and people always ask me, which way up do you fit these, I tell everybody that when you fit Honda seals, the ID Numbers should be facing you when you look at the seal seated in the fork lower.

Also, many people ask me how I fit my seals into forks, I have seen people use scary tools or hit with a screw driver, usually ending up tearing or making a hole in the seal, so what I have always used is a piece of PVC that I bought 20 years ago from Home Depot, this is the perfect size to insert oil seals .

I simply slide the PVC tubing down the fork leg until it sits on the seal, it fits perfectly and will not bind up as this makes sure that it is level when you tap the seal into the fork leg.

Personally, I use a Rubber Mallet and tap the tubing until I feel the seal bottom out on the inner shelf the fork has and then I know she is all the way home as you will feel the resistance right away and you can see the recess in the fork where the snap ring goes.

Some Honda’s have these snap rings, or as we call them in England ( Circlip ). But some early models had a spring clamp, but this is a snap ring that sits in the bottom of the cup of lower fork and secures the seal into the stanchion.

I use a set of Circlip Pliers but long nose pliers will do as you need to squeeze these together to slip into fork lower then release to lock seal in place.

I then slide the New Dust cap that I sell many off from the website, over the tube and down to the lower, it simply pushes on and sits tightly over the end of the fork and dresses it well.


There you go, nice and snug over the lower fork and easy to fit to be honest, and this job can be done pretty much by anyone with minimal tools.

I used New Stainless Lock Washers and Stainless Flange nuts for the bottom cups to finish them off nicely and its ready for Fork oil which is 5 ounces, I use Automatic Transmission fluid, always have and I throw in a couple of stainless washers on top of the spring to set the preload that I like.

And there you go, ready for the customer to fit back onto his Motorcycle and have fun on the tarmac, just thought I would do a little blog on what I do from time to time as many ask me for tips etc, thanks for watching.

The transformation is so cool to see, I often stop and look at what I have accomplished and you will do the same thing for sure.

So have a go at your ones, you may surprise yourself and save some money at the end of the day too.

Any info you may need about anything bike related, email me on carpy@carpyscaferacers.com or text me on 714-598-8392 I am here to help.


Thanksgiving Special on Exhausts, $100 OFF

Well, to celebrate Thanksgiving I thought that I would help you all out by reducing the Exhaust Price by $100. how cool is that?

Thank you all for supporting me, I value each and every one of you, these exhausts Perform and sound bloody awesome, making these over 20 years now and ship all around the globe.


Working on Projects in the Barn

Time does not stand still and I now have all sorts of work to do but glad that I still get many emails, Phone Calls and of course texts, asking about builds, parts, service or idea’s etc, I love what I do and even though I really have had not had the time to build cabinets and work benches , I have enough to get by and get a few projects sorted out.

A lot to do and still get some what organized in the Barn, I will move my Model A Roadster out and start to get myself in work mode as quite a few things I have to do in here and its sure nice after 22 years doing this, I am still popular with the Public all across the globe.

You may remember The Red Devil I created about 2006, it got in a wreck when we were out riding about 13 years ago, and now it is time to fully rebuild this Old Caff Machine that has done many miles over the years and to resurrect this to a Tarmac eating two wheeled Monster will be a challenge but I am up for it.

This will be a frame off build and will be taking the old girl completely apart and will remove the paint from the frame and powder coat a Gloss Black, but keep the rims RED as its a great offset for this bike and nobody was really doing it when I did this back in the day.  I’m keep the tank but need to repair it as it has some damage from the crash, there must of been 100 Yards of Oil on the road when she slid on her left side when a Pick Up truck slammed into it on a off ramp from the freeway right in front of me.  Poor lad had a bad leg for a long time but now, years later, he is looking forward to a revamped Red Devil Motorcycle.

But I am looking forward to turning a few wrenches and creating some unique rides, the RED Devil will take some time But I have the Super Sport to finish next and then once I am happy with that, I shall offer it up for sale.

The Milwaukie Special will get a Full RED and White Paint job and will be quite the head turner, with great 4 into 2 exhausts and a fully rebuilt motor, this will scoot along quite happily, anywhere around the USA, as its had tons of work done, from the painted frame to the hand drilled rotors, this is quite a work of art that I really enjoyed creating.

All sorts of motorcycles in the shop now and of course the Mint 550 Supersport is always a lovely sight for sore eyes, as well as the 883 Sportster I am building too that will eventually buzz around here on the twisting roads that we are lucky to have we we live.

A Lot of 750 Bikes too in the stable with more to come, I hope to be creating a few cool rides and then offer them up for sale, I love building Motorcycles and am quite happy when I get to use my creative juices and try and build something interesting.

It will be a busy year here at the workshop and looking forward to building these and making some interesting inline four Custom bikes for people to really have fun with.

This old Girl is an old Drag bike that was built in the mid 1970’s, but may be transplanting it into the RED Devil if the Mill is OK as have no idea if she will run, but this is no ordinary engine, this is a RC COBRA Engine, with extended Cam towers and an RC Engineering Exhaust, along with an ARD Magneto and a set of smooth Bore Mikunis.  So before I get too crazy in stripping this old bike, I will need to get her going, this is a long term build but I hope I can get her to run again.


The WILDCAT CB750 HONDA FOUR

You would seem it strange to have forgotten about a Motorcycle I had built for a Customer, but as I have created so many machines over the years, I guess I do get a bit of a Brain Block sometimes, it was not until I was flicking through some photos that I noticed this CB750K Model Honda Four  Motorcycle that I did my surgery on and turned it into what he wanted, a real Wildcat.

It was a Shiny Chopper-ish style machine that my Client had owned for a long time, but wanted a change and Loved the Cafe Style Bikes that were hitting the tarmac around where he lived, so my job was to transform this cruiser into something more Racer Looking.

The Rims were stock but I wanted to add a Fatter rear end with some nice Rubber on the Rims and also give it some color to stand out right away, you cannot miss the Gumball Red, it is so striking.

I used Polished stainless spokes and Polished both hubs, as well as hand drilled the rear brake hub to give it that Road Race styling, it gets rid of the heat from braking, Dust from the shoes and cools the brakes when running along the tarmac etc.

New adjusters, Brake Rod and actuator arm, make this machine brake like a New bike and it sure looks clean now, a lot of attention to detail that I am known for.

New Rear sprocket and chain finished off the rear end but I think I want the rear end to sit a little higher, so them shocks will have to go for longer versions.

Longer Chrome rear shocks made all the difference in the ride height and the response when cornering, I am glad that I went this way, I also machined some 6061 and milled a Finned Stabilizer Bar to give that more Custom look, rather than the Flat Bar Honda uses.

I made a nice Bump Stop leather Racing seat unit for this bike, that still allows the seat lock and hinges to be used, that way you can get to your tool box and documents easily, the Motor got a once over and then I removed the stator cover, sprocket cover, Trams cover off and polished to a chrome finish.

The Customer worked at the Zoo with the Tigers etc, hence the title of the bike Wild Cat and that’s what he dug, so we applied that in a Gray color to the Petrol Tank.

I took the Gas tank off and hammered the sides to make my Classic Knee inserts, reminiscent of the old racers back in the day, making it easier to tuck your knees in and get more tighter on the bike and be a bit more aerodynamic as it were. Smoothed out and painted a Gloss Black, also applied my Checker Decal Kit then pinstriped the edges and ran a line around the knee inserts to finish them off, ready for Clear coat now.

New Gas cap and Lock to finish the tank off nicely, I do prefer the stock gas tanks, so this mod I do really makes this look like a factory item.

The Customer didn’t want rear sets, I would of preferred them but its personal choice and I have long legs – so need to have rear sets on my builds, but this looks pretty darn cool now its all back together and can run under its own power once more.

She is sporting my 4 into 1 Yoshimura style Performance Exhaust system and the inline Four Motor now breathes so much easier and sounds awesome with a Velvet Tone out of the tailpipe.

I cut the old fender down as it had some dings in it, rebuilt the front brake and added New Hose lines to it as I wanted this to stop on a Dime, well- maybe a Dollar Bill.

Sitting in all her Glory- The Wildcat runs hard and strong and boy is it fun in the twisties, as you can see I added my Signature Clubman handlebars, for that low stance.

I always enjoy creating these Motorcycles and the owners are always super stoked when they take them out for a spin for the first time, there is a lot of detail here and I offer the parts on my website if you want to build your own version.

A fun Machines that will give you many miles of smiles this bike sat right and really handled well when you gave it some beans in the corners, super proud of this one.

This has rebuilt front forks, New side covers, custom Turn Signals, New bars, new controls, new throttle cables and levers with new cables, plus New GT grips, rebuilt Carbs and Custom Bellmouth Velocity stacks.

Look at how well the bike sits has a New TriBar headlight, new fork gators and New ignition too, The seat I upholstered and used High density foam so you have a comfortable ride.

Thanks for reading this and hope that you like what I have dome to this old inline Four CB750 Honda, these are brilliant bikes and phenomenal engines.

I hope to post more creations that I have completed and share with you lot on here, love hearing all the positive feedback, thanks very much indeed and let me know if I can help you with your build.

Building an Inline Four Project out of bits and parts laying about.

Well, I still have not made my mind up how I am going in the design part of this ride, I thought I would use my phone and record a few sessions as I continue creating a machine that I personally like and want to use and I am sure that it will go through a few guises before I get on the right track, although that’s half the fun of it.

So here are a few videos I have cobbled together and hopefully you will like what I am trying to achieve, remember, Rome was not built in 7 days.

Inline Four build out of scattered parts around the Barn Part 3

Here is Part three of the video that I have just done, still no idea where this build will go, and if it will stay the same guys, thats the fun of creating something.


So follow me along the way and see what happens, some good stuff and I am sure some bad but I hope I at least entertained your time on your screen and maybe gave you a little insperation too?

Fiddling about in the Barn.

Well, I am sure that you lot must have some parts tucked away somewhere?  With…. “ I will get to it later” Tag attached to it, and I am no different.  I have an old depressed 1974 CB750 Frame that has been sitting around and needs to be given a New life, so- I thought that I would look about my place and see if I can at least mock something up, no idea how it will go, I may change the design a few times but, people ask me what I do at home and I thought that this would be the perfect opportunity to share with you lot out there what I do in the Barn.

So, I thought I would just use my iPhone as chat as I try and do a few things to this old frame that I have, sorry if it gets a little boring but you can fast forward if you doze off.

Click the videos below to see what I usually get up to in my abode.

Fitted one of my Exhausts to a 750 that hasn’t run in 8 years or so

People ask me about my exhausts all the time, I have had many repeat customers over the 22 years here and just happened to come across this 750F that a Customer bought to me on a trailer and has sat for 8 years, it was a mess and other people could not get it to run , so as the exhaust and motor were in much needed attention, I gave it a shot and she cleaned up pretty good, thought I would share it.

It wasn’t a show bike, just a run around machine that was in bad shape, I spent a weekend and got the motor looking nice, used one of my Yoshimura style 4 into 1 Performance exhaust systems and wrapped the headers with DEI Black 2″ wrap and boy was this a fun ride now, she was a little cold from the get go, not surprised as it hadn’t run in 8 years but, with rebuilt carbs, new gas, chain, exhaust , speedo and even brake lines, this old inline four breathed new life and to be honest, I wouldn’t of minded keeping this as a parts getter, as it was a blast to ride.

I also added a hoop for the Customer, his Original seat was rotted beyond recognition, so made him a seat assembly and upholstered with Diamond Stitching, I used memory foam and it was really comfortable.

I used my rear Custom License plate Holder that has a Model A Ford tail light attached and was an LED version, so nice and bright to get you noticed when you are applying the brakes.

This old Supersport has no turn signals, they were lost many moons ago and ugly as hell anyway, I sell a lot of these Brushed Aluminum 12v Signals and these were just the ticket for this build, you will also notice I made a new Braided  Stainless Steel rear brake line as the original one had rotted out and the Caliper had seized up. The tires were totally rotted out, so fitted my Favorite Bridgestone brand, these look great and handle so well, sits the bike up nicely too.

I also Added a New RED 530 DID chain, this was a good Combination, have always liked Black and red and with New sprockets and the old ugly 630 chain and sprockets removed, this was a smooth ride, no binding noise you get from old chains etc.

The Original headlight was broken beyond repair, so used my own Custom Chrome 7 inch set up that has LED turn signals inside the lens, cleaning the front end up as you may remember, 1977-1978 F models had huge Turn signals that jutted out like elephant ears, you may also notice that I fitted New Aluminum Levers on handlebars, New grips and new cables.

I added a set of 2.5 Mini Gauges, these are calibrated for the 750 and clean the whole top end of the triple tree up, his Originals were missing, so these were a great choice and I think suite the bike well, not cluttered like many you see on the road.

This 78F has the Double Disc front end, which is something Honda should of created on the earlier models, but I had to make new lines for it, went ahead and made some braided steel ones up, took a long time to bleed but it stops on a dime now. The old Master Cylinder was totally rotted away, so I fitted a larger Kawasaki version to allow for the double disc as it needs more fluid and that worked out really well.

I made some New side covers as the original ones that were fitted were so brittle and cracked, these are Urethane and will last for another 40 years, I replaced the Original shocks as there was no rebound left and these are just the ticket and look like original 70’s ones but made with todays materials. The Motor was Black being a 78 F, but in need of some love, so cleaned the motor with degreaser and painted high temp wrinkle that I have made and it came out nice, added Pod filters to the rebuilt carbs and the Front fender was dented on the front and rear, so I cut the Old stays off and shortened the mudguard to give it that Sporty look.

All in all, this non runner Classic has been resurrected  to a fun Bar Hopper machine and pulls quite hard too, still needs paint and a bit of chrome but this sure was a fun bike to ride, I really enjoyed it. The Original Carbs were the keyhole version, they are fine when working but they were toast, so, I always fit earlier intakes, Cables and carbs to the 77-78 SOHC Motors as you can remove the float bowls with the carbs still on the bike, also the choke is a lever on the side, not the ugly cable that goes up in between the gauges, runs smooth now too.

Here is a Video of a little try out in my area to see how the carbs are dialed as this was the first real time on a major road, I loved this bike as it had linear power, have a look and see what you think.

Making a Motorcycle Work Bench from Scraps of Timber

Some of you may know that we have had a Barn built now for my New workshop, and as you know, materials for building have literally gone through the roof- So I thought that whilst we are refurbishing the California Ranch house, I will try and repurpose some of the timber that we ripped out of the ceiling in the kitchen.

The timber is old but solid and of course, ceiling truss material is 9 inches deep, so, instead of sending the old timber that’s in a pile outside, to the tip- What better way than to give that wood a new lease of life and of course, help me out along the way too.  So, I decided to use some of the scraps of timber laying about and see if I have enough to make myself a Motorcycle table/Workbench, as I like using timber and even the Harbor freight tables are $599 and last a couple of years.

Once I pulled some of the old Plater Board off the timber, then spent a bit of time removing the old nails that were in all the timber etc., I then cut the bad pieces off and see what I had, I figured that I would have just enough to assemble an 8 feet work bench for building or servicing Motorcycles and wanted it to be heavy enough to with stand a bit of hammering ad of course welding too.  And I am sure there are many of of you out there like me, that like to repurpose stuff, save your cash for other more important things in life, and feel a little proud of the fact that you made something out of just trash.

You decide what you want to make and then just get on with it, I had no real plan, just a few measurements, I measure the longest bike I have and said well lets say from tire to tire its 7 feet, so an 8 feet table will be just about right for securing a two wheeled machine of up to 800 pounds on this construction.  But, even though its waste material, I want it to be level as there is nothing worse than a wonky table right?

This timber is so thick I am super stoked that I could make use of the materials that were Original part of the Ceiling of the house, so I started to cut and then screw these pieces together and knew that this was going to be a cool set up for what I need here at the Barn.

To say the work bench is sturdy is very much an understatement, I wanted to make sure that this will last for many years, build it right from the get go and you will have something that will last probably your lifetime if done well. I cross braces the bench using the rest of the Rood truss material and this is now super rigid and I will have no issues mounting a motorcycle atop this set upo.

I used 3.5 inch screws to get into the timber with some bite, this thing isn’t going anywhere and am happy with the way it is looking, the work bench will be invaluable for me and so stoked to be able to use up some scrap material that was going to the dump anyway.

I also used some thick MDF I had laying about from old storage racks and that sits across the subframe, giving a sturdy platform and will allow me to use some old wood sheeting that was an off cut. I am lucky to have a chop saw and a table saw, as well as battery screw guns, but this was quick a quick build and I must admit, very therapeutic for me as I enjoying making stuff. Better make sure you have a Vacuum cleaner too as more dust than the Sahara desert that’s for sure.

I did have 5 tables at one point when I had the big shop, but they do take up a lot of space and had them in storage for ages, there is something about making your own workbench though and I will use it all the time, and if I don’t need to, then I can push it over to my racking area and still have room for my Hot Rod to be parked inside so I can do some wrenching on that as well. Of course, I have a long way to go on fitting out my workshop and the fun is taking your time and putting stuff up then maybe changing it if it doesn’t work how you want it, the good thing of now having your own workshop is there is no Landlord breathing down your neck.

As you can see, with an off cut of 1/2 inch Ply on top of the table, it really finishes it off, I have also fitted a Bump Stop on the end of the table for the wheel chock to sit up against tightly.

I shall clean this up as its been sat in the shed, then I shall secure this to the bench using some Coach bolts and a nut and washer underneath as I need this to be really secure, as when I run a Motorcycle up onto the table and into the chock, I need the wheel chock to hold the front end of the bike tightly, so these ones have holes in the legs and that means I can secure it to the platform.

Ready for Bolting down and you can see I have a strong bump Stop right on the end of the table, I will also use some Long Eye Bolts to fit to the sides of the Table, that means I can tie down the handlebars for even more Security when I am out of the workshop.

I am sure I will clean her up after everything is bolted down etc and not sure what I may add but as you can see, this is a super strong Motorcycle table and I simply use my Ramp to run the bike up and into the chock, then simply take ramp off and hang that up. No cost really at all, this heavy set up will last as long as Noah’s Ark I think.

Super stoked to pull a Bike ramp out and Jenn gave me a hand and we loaded this project machine up on the work bench, it was great, sturdy and easy to put up there, the wheel chock holds it in place but I still need to add some hardware to be able to tie the front end down on case we have an earthquake etc.

As you can see, there is plenty of room behind the bike and a CB750 it 7 feet from tire to tire, and I am pleased I created an 8 foot work table so I can weld or grind and get some parts prototyped up at my own leisure.

This bike may take on a few guises until I am happy as to how I want it, thats the fun of doing your own stuff, but now I have a solid table, I feel much better when I have to belt away at a gas tank, as the metal tables you see, tend to flex about too much.

The other thing with this set up is I have the height where I want it, if I need to sit and do wiring, I can use a mechanics stool, I will finish the tie downs this week and maybe later I might paint it but right now I am happy how it is and hope you lot dig it too?

I have plenty to do on this project and a few Customers want me to create their builds, so I have every confidence in my work bench, way stronger than that Chinese crap that you see advertised out there.

I have much to do in the barn and more things to make, hang up or secure to the beams or the walls etc, but- when you get surplus second hand timber, well, you have to use it right away right?

Maybe it will inspire you to get in the Shed, Barn, garage and bung some scraps of wood together, its fun building stuff and even more when it doesn’t cost you anything.

Thanks for taking an interest in what I do, I love my job and enjoy building Motorcycles, servicing and of course, making new parts for these old Bone Shakers.

I will keep you posted as to how this Motorcycle and of course, any others that I work on in the Barn, I get many emails asking for pics of what I am up to, so now I can stop, take a pic and post it, that’s what’s fun about being your own boss. I have my Courier bike to finish too, so plenty of Irons in the Fire, so stay tuned……………….


CB500 Honda by Duke Motorcycles

When tackling a custom build, there are a wide variety of approaches available to the craftsman. From extravagant to austere, there is no right way to create art. In the case of the Duke Motorcycles Honda CB500 Four Café Racer, Frenchman Lionel Duke chose to keep it clean, building a chassis around a classic 1970s inline-4 powerplant.

Although the powerplant is easily recognizable as an air-cooled four-cylinder Honda, most people would expect the more iconic CB400 or CB750 Fours in a café racer. Instead, Duke went with the less-heralded middle child. That, of course, is hardly the point of the build, and the motor was kept relatively stock. Instead, the Duke Motorcycles Honda CB500 Four Café Racer is all about minimalism and a striking chassis.

To give the build undisputed café racer credibility, the Duke CB500 gets thoroughly modern suspension. Despite being painted white, that is an inverted Öhlins fork, a Ducati Panigale single-sided swingarm, and an Öhlins piggyback-reservoir shock. Matching the suspension is high-performance Brembo braking, while Bonamici Racing provided footrests from Central Italy. Retromod, indeed.

Above the chassis is an aluminum tank/seat/tail unit. “It was realized by hand,” Duke says. “I wanted to keep the proportion of the tank and form of the original so that one recognizes the CB500.” The tank also houses a retro-modern Motogadget MST Speedster analog/digital speedometer.

The tank is adorned with a #7, as is the headlight and the aluminum front fender. “I engraved the front with a 7 to recall the decoration of the tank,” Duke explains, “the 7 being the symbolic figure that represents the purity. It seemed to me that was connected to the bike.”

Furthering the purity theme, the motorcycle is overwhelmingly white. “The color white, pure white, it’s something that I wanted to do for a long time,” Duke reveals, “a completely white motorcycle with decoration that I made in 18-carat gold leaf.”

For the rear bodywork, I wanted it to be very short to free the rear wheel and give it a racing side.” The seat is covered in Alcantara, which has a microfiber pile that recalls suede. Nice-based NMB Design was responsible for building the seat.


Throughout the motorcycle are decorative and functional cables. “Stainless steel cables through the length of the bike give it a luxury side,” Duke says, “and a finesse to this preparation.”


Four Keihin carburetors are retained to feed the Honda motor, with the velocity stack intakes made in the Mediterranean coastal town of Toulon by USVRacing. The engine was fully restored by Duke Motorcycles for optimum performance and reliability, with the unique touch of a CNC Racing hydraulic clutch from Arezzo, Italy.

While the exhaust retains the four-into-four architecture, there is a substantial twist. Unmuffled, two pipes exit under the seat and another short pair peak out on the right side—both a nod to modern MotoGP designs and made from stainless steel. Speaking of MotoGP, the Duke CB500 sports Michelin Power Slick Evo racing tires.


The Duke Motorcycles Honda CB500 Four Café Racer is a long-time coming in more ways than one. Getting his start customizing a Honda Dax (CT70/Trail 70 in the US), Duke has built dozens of custom motorcycles in preparation for this outstanding result.


Working alone in his Tourrettes-sur-Loup shop 17 miles east of Nice, Duke has spent 700 hours on this motorcycle. “It is a personal project that I wanted deliberately different from what we can see,” he says, “a project that looks like me and that highlights my style and all the methods of work that I use.”

“I have been passionate about motorcycles since the youngest age,” Duke says, “but especially of design and manual construction. I studied mechanics, bodywork, and painting, which really helps me in my work. I’m crazy about music, and design in general. I have a passion for watches, architecture, and supercars.”


Often, builders have twinges of regrets and second-guessing when they are done with their builds. That’s not the case with Duke and his CB500 Four Café Racer. “There is not really a thing that I would change,” he asserts. “It is really as I wanted it, and when I finish a bike, I think about the next one and do not think to modify what is already done. I tried to bring the French touch and maximum finesse of work to create this bike.” An indicator of that French touch is a French flag embedded in the tank, under a screen between two stainless steel cables.

One reason Duke is satisfied with the CB500 Four Café Racer is that he built it for himself, rather than a customer. “With a client, it is a little different,” Duke explains. “I advise him, and I listen to what he wants. When I make a bike for me, I take the opportunity to do new things, show what I am able to do. With a client, we create a thing for two. The difficulty is that clients do not often project themselves. They often want copies seen on the Internet.”


Undoubtedly, the Duke Motorcycles Honda CB500 Four Café Racer meets Lionel Duke’s standards for individuality. Likely, though, this striking white motorcycle will have clients of other builders pointing to it for inspiration.

Located between Cannes and Monaco, Duke cane supply you with parts to create something of your taste or a complete build for you to ride home on.


Photography by Julius Designs