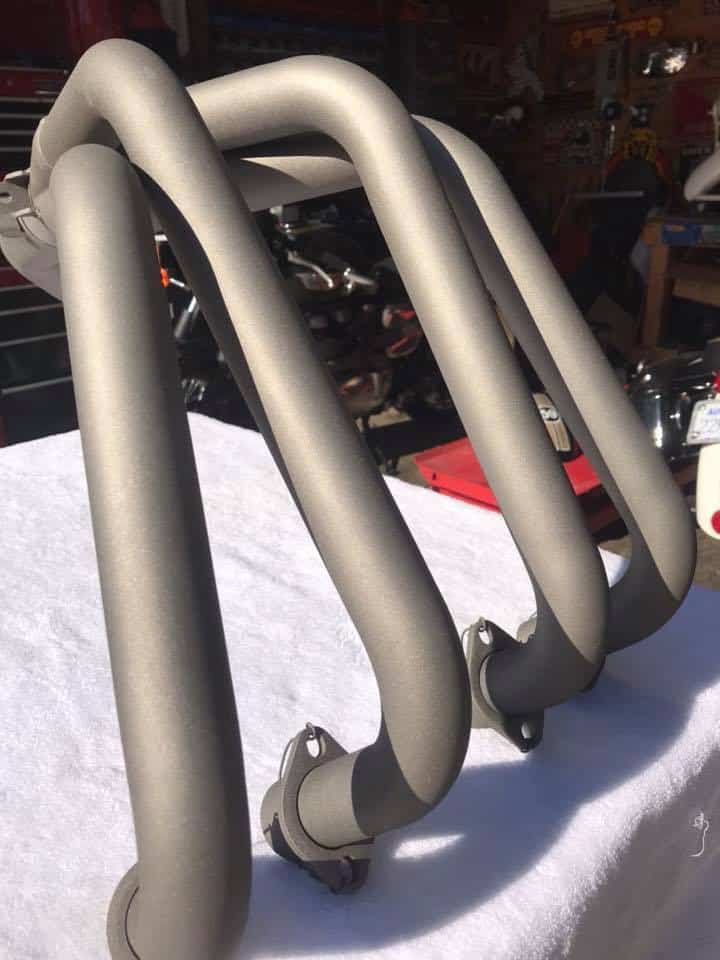
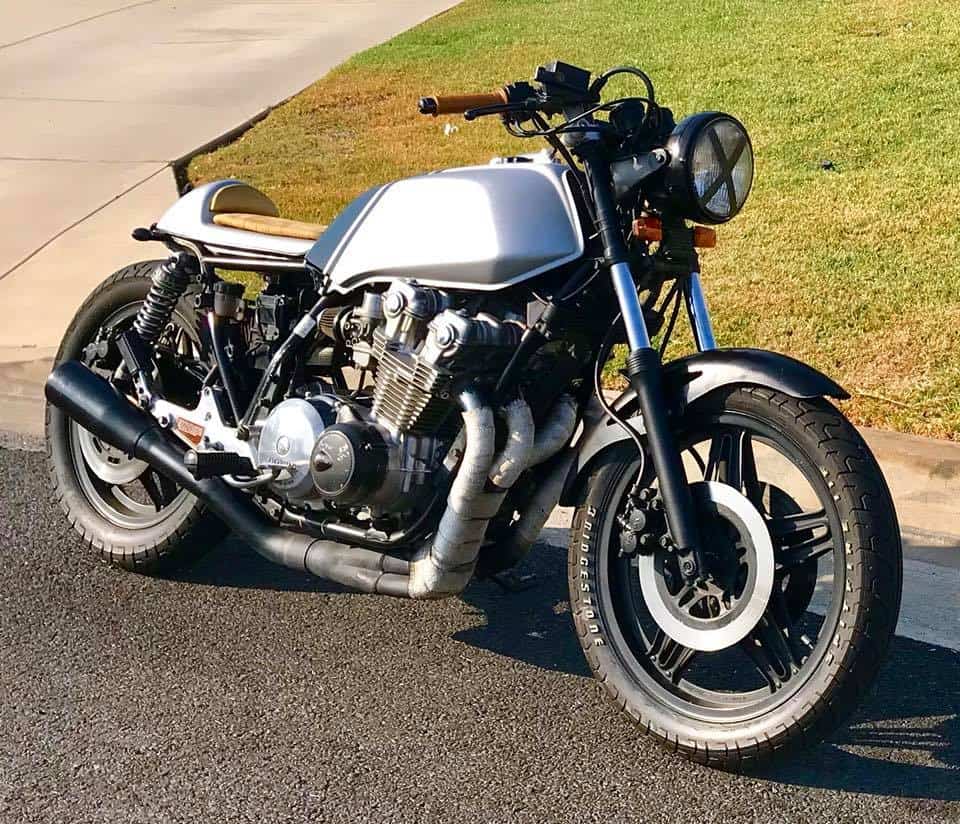
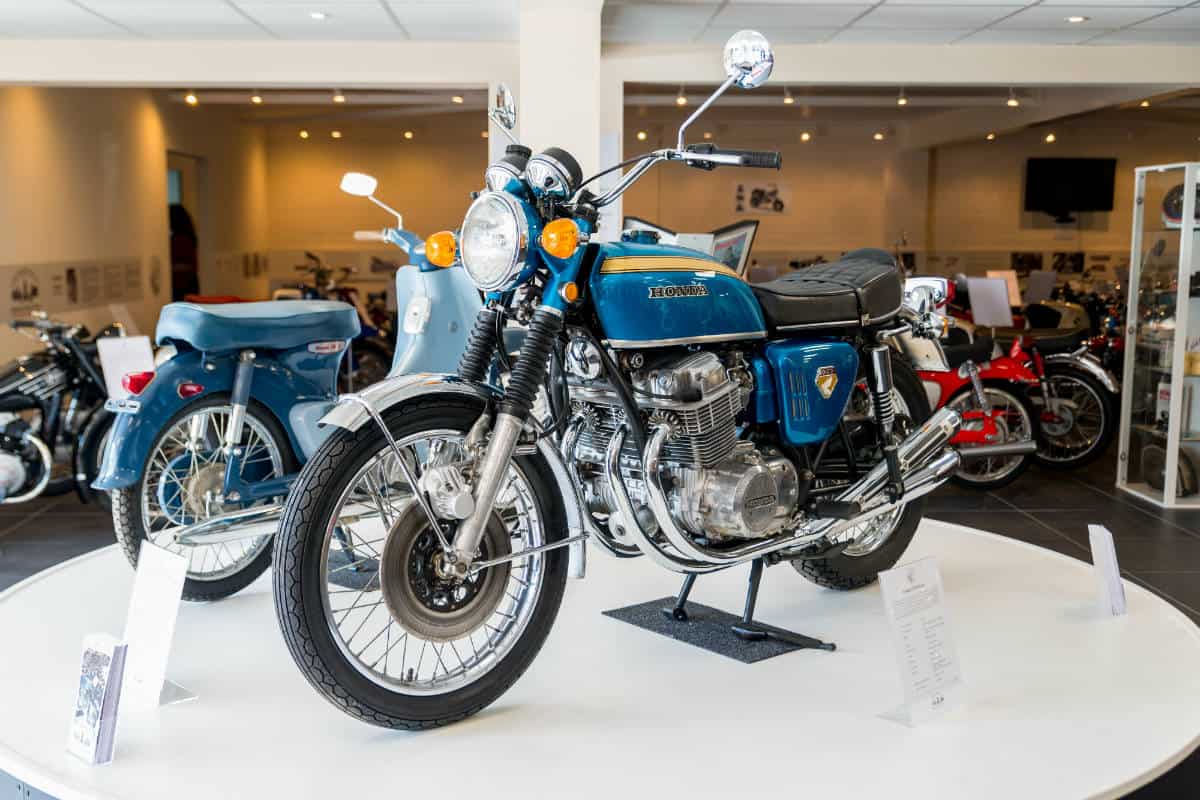
The time is flying her in Southern California, I am so busy right now, mostly with exhausts and making other parts for our beloved Machines, etc and I really appreciate you supporting me in these times that we are in right now.Volume is a little quiet but just wanted to say hello to ALL you out there.
Tag Archives: dohc
A CB500 Honda with a Tough Attitude
I sometimes have to kick myself to remind me that I have created all these Custom Motorcycles sometimes, its amazing that I still have a fluid creativity when it comes to two wheeled powered machines and the next bike i want to show you is a great stealthy bike that I sometimes wish I had kept.
I dont have the best pics of this machine as I had a shitty camera, but at least I got some pics that you can make out what I did to this old 1972 CB500 Machine. It needed a lot of work and was a non runner and missing a lot of parts but I was sure I could build something fun and affordable with what I had as spare bits and bobs scattered around the garage.
The old girl needed some help and I used what I could with parts I had around my garage, this was many years ago now and I had a few 750 parts in the rafters, so thought I may as well use some of them and see how this goes, but nothing ventured, nothing gained is my saying and it was fun to piece this little 4 banger back together, of course in bigger clothes than it had stock, but thats what I liked about this challenge.
The Motor kicked over, so I cleaned up the carbs and she ran quite well, so I thought that I may as well have some fun on a budget and see what I can create in a short amount of time. The engine was really responsive to be honest and as I had a 48 Tooth CB750 sprocket on the back, I knew she would boogie along as soon as the flag dropped.
I had an old beaten up 1982 CB750F Gas tank that had seen better days, so I cut out the flap and gas tank lock and welded it closed, drilled a 2 inch hole and fitted a Monza Style Aluminum Gas cap and then set about and hand hammered the tank for that old Manx look, I was pleasantly surprised at the outcome of this big old tank.
I Polished the forks and rebuilt the internals, then laced some 750 rims up and drilled the front brake rotor as well as rebuilding and polishing the front brake caliper too.
Braided hoses on the brake made sure this puppy would stop when you grabbed a handful of Anchor, I pressed out the Curved license plate as I wanted the old school British look.
Like I said, a mish mash of parts but cost nothing to put together to be honest and this was almost 20 years ago now too, time sure does fly when you are having some fun with Motorcycle parts.
I used a Harley 16 New rim for the rear and Shod both rims with Bridgestone tires as I like the handling of those boots. The rear seat tail piece is off an old Kawazaki Z1 race bike.
I used the stock shocks and swing arm to save some money and had an old Mac system that I never used and was sat up in the rafters, so I threw that on and it sounded ok with a shortened baffle and rejetted Carbs.
The clubman handle bars and the long tank, gave for a fun lay down cafe feel to it and was a blast to ride, it had a taller rear sprocket, so it got out of the gate real quick.
Even all them years ago, I was using Oil pressure gauges as its a quick way to make sure your heart beat is pumping in the motor, had to make an extension pipe to be able to connect under finned cover.
She sits nice and high for a 500 and boy was it snappy off the line, the first three gears and you were almost at 80 mph, what a fun machine to blap about town on.
Hazy pic but glad I still had some images left of this old 500 Honda and hope you like it too?
I sold it to a guy in Pasadena who then phones me to say a car ran over it and dragged down the road for a few blocks, it no longer exists, big shame as it was a great little Bar hopper Cafe Machine.
Wishing you all a Very merry Christmas from Southern California
Well, here we are, almost the big day, this year flew past and to be honest, I am looking forward to a fresh start in 2020, had a tough year with life in general, as my Girls mom passed away, things have been quite stressful in life generally and even though I have been busy, it is always good to start a New Year off and with a Bang.
I am super happy with All my Customers, thank you all for supporting me and using my parts to get your machine back together, especially all the Custom builders, as I have seen a real turn in the Motorcycle industry, and the reason for that is because of you lot.
It is you that have taken many months to design and create your unique ride, our “Sub Culture” has been recognized by the big guns in the motorcycle industry and even Ducati and Harley have a Cafe Racer, as well as Kawasaki, who would of thought that? I am super stoked to see peoples machines hitting the tarmac for the first time, I am hoping to maybe feature some of your builds if you can send me a detailed build list, where you are from and some great back ground shots of your masterpiece sitting in the middle of the photo.
It is an exciting time for us all in the Custom world and many more people have taken notice and you see lots more cool machines on the road thanks to you lot and i want to take this oppertunity to wish each and everyone of you a very Merry Christmas, this next year will be a fun one, I can feel it in my bones.
Thank you so much for thinking of me when you come to need parts or apparel and look forward to seeing some of your Motorcycles in 2020.
MERRY CHRISTMAS TO YOU ALL.
Steel Hand Bent Hoops for your frame
Happy Friday and hope that this Blog finds you well, happy and ready to tackle fitting a hoop to your frame .
I have been manufacturing these hoops for about 6 years now and sold over 500 of these flat ones and I also offer a 22 degree Kick up version too, these are for the Honda CB750 SOHC but will fit the CB500 right up to the DOHC cb750 frames, look on my parts pages and you will see both style of frame hoops.
Real easy to do too, simply cut off where you want the frame shortened but allowing for the length of hoop you require, cut frame tubes off and then hog inside of tubing to allow for my inserts to fit, then lay the hoop flush against the frame and determine how long or short you want the hoop, I make them 12 inches long to allow many different choices to cut off.
Cut hoop to required size and simply tap onto the insert until it butt joins, then simply weld the seam and for me I usually drill a small hole other side of the frame so I can see the insert and then spot weld that, and you are done.
I did it to this bike that I purchased from the Vesco family and the hoop suited this 1974 CB750K and was so easy to fit and weld up .
I chose to weld the tail light and license plate assembly to the back of the hoop for a more Custom look and clean the rear end up and have no clutter.
Looking good now and I am glad that I went this route on the bike, it was a fun build that I created at home in my garage.
The frame is more rigid than it was stock with the hoop welded in place and give the chassis a more refined look I think.
I was super pleased at the speed I could create this Custom Honda 750 and many people comment on this special build that I did for the OG show in LA earlier in the year.
I actually drilled a hole on the tubing to allow me to feed the wires of the light into the frame and come out on the side rails near to the harness, so a neater, cleaner look all around.
I enjoy using these frame hoops and there are 2 style to choose from and by me, not some oversea’s nasty stuff that you see on ebay etc, that is not made by Motorcycle enthusiasts.
So there you go, if you need frame hoops for your project, you know where to go now, these work great and designed by me right here in Southern California. Thanks for looking.
I also ship same day and Globally too, all of them come with a pair of inserts too.
New Ceramic Coating Colors for the exhausts now available
Wow- hard to believe that I have been selling these systems for over 18 years now and still going strong, so this time I thought that I would offer a new Ceramic Coating Color, as many people ask me about these things.
So what I now offer is the New Titanium Coating and it looks really cool, its a Gray but a metallic gray and really covers well.
Here’s how they work—Ceramic Coatings and Exhaust Wraps help contain the gaseous heat within your exhaust pipes. This causes the gasses to heat up and expand. Since the exhaust gas is trapped within the system, it expands the only direction it can—out of the tailpipe. As a result, exhaust flow is boosted, allowing a rush of fresh air to enter the engine’s cylinders, increasing horsepower. Both ceramic coated headers and Exhaust Wraps improve horsepower, so let’s go over their pros and cons and see which one is best for you.
Ceramic Coated Exhaust Parts
This is a spray-on finish that’s infused with heat-insulating ceramics. It is not a DIY solution, these exhaust parts are coated at the factory, or sent to a facility with the proper equipment.
Pros
-
- Provides the biggest horsepower gains when compared to other exhaust insulation methods
- Reduces under-hood temperatures better than other types of exhaust insulation
- The ceramic coating is applied evenly on both the inside and outside of the exhaust pipes, preventing “hot spots” that can cause metal fatigue
- Improves the laminar flow of your exhaust gasses
- Prevents rust and corrosion of the ceramic coated parts
- Looks great—some coatings resemble chrome plating.
Plenty of great colors now available and I offer.
The New Titanium which is what you see here.
This is a great look and changes the look of your machine instantly than just the Black you see. But I also offer these colors too.
Black- Silver- Burnt Bronze, with more options coming soon.
Wanted to show the New Titanium as this is a old school look and I really like the way these came out to be honest.
Just go on the exhaust page and on the drop down box, simply choose the color that you would prefer for your system, its as easy as that.
If I can help you with any of these options you can simply email me at carpy@carpyscaferacers.com or drop a Dime in the slot at 714-598-8392 and if you need answers fast, then Text them to 714-598-8392 and I will get right back to you.
Service today on 1981 DOHC HONDA CB750F
Well the weekend is almost here, people want to sling their leg over their steed and head out on the tarmac and enjoy the Summer weather, so I have had plenty of Service work to do as of late, this morning I had this DOHC Brat turn up needing a little help.
It needs a New exhaust system and something I can help him with later on but right now it just needs the fluids changed, New plugs and Filters, Cables Lubed and chain oiled and set as well as checking tire pressures etc.
These bike is not fun when trying to just remove the spark plugs as the 2 center plugs are sat in low and the Gas tank and sat have to be removed to be able to gain access to that area.
It does to be a task sometimes, as on Custom builds, the stock hangers are not there, it may take a little time to figure out how to take Custom seats off, and in 100 degree heat, you want to do it in a timely fashion as it gets so hot in this part of the State that you sweat buckets simply by walking to the tool box.
Anyway, managed to get the seat and big arsed Gas tank off the bike and place out of the way, now I can get to the plugs with no problems at all and see whats going on if there is anything else showing signs of wear and tear etc.
She is running Rich too and has the incorrect heat range plugs for this model, but no worries as I have the correct spark plugs in stock and the new ones are gapped and set ready to fit back into the cylinder head once more.
I always have used Anti Seize on any spark plug as these can get stuck in the head pretty easy over time and you either end up stripping a thread or snapping a plug trying to get it undone.
The only pain in the ass on this one is that as the bike has an oil cooler, the Oil Filter sits out more and this guy has Exhaust wrap on his headers and if I left the exhaust headers on the bike and attempted to remove the oil filter, oil would drip all over the collector and then the bike would smoke for days, didn’t want that, so the best option was to remove the exhaust system.
As you can see, I had to remove the crush gaskets, something you should do anytime you remove the exhaust, and the ones I removed were after market version and were an utter pig to get out, but after removal I cleaned the ports out and fitted Genuine Honda Copper crush gaskets before I refitted exhaust system after fitting New Oil Filter and O-Rings.
All seems good, I replaced the old oil with Castrol High Mileage 10-40 and have used this Viscosity oil for these bikes for decades.
So everything is back together and took it for a test run, just to make sure oil level was fine and the bike ran good, adjusted chain and lubed etc.
So, another Motorcycle serviced and he is back on the road a very happy chappy, and I am glad to see another Motorcycle on the road once more.
Thanks for watching my Blog today and if I can help you with Service, parts or complete creations, just let me know. carpy@carpyscaferacers.com
I added a video I did with my phone but you will need to turn the sound up as its super quiet for some reason.
Have a Great weekend and hope that you get time to work on your machine.
HONDA CB1100 in the 80’s was a real Power House.
Back in the 80’s, the Japanese Motorcycles were dominating races on the track and reliability on the road, the CB1100 was the sequential Mother Load of Torque, just sheer grunt and what I would call Linear power band, it just was like a Steam train and would go and go.
Below, Dennis Neils takes hos CB1100 around the infamous Bathurst race track in Australia, great footage for back then and you can hear Neil’s commentary as he rides the track on Practice day.
On board footage from Dennis Neil’s Honda 1100 of most of a lap of Bathurst. Taken during practice for the 1980’s Easter Production Race.
In 1979 Honda produced a double overhead cam (DOHC) 750 cc engine developing 72 bhp @ 9000 rpm which was used in the CB750F model in the USA from 1979 to 1982. The same year Honda also released the CB900F using a race-bred 901 cc DOHC engine that was a step above the CB750 with its longer stroke and hotter cams squeezing out 95 bhp @ 8500 rpm (actual rear-wheel horsepower exceeded 80 horsepower as measured on a dynamometer).The CB900F was only offered in the USA from 1980 to 1982.
The best Honda , at that time, was a 1979 Honda CB900FZ, the machine the RC was based upon and in my opinion, a somewhat underrated motorcycle that boasted lightweight, good handling and attractive styling, yet it had been pushed into the background due to the capacity war being waged with the other Japanese manufacturers.
In 1983 Honda released the CB1100F, based on the CB900F and the CB1100R. Besides a distinctive-to-the-1100f paint scheme, it used hotter cams, larger pistons, better carburetion in the form of four Keihin 34 mm CV, and a redesigned combustion chamber. The CB1100F produced 108 bhp @ 8500 rpm. It also had increased rake and the dash featured a 150 mph or 240 km/h speedometer and adjustable two-piece handlebars. The tubeless-tire wheels were new also, 18-inch x 2.50-inch front and 17-inch x 3-inch rear. Performance was pace setting. Cycle World tests at 11.13 seconds/120.48 mph quarter mile and 141 mph half mile earned it the designation of “fastest stock bike ever tested”.
The CB1100F was available in different markets, such as USA, Canada, Europe, and Australia from 1982 through 1984. In the USA, a quarter-fairing for wind deflection (and looks), and cast single piece wheels were offered. The other markets had not the fairing, and the wheels were gold “boomerang” Comstars, similar to the ones on the Honda CB1100R, and the control cables were routed above, rather than below, the handlebars.
The riding position was more sporty than the US model, with rearset footpegs and controls as well as lower two-piece clip-on handlebars. These different parts were originally offered through US dealers as a complete sport, or “continental” kit, and now command a price premium in the US as owners seek to upgrade their machines.
The CB1100RC though was a different kettle of fish. Built primarily to redress the balance of power in production bike racing, it was not cheap. At $5,800 (Aus) it was almost twice the price of the CB900FZ it was based on, although this was tempered somewhat by the fact, that as a limited run special, it would hold its price and potentially appreciate in value.
That first ride home on an RC was an interesting one as it was the first time I’d ridden a motorcycle with a full fairing. It proved to be quite effective at keeping the wind and weather off the rider although the hands were less well protected. The footpegs were set slightly higher and a bit more rearward pushing the rider’s knees into the alloy fuel tanks indentations. The adjustable handlebars (a similar system to Laverda’s) were in the dropped position giving good “feel” from the front end. The brakes were highly effective causing the forks to compress considerably. The RC was physically a large machine but it steered and changed direction with relative ease.
Once at home it was time to indulge in the motorcyclist’s favourite pastime, making adjustments to the bike. The TRAC anti-dive system on the front forks was set at number one of its four positions, hence the accentuated nose-dive under brakes. This setting was changed to number three and the air pressure in both forks was set to 25psi (between 23 to 27psi was recommended by Honda).
The remote reservoir gas charged FVQ rear shockers had four compression, three extension damping settings and five spring preload settings. These were adjusted with the spring preload set to three, the compression damping to three and the rebound damping to two. The eighteen-inch wheels fitted to the RC sported 2.5inch front and 3.0inch rim rear widths respectively. Checking the standard fitment Japanese Dunlop F11 100/90 V18 and K527 130/80 V18 tyre pressures was another essential job.
Next was to set the handlebars in the “flat” position. This was easily done by loosening the hexagonal through bolt enough to disengage the meshed “teeth” of the lower and upper part of the handlebar, so the upper bars could be tilted into the flat position, and then re-tightened.
A quick run on a favorite stretch of road showed the suspension adjustments had firmed up the big Honda making it more responsive to rider input and the raised handlebars improved the comfort of the riding position.
The owner’s manual was also very comprehensive and more of a condensed workshop manual, showing tolerances and recommended replacement of engine parts in racing kilometres/miles. The regular service schedule for normal road use was fairly standard and the manual also quoted the CB1100RC as giving 115hp at 9,000rpm and 75kg-m at 7500rpm some 20hp up on the CB900FZ.
All the usual service points on the RC were easily accessible for the home mechanic. The fairing lower took about five minutes to remove to reach the oil filter and cam chain tensioner, while the fuel tank had to be removed to gain access to the spark plugs and carburetors. The air filter was also easily accessible through the air-box side cover. The RC was not fitted with a main-stand, but a rear paddock type stand was available from Honda dealers.
It became apparent after running in the RC that this motorcycle could be used as a serious high-speed long distance sports tourer. On a favourite piece of road riding the CB900FZ at 120kmh was a comfortable rate of knots, but on the RC this seemed slow and 140kmh was a comparative trot. The full fairing was doing its job with very little buffeting, even around the rider’s helmet. The power delivery of the 1062cc engine was quite linear, with a flat torque curve making hard acceleration deceptive with only a slight jump in power at higher revs.
What did become apparent though was a vibration zone at around 4000-4500rpm that could be felt through the footpegs and handlebars, was more predominant through the huge 26lt fuel alloy tank. This did eventually cause an internal baffle in the tank to break away which sounded like a buzz saw at these revs. Also, a baffle in the right-hand exhaust became loose and rattled. Both of these problems were fixed without question under warranty. The engine did smooth out considerably once out of this “zone”, although this did translate into higher illegal road speeds.
The only down sides that the RC did have was a restricted turning circle, thanks to the large fuel tank and fairing, but once this was factored in it never really became an issue. Also carrying a pillion passenger was really not a design prerequisite of the RC. The pillion part of the seat was higher and the bulk of the weight of the passenger was behind the rear axle line of the motorcycle. This really didn’t help the handling of the RC regardless of the suspension settings.
Although the front brakes were Honda’s very effective new twin-piston floating calipers that gripped 300mm ventilated disks, I opted to have the optional braided steel brake lines fitted. These were standard on the U.K. model and gave better initial bite and feel and were a worthwhile investment.
The Honda’s presence on the road was also quite interesting. This was the first motorcycle I can remember that had car drivers change lanes to get out of the way. Other drivers would slow down just to see what sort of exotic piece of kit it was. Indeed the large fairing and bright colour scheme made the motorcycle quite visible to other road users and it made the rider feel that little bit safer in traffic.
What I didn’t expect was the reaction of other motorcyclists. In one instance I was told that it was a racer for the road and impractical for everyday use, and there was no way you could use all the power available. This was from a group of riders, one of whom rode a Laverda Jota!
In reality, the Honda CB1100RC was a motorcycle you could commute to work on and use for weekend blasts through the hills. And for five years I did exactly that and enjoyed every minute of it. The RC’s engine performance was user-friendly, as was the superb handling in just about all conditions. It was a big and heavy bike and after few hours of scratching on winding roads, the rider would know it. But this just added to the satisfaction of riding this type of motorcycle. The Honda was also a very capable sports tourer that with the handlebars in the “flat” position was quite comfortable over long distances.
Many of the specification of the CB1100RC were carried over to the CB1100F with improvements (including rubber mounting the engine) that made it more civilised than its production-racing cousin. Unfortunately, the CB1100R series and CB1100F were also the last generation of big air-cooled four-cylinder bikes from Honda that along with other Japanese models quickly became dinosaurs in the fast moving technological evolution of the performance motorcycle.
Words Geoff Dawes (C) 2014. Photographs Geoff and Vivienne Dawes © 1982.
Failing that, at the 2016 Tokyo show there had the CB1100R replica, very tasty indeed.
David Silver spares Museum
I have known of this chap for over 40 Years, 4 bloody decades, man that time has flown by, David Silver used to work in a little garage and has built that up to a great business and now, has a superb museum that show cases all the Honda’s.
Not too far from the old Nuclear power station in Sizewell if I remember? In a little place called Leiston, some things dont change and thats great.
We lived about 40 miles from here as we were in Bury St Edmunds in Suffolk. And I am so glad he has opened a Museum and one of these days I shall visit it as well as see some of my School days pals and catch up.
He now has a superb set up and if you are on the East side on the wet lands, then you must go and take a look at the museum, tell him I said hello.
Flash Back Friday
Just a quick old Video when I had a Bigger shop that did Cafe Racers and Hot Rods, but am so much happier doing MY own stuff and not relying of other people, so have a great weekend.
Cool Little CB500 pop’s into shop today.
This afternoon, I heard the blap of a little inline motor, looked out the window, and sure enough a very cool CB500 came for a visit.
It had all the cool stuff, on it like Alloy Triple tree, Custom Head light and Ears etc as well as a 4 into 1 system that was heat wrapped.
It is always great to see other people and their machines, he built it him self and looks like a fun tarmac eater and a super day today to get that bike out in the twisties.
Had a quick tour round the shop and then he was off to go and have some fun riding.
I like seeing these 500-4 models as you do not often see them on the road, and if you do, its the bigger brother of the 550 displacement.
So have fun out there this weekend as especially here in So-Cal we are blessed with riding weather pretty much all year round.
I had better get back to work as I have bucket loads to do, but wanted to at least try and get a Blog out today as I know that you read them by the emails that we receive here at the shop and I thank you for that.